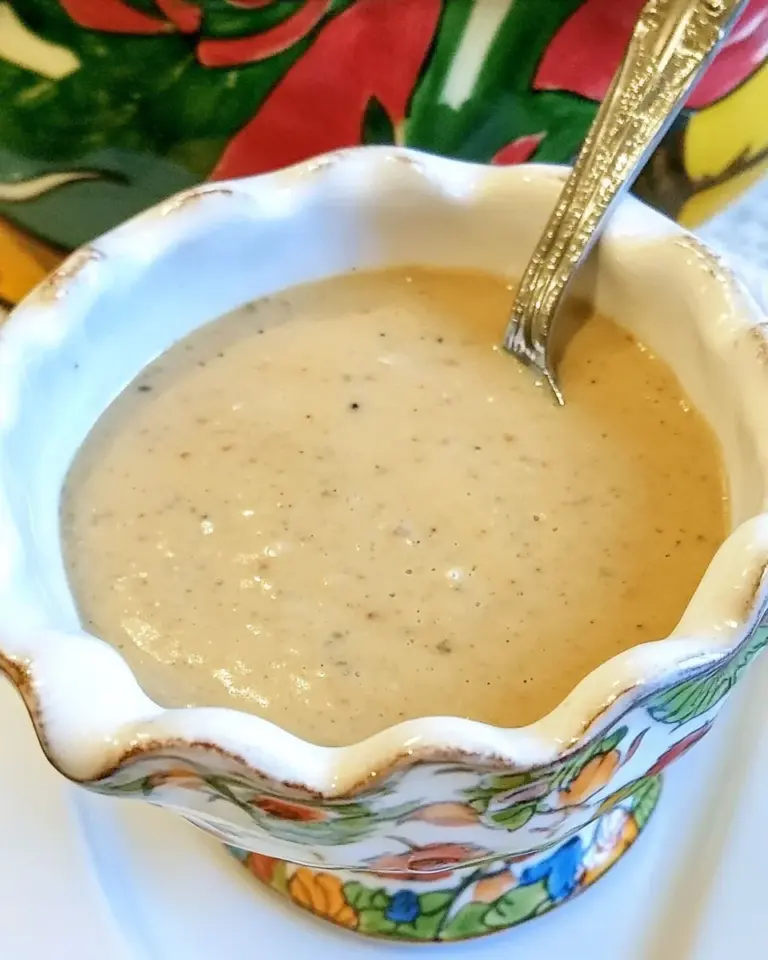
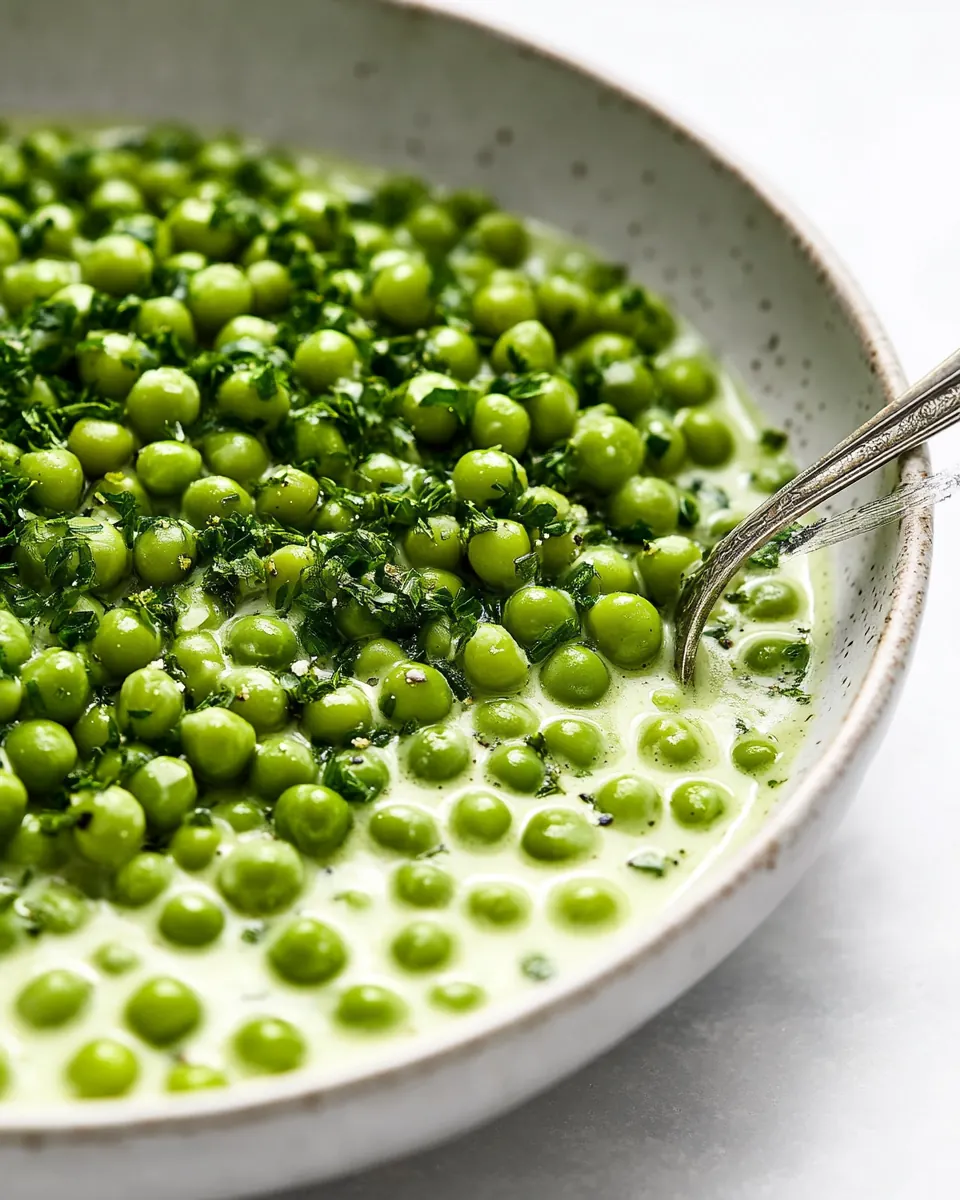
Easy Creamed Peas
Easy Creamed Peas came into my life on a rainy spring evening when I wanted something comforting yet uncomplicated after a long day of errands. I remember standing at my kitchen counter with a bag of frozen peas and a nearly empty carton of half and half, thinking I could coax a cozy side from very little. The first spoonful was a revelation to me, creamy and bright, the kind of simple pleasure that turns a so so meal into one I want to linger over.
Over the years I have returned to Easy Creamed Peas whenever I needed a quick, satisfying accompaniment that feels homemade. Sometimes I make it for a casual weeknight dinner, other times I bring it to family gatherings where everyone asks for just one more bite. I like that it is forgiving, which is how many of my favorite recipes are born. The trick is in watching the sauce more than timing it, and stirring with attention so the texture comes out smooth and luscious.
Recipe Snapshot
30 mins
5 mins
25 mins
Easy
200 kcal
American
Gluten-Free, Low FODMAP
Side Dishes
Saucepan, Whisk, Spoon
The Magic of This Easy Creamed Peas
Comfort in simplicity
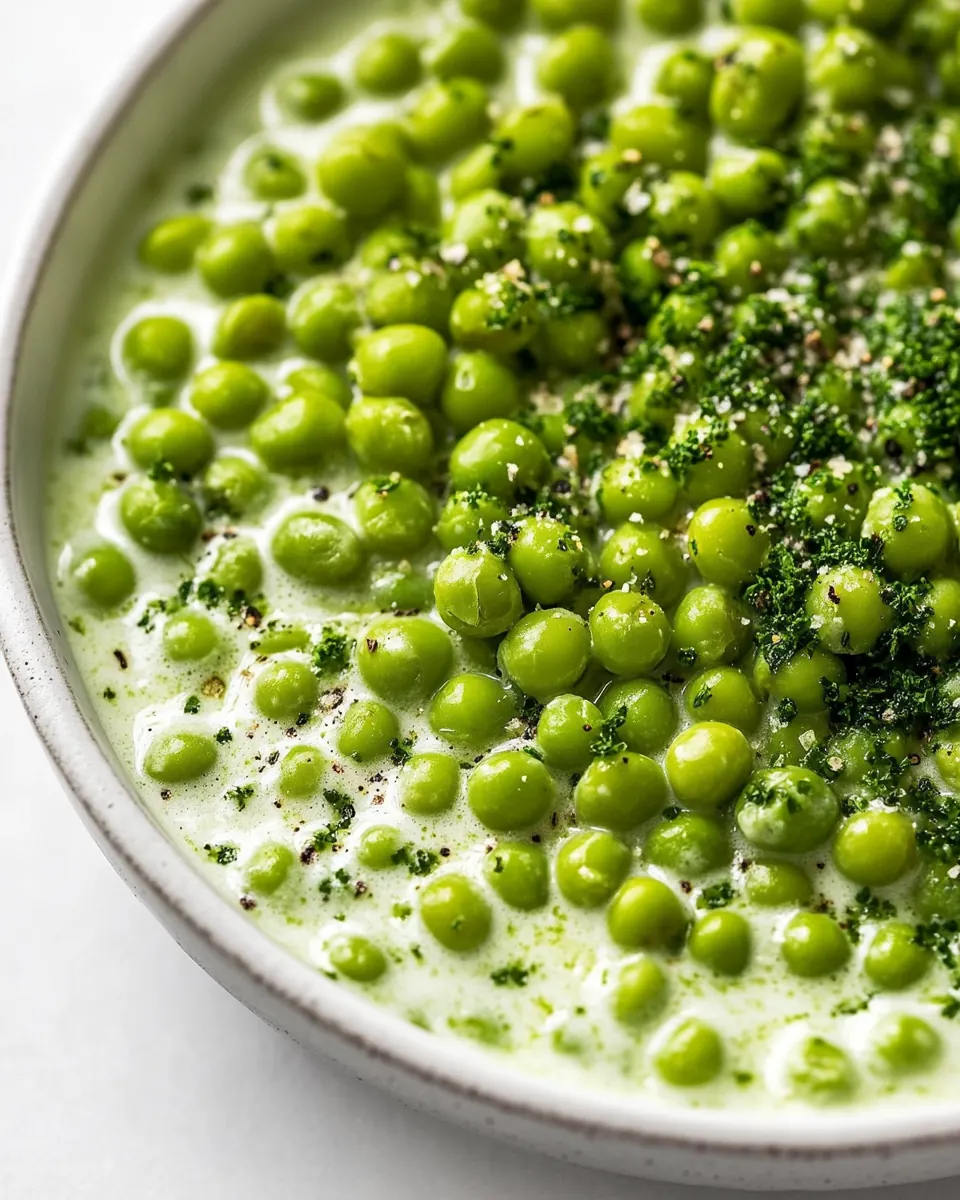
I adore Easy Creamed Peas because it transforms pantry staples into something cozy and approachable. A few minutes of attention yields a velvety sauce that wraps each pea in flavor. I often reach for this when I want comfort without fuss.
Speed and reliability
This recipe is a true weeknight hero. I can get dinner on the table quickly, and the method is consistent. When I’m pressed for time but still want a dish that tastes like care was taken, I turn to this one and it never lets me down.
Bright, fresh flavor
Even though it uses frozen peas, the contrast of sweet green peas and the creamy base keeps the dish feeling light and spring friendly. The garlic powder adds background warmth without dominating, so the vegetable still sings.
Flexible and forgiving
I’ve made this with half and half and with heavier creams when I wanted indulgence. I also appreciate that small adjustments, like a splash more dairy if the sauce tightens, save the day. That flexibility means you can adapt based on what you have on hand, and I enjoy that gentle improvisation.
Great companion dish
In my kitchen, Easy Creamed Peas plays well with so many mains, adding color and creaminess to the plate. It brightens up roasted proteins, balances richer sides, and brings a touch of spring to the table.
Key Ingredients for Easy Creamed Peas
The philosophy behind these ingredients is straightforward. I rely on a creamy liquid to carry flavor, a small amount of fat and flour to build body, and the star green peas for sweetness and texture. Together they create a sauce that is both silky and bright, letting the natural character of the peas shine while marrying everything into a comforting side.
- 2 tablespoons butter: Melts into the base to provide a rich, silky mouthfeel and helps carry flavors; use unsalted if controlling sodium and melt gently to avoid browning. Works with the flour to create a smooth roux that thickens the sauce and binds the dairy and peas together for a cohesive creamed texture.
- 1 tablespoon flour: Thickens the sauce when cooked with butter, forming a light roux that gives body without grit; sprinkle evenly and stir constantly while cooking to avoid lumps. Helps stabilize the half-and-half so the finished dish remains creamy and smooth rather than thin or separated.
- 1 1/2 cups half-and-half: Enriches and loosens the sauce while adding a creamy, slightly sweet dairy flavor; heat gently to prevent curdling and maintain a velvety consistency. Balances the richness of butter and the texture from the roux to coat the peas evenly, contributing to the overall comfort-food character.
- 1/4 teaspoon garlic powder: Adds a subtle savory depth and mild garlic aroma without overpowering; sprinkle sparingly and taste as you go to avoid dominance. Enhances the overall seasoning profile and complements the sweetness of the peas while blending seamlessly into the creamy sauce.
- 4 cups frozen peas: Provides the primary vegetable component with sweet, tender bites that contrast the creamy sauce; use frozen peas straight from the freezer for convenience and even cooking. Releases natural sweetness as they warm, soaking up the sauce and offering bright color and texture to the finished dish.
- Salt & pepper to taste: Seasonsthe finished dish to balance flavors and enhance natural sweetness; add gradually and taste frequently to achieve the desired level. Pepper contributes mild heat and complexity while salt amplifies overall taste, ensuring the creamed peas are well-rounded and satisfying.
How to Cook Easy Creamed Peas
This recipe is approachable and hands on, requiring one pot and a little attention as the sauce comes together. The directions below expand on each step with sensory cues, reasons behind the techniques, and small troubleshooting notes so you can feel confident while cooking.
- Melt the butter in a pot over medium-high heat. Add the flour and cook it for a minute or so.: Listen for a gentle sizzle as the butter melts, and watch it become glossy and slightly foamy, which tells you the fat is ready to carry the next step. You'll smell a sweet, dairy aroma when the butter is warm but not browned. This stage sets the flavor base, because the fat helps distribute taste and enables the flour to thicken the sauce evenly. One reason we use medium high is to warm the pan and fat quickly without scorching. A common mistake is turning the heat too high and letting the butter brown, which will change the flavor profile and make the roux darker than desired. If you see brown flecks, remove the pot from heat briefly and let it cool slightly before continuing.
- Whisk in the half-and-half and garlic powder.: As you sprinkle in the flour , stir continuously until the mixture forms a smooth paste with the butter . The texture should be glossy and slightly thick, and the raw flour smell should dissipate within a minute. This brief cook time is critical because it eliminates any floury taste and creates the base for a silky sauce. You may notice the roux shifting from pasty to more fluid as it cooks, and that is a good sign. A common error is undercooking the flour, which leaves a grainy texture. Resist the urge to rush this; steady stirring is what ensures an even cook.
- Stir in the peas. Once they start to bubble, turn the heat down (don't let them rapidly boil).: When you pour in the half and half , whisk steadily to combine it with the roux, creating a smooth, creamy liquid. The mixture should move from thick paste to a cohesive, slightly thickened cream, and you will smell the gentle, savory note from the garlic powder. Whisking prevents lumps and encourages a glossy finish, which impacts how the sauce clings to each pea . If the cream seems too cold, temper it by adding a little at a time while whisking, to avoid sudden clumps. Avoid boiling vigorously now, because high heat can make the dairy separate or scald, producing an off odor.
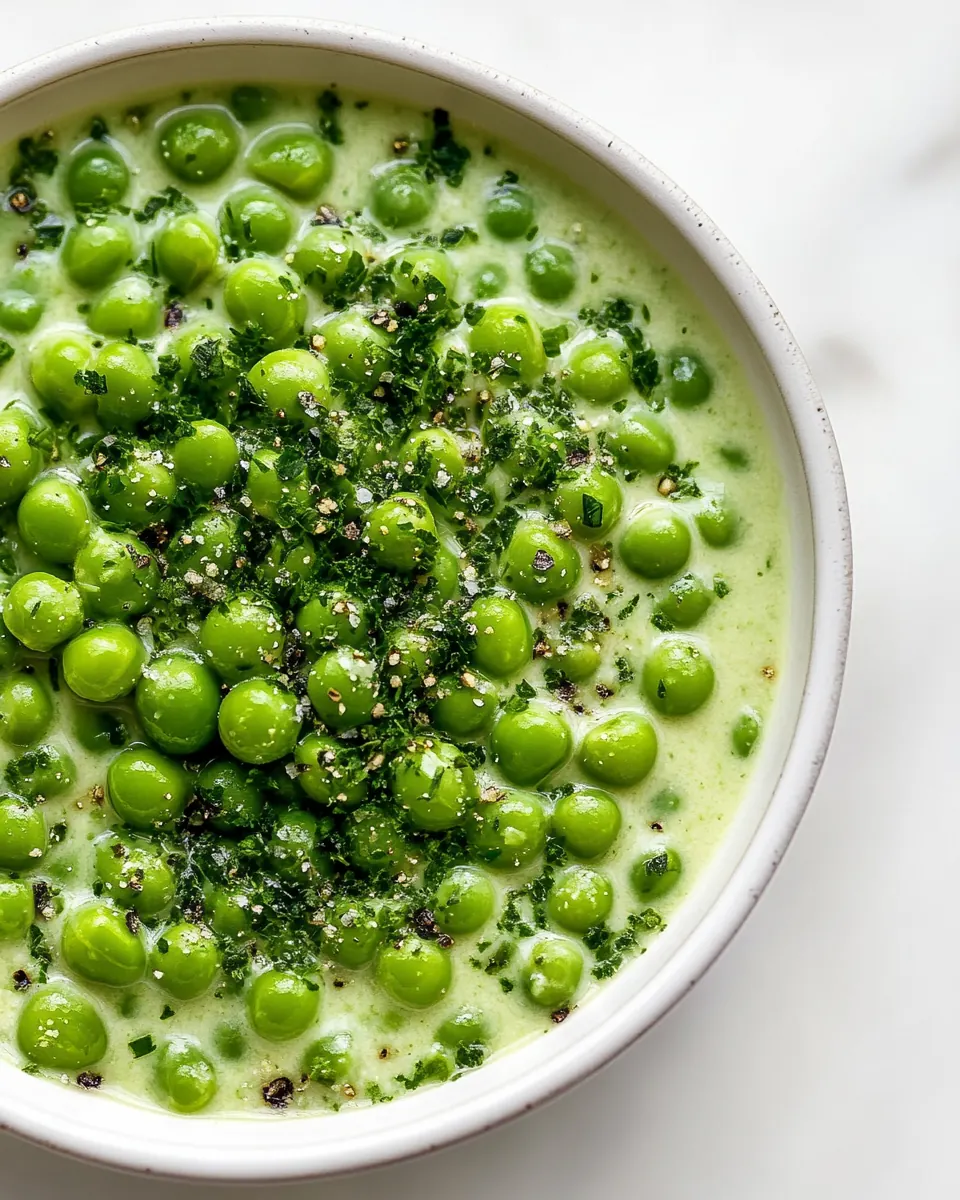
- Simmer the peas, uncovered, until the cream has thickened up to your liking. Keep an eye on them, and stir them occasionally (this can take around 15-20 minutes). Keep in mind that the sauce will thicken up a bit more as they cool. If the sauce gets too thick at any point, add in a splash more half-and-half.: Add the frozen peas directly to the warm cream and stir until they are evenly distributed. You will hear a soft hiss as frozen peas meet the hot liquid, and the pot will quickly move to a gentle simmer. This step heats the peas through while allowing them to release sweetness into the sauce. The contrast of the bright green against the pale cream is a visual cue that you are on the right track. A typical mistake is crowding the pot with too many additional ingredients at once, which can drop the temperature too quickly; keep things measured and steady.
- Season with salt & pepper as needed (I'm pretty generous with both).: Adjust the flame so the surface shows gentle bubbling rather than a rolling boil, which preserves the texture of the dairy and prevents separation. You should see small, consistent bubbles around the edge and smell a comforting cooked cream aroma. Lower temperature allows the sauce to thicken slowly, producing a silkier mouthfeel. Rapid boiling agitates the sauce and can make the cream break or the peas overcook and become mealy. If bubbles become aggressive, lower the heat and stir to calm the pot.
- Simmer the peas, uncovered, until the cream has thickened up to your liking: As the pot simmers, watch the sauce gradually reduce and coat the back of a spoon. The peas will change from icy to tender, and the aroma will shift from raw to sweet and cooked. Stir every few minutes to keep the surface even and to prevent the sauce from clinging to the bottom. This slow reduction concentrates flavor, which is why we simmer rather than hurry. A common pitfall is walking away; unattended simmering can lead to scorching. If the sauce becomes too thick, stir in a splash more half and half to reach the texture you prefer.
- Keep an eye on them, and stir them occasionally, this can take around 15 to 20 minutes: During this time, listen for quiet little pops and watch for the sauce to become glossy and viscous, which signals readiness. The peas should be tender but still hold their shape, offering a slight pop when bitten. This monitoring is essential because cooking times vary with pot size and stovetop heat. People sometimes overcook in an attempt to thicken too fast, which dries the peas and dulls the color. Patient stirring and gentle sight checks are what create the ideal balance.
- Keep in mind that the sauce will thicken up a bit more as they cool: Once removed from heat, residual warmth continues to reduce the cream, so it is better to stop when the sauce is just a touch looser than you want. The final texture should be silky and cling to each pea without being gluey. This carryover cooking is why I often serve shortly after a gentle rest, letting flavors settle. A mistake is leaving it too long on the heat trying to force final thickness, which can cause over reduction and an overly dense sauce.
- If the sauce gets too thick at any point, add in a splash more half and half: Adding small amounts of half and half loosens the sauce and restores creaminess without diluting flavor. Incorporate gradually and stir until the texture returns to silky. This is an easy recovery technique and keeps the dish forgiving. Avoid adding too much liquid at once, which can make the sauce thin and require further simmering to concentrate.
- Season with salt & pepper as needed: Taste and finish with salt and pepper to lift the dish. Salt enhances the natural sweetness of the peas and clarifies the cream, while pepper gives a mild counterpoint. Add a little at a time and taste between additions, because dairy can mute salt and you may need a final adjustment just before serving. Over-salting is the common misstep, so proceed cautiously and rely on tasting.
Recipe Tips about Easy Creamed Peas
This section offers practical tips I rely on so that Easy Creamed Peas turns out reliably excellent every time. Small adjustments and mindful stirring make a big difference to texture and flavor.
- Warm your dairy before adding if it is straight from the fridge, which helps prevent lumps and speeds integration into the roux.
- Measure the flour accurately to avoid an overly thick or gummy sauce; spoon it into the measuring spoon rather than packing it down.
- Use frozen peas because they are picked at peak ripeness and give consistent sweetness and color compared to out of season fresh peas.
- Keep the heat gentle during simmering to maintain a silky texture and to avoid separation of cream components.
- Taste and adjust just before serving, because the reduction changes flavor intensity and often needs a final pinch of salt or dash of pepper.
Serving Suggestions
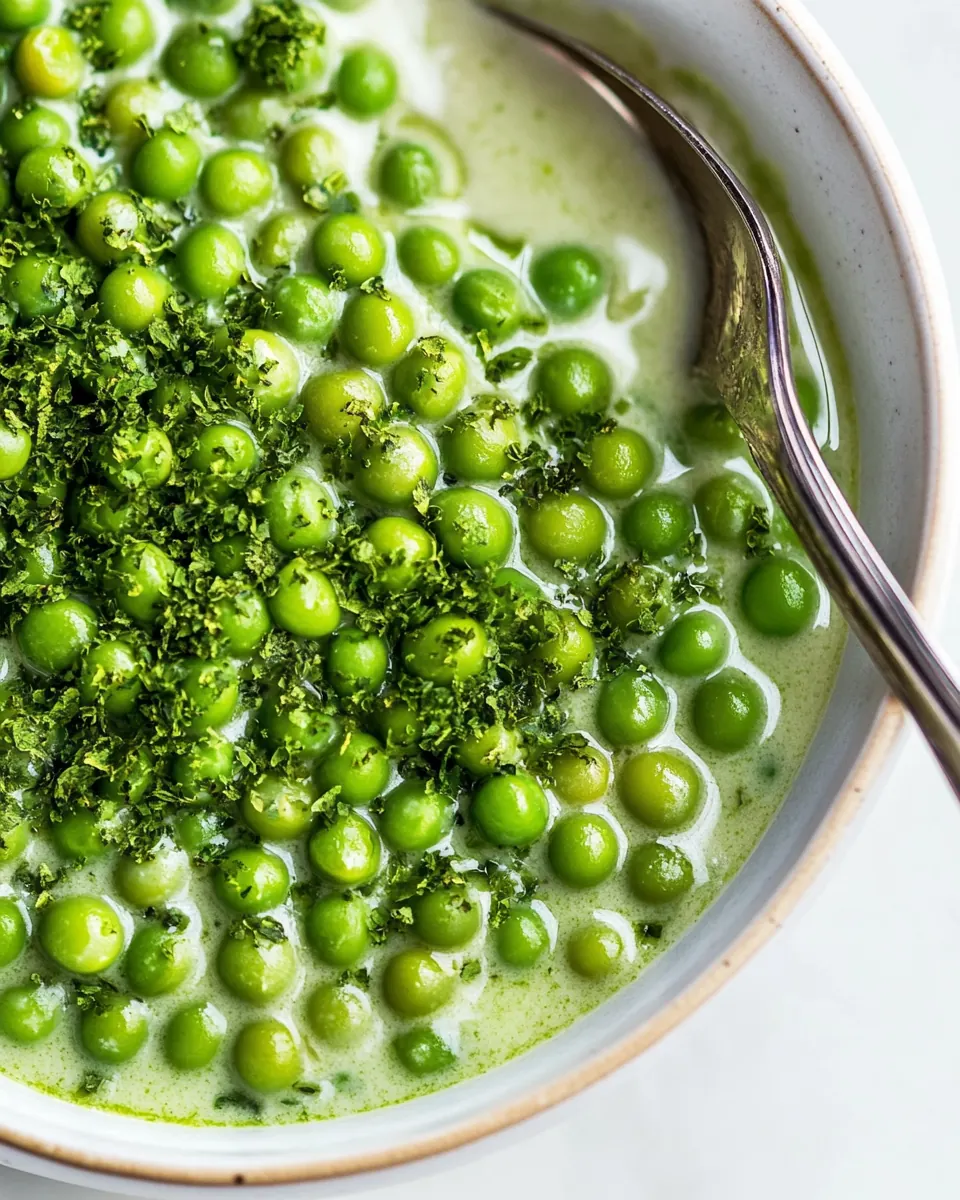
I like to serve Easy Creamed Peas warm, using its creamy texture to complement mains and bring a fresh pop of color to the plate. The dish holds well for a short time after cooking, so it is suitable for family meals and small gatherings. Below are ideas for occasions and pairings, plus storage tips to make the most of leftovers.
- Serve warm alongside roasted chicken for a comforting spring dinner where the creaminess balances roasted savory flavors.
- Pair with baked fish to add a gentle, rich element that complements delicate proteins without overpowering them.
- Enjoy at holiday tables where a simple, crowd pleasing vegetable brings color and a universally liked flavor profile.
- Bring to potlucks in a covered dish; keep warm or reheat gently to maintain the sauce texture.
- Store leftovers in an airtight container in the refrigerator for up to three days, and reheat gently with a splash of half and half to restore creaminess.
- Use for seasonal menus in spring when green vegetables feel appropriate and bright on the table.
FAQ
Conclusion
What makes Easy Creamed Peas special is how it turns a handful of simple ingredients into a velvety, flavorful side that feels both homey and bright. Give it a try the next time you want an uncomplicated dish that still reads as thoughtful on the plate. It is forgiving, quick, and adaptable, so once you make it a few times you will find the small tweaks that suit your taste best. Enjoy the warmth and color it brings to your meal, and don’t be surprised if it becomes one of the go to sides in your recipe rotation.

Easy Creamed Peas
Equipment
- Saucepan
- Whisk
- Spoon
Ingredients
- 2 tablespoons butter Melts into the base to provide a rich, silky mouthfeel and helps carry flavors; use unsalted if controlling sodium and melt gently to avoid browning. Works with the flour to create a smooth roux that thickens the sauce and binds the dairy and peas together for a cohesive creamed texture.
- 1 tablespoon flour Thickens the sauce when cooked with butter, forming a light roux that gives body without grit; sprinkle evenly and stir constantly while cooking to avoid lumps. Helps stabilize the half-and-half so the finished dish remains creamy and smooth rather than thin or separated.
- 1 1/2 cups half-and-half Enriches and loosens the sauce while adding a creamy, slightly sweet dairy flavor; heat gently to prevent curdling and maintain a velvety consistency. Balances the richness of butter and the texture from the roux to coat the peas evenly, contributing to the overall comfort-food character.
- 1/4 teaspoon garlic powder Adds a subtle savory depth and mild garlic aroma without overpowering; sprinkle sparingly and taste as you go to avoid dominance. Enhances the overall seasoning profile and complements the sweetness of the peas while blending seamlessly into the creamy sauce.
- 4 cups frozen peas Provides the primary vegetable component with sweet, tender bites that contrast the creamy sauce; use frozen peas straight from the freezer for convenience and even cooking. Releases natural sweetness as they warm, soaking up the sauce and offering bright color and texture to the finished dish.
- Salt & pepper to taste Seasonsthe finished dish to balance flavors and enhance natural sweetness; add gradually and taste frequently to achieve the desired level. Pepper contributes mild heat and complexity while salt amplifies overall taste, ensuring the creamed peas are well-rounded and satisfying.
Instructions
- Melt the butter in a pot over medium-high heat. Add the flour and cook it for a minute or so.: Listen for a gentle sizzle as the butter melts, and watch it become glossy and slightly foamy, which tells you the fat is ready to carry the next step. You'll smell a sweet, dairy aroma when the butter is warm but not browned. This stage sets the flavor base, because the fat helps distribute taste and enables the flour to thicken the sauce evenly. One reason we use medium high is to warm the pan and fat quickly without scorching. A common mistake is turning the heat too high and letting the butter brown, which will change the flavor profile and make the roux darker than desired. If you see brown flecks, remove the pot from heat briefly and let it cool slightly before continuing.
- Whisk in the half-and-half and garlic powder.: As you sprinkle in the flour , stir continuously until the mixture forms a smooth paste with the butter . The texture should be glossy and slightly thick, and the raw flour smell should dissipate within a minute. This brief cook time is critical because it eliminates any floury taste and creates the base for a silky sauce. You may notice the roux shifting from pasty to more fluid as it cooks, and that is a good sign. A common error is undercooking the flour, which leaves a grainy texture. Resist the urge to rush this; steady stirring is what ensures an even cook.
- Stir in the peas. Once they start to bubble, turn the heat down (don't let them rapidly boil).: When you pour in the half and half , whisk steadily to combine it with the roux, creating a smooth, creamy liquid. The mixture should move from thick paste to a cohesive, slightly thickened cream, and you will smell the gentle, savory note from the garlic powder. Whisking prevents lumps and encourages a glossy finish, which impacts how the sauce clings to each pea . If the cream seems too cold, temper it by adding a little at a time while whisking, to avoid sudden clumps. Avoid boiling vigorously now, because high heat can make the dairy separate or scald, producing an off odor.
- Simmer the peas, uncovered, until the cream has thickened up to your liking. Keep an eye on them, and stir them occasionally (this can take around 15-20 minutes). Keep in mind that the sauce will thicken up a bit more as they cool. If the sauce gets too thick at any point, add in a splash more half-and-half.: Add the frozen peas directly to the warm cream and stir until they are evenly distributed. You will hear a soft hiss as frozen peas meet the hot liquid, and the pot will quickly move to a gentle simmer. This step heats the peas through while allowing them to release sweetness into the sauce. The contrast of the bright green against the pale cream is a visual cue that you are on the right track. A typical mistake is crowding the pot with too many additional ingredients at once, which can drop the temperature too quickly; keep things measured and steady.
- Season with salt & pepper as needed (I'm pretty generous with both).: Adjust the flame so the surface shows gentle bubbling rather than a rolling boil, which preserves the texture of the dairy and prevents separation. You should see small, consistent bubbles around the edge and smell a comforting cooked cream aroma. Lower temperature allows the sauce to thicken slowly, producing a silkier mouthfeel. Rapid boiling agitates the sauce and can make the cream break or the peas overcook and become mealy. If bubbles become aggressive, lower the heat and stir to calm the pot.
- Simmer the peas, uncovered, until the cream has thickened up to your liking: As the pot simmers, watch the sauce gradually reduce and coat the back of a spoon. The peas will change from icy to tender, and the aroma will shift from raw to sweet and cooked. Stir every few minutes to keep the surface even and to prevent the sauce from clinging to the bottom. This slow reduction concentrates flavor, which is why we simmer rather than hurry. A common pitfall is walking away; unattended simmering can lead to scorching. If the sauce becomes too thick, stir in a splash more half and half to reach the texture you prefer.
- Keep an eye on them, and stir them occasionally, this can take around 15 to 20 minutes: During this time, listen for quiet little pops and watch for the sauce to become glossy and viscous, which signals readiness. The peas should be tender but still hold their shape, offering a slight pop when bitten. This monitoring is essential because cooking times vary with pot size and stovetop heat. People sometimes overcook in an attempt to thicken too fast, which dries the peas and dulls the color. Patient stirring and gentle sight checks are what create the ideal balance.
- Keep in mind that the sauce will thicken up a bit more as they cool: Once removed from heat, residual warmth continues to reduce the cream, so it is better to stop when the sauce is just a touch looser than you want. The final texture should be silky and cling to each pea without being gluey. This carryover cooking is why I often serve shortly after a gentle rest, letting flavors settle. A mistake is leaving it too long on the heat trying to force final thickness, which can cause over reduction and an overly dense sauce.
- If the sauce gets too thick at any point, add in a splash more half and half: Adding small amounts of half and half loosens the sauce and restores creaminess without diluting flavor. Incorporate gradually and stir until the texture returns to silky. This is an easy recovery technique and keeps the dish forgiving. Avoid adding too much liquid at once, which can make the sauce thin and require further simmering to concentrate.
- Season with salt & pepper as needed: Taste and finish with salt and pepper to lift the dish. Salt enhances the natural sweetness of the peas and clarifies the cream, while pepper gives a mild counterpoint. Add a little at a time and taste between additions, because dairy can mute salt and you may need a final adjustment just before serving. Over-salting is the common misstep, so proceed cautiously and rely on tasting.
Notes
- Warm your dairy before adding if it is straight from the fridge, which helps prevent lumps and speeds integration into the roux.
- Measure the flour accurately to avoid an overly thick or gummy sauce; spoon it into the measuring spoon rather than packing it down.
- Use frozen peas because they are picked at peak ripeness and give consistent sweetness and color compared to out of season fresh peas.
- Keep the heat gentle during simmering to maintain a silky texture and to avoid separation of cream components.
- Taste and adjust just before serving, because the reduction changes flavor intensity and often needs a final pinch of salt or dash of pepper.