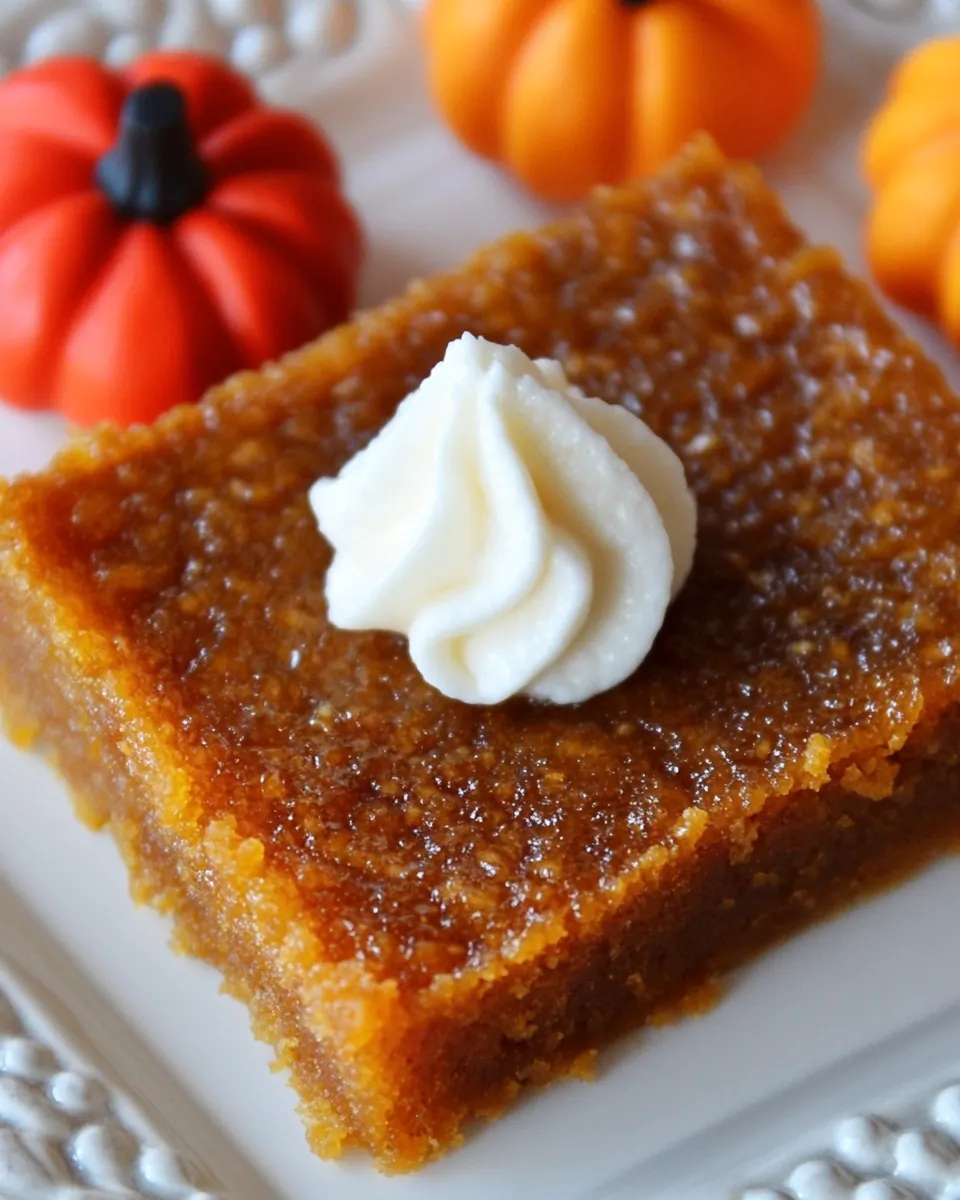
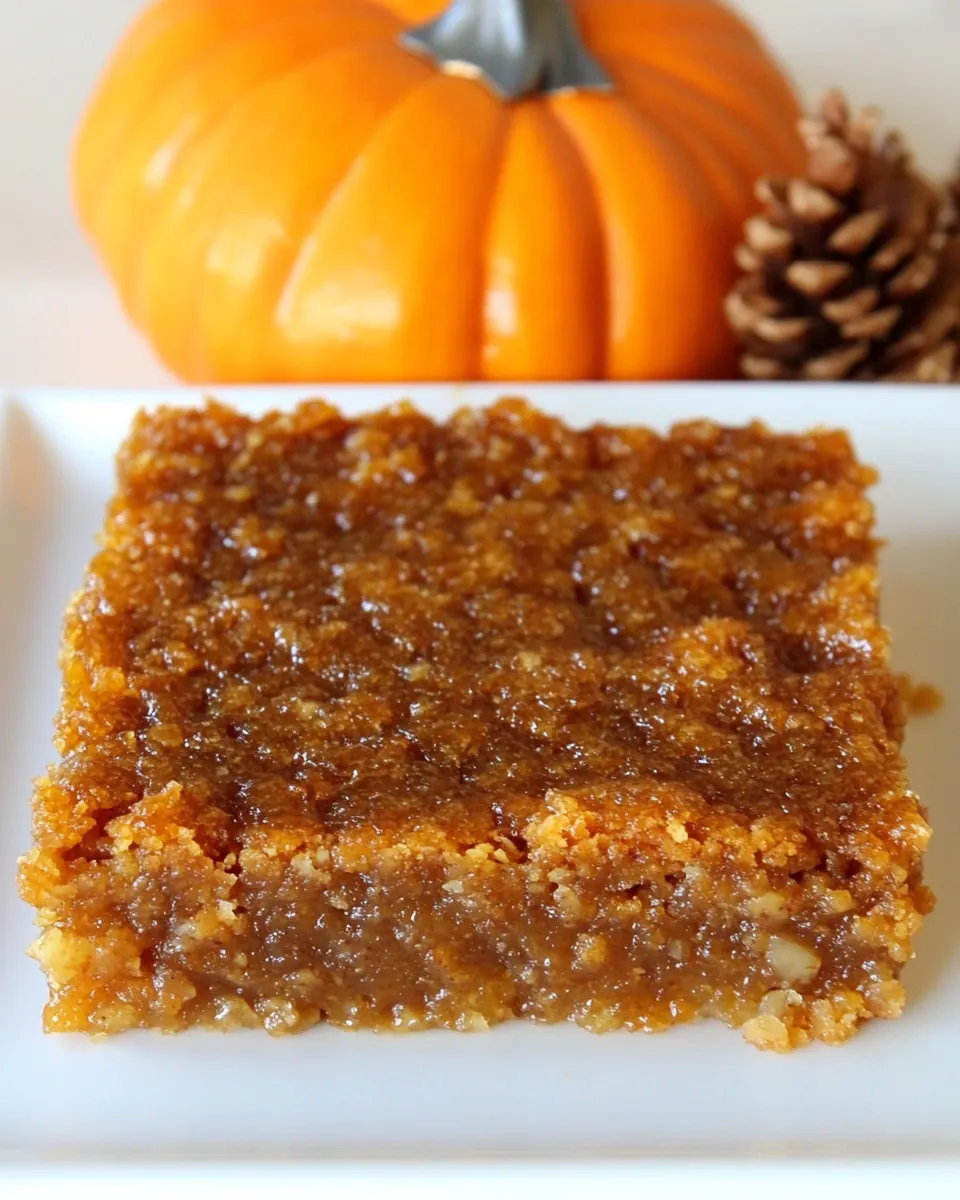
Pumpkin Pie Bars
Pumpkin Pie Bars have been my go to for sharing at autumn gatherings, and the moment I slice into that first square I swear the whole kitchen sighs. I remember the first time I brought these to a potluck, the way the pumpkin filling smelled warm and spiced as it cooled on the counter, and how neighbors kept circling back for another piece. That buttery crust gives a reassuring snap beneath the silky top, and it always reminds me of cozy afternoons when I was learning to bake with my grandmother.
I tend to make these when I want something fuss free but impressive, especially when I need a dessert that travels well. I love how the recipe stretches to feed a crowd, yet still feels homemade and intimate. When I cut them into squares, I think about the simple pleasure of a dessert that is both familiar and slightly elevated. Over the years I’ve tweaked little things to suit my taste, but at heart these remain a straight forward classic that people immediately recognize and enjoy.
Recipe Snapshot
45 mins
15 mins
30 mins
Medium
250 kcal
American
Gluten-Free, Low FODMAP
Desserts
9×13 inch baking pan, Parchment paper, Mixing bowls, Rubber spatula, Whisk
What’s Great About This Pumpkin Pie Bars
Comforting Autumn Flavor
There is something about a balance of warm spices and rich pumpkin that feels like a hug on a cool day. I love how the cinnamon and nutmeg play together, creating that signature pie spice character while staying approachable for picky eaters.
Great for Sharing
I make these because they are ideal for feeding a crowd without fuss. You can cut them into many small squares, and each piece holds well at room temperature so they’re perfect for potlucks and holiday tables.
Textural Contrast
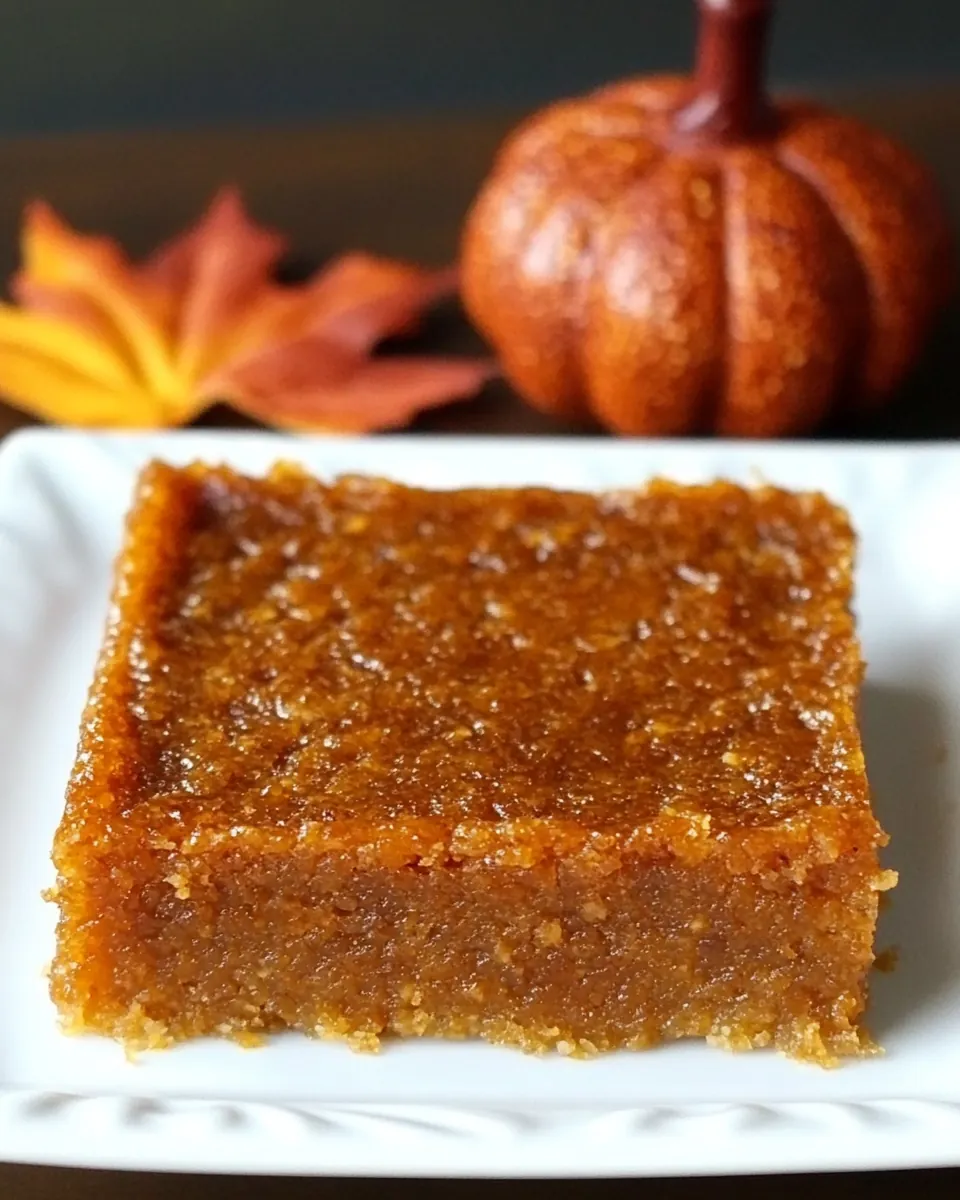
The pairing of a tender crumbly crust with a smooth, custardy pumpkin layer gives a satisfying contrast. I find people comment on that slightly crisp edge against the soft center more than anything else.
Reliable and Simple Technique
This recipe follows straightforward mixing methods that you can trust. I like that there are no unusual tools required, and the steps reduce the chance of overworking the batter, which keeps the bars tender.
Adaptable Sweetness and Spice
You can easily nudge sweetness or spice to suit your taste, and I often make small adjustments depending on the crowd. The structure of the recipe holds up to those tweaks without losing its signature appeal.
What You Need for Pumpkin Pie Bars
These ingredients are straightforward pantry staples that work together to make a bar with a crisp, buttery base and a silky spiced pumpkin topping. The crust ingredients provide structure and a tender crumb, while the filling relies on eggs and sugar to set and create that custard like texture. Spices are the unsung heroes, giving aroma and depth without overpowering the natural pumpkin flavor.
- 2 cups (250 g) all-purpose flour: Provides structure and bulk to the bars by forming the crumb when mixed with fats and liquids; use all-purpose flour for balanced gluten development that holds the filling and crust together. Sifts or whisks before measuring to ensure even distribution and avoid dense spots in the finished texture.
- 2 1/2 teaspoons cinnamon: Adds warm, aromatic depth and a classic pumpkin-pie spice note; cinnamon enhances perceived sweetness and complements ginger and nutmeg for a balanced spice profile. Sprinkle into both crust and filling mixtures for consistent flavor throughout the bars.
- 1 teaspoon ground ginger: Contributes a sharp, spicy warmth that brightens the overall spice blend and pairs well with cinnamon and nutmeg; ground ginger also adds subtle heat and complexity. Stir into the wet filling thoroughly to ensure even distribution and avoid concentrated pockets of spice.
- 1/4 teaspoon (0.25 teaspoon) ground nutmeg: Lends a sweet, woody nuance with slight floral undertones that rounds out the pumpkin spice blend; nutmeg is potent so a small amount suffices to prevent overpowering. Combine with other spices in the dry mix for an even aroma throughout the bars.
- 1/2 teaspoon (0.5 teaspoon) salt: Enhances flavor contrast and strengthens gluten structure slightly while balancing sweetness; salt is essential even in sweet baked goods to highlight other flavors. Dissolve or mix evenly into dry ingredients so it seasons the entire batter uniformly.
- 1 cup (227 g) butter, melted (8 ounces): Provides richness, moisture, and tender flakiness to the crust and crumb as melted butter coats flour proteins and inhibits excessive gluten formation. Cool slightly if necessary before combining with eggs or sugar to prevent cooking them on contact.
- 2 cups (440 g) dark brown sugar: Adds moisture, deep caramel-like sweetness, and a toffee undertone that intensifies the dessert's flavor; dark brown sugar contains molasses which contributes chewiness and color. Pack firmly when measuring and mix well with butter to achieve a smooth, homogenous batter.
- 2 eggs: Binds ingredients, provides lift, and contributes richness to the filling with proteins that set during baking; eggs also add moisture and help create a custardy texture. Beat briefly before adding to ensure uniform incorporation and to avoid uneven pockets.
- 2 teaspoons vanilla extract: Imparts floral, sweet aroma and enhances overall flavor complexity; vanilla extract rounds and amplifies other ingredients without adding sweetness. Add to the wet mixture near the end of mixing to preserve its delicate aroma.
- 15 ounces (425.24 g) canned pumpkin: Supplies the primary pumpkin flavor, moisture, and a smooth, creamy texture for the filling; canned pumpkin offers consistent density and intensity compared to fresh. Drain or stir the can to ensure uniform consistency before measuring to maintain accurate ratios.
- 2 tablespoons granulated sugar: Sprinkles a touch of extra sweetness on top or in the filling to balance spices and pumpkin; granulated sugar helps create slight caramelization at edges when baked. Use as directed to add subtle crunchy contrast when sprinkled on top before baking.
- 1 teaspoon ground cinnamon: Reinforces the warm spice profile with an additional measure of cinnamon to heighten aroma and flavor in the filling or topping; cinnamon strengthens the dessert's pumpkin-pie character. Blend thoroughly into the wet mixture so the spice is evenly dispersed without clumping.
Step by Step Instructions for Pumpkin Pie Bars
I like to approach these steps with relaxed confidence, because the techniques are forgiving yet powerful. Follow the cues I describe to know when things are just right, and feel free to pause between stages to cool and adjust. Below I expand each direction into detailed, sensory rich guidance so you can bake these bars with clarity and calm.
- Preheat oven to 350 degrees F. Butter a 9×13-inch baking pan and line with parchment paper, leaving an overhang on both sides.: The moment the oven warms you will notice a dry, warm air that makes any butter smell richer, and that gentle heat is crucial for even baking later. Buttering the pan prevents sticking that could pull the crust apart, and the parchment overhang acts like handles so you can lift the bars out cleanly after cooling. If you skip lining, the edges can cling and tear, so avoid that common mistake. When I set the pan on the counter I can hear the slight tack of butter meeting metal, and I smooth the parchment so there are no wrinkles, which helps the batter spread evenly.
- In a medium bowl whisk together the flour, cinnamon, ginger, nutmeg and salt; set aside.: Right away the whisk releases the warm scent of spices into the air, and the dry mix should be uniform in color and texture, signaling even distribution. Sifting is not required, but whisking well prevents pockets of spice that could make one bite overly strong. I tap the bowl lightly after whisking to settle the flour, and I watch for a consistent tan hue with specks of spice. A common error is under mixing here, which leads to uneven flavor, so take a dozen brisk strokes to make it homogeneous.
- In a large bowl whisk together the sugar and butter. Add the eggs and vanilla extract and whisk until combined. Add the pumpkin and whisk until thoroughly combined. Add the flour mixture and, using a rubber spatula, gently stir or fold the flour into the pumpkin mixture until just combined.: When you blend the melted butter and dark brown sugar , the mixture shimmers and smells almost caramel like, which is a great preview. Adding the eggs and vanilla brings a glossy sheen, and the pumpkin yields a thick, velvety orange batter that looks rich and smooth. Folding in the dry ingredients should be done gently to avoid toughening the crust and filling, so use a rubber spatula with deliberate strokes until no streaks of flour remain. Pay attention to texture; look for an even, velvety consistency without lumps. A frequent mistake is over mixing at this stage, which can lead to a dense bite, so stop as soon as it's combined.
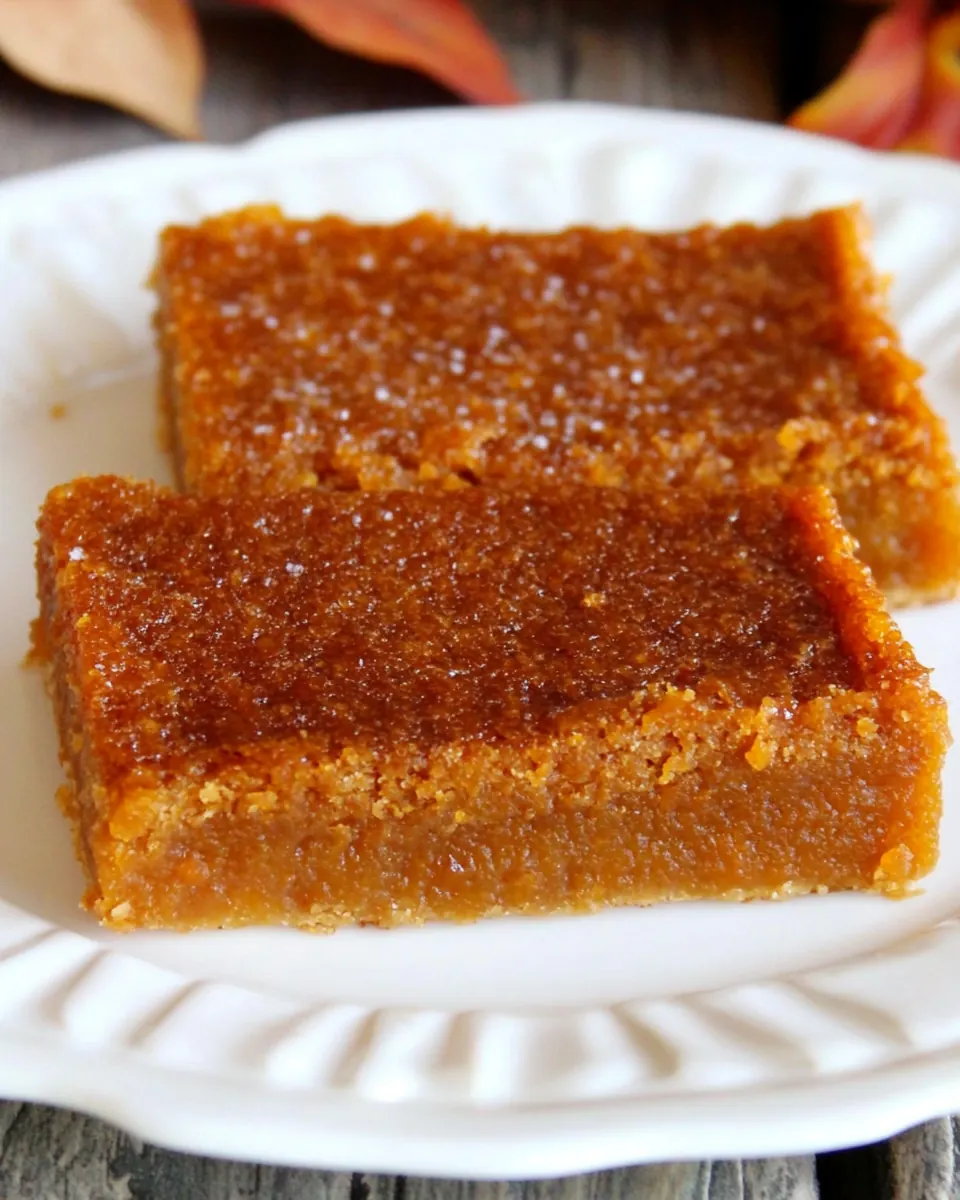
- Scrape the batter into the pan and smooth the top. In a small bowl, stir together the granulated sugar and cinnamon, and then sprinkle evenly over the top of the batter. Bake for about 30 minutes, or until a thin knife inserted into the center has just a few moist crumbs on it. Cool completely and then, using the parchment as handles, lift out of the pan and cut into 24 squares. Store at room temperature in an airtight container.: As you spread the batter into the prepared pan you will feel a slight resistance from the thick custard, and smoothing with the spatula yields a satiny surface that catches the light. Mixing the granulated sugar with extra cinnamon creates a fine, sparkling topping that melts into the edges while baking, offering a faint crunch. During baking the kitchen fills with a warm spiced aroma, and the edges will pull away slightly from the pan while the center firms. Use the knife test to avoid overbaking, as you want a few moist crumbs rather than a wet center. A common pitfall is leaving them in too long, which dries the custard and dulls the texture, so check at the 28 to 30 minute window.
- Cool completely and then, using the parchment as handles, lift out of the pan and cut into 24 squares. Store at room temperature in an airtight container.: Cooling is the quiet but critical part where the custard finishes setting, and you will notice the bars lose their jiggle and become slice ready. Lifting with the parchment feels satisfying, like revealing a neatly framed cake, and cutting into uniform squares gives tidy portions that hold shape. I wait until they are fully cool because warm bars can smear and crumble. For storage, an airtight container at room temperature keeps them tender and flavorful for several days, while refrigeration can tighten the texture. A typical mistake is slicing too soon, which results in uneven edges and a runny filling, so be patient during the cool down.
Recipe Variations about Pumpkin Pie Bars
These variations let you personalize the flavor and presentation while keeping the heart of the recipe intact. Below I outline practical tweaks and ideas you can try, each starting with a bolded phrase to guide you quickly.
- Swap the sugar balance: If you prefer a deeper molasses note, use more dark brown sugar in the crust and slightly less in the filling, this deepens flavor without changing texture drastically.
- Adjust the spice level: Increase the ground ginger or nutmeg in small increments to suit bolder palates, which brightens the profile while keeping the custard stable.
- Make it ahead: Bake the bars a day before serving and store at room temperature to let flavors meld, this makes hosting stress free and often improves the overall taste.
- Cut sizes for occasions: Trim into smaller squares for large gatherings or into larger pieces for dessert plates, ensuring consistent cooling so each piece keeps its shape.
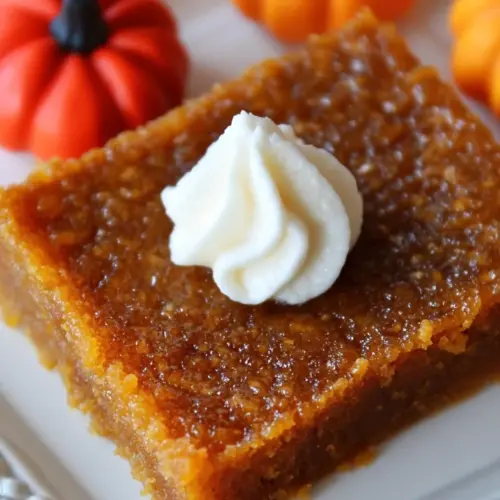
- Finish with a simple dusting: A light dust of additional ground cinnamon over the cooled bars enhances aroma and gives a polished look for serving.
What to Serve Alongside Pumpkin Pie Bars
These bars are versatile and work across many occasions, so here are thoughtful pairings to elevate each serving moment. I include practical storage notes and occasion suggestions to help you plan.
- Classic coffee pairing: Serve with a hot cup of coffee or a spiced latte for breakfast or brunch, the warm beverage complements the cinnamon notes and makes a cozy ensemble.
- Holiday dessert table: Place alongside other small sweets during Thanksgiving or fall parties, offering guests a neat, handheld dessert that travels well on buffet plates.
- Afternoon tea: Present with a selection of black or herbal teas for an afternoon gathering, where the bars add a sweet, spiced contrast to lighter tea flavors.
- Make ahead hosting tip: Bake and store the bars at room temperature in an airtight container up to two days before serving for stress free entertaining and sustained freshness.
- Seasonal presentation: Garnish with a small dusting of cinnamon before serving at fall festivals or neighborhood events to highlight their seasonal appeal and invite second helpings.
- Storage and longevity: Keep extras in a sealed container at room temperature for two to three days, or refrigerate up to five days, bringing them back to room temperature before serving for best texture.
FAQ
Conclusion
These Pumpkin Pie Bars stand out for their buttery crust and smooth, warmly spiced pumpkin filling, a comforting treat that is easy to share. Give them a try for your next autumn gathering or holiday table, they are forgiving to make and reliably crowd pleasing. I hope this recipe becomes one of those dependable favorites you reach for when you want something both simple and special.
Pumpkin Pie Bars
Equipment
- 9x13-inch Baking Pan
- Parchment Paper
- Mixing Bowls
- Rubber spatula
- Whisk
Ingredients
- 2 cups (250 g) all-purpose flour Provides structure and bulk to the bars by forming the crumb when mixed with fats and liquids; use all-purpose flour for balanced gluten development that holds the filling and crust together. Sifts or whisks before measuring to ensure even distribution and avoid dense spots in the finished texture.
- 2 1/2 teaspoons cinnamon Adds warm, aromatic depth and a classic pumpkin-pie spice note; cinnamon enhances perceived sweetness and complements ginger and nutmeg for a balanced spice profile. Sprinkle into both crust and filling mixtures for consistent flavor throughout the bars.
- 1 teaspoon ground ginger Contributes a sharp, spicy warmth that brightens the overall spice blend and pairs well with cinnamon and nutmeg; ground ginger also adds subtle heat and complexity. Stir into the wet filling thoroughly to ensure even distribution and avoid concentrated pockets of spice.
- 1/4 teaspoon (0.25 teaspoon) ground nutmeg Lends a sweet, woody nuance with slight floral undertones that rounds out the pumpkin spice blend; nutmeg is potent so a small amount suffices to prevent overpowering. Combine with other spices in the dry mix for an even aroma throughout the bars.
- 1/2 teaspoon (0.5 teaspoon) salt Enhances flavor contrast and strengthens gluten structure slightly while balancing sweetness; salt is essential even in sweet baked goods to highlight other flavors. Dissolve or mix evenly into dry ingredients so it seasons the entire batter uniformly.
- 1 cup (227 g) butter, melted (8 ounces) Provides richness, moisture, and tender flakiness to the crust and crumb as melted butter coats flour proteins and inhibits excessive gluten formation. Cool slightly if necessary before combining with eggs or sugar to prevent cooking them on contact.
- 2 cups (440 g) dark brown sugar Adds moisture, deep caramel-like sweetness, and a toffee undertone that intensifies the dessert's flavor; dark brown sugar contains molasses which contributes chewiness and color. Pack firmly when measuring and mix well with butter to achieve a smooth, homogenous batter.
- 2 eggs Binds ingredients, provides lift, and contributes richness to the filling with proteins that set during baking; eggs also add moisture and help create a custardy texture. Beat briefly before adding to ensure uniform incorporation and to avoid uneven pockets.
- 2 teaspoons vanilla extract Imparts floral, sweet aroma and enhances overall flavor complexity; vanilla extract rounds and amplifies other ingredients without adding sweetness. Add to the wet mixture near the end of mixing to preserve its delicate aroma.
- 15 ounces (425.24 g) canned pumpkin Supplies the primary pumpkin flavor, moisture, and a smooth, creamy texture for the filling; canned pumpkin offers consistent density and intensity compared to fresh. Drain or stir the can to ensure uniform consistency before measuring to maintain accurate ratios.
- 2 tablespoons granulated sugar Sprinkles a touch of extra sweetness on top or in the filling to balance spices and pumpkin; granulated sugar helps create slight caramelization at edges when baked. Use as directed to add subtle crunchy contrast when sprinkled on top before baking.
- 1 teaspoon ground cinnamon Reinforces the warm spice profile with an additional measure of cinnamon to heighten aroma and flavor in the filling or topping; cinnamon strengthens the dessert's pumpkin-pie character. Blend thoroughly into the wet mixture so the spice is evenly dispersed without clumping.
Instructions
- Preheat oven to 350 degrees F. Butter a 9×13-inch baking pan and line with parchment paper, leaving an overhang on both sides.: The moment the oven warms you will notice a dry, warm air that makes any butter smell richer, and that gentle heat is crucial for even baking later. Buttering the pan prevents sticking that could pull the crust apart, and the parchment overhang acts like handles so you can lift the bars out cleanly after cooling. If you skip lining, the edges can cling and tear, so avoid that common mistake. When I set the pan on the counter I can hear the slight tack of butter meeting metal, and I smooth the parchment so there are no wrinkles, which helps the batter spread evenly.
- In a medium bowl whisk together the flour, cinnamon, ginger, nutmeg and salt; set aside.: Right away the whisk releases the warm scent of spices into the air, and the dry mix should be uniform in color and texture, signaling even distribution. Sifting is not required, but whisking well prevents pockets of spice that could make one bite overly strong. I tap the bowl lightly after whisking to settle the flour, and I watch for a consistent tan hue with specks of spice. A common error is under mixing here, which leads to uneven flavor, so take a dozen brisk strokes to make it homogeneous.
- In a large bowl whisk together the sugar and butter. Add the eggs and vanilla extract and whisk until combined. Add the pumpkin and whisk until thoroughly combined. Add the flour mixture and, using a rubber spatula, gently stir or fold the flour into the pumpkin mixture until just combined.: When you blend the melted butter and dark brown sugar , the mixture shimmers and smells almost caramel like, which is a great preview. Adding the eggs and vanilla brings a glossy sheen, and the pumpkin yields a thick, velvety orange batter that looks rich and smooth. Folding in the dry ingredients should be done gently to avoid toughening the crust and filling, so use a rubber spatula with deliberate strokes until no streaks of flour remain. Pay attention to texture; look for an even, velvety consistency without lumps. A frequent mistake is over mixing at this stage, which can lead to a dense bite, so stop as soon as it's combined.
- Scrape the batter into the pan and smooth the top. In a small bowl, stir together the granulated sugar and cinnamon, and then sprinkle evenly over the top of the batter. Bake for about 30 minutes, or until a thin knife inserted into the center has just a few moist crumbs on it. Cool completely and then, using the parchment as handles, lift out of the pan and cut into 24 squares. Store at room temperature in an airtight container.: As you spread the batter into the prepared pan you will feel a slight resistance from the thick custard, and smoothing with the spatula yields a satiny surface that catches the light. Mixing the granulated sugar with extra cinnamon creates a fine, sparkling topping that melts into the edges while baking, offering a faint crunch. During baking the kitchen fills with a warm spiced aroma, and the edges will pull away slightly from the pan while the center firms. Use the knife test to avoid overbaking, as you want a few moist crumbs rather than a wet center. A common pitfall is leaving them in too long, which dries the custard and dulls the texture, so check at the 28 to 30 minute window.
- Cool completely and then, using the parchment as handles, lift out of the pan and cut into 24 squares. Store at room temperature in an airtight container.: Cooling is the quiet but critical part where the custard finishes setting, and you will notice the bars lose their jiggle and become slice ready. Lifting with the parchment feels satisfying, like revealing a neatly framed cake, and cutting into uniform squares gives tidy portions that hold shape. I wait until they are fully cool because warm bars can smear and crumble. For storage, an airtight container at room temperature keeps them tender and flavorful for several days, while refrigeration can tighten the texture. A typical mistake is slicing too soon, which results in uneven edges and a runny filling, so be patient during the cool down.
Notes
- Swap the sugar balance: If you prefer a deeper molasses note, use more dark brown sugar in the crust and slightly less in the filling, this deepens flavor without changing texture drastically.
- Adjust the spice level: Increase the ground ginger or nutmeg in small increments to suit bolder palates, which brightens the profile while keeping the custard stable.
- Make it ahead: Bake the bars a day before serving and store at room temperature to let flavors meld, this makes hosting stress free and often improves the overall taste.
- Cut sizes for occasions: Trim into smaller squares for large gatherings or into larger pieces for dessert plates, ensuring consistent cooling so each piece keeps its shape.
- Finish with a simple dusting: A light dust of additional ground cinnamon over the cooled bars enhances aroma and gives a polished look for serving.