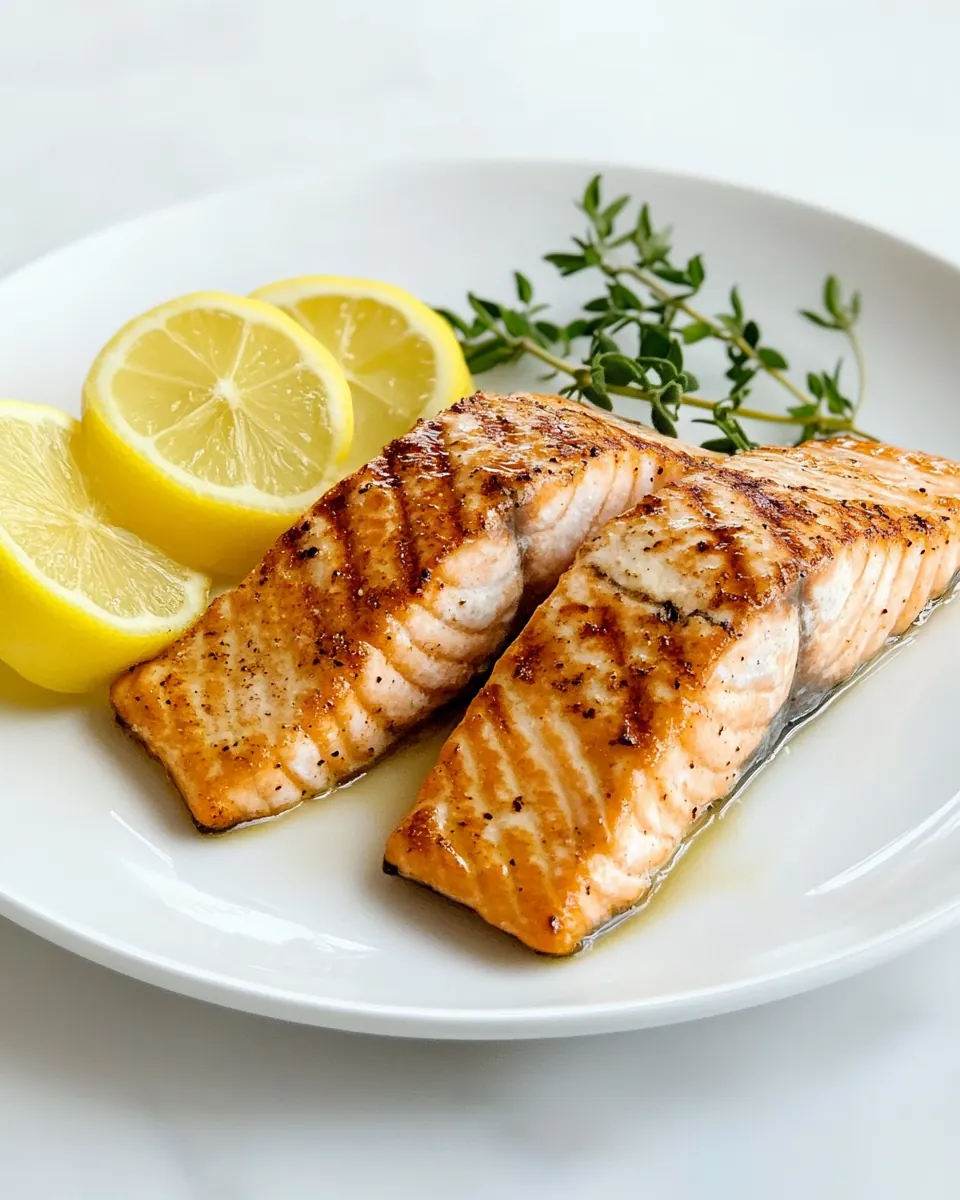
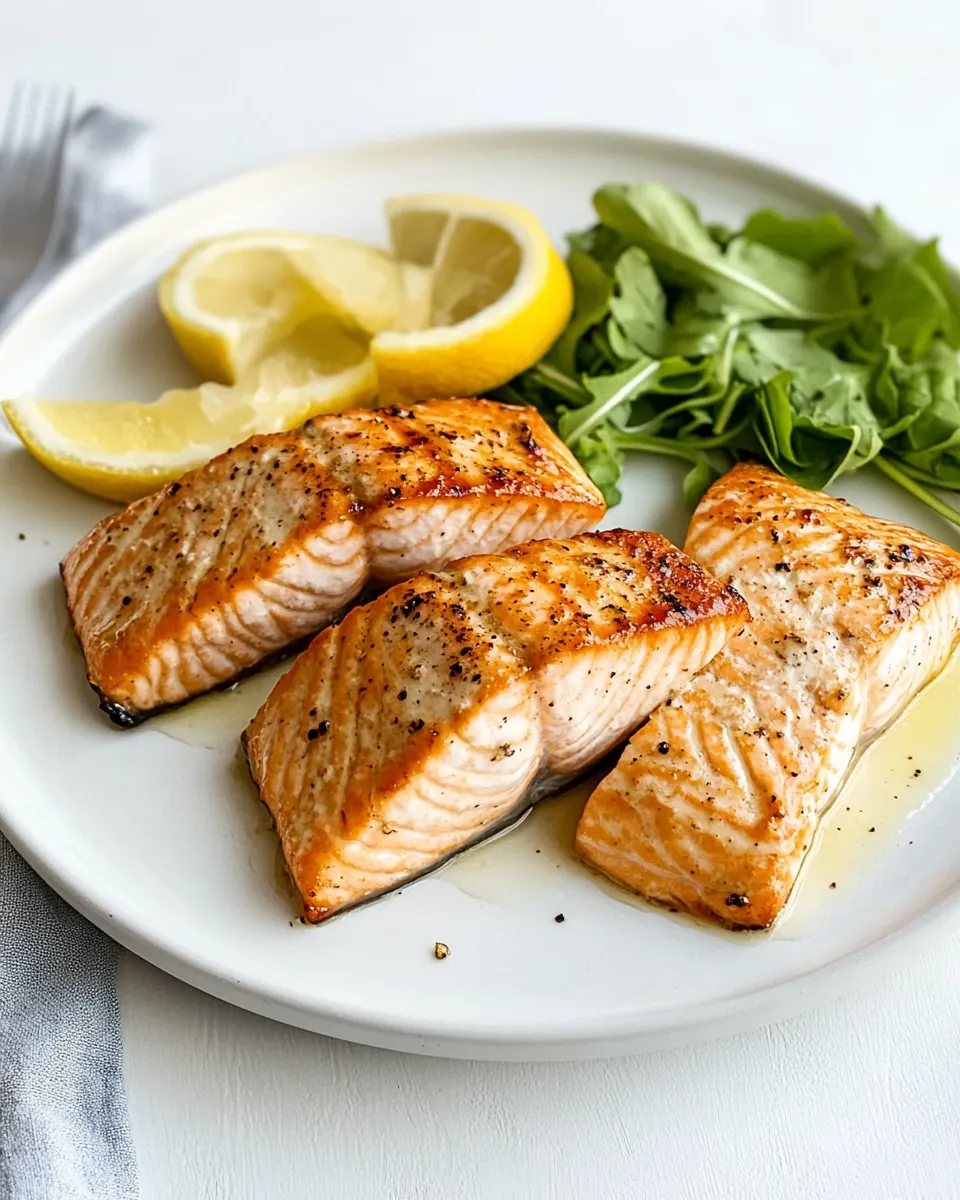
Pan Seared Salmon
Pan Seared Salmon has been one of my go to weeknight heroes since I learned how to coax a crisp skin and tender, flaky flesh from a simple skillet.
I remember the first time I tried it, fumbling with a crowded stove while a friend chatted about their day, and that first successful sizzle forever changed how I cook fish at home. Now when I make Pan Seared Salmon, I think about the quiet confidence that comes from mastering a few small techniques, and how a single lemon squeeze brightens everything. There is a comfort in the ritual of patting each fillet dry, sprinkling a little seasoning, and listening for that honest sear. Over the years I developed a rhythm, and every time the kitchen fills with that warm, savory aroma it feels like a small celebration.
When I serve Pan Seared Salmon to friends, I watch the way people react to the contrast between the golden crust and the moist interior. It makes quick dinners feel intentional, and weeknight meals feel special. I love pairing it with simple sides or letting it stand alone with just lemon wedges, because the fish really sings when handled gently. If you enjoy approachable technique and bold, clean flavors, this method will become one of your staples.
Recipe Snapshot
20 mins
10 mins
10 mins
Easy
350 kcal
American
Keto, Paleo
Dinner
Large skillet, Spatula, Paper towels
Why This Pan Seared Salmon Is So Good
Crisp skin and tender interior
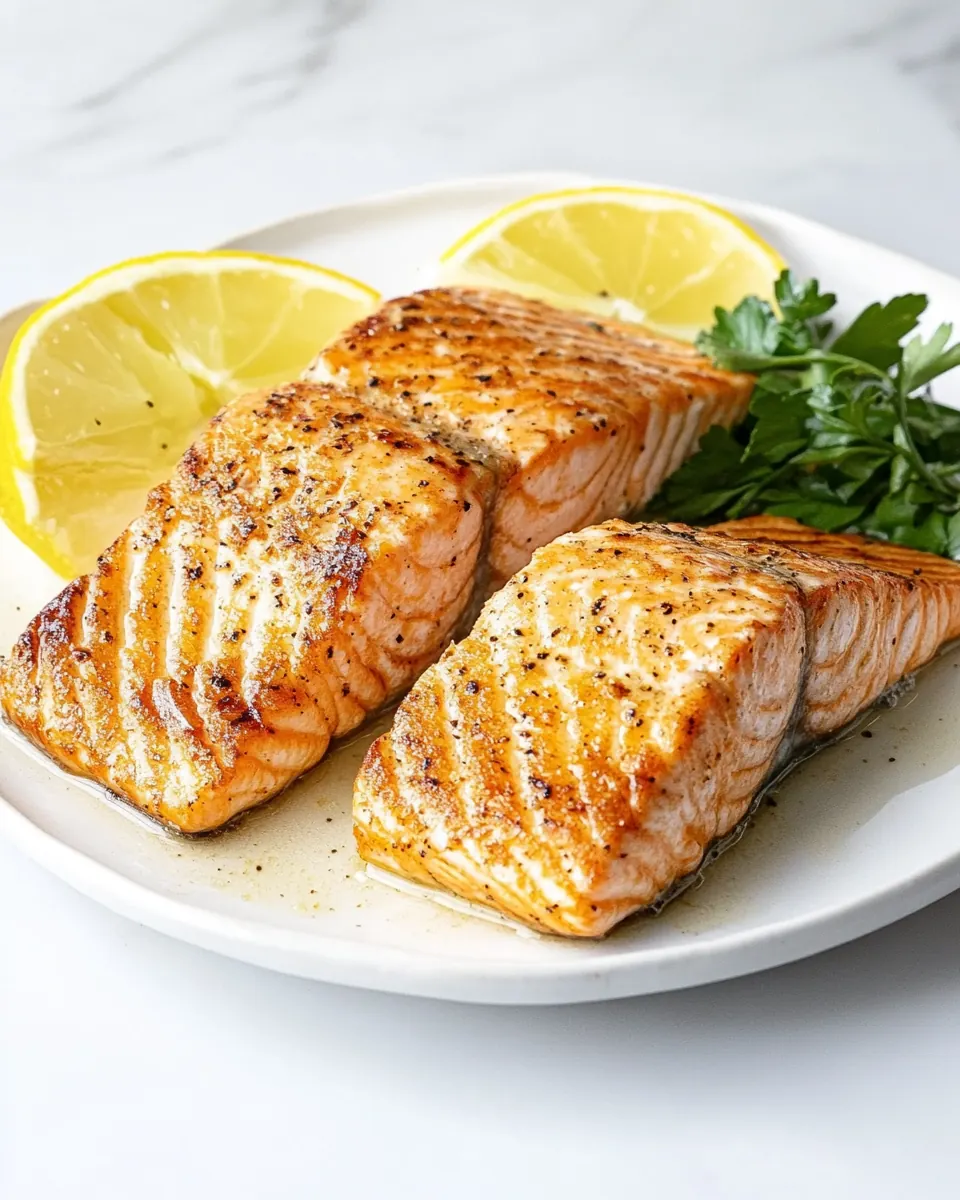
I adore how Pan Seared Salmon delivers a crisp, savory skin while keeping the inside silky. That contrast is what keeps me coming back, every time. The way the oil sizzles and the edges caramelize means you get texture and mouthfeel in one bite.
Speed without compromise
I often need dinner ready fast, and this recipe gives you a restaurant worthy dish in minutes. You get fast cooking, yet none of the flavor shortcuts that make a meal feel hurried. That balance is rare, and I value it highly.
Minimal ingredients, maximum impact
I like recipes that rely on a handful of quality players. With just salmon, salt, black pepper, olive oil, and lemon, the natural flavor of the fish shines. For me, simplicity amplifies technique.
Beginner friendly, chef approved
I’ve taught this method to lots of home cooks, and it consistently delivers. There is technique, yes, but nothing intimidating. Learning how to read the color and feel of the fish empowers you in the kitchen.
Versatile on the table
I love that Pan Seared Salmon fits many occasions. It can be casual or dressed up, served with a salad or beside a more composed plate. That adaptability makes it a frequent choice for both quick weeknights and relaxed dinners with friends.
What to Gather for Pan Seared Salmon
These ingredients are intentionally few, each playing a clear role. The key players here are the fish for flavor and texture, the seasoning for balance, and the oil for that essential sear. When used together they create a simple but deeply satisfying dish that relies more on technique than on complicated components.
- 4 salmon fillets 6 ounces each, skin on: Season evenly to enhance the salmon's natural flavor and help draw out moisture for better browning; apply just before cooking to avoid curing the fish. Promote a balanced savory profile that helps the seared crust taste complete while keeping the interior tender.
- 1/2 teaspoon kosher salt: Enhance savory depth and provide subtle contrast that accentuates the fish's richness; sprinkle sparingly to avoid overpowering delicate flavors. Work with kosher salt to create a simple, classic seasoning that supports the seared exterior.
- 1/4 teaspoon black pepper: Coat the pan to prevent sticking and enable efficient heat transfer for a crisp, golden-brown sear; heat until shimmering before adding fillets to maximize crust development. Contribute a faint fruity note and help carry the pan flavors across the fish surface.
- 1 tablespoon olive oil: Offer bright acidity when squeezed to cut through the salmon's richness and lift the overall flavor profile; serve wedges so diners can add to taste. Provide aromatic citrus oils from the peel that complement the seared, savory notes of the fish.
- Lemon wedges for serving: Hold the salmon together while cooking and protect the flesh during searing by keeping the skin side intact; cut into portions ensure even cooking and easier serving. Allow the skin to crisp up for texture contrast while the flesh remains moist and flaky.
Cooking Method for Pan Seared Salmon
I approach the cooking sequence like a short, focused performance. Heat, sear, flip, rest, and finish with lemon. Each moment signals the next, and paying attention to the sensory cues makes the process reliable and satisfying.
- Let the salmon come to room temperature for about 15 minutes. Pat the salmon fillets dry with paper towels and season generously with salt and pepper.: As the fillets warm slightly the interior cooks more evenly, which helps prevent an overcooked outer layer and raw center. You will notice the flesh lose some of its chill, and this small change shortens the cooking gap across the fillet. If you skip this, the outside may brown too quickly while the center stays underdone, which is the most common mistake at this step. The gentle warming also reduces excess moisture on the surface so the skin will crisp more readily.
- Heat the olive oil in a large skillet over medium-high heat until hot but not smoking.: Drying the surface is essential because moisture steam prevents browning. Press with paper towels until the skin and top are no longer damp, then feel the texture change from slick to tacky. The salt will begin to draw out a whisper of moisture, which helps create a concentrated flavor at the surface. A frequent error is under drying, which leads to a soft skin. Be thorough but gentle so you do not tear the skin.
- Place the salmon fillets in the skillet, skin side down. Cook without moving them for 4-6 minutes until they release easily from the pan. Flip the fillets over and cook for an additional 2-4 minutes, or until the salmon reaches your desired doneness.: The oil needs to be hot enough to sizzle the fish when it lands, but not so hot that it smokes and imparts bitterness. Look for a shimmer across the oil and a faint movement that ripples when you tilt the pan. If the oil smokes, remove the pan briefly from heat and let it cool a touch, because overheated oil can burn the seasoning and spoil the flavor. A common oversight is starting with a cool pan, which causes the fillet to stick and fail to form a crisp crust.
- Remove the salmon from the skillet and let it rest for 5 minutes. Serve with fresh lemon wedges.: When the fillets meet the hot surface you should hear an immediate, steady sizzle that tells you the Maillard reaction is underway. Press the fillets lightly with a spatula for the first few seconds so the skin makes full contact, which promotes even browning. Listen for a confident sizzle and watch the skin color change to a deep golden. People often move the fish too soon; if you yank at the fillet before it releases, you risk tearing the skin and losing that beautiful crust.
- Cook without moving them for 4 to 6 minutes until they release easily from the pan: As the fillet cooks you will see the cooked portion creep up the side from the bottom, turning from translucent to more opaque. That visual cue tells you when the underside has set and the skin will release without sticking. Resist the urge to lift or flip before this change, because premature movement is the most frequent reason the skin sticks. If the exterior is browning unevenly, gently adjust the pan position or lower the heat to avoid burning while still allowing the interior to finish cooking.
- Flip the fillets over and cook for an additional 2 to 4 minutes, or until the salmon reaches your desired doneness: After flipping, pay close attention to the color and feel. You want the center to be slightly translucent if you prefer medium, or fully opaque if you like well done. The surface should still retain a bit of sheen. Use a fork to check for gentle flaking at the thickest point, which signals doneness. Overcooking will yield a dry texture, which is the most common mistake here, so aim for the targeted firmness and remove the fillets a touch early because they will continue to cook while resting.
- Remove the salmon from the skillet and let it rest for 5 minutes: Resting lets the juices redistribute, producing a more tender bite and preventing the center from drying out. You will notice the fish settle and the residual heat will carry it to final doneness. If you slice immediately, the juices will run out and the fillet may seem drier. A typical error is skipping rest to rush to the table, which reduces juiciness and richness.
- Serve with fresh lemon wedges: The bright aroma of lemon cut through the savory richness and brightens the palate, making each bite feel lighter. Squeeze just before eating for the best citrus impact. Avoid pouring too much acid over the fish in advance, which can mask the delicate flavors and make the flesh firmer.
Recipe Variations about Pan Seared Salmon
I like to tweak small things depending on mood and what I have on hand. These variations keep the core method intact while offering different flavor directions. Each tip below highlights an easy swap or addition that complements the simple technique.
- Add fresh herbs Try finishing the salmon with a scatter of chopped herbs like parsley or dill for a fresh, green pop. Sprinkle them after resting so they remain vibrant and aromatic.
- Use citrus zest Grate a little lemon zest over the fillet before serving to intensify the citrus note without adding extra acidity that could firm the flesh.
- Experiment with pepper Swap regular black pepper for a coarse cracked pepper blend to introduce extra crunch and a more pronounced spice character on the crust.
- Finish with a compound butter If you want richness, top the warm fillet with a small pat of herb butter right after resting so it melts gently and creates a silky glaze.
- Try a gentle glaze Brush the fillet briefly with a light glaze of olive oil and lemon just after searing for a subtle sheen and flavor boost without overpowering the fish.
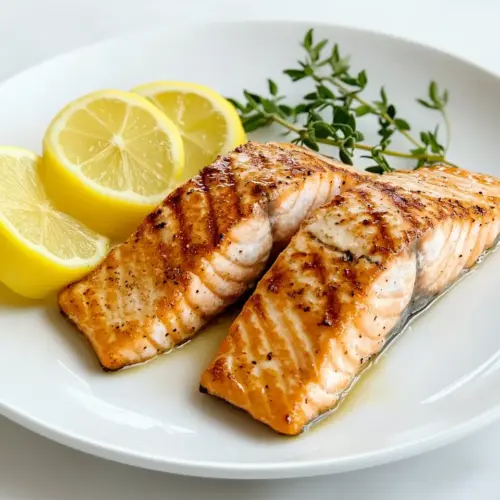
Serving This Pan Seared Salmon
Serving Pan Seared Salmon can be as simple or as composed as you like. I often choose sides based on the season and whether the meal is casual or a bit more formal. The following ideas cover pairing, occasions, and storage to help you serve confidently.
- Serve with steamed vegetables Lightly steamed greens like asparagus or green beans complement the richness of the salmon and keep the plate balanced and bright.
- Pair with a simple grain A bed of rice, quinoa, or a lemony couscous provides a gentle starch that soaks up juices while keeping the meal grounded.
- Casual weeknight style Keep it relaxed by serving the salmon with roasted potatoes and a wedge salad, ideal for an easy, satisfying dinner.
- Entertaining option For guests, present the fillets on a platter with lemon wedges and a small bowl of finishing oil or butter for people to customize their portions.
- Storage tips Cool leftover salmon quickly, then refrigerate in an airtight container for up to two days. Reheat gently to avoid drying, or enjoy cold in salads.
- Seasonal pairings In warmer months, pair with a light cucumber salad or citrus slaw; in cooler months, serve alongside roasted root vegetables for a comforting plate.
FAQ
Conclusion
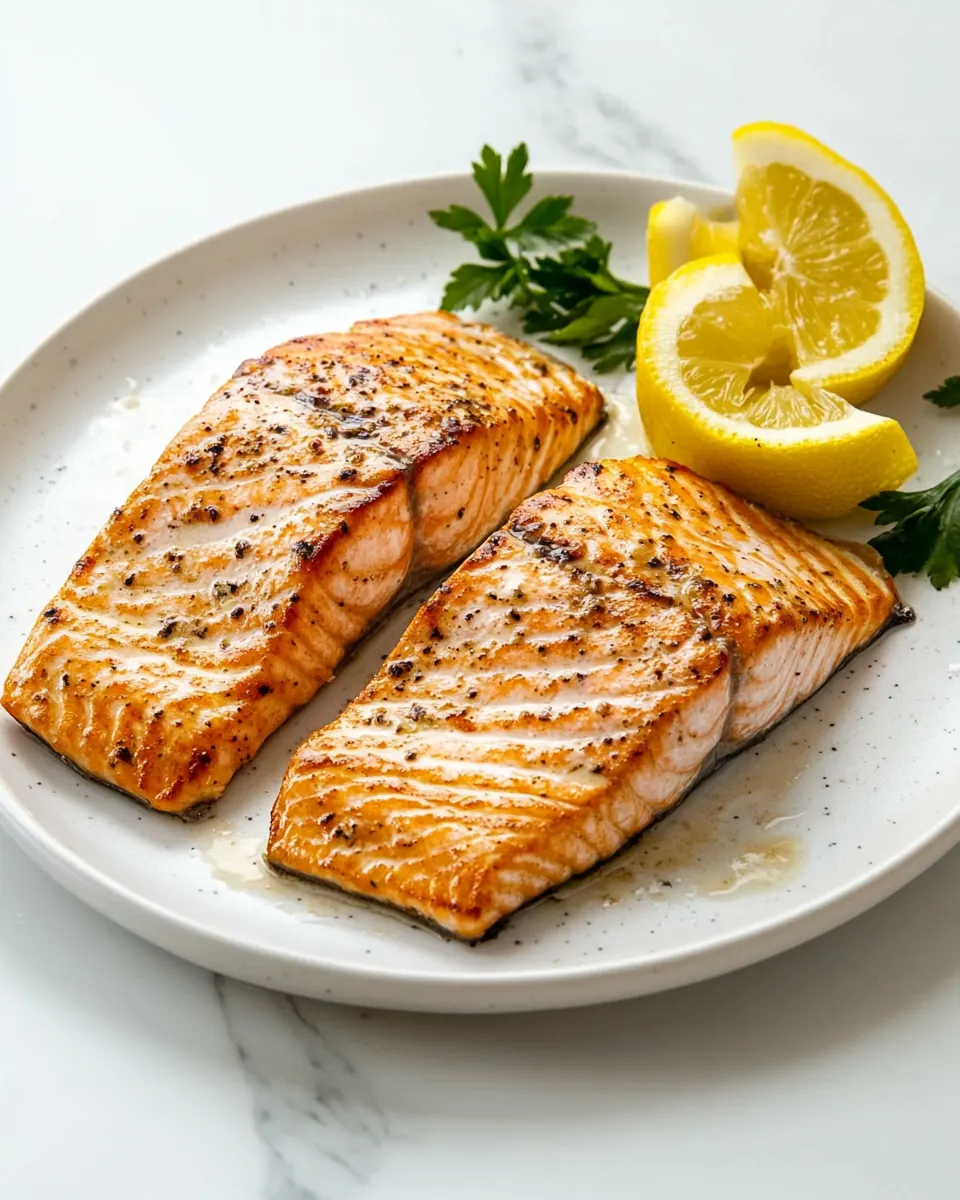
What makes this Pan Seared Salmon special is how a few simple moves transform quality fish into a texturally exciting and flavorful meal. The method focuses on technique, coaxing a crisp skin and moist interior with minimal ingredients, so the natural flavor of the salmon shines. I encourage you to give it a try tonight, even on a busy weeknight, because the sensory pay off is immediate and rewarding. You will find that mastering these small steps builds your confidence and gives you a reliable, elegant dish to reach for again and again.
Pan Seared Salmon
Equipment
- Large Skillet
- Spatula
- Paper towels
Ingredients
- 4 salmon fillets 6 ounces each, skin on Season evenly to enhance the salmon's natural flavor and help draw out moisture for better browning; apply just before cooking to avoid curing the fish. Promote a balanced savory profile that helps the seared crust taste complete while keeping the interior tender.
- 1/2 teaspoon kosher salt Enhance savory depth and provide subtle contrast that accentuates the fish's richness; sprinkle sparingly to avoid overpowering delicate flavors. Work with kosher salt to create a simple, classic seasoning that supports the seared exterior.
- 1/4 teaspoon black pepper Coat the pan to prevent sticking and enable efficient heat transfer for a crisp, golden-brown sear; heat until shimmering before adding fillets to maximize crust development. Contribute a faint fruity note and help carry the pan flavors across the fish surface.
- 1 tablespoon olive oil Offer bright acidity when squeezed to cut through the salmon's richness and lift the overall flavor profile; serve wedges so diners can add to taste. Provide aromatic citrus oils from the peel that complement the seared, savory notes of the fish.
- Lemon wedges for serving Hold the salmon together while cooking and protect the flesh during searing by keeping the skin side intact; cut into portions ensure even cooking and easier serving. Allow the skin to crisp up for texture contrast while the flesh remains moist and flaky.
Instructions
- Let the salmon come to room temperature for about 15 minutes. Pat the salmon fillets dry with paper towels and season generously with salt and pepper.: As the fillets warm slightly the interior cooks more evenly, which helps prevent an overcooked outer layer and raw center. You will notice the flesh lose some of its chill, and this small change shortens the cooking gap across the fillet. If you skip this, the outside may brown too quickly while the center stays underdone, which is the most common mistake at this step. The gentle warming also reduces excess moisture on the surface so the skin will crisp more readily.
- Heat the olive oil in a large skillet over medium-high heat until hot but not smoking.: Drying the surface is essential because moisture steam prevents browning. Press with paper towels until the skin and top are no longer damp, then feel the texture change from slick to tacky. The salt will begin to draw out a whisper of moisture, which helps create a concentrated flavor at the surface. A frequent error is under drying, which leads to a soft skin. Be thorough but gentle so you do not tear the skin.
- Place the salmon fillets in the skillet, skin side down. Cook without moving them for 4-6 minutes until they release easily from the pan. Flip the fillets over and cook for an additional 2-4 minutes, or until the salmon reaches your desired doneness.: The oil needs to be hot enough to sizzle the fish when it lands, but not so hot that it smokes and imparts bitterness. Look for a shimmer across the oil and a faint movement that ripples when you tilt the pan. If the oil smokes, remove the pan briefly from heat and let it cool a touch, because overheated oil can burn the seasoning and spoil the flavor. A common oversight is starting with a cool pan, which causes the fillet to stick and fail to form a crisp crust.
- Remove the salmon from the skillet and let it rest for 5 minutes. Serve with fresh lemon wedges.: When the fillets meet the hot surface you should hear an immediate, steady sizzle that tells you the Maillard reaction is underway. Press the fillets lightly with a spatula for the first few seconds so the skin makes full contact, which promotes even browning. Listen for a confident sizzle and watch the skin color change to a deep golden. People often move the fish too soon; if you yank at the fillet before it releases, you risk tearing the skin and losing that beautiful crust.
- Cook without moving them for 4 to 6 minutes until they release easily from the pan: As the fillet cooks you will see the cooked portion creep up the side from the bottom, turning from translucent to more opaque. That visual cue tells you when the underside has set and the skin will release without sticking. Resist the urge to lift or flip before this change, because premature movement is the most frequent reason the skin sticks. If the exterior is browning unevenly, gently adjust the pan position or lower the heat to avoid burning while still allowing the interior to finish cooking.
- Flip the fillets over and cook for an additional 2 to 4 minutes, or until the salmon reaches your desired doneness: After flipping, pay close attention to the color and feel. You want the center to be slightly translucent if you prefer medium, or fully opaque if you like well done. The surface should still retain a bit of sheen. Use a fork to check for gentle flaking at the thickest point, which signals doneness. Overcooking will yield a dry texture, which is the most common mistake here, so aim for the targeted firmness and remove the fillets a touch early because they will continue to cook while resting.
- Remove the salmon from the skillet and let it rest for 5 minutes: Resting lets the juices redistribute, producing a more tender bite and preventing the center from drying out. You will notice the fish settle and the residual heat will carry it to final doneness. If you slice immediately, the juices will run out and the fillet may seem drier. A typical error is skipping rest to rush to the table, which reduces juiciness and richness.
- Serve with fresh lemon wedges: The bright aroma of lemon cut through the savory richness and brightens the palate, making each bite feel lighter. Squeeze just before eating for the best citrus impact. Avoid pouring too much acid over the fish in advance, which can mask the delicate flavors and make the flesh firmer.
Notes
- Add fresh herbs Try finishing the salmon with a scatter of chopped herbs like parsley or dill for a fresh, green pop. Sprinkle them after resting so they remain vibrant and aromatic.
- Use citrus zest Grate a little lemon zest over the fillet before serving to intensify the citrus note without adding extra acidity that could firm the flesh.
- Experiment with pepper Swap regular black pepper for a coarse cracked pepper blend to introduce extra crunch and a more pronounced spice character on the crust.
- Finish with a compound butter If you want richness, top the warm fillet with a small pat of herb butter right after resting so it melts gently and creates a silky glaze.
- Try a gentle glaze Brush the fillet briefly with a light glaze of olive oil and lemon just after searing for a subtle sheen and flavor boost without overpowering the fish.