Homemade Sopapillas
Homemade Sopapillas are one of those recipes I keep coming back to whenever I crave something pillowy, warm, and drizzled with honey. The very first time I made them I remember the kitchen filling with a comforting, yeasty aroma as the little pillows puffed in the hot oil, and I laughed out loud at how a few simple pantry staples could turn into something so festive and joyful. Over the years I have adjusted measurements, learned to trust the dough’s rest, and found that a steady hand with the rolling pin makes all the difference.
These days when guests arrive I often reach for the same bowl and ingredients, because there is something inherently communal about frying and passing plates around. I’ve learned to keep a close eye on the oil temperature, because that crisp exterior and airy interior depend on it. When the first batch comes out golden and steaming, we sneak one while the rest cool slightly, and someone inevitably asks for seconds. That ritual makes this more than a treat, it becomes a memory maker.
Recipe Snapshot
25 mins
10 mins
15 mins
Medium
200 kcal
Mexican
Paleo, Gluten-Free
Desserts
1 Deep Frying Thermometer
Why You Need This Homemade Sopapillas
I love the contrast of textures
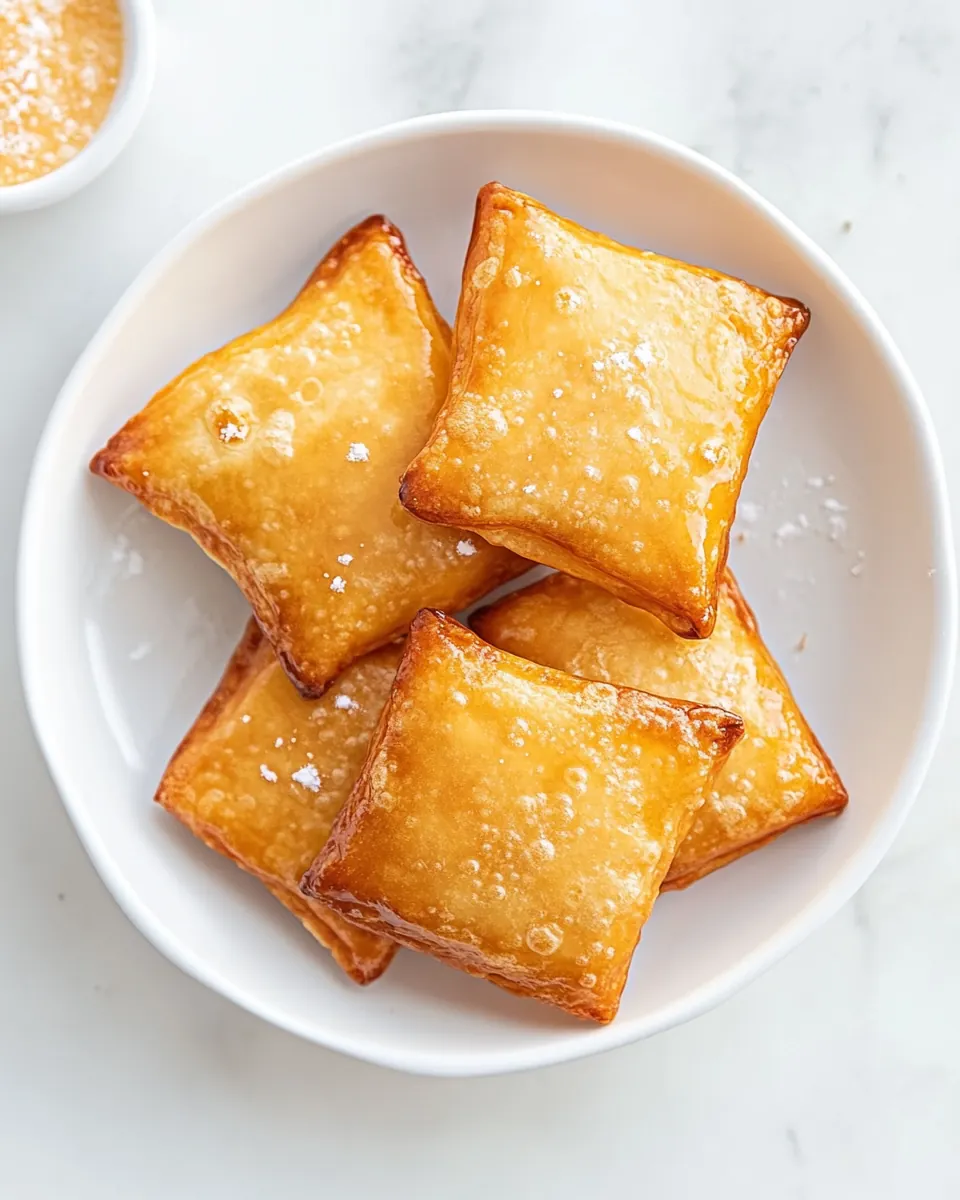
The crisp, golden exterior paired with a tender, airy inside is the hallmark of Homemade Sopapillas. When I bite into one, I hear a delicate crackle followed by a cloudlike interior that soaks up a little honey without becoming soggy. That balance keeps me coming back, and it makes these perfect for sharing when I want to impress without fuss.
They are simple and pantry friendly
I appreciate that the ingredient list is straightforward. With staples like flour, baking powder, salt, shortening, and water, this recipe is accessible on short notice. I can usually throw a batch together after work, making them a go to for a cozy weeknight dessert or a festive snack during gatherings.
Fast gratification with great payoff
From mixing to the first golden puff, these come together quickly, yet they feel special. I love that a brief rest of the dough does wonders to relax gluten and produce tender pastry, so a small bit of patience yields a big reward. The frying time is a blink, and soon you are rewarded with steamy, honey drizzled pockets.
Versatile serving options
Whether I serve them plain, dusted with sugar, or drizzled with warm honey, Homemade Sopapillas adapt to what I have on hand. They work as a dessert, an afternoon snack, or a sweet finish to a festive meal. That flexibility means I reach for this recipe for casual gatherings and special occasions alike.
Kid friendly and nostalgic
There is something undeniably nostalgic about handing a warm sopapilla to someone and seeing their face light up. I love making these with family because the recipe invites simple tasks for kids, like cutting squares or arranging the tray. It’s an easy way to make memories and pass on a love for hands on cooking.
Ingredients for Homemade Sopapillas
The ingredients for Homemade Sopapillas are intentionally plain but purposeful. Each element plays a clear role: flour gives structure, baking powder provides lift, salt balances flavor, shortening creates flakiness and tenderness, warm water brings the dough together, and oil is the transformative medium that puffs and crisps the pastry. The honey is the finishing touch that adds sweetness and shine. Together these components yield a simple, comforting pastry built on technique rather than complexity.
- 4 cups all-purpose flour: Provides structure and bulk to the dough; combines with leavening and liquid to form a pliable, elastic base. Adds neutral flavor that lets other ingredients shine and crisps when fried. Needs to be measured and mixed properly to avoid overworking the gluten and producing tough sopapillas.
- 2 teaspoons baking powder: Leavens the dough by producing bubbles when heated, giving sopapillas a light, airy interior and slight lift. Balances with the flour and warm water to create pockets that expand during frying. Important to distribute evenly for uniform texture.
- 1 teaspoon salt: Controls and enhances overall flavor while strengthening gluten development slightly; helps balance the leavening and prevents blandness. Contributes to the dough’s bite and is essential for a well-seasoned finished product. Use measured salt to avoid overpowering sweetness when served with honey.
- 1/4 cup shortening: Shortens gluten strands to create a tender, flaky texture and contributes to a delicate crumb; cut into the flour to coat particles for flakiness. Adds a subtle richness without overwhelming other flavors. Must be chilled or handled quickly to maintain the desired dough consistency.
- 1 1/2 cups warm water: Hydrates the flour and activates the baking powder, allowing the dough to come together into a workable mass; warm temperature helps relax the gluten for easier rolling. Controls dough consistency—add gradually for a soft but not sticky result. Ensures steam generation in the frying process for puffing.
- oil for frying: Transfers heat rapidly and provides the medium for frying, creating the characteristic crispy exterior and puffy interior of sopapillas. Requires proper temperature control to avoid greasy or undercooked dough. Use enough oil for even frying and maintain steady heat for best results.
- honey for serving: Adds sweetness and moisture when drizzled over warm sopapillas, complementing the fried dough with a glossy finish and sticky texture. Provides contrast to the salty dough and enhances flavor perception. Serve sparingly or to taste for a traditional finish.
The Process for Making Homemade Sopapillas
Working through the steps is a tactile pleasure, and if you pay attention to subtle cues you will know when each stage is right. Take your time with the mixing and the brief rest, then prepare to watch the dough transform in the hot oil into golden, puffed pillows.
- In a large bowl, whisk the flour, baking powder, and salt to combine.: The dry ingredients should smell faintly wheaty and fresh after whisking, with the flour appearing light and aerated. Whisking helps distribute the baking powder and salt so there are no concentrated pockets. As you whisk, notice the texture change from compacted to powdery and loose, which makes it easier for the fat to cut in evenly later. A common mistake here is not breaking up lumps, which can create uneven pockets of leavening. If you feel clumps, press them through a fine sieve or break them apart with the whisk. Properly combined, the mixture will have an even, dusty appearance and a faint neutral scent.
- Add in the shortening and warm water. Use a spatula or wooden spoon to mix. Cover and let rest at room temperature for 20 minutes.: After adding the shortening and the warm water , the bowl will go from dusty to shaggy, and the dough will begin to come together in a tacky mass. Mixing by hand gives you a direct feel for hydration; it should be pliable, not sticky. The rest period is crucial because it relaxes the gluten and allows the fats to meld into the dough, which leads to a tender interior. During the rest you might detect a mild yeasty aroma from the warm water, though there is no yeast in this recipe. A frequent error is skipping the rest, which often results in tougher pastry that resists rolling. Covering the dough prevents a skin from forming and keeps moisture consistent.
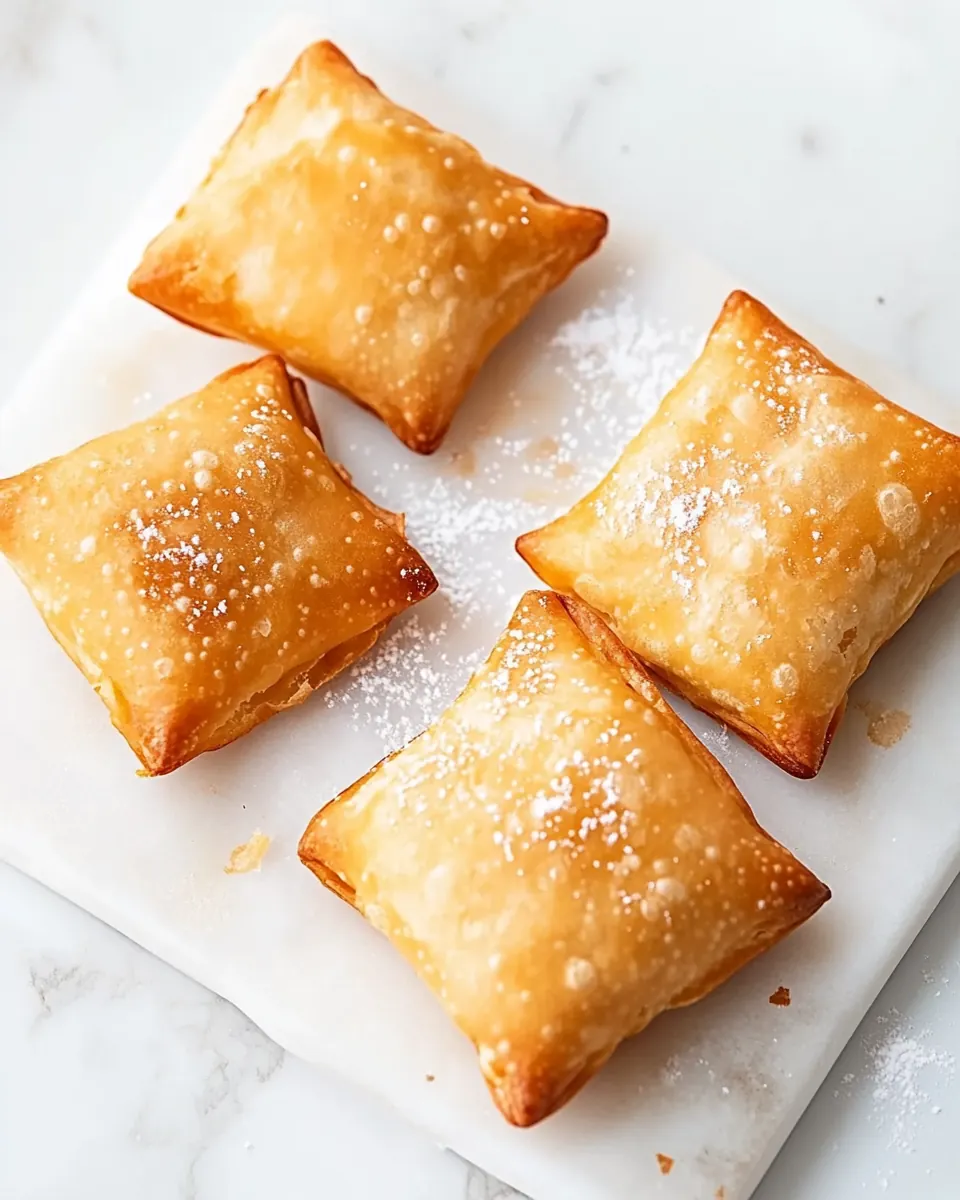
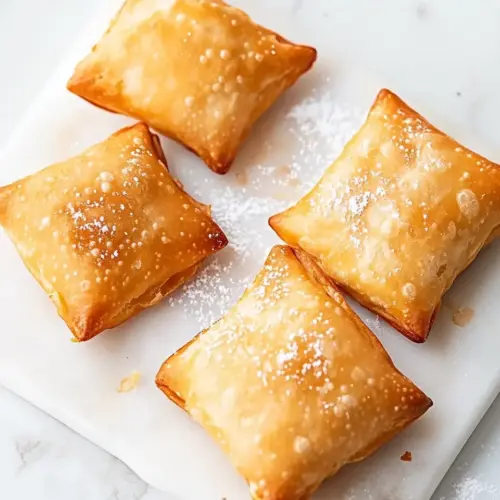
- Lightly flour your surface and roll the dough into a rectangle about 1/4 inch thick. Use a pizza cutter to cut the dough into 3-inch squares. They don’t have to be perfect.: As you roll, you will feel the dough relax and spread; it should glide under the pin rather than tear. The surface will show faint drag marks from the rolling pin, and the thickness should be uniform to ensure even puffing. When cutting squares, press cleanly with the pizza cutter to avoid dragging the edges, which can seal the sides and reduce puff. Small imperfections are fine and give a rustic look. Avoid rolling too thin, or the sopapillas will become overly crisp and lack the airy pocket inside.
- Heat 1 1/2 inches of oil in a Dutch oven to 375 degrees. Line a baking sheet with paper towels.: The oil will shimmer and move fluidly when it’s near temperature, and a deep frying thermometer will give you a precise readout. At 375 degrees the surface reacts quickly, sealing and crisping the exterior while steam expands inside to create the puff. The smell of hot oil will be present but not harsh if the temperature is controlled. A typical misstep is overheating the oil, which causes rapid browning and undercooked interiors. Conversely, oil that is too cool yields greasy, heavy results. Adjust the heat gradually until the thermometer stabilizes at the target temperature, and keep an eye as you fry because the oil temperature can drop when you add dough.
- Once hot, fry the sopapillas in batches until golden and puffed, about 1-2 minutes per side. Fry only a few pieces at a time to avoid overcrowding the pot, which can lower the oil temperature and result in soggy sopapillas. Remove with a slotted spoon and place on the paper towel-lined baking sheet to drain.: As pieces hit the oil you will hear a lively sizzle, and within seconds the edges begin to set and the center bulges as steam inflates the pastry. The color shift to a warm golden tone is a key visual cue that indicates readiness to flip. Work quickly but calmly, rotating when both sides show even coloring. One common mistake is overcrowding, which chills the oil and produces limp, oily pastry. Use a slotted spoon to lift each puff and let excess oil drip back into the pot before transferring to the towel lined sheet to preserve crispness.
- Repeat until all the sopapillas have been fried.: The frying rhythm picks up as the batches progress, and you may notice the oil temperature fluctuate slightly with each addition. Keep the flame adjusted so the thermometer reads close to 375 degrees before adding the next batch. Smell is a good guide here; the scent should remain pleasantly toasty, not acrid. If the color of the puffs begins to darken too quickly, reduce the heat a bit and let the oil stabilize. A common slip is rushing through batches, which often yields uneven results; patience between batches ensures consistent texture and color.
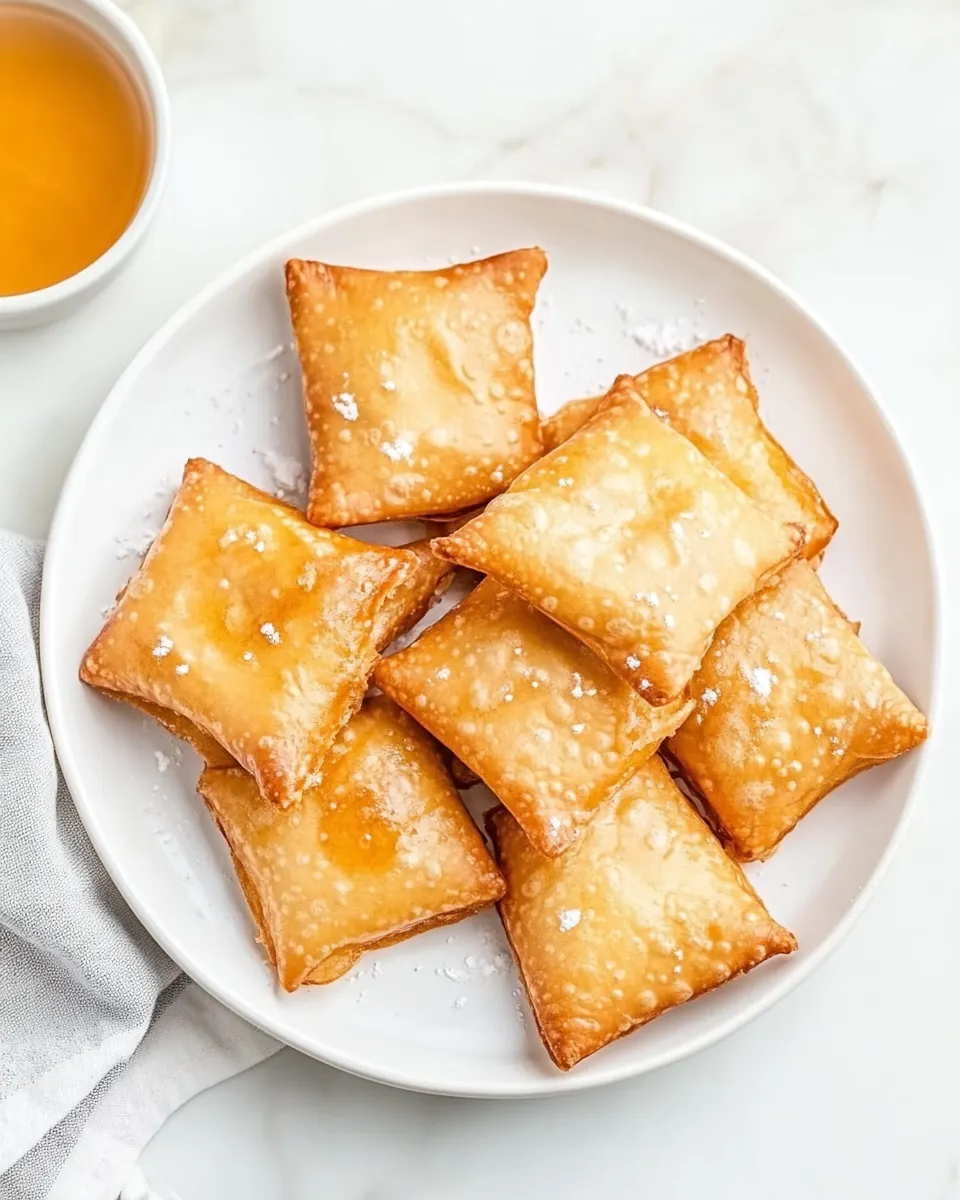
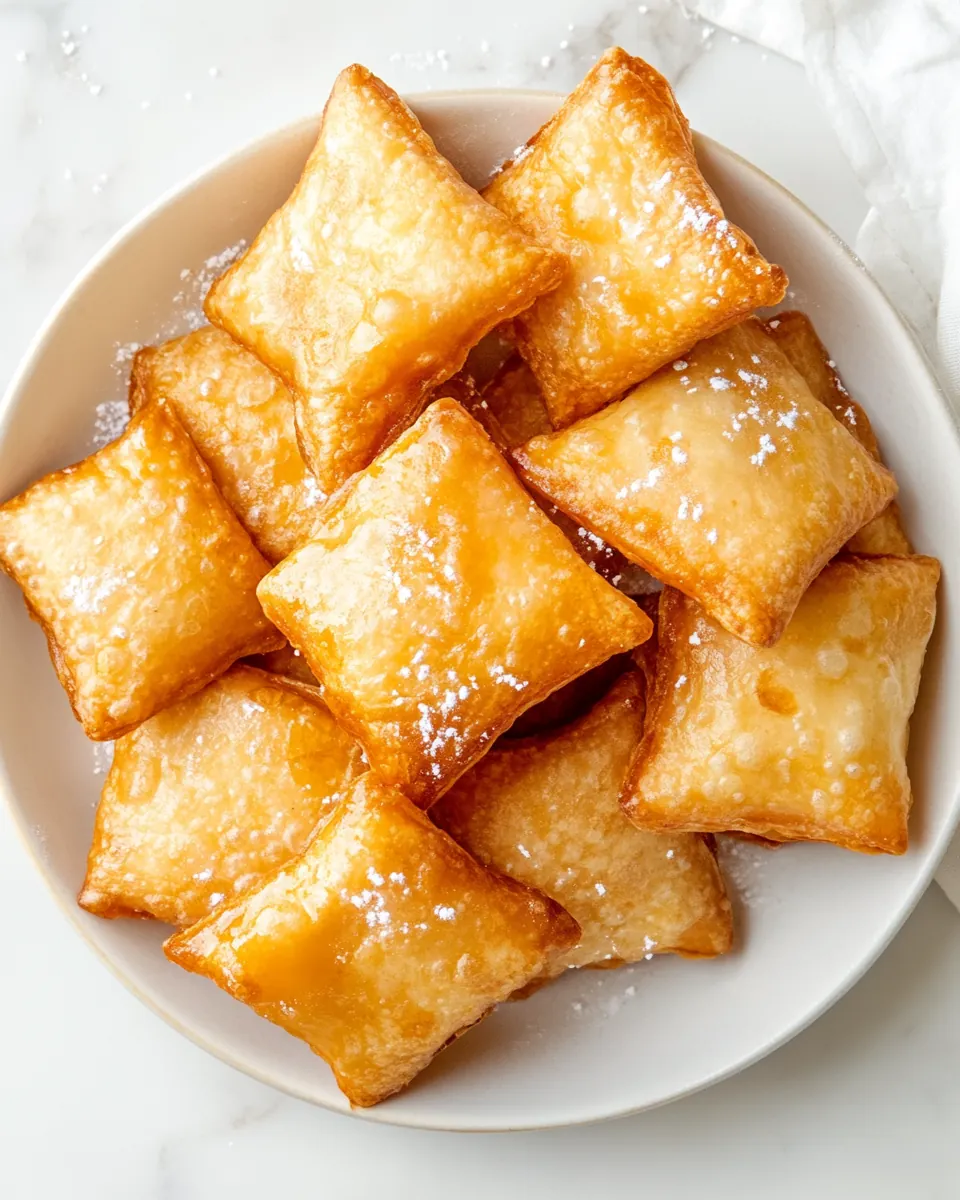
- Serve warm with a drizzle of honey.: Warm sopapillas will steam gently when placed on the serving platter, and a glossy ribbon of honey anchors the experience with sweet moisture. The contrast of warm pastry and sticky honey is irresistible, and the aroma becomes a honeyed, toasted note that invites everyone to dig in. If you let them sit too long, they lose steam and the interior becomes less inviting, so serve shortly after frying. A frequent oversight is pouring cold honey over cooled pastry, which does not meld as nicely; warming the honey slightly helps it flow and soak in evenly.
Change It Up
If you want to vary presentation or technique, these ideas help you transform the basic Homemade Sopapillas into different treats. Each tip begins with a practical hook and then explains how to implement it so you can confidently experiment.
- Finish with sugar and cinnamon: Toss warm sopapillas in a shallow bowl with a mix of granulated sugar and ground cinnamon for a classic, slightly crunchy coating that complements the honey.
- Serve with dipping sauces: Offer warm honey, fruit preserves, or a sweet cream dip on the side so guests can choose their preferred accompaniment.
- Adjust the thickness: Roll to a slightly thicker sheet for a chewier interior, or thinner for a crispier bite, keeping frying time in mind so you don’t overcook or undercook.
- Try different cutting shapes: Use a round cutter for little pockets that puff dramatically, or leave squares for a rustic look that is easy to handle.
- Keep the oil steady: Monitor the thermometer and give the oil a minute to return to 375 degrees between batches to maintain consistent color and puff.
What Goes Well With This Homemade Sopapillas
Homemade Sopapillas are wonderfully flexible for serving, and they can anchor a sweet or celebratory spread. Think about timing and temperature when pairing, and choose accompaniments that contrast texture or offer refreshing balance. Below are ideas to help you plate and plan for occasions from casual snacks to festive gatherings.
- Simple honey drizzle: Serve warm with a small pitcher of honey so guests can add as much as they like, highlighting the pastry’s fluffy interior.
- Cinnamon sugar dusting: Present a shallow dish of cinnamon sugar for coating, adding a crunchy, sweet finish that pairs well with warm sopapillas at brunch.
- Fruit preserves: Offer small bowls of jam or fruit compote to add bright acidity and contrast to the fried pastry, ideal for afternoon tea or a dessert board.
- Festive gatherings: Include these on a dessert spread for holidays or family events where handheld sweets are welcome, they fit well alongside other small bites and sweet breads.
- Storage tips: Keep fried sopapillas in an airtight container at room temperature for a day, and reheat in a warm oven for a few minutes to restore crispness; avoid refrigeration which can make them limp.
- Seasonal pairings: In cooler months, pair with warm spiced drinks, while in warmer seasons offer fresh fruit and lightly sweetened yogurt for a brighter plate.
FAQ
Conclusion
What makes these sopapillas special is their delightful combination of a crisp shell and an airy, pillowy interior that soaks up a touch of honey. Try making them soon, because the process is simple, the results are impressive, and sharing warm sopapillas always turns an ordinary moment into something memorable. I hope this recipe becomes one of your go to treats for gatherings and cozy evenings alike.
Homemade Sopapillas
Equipment
- 1 Deep Frying Thermometer
Ingredients
- 4 cups all-purpose flour Provides structure and bulk to the dough; combines with leavening and liquid to form a pliable, elastic base. Adds neutral flavor that lets other ingredients shine and crisps when fried. Needs to be measured and mixed properly to avoid overworking the gluten and producing tough sopapillas.
- 2 teaspoons baking powder Leavens the dough by producing bubbles when heated, giving sopapillas a light, airy interior and slight lift. Balances with the flour and warm water to create pockets that expand during frying. Important to distribute evenly for uniform texture.
- 1 teaspoon salt Controls and enhances overall flavor while strengthening gluten development slightly; helps balance the leavening and prevents blandness. Contributes to the dough’s bite and is essential for a well-seasoned finished product. Use measured salt to avoid overpowering sweetness when served with honey.
- 1/4 cup shortening Shortens gluten strands to create a tender, flaky texture and contributes to a delicate crumb; cut into the flour to coat particles for flakiness. Adds a subtle richness without overwhelming other flavors. Must be chilled or handled quickly to maintain the desired dough consistency.
- 1 1/2 cups warm water Hydrates the flour and activates the baking powder, allowing the dough to come together into a workable mass; warm temperature helps relax the gluten for easier rolling. Controls dough consistency—add gradually for a soft but not sticky result. Ensures steam generation in the frying process for puffing.
- oil for frying Transfers heat rapidly and provides the medium for frying, creating the characteristic crispy exterior and puffy interior of sopapillas. Requires proper temperature control to avoid greasy or undercooked dough. Use enough oil for even frying and maintain steady heat for best results.
- honey for serving Adds sweetness and moisture when drizzled over warm sopapillas, complementing the fried dough with a glossy finish and sticky texture. Provides contrast to the salty dough and enhances flavor perception. Serve sparingly or to taste for a traditional finish.
Instructions
- In a large bowl, whisk the flour, baking powder, and salt to combine.: The dry ingredients should smell faintly wheaty and fresh after whisking, with the flour appearing light and aerated. Whisking helps distribute the baking powder and salt so there are no concentrated pockets. As you whisk, notice the texture change from compacted to powdery and loose, which makes it easier for the fat to cut in evenly later. A common mistake here is not breaking up lumps, which can create uneven pockets of leavening. If you feel clumps, press them through a fine sieve or break them apart with the whisk. Properly combined, the mixture will have an even, dusty appearance and a faint neutral scent.
- Add in the shortening and warm water. Use a spatula or wooden spoon to mix. Cover and let rest at room temperature for 20 minutes.: After adding the shortening and the warm water , the bowl will go from dusty to shaggy, and the dough will begin to come together in a tacky mass. Mixing by hand gives you a direct feel for hydration; it should be pliable, not sticky. The rest period is crucial because it relaxes the gluten and allows the fats to meld into the dough, which leads to a tender interior. During the rest you might detect a mild yeasty aroma from the warm water, though there is no yeast in this recipe. A frequent error is skipping the rest, which often results in tougher pastry that resists rolling. Covering the dough prevents a skin from forming and keeps moisture consistent.
- Lightly flour your surface and roll the dough into a rectangle about 1/4 inch thick. Use a pizza cutter to cut the dough into 3-inch squares. They don’t have to be perfect.: As you roll, you will feel the dough relax and spread; it should glide under the pin rather than tear. The surface will show faint drag marks from the rolling pin, and the thickness should be uniform to ensure even puffing. When cutting squares, press cleanly with the pizza cutter to avoid dragging the edges, which can seal the sides and reduce puff. Small imperfections are fine and give a rustic look. Avoid rolling too thin, or the sopapillas will become overly crisp and lack the airy pocket inside.
- Heat 1 1/2 inches of oil in a Dutch oven to 375 degrees. Line a baking sheet with paper towels.: The oil will shimmer and move fluidly when it’s near temperature, and a deep frying thermometer will give you a precise readout. At 375 degrees the surface reacts quickly, sealing and crisping the exterior while steam expands inside to create the puff. The smell of hot oil will be present but not harsh if the temperature is controlled. A typical misstep is overheating the oil, which causes rapid browning and undercooked interiors. Conversely, oil that is too cool yields greasy, heavy results. Adjust the heat gradually until the thermometer stabilizes at the target temperature, and keep an eye as you fry because the oil temperature can drop when you add dough.
- Once hot, fry the sopapillas in batches until golden and puffed, about 1-2 minutes per side. Fry only a few pieces at a time to avoid overcrowding the pot, which can lower the oil temperature and result in soggy sopapillas. Remove with a slotted spoon and place on the paper towel-lined baking sheet to drain.: As pieces hit the oil you will hear a lively sizzle, and within seconds the edges begin to set and the center bulges as steam inflates the pastry. The color shift to a warm golden tone is a key visual cue that indicates readiness to flip. Work quickly but calmly, rotating when both sides show even coloring. One common mistake is overcrowding, which chills the oil and produces limp, oily pastry. Use a slotted spoon to lift each puff and let excess oil drip back into the pot before transferring to the towel lined sheet to preserve crispness.
- Repeat until all the sopapillas have been fried.: The frying rhythm picks up as the batches progress, and you may notice the oil temperature fluctuate slightly with each addition. Keep the flame adjusted so the thermometer reads close to 375 degrees before adding the next batch. Smell is a good guide here; the scent should remain pleasantly toasty, not acrid. If the color of the puffs begins to darken too quickly, reduce the heat a bit and let the oil stabilize. A common slip is rushing through batches, which often yields uneven results; patience between batches ensures consistent texture and color.
- Serve warm with a drizzle of honey.: Warm sopapillas will steam gently when placed on the serving platter, and a glossy ribbon of honey anchors the experience with sweet moisture. The contrast of warm pastry and sticky honey is irresistible, and the aroma becomes a honeyed, toasted note that invites everyone to dig in. If you let them sit too long, they lose steam and the interior becomes less inviting, so serve shortly after frying. A frequent oversight is pouring cold honey over cooled pastry, which does not meld as nicely; warming the honey slightly helps it flow and soak in evenly.
Notes
- Finish with sugar and cinnamon: Toss warm sopapillas in a shallow bowl with a mix of granulated sugar and ground cinnamon for a classic, slightly crunchy coating that complements the honey.
- Serve with dipping sauces: Offer warm honey, fruit preserves, or a sweet cream dip on the side so guests can choose their preferred accompaniment.
- Adjust the thickness: Roll to a slightly thicker sheet for a chewier interior, or thinner for a crispier bite, keeping frying time in mind so you don’t overcook or undercook.
- Try different cutting shapes: Use a round cutter for little pockets that puff dramatically, or leave squares for a rustic look that is easy to handle.
- Keep the oil steady: Monitor the thermometer and give the oil a minute to return to 375 degrees between batches to maintain consistent color and puff.