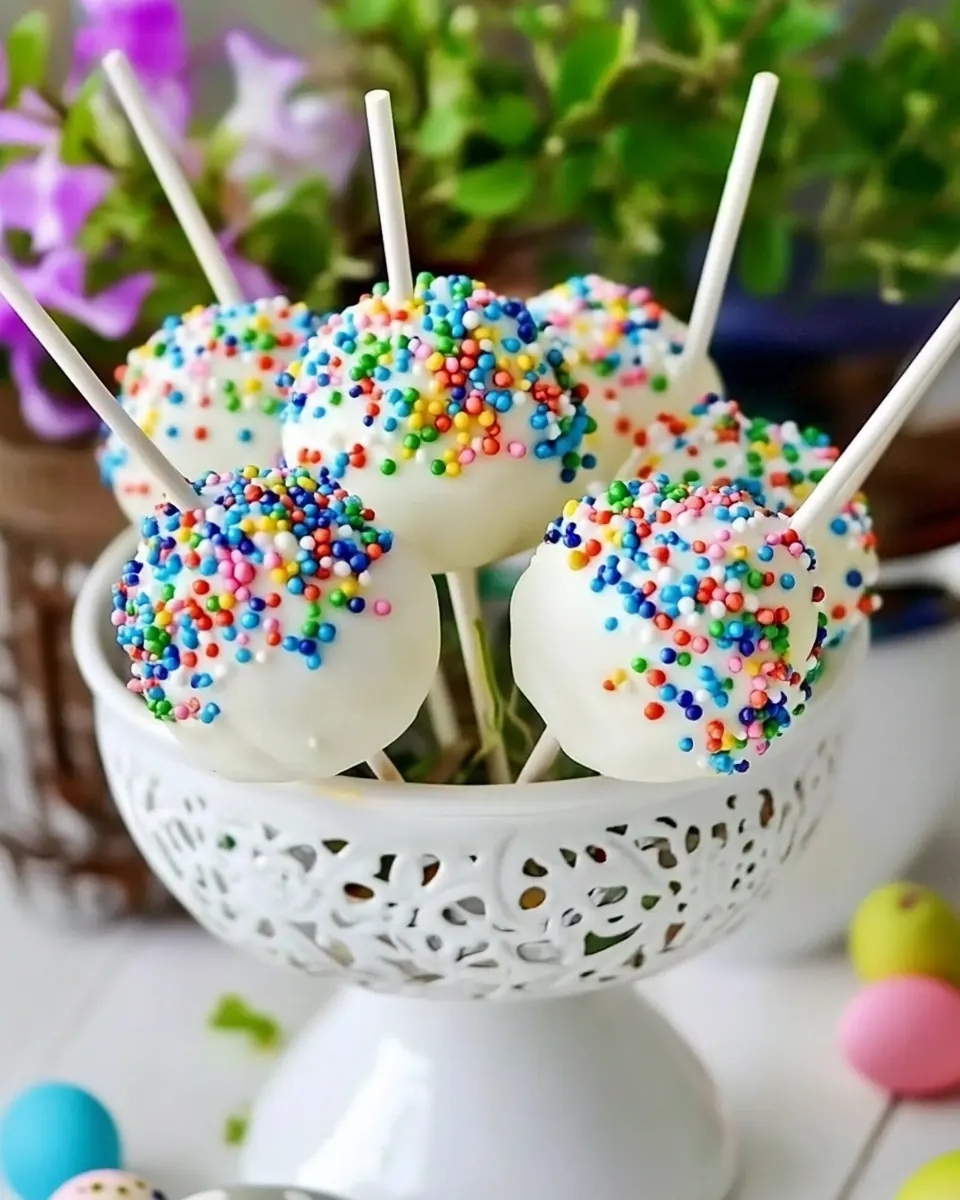
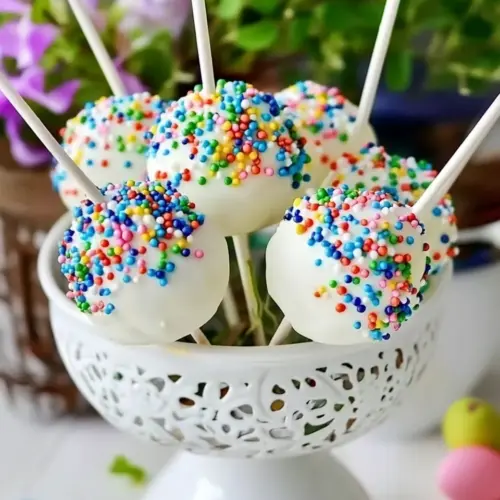
Easter Cake Pops
Easter Cake Pops have been my go to treat for spring gatherings ever since I first coated a crumbly cake ball in glossy chocolate and watched my niece squeal over the sprinkles. I remember the first batch I made, juggling a toddler on my hip while trying to temper chocolate that wanted to seize, and how every imperfection became part of the fun as we tasted the “rejects” with giggles. That messy, joyful afternoon taught me that these little sweets are more about shared moments than perfection.
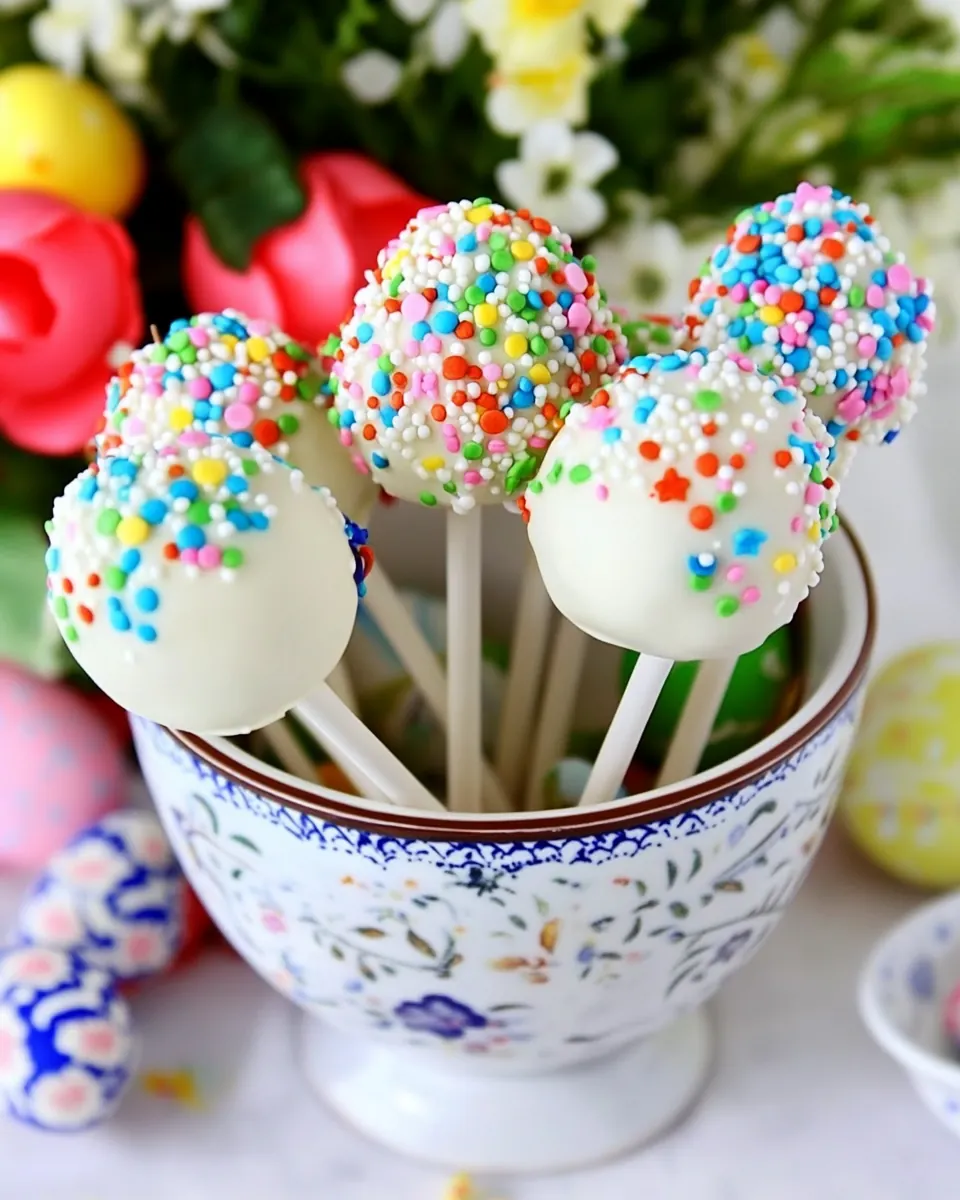
Over the years, my approach to Easter Cake Pops has softened into something practical and playful. I learned to chill the cake mixture until it was firm enough to roll without crumbling everywhere, and to thin the melted coating so it would glide smoothly over each ball. There is a special kind of satisfaction in seeing plain cake transform into colorful little spheres that look like tiny presents, and handing them out wrapped in cellophane at brunch. I love how versatile they are, and how even small helpers can get involved with rolling, dipping, or sprinkling.
Recipe Snapshot
50 mins
20 mins
30 mins
Medium
150 kcal
American
Keto, Gluten-Free
Desserts
Small food scoop, Microwave safe bowl, Cake pop holder or egg carton
Why Try This Easter Cake Pops
They are deceptively simple
I love how Easter Cake Pops feel fancy but are actually very forgiving, which is why I often bring them to potlucks. You do not need elaborate baking skills to make something that looks festive. The crumbled cake mixed with icing forms a pliable dough like texture, so even if your cake is slightly overbaked or uneven, the final result is still tender and moist.
Kid friendly and collaborative
One of the best parts is that kids can participate safely. I always set up a dipping station with sprinkles and a shallow bowl of melted chocolate, and it becomes an instant activity. Letting little hands press sprinkles on the wet coating creates pride and a keepsake moment. It also means the process is less stressful for me, because helpers are genuinely helpful when tasks are simple and contained.
Customizable looks without much fuss
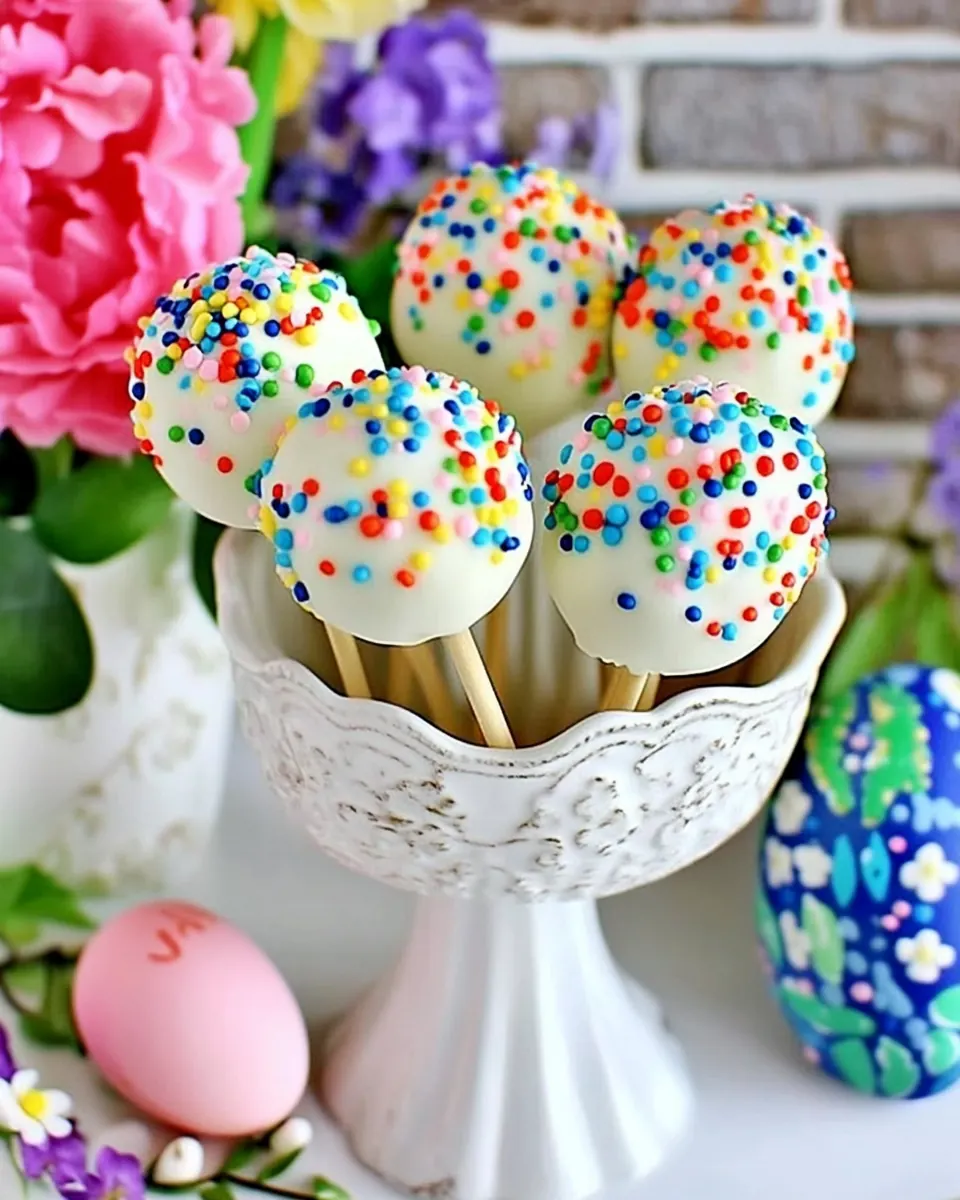
I appreciate that you can change the appearance to match a theme quickly. Swap sprinkles, choose bright or pastel melting chocolates, or use different ribbons when packaging. These small tweaks make the same recipe work for brunches, classroom parties, or an Easter basket addition, giving you a lot of visual variety from a single base.
Easy to prepare ahead
I often bake the cake a day in advance and refrigerate the mixed cake and icing overnight, which firms the mixture and simplifies rolling. This approach keeps the final assembly relaxed, so you are not rushing the day of your event. It also helps reduce waste, since any imperfect pops are delicious to nibble on during prep.
Playful gifting and presentation
Lastly, I adore how these pop up as charming gift items. Wrapped in small cellophane bags, tied with a ribbon, they look thoughtful and homemade. They are portable, shareable, and invite a second helping, which is the true test of a beloved recipe in my house.
What Goes Into Easter Cake Pops
These ingredients are straightforward and purposeful. The cake provides structure and flavor, the cake icing binds crumbs into a workable dough, the melting chocolates create a smooth shell, and candy sprinkles add texture and playful color. Together they balance texture and sweetness to make a treat that holds up to handling and looks festive.
- 1 Cake from box mix, prepared per box instructions: Prepared per box instructions to provide the cake base and structure for the pops; ensures consistent texture and flavor when crumbled and mixed. Allows quick preparation and predictable results compared to baking from scratch, making assembly more efficient.
- 8 oz cake icing Cream Cheese Variety is best: Whipped smooth to add moisture and binding power when mixed with crumbled cake; contributes rich, creamy flavor and helps form malleable cake balls. Opting for a cream cheese variety adds tang and stability, improving texture and holding shape during dipping.
- 1 bag melting chocolates: Melted to create a smooth coating that seals and decorates the cake pops; provides a crisp shell when cooled and helps adhere sprinkles. Using a bag of melting chocolates simplifies tempering and offers even coverage with minimal tools.
- Candy sprinkles: Sprinkled over the coated pops to add color, texture, and visual appeal; enhances festive presentation and provides a contrasting crunch. Choosing varied shapes and colors complements the holiday theme and makes each pop unique.
Directions for Easter Cake Pops
Making these feels like a small assembly line where each stage invites different senses. Work through the steps patiently, and set up your tools and a drying station before you begin dipping to keep the process smooth and tidy.
- 24 hours before you plan to make the cake pops, bake the cake per box instructions. Once baked, crumble and mix well with the cake icing. Refrigerate until ready to make the cake pops.: A warm, freshly baked cake will emit a sweet, bready aroma that signals readiness, but you must allow it to cool completely so the texture firms. Cooling prevents steam from creating excess moisture that makes the crumbs gummy, which would ruin the consistency when mixed with cake icing . One common mistake is trying to crumble the cake while it is still warm, which yields clumps instead of fine crumbs, so be patient and let it cool fully.
- Remove the cake mixture from the refrigerator when ready to make the cake pops. Using a small food scoop or cake pop mold, roll the cake pops into golf ball size pieces.: The sound of gentle tearing and the sight of small, even crumbs tell you you are doing this step correctly. Mixing with the cake icing produces a cohesive, pliable mixture that should hold together when pressed, which is essential for rolling. If the mix feels too wet, refrigerate briefly; if too dry, add a touch more icing. Avoid overmixing, which can make the texture too dense and heavy.
- Place a sucker stick in the bottom of each ball sticking it about half way through the ball. Set these aside.: Cooling the mixture tightens its structure and gives a firmer mouthfeel once shaped, which will help the balls remain intact on the sticks. You will notice the mixture becomes less tacky to the touch after chilling, a good visual cue that it is ready. A common pitfall is skipping this chill time and ending up with crumbly balls that fall apart when dipped.
- Melt the chocolates in a microwave safe bowl on high temp, stir every 30 seconds until completely melted.: As you take the mixture out, you should feel it slightly firm yet workable; this tactile cue is important for consistent rolling. Work on a cool surface and keep the unused portion chilled to prevent it from softening too much under warm hands. If the mixture softens too quickly, pop it back into the fridge for a short period to re-firm.
- SPECIAL NOTE: At this point, you will want to put something down under where the cake pops will set up. The chocolate is drippy and sticks to surfaces. Wax paper, parchment paper or newspaper underneath will work.: Rolling produces a soft, pressure driven squish sound, and your palms will coat slightly with crumbs which is normal. Aim for uniform sizes so the coat cooks evenly and sticks are stable. If one ball is noticeably larger, it will need longer to firm and may pull away from the stick during dipping, so keep them consistent.
- Dip the cake pops into the chocolate to cover well. Sprinkle with the sprinkles of your choice and allow to cool.: You should feel gentle resistance as the stick penetrates the center, which helps anchor the ball. The placement affects balance, so insert about midway to avoid top heavy pops that tip in the coating. A frequent error is pushing the stick too far through, which weakens the ball and can cause it to split when dipped.
- If you have the cake pop holder that holds each cake pop separately, then do that. If not, turn an egg carton upside down and poke the sucker sticks through the styrofoam to hold them till dried.: Once the sticks are secured, set the pops upright in a holder or prepared temporary base so they do not touch each other. This pause gives the center time to adapt around the stick and reduces wobble during dipping. If they wobble at this stage, refrigerate briefly to help them firm before dipping.
- Once dried, you will want to cover the cake pop with a cover like a cellophane bag or plastic sandwich bag. Tie with a cute ribbon.: Watch the chocolate transform from glossy lumps to a smooth ribbon as you stir, and the aroma will become rich and cocoa forward. Regular stirring avoids hot spots and burning, which creates grainy texture. If you rush this by microwaving for long intervals, you risk seizing the chocolate, so heat in short bursts and stir diligently.
- SPECIAL NOTE: At this point, you will want to put something down under where the cake pops will set up : The visual of drips pooling below is a clear sign you prepared correctly; use parchment or wax paper to protect surfaces and make cleanup simple. This step prevents the sticky mess from ruining countertops and captures stray sprinkles too. Neglecting to protect the surface results in stuck, messy pops and a longer cleanup stretch.
- Dip the cake pops into the chocolate to cover well: As you dip, listen for the quiet slide as the coating envelops the ball and watch the surface become uniformly glossy, which means the chocolate is at the right viscosity. Hold the pop over the bowl and gently tap to let excess coating drip back, then apply sprinkles immediately so they adhere. A common issue is using chocolate that is too thick, causing clumpy, heavy shells that pull the cake apart; thin the chocolate slightly with short reheats if needed.
- Sprinkle with the sprinkles of your choice and allow to cool: The sprinkles will embed into the warm coating and create a textured contrast that is visually cheerful. Place the dipped pops upright to set, and avoid touching the coating while it hardens to preserve the finish. If the chocolate takes too long to set, transfer to a cool area or briefly refrigerate, but avoid condensation by not chilling too rapidly.
- If you have the cake pop holder that holds each cake pop separately, then do that: A dedicated holder keeps pops perfectly upright and prevents contact marks on the coating, which preserves the glossy look. Using a holder also helps you organize while decorating multiple pops. When a holder is unavailable, improvisation is key to avoid smudging, so consider alternatives below.
- If not, turn an egg carton upside down and poke the sucker sticks through the styrofoam to hold them till dried: This simple hack supports the pops without letting them touch, and the textured surface helps air circulate for even setting. It is a practical visual reminder that clever solutions often work better than expensive tools. Be cautious with cardboard that has ink or dye, which could transfer to the base of the pops.
- Once dried, you will want to cover the cake pop with a cover like a cellophane bag or plastic sandwich bag: The sound of a crinkling bag signals the final touch, and wrapping preserves freshness and presentation. Tying with a ribbon personalizes each gift and keeps them clean for transport. A mistake I often see is covering while the coating is still tacky, which seals moisture and can soften the shell, so confirm the coating is completely set first.
Pro Tips and Tweaks
I like to keep a calm, organized station when assembling Easter Cake Pops, and these tips will help you avoid common pitfalls and get beautiful results. Small adjustments during assembly make a big difference in finish and stability.
- Chill thoroughly Before rolling, refrigerate the cake and cake icing mixture until it is firm to the touch, which minimizes crumbling and helps the balls hold their shape during dipping.
- Keep chocolate smooth Stir the melting chocolates every 30 seconds while heating to prevent overheating, and reheat in short bursts if the coating thickens.
- Use a small scoop A small food scoop guarantees uniform sized balls which bake and set consistently, leading to even dipping and balanced presentation.
- Protect surfaces Lay down parchment or wax paper before dipping to catch drips and loose candy sprinkles, keeping cleanup simple and preserving your counters.
- Work in batches Only take out a portion of the chilled mixture at a time so remaining dough stays firm and easy to work with, preventing sticky, unmanageable crumbs.
- Package after fully set Ensure coatings are completely dry before wrapping in cellophane or plastic, otherwise trapped moisture can dull the shine and soften the shell.
How to Enjoy Easter Cake Pops
These little treats work for many occasions, and thoughtful presentation makes them feel special. Here are ways to serve, pair, and store your pops so they stay fresh and festive.
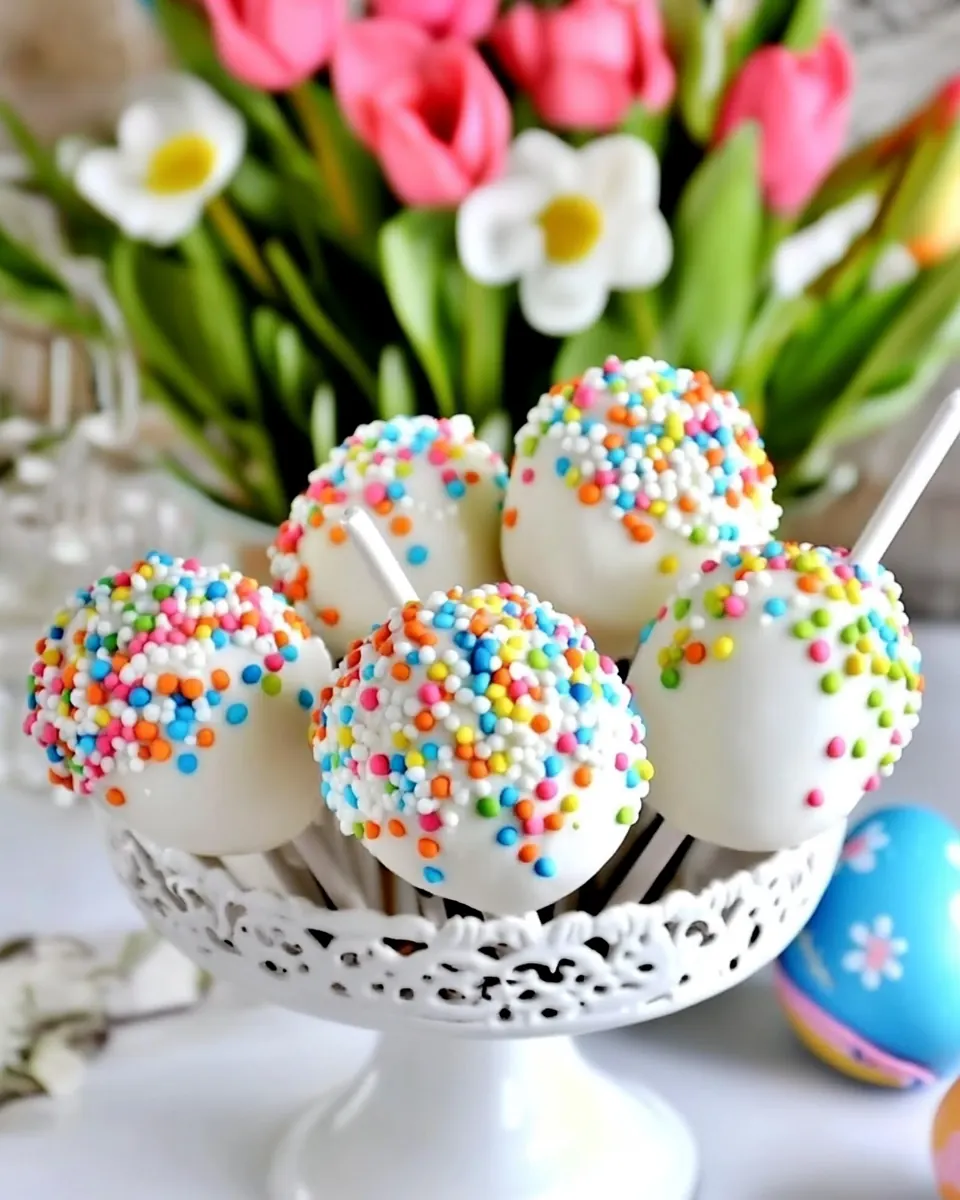
- Brunch centerpiece Arrange the pops upright in a decorative vase or on a tiered stand to create a playful, edible centerpiece that guests can help themselves to during a spring brunch.
- Party favors Wrap individual pops in small cellophane bags and tie with a ribbon for cute favors to hand out at gatherings or classroom events.
- Picnic snack Pack pops in a shallow container with paper separators to prevent smudging, making them a portable sweet for outdoor celebrations.
- Gift boxes Line a box with tissue paper and nestle a few pops inside for a homemade gift that looks polished and thoughtful.
- Storage Store unwrapped pops at room temperature in a single layer for up to two days, or refrigerate in an airtight container for up to five days; bring to room temperature before serving for best texture.
- Seasonal pairings Serve with light coffee, tea, or fruit platters during spring gatherings to balance the sweetness and add variety to your spread.
FAQ
Conclusion
These Easter Cake Pops stand out because they transform simple boxed cake and icing into festive, shareable bites that bring people together. I encourage you to try them for your next spring gathering or as a sweet, homemade gift, because the process is as rewarding as the outcome. Enjoy the playful decorating, accept the occasional imperfect pop with a smile, and savor handing these colorful treats to friends and family.
Easter Cake Pops
Equipment
- Small food scoop
- Microwave-safe Bowl
- Cake pop holder or egg carton
Ingredients
- 1 Cake from box mix, prepared per box instructions Prepared per box instructions to provide the cake base and structure for the pops; ensures consistent texture and flavor when crumbled and mixed. Allows quick preparation and predictable results compared to baking from scratch, making assembly more efficient.
- 8 oz cake icing Cream Cheese Variety is best Whipped smooth to add moisture and binding power when mixed with crumbled cake; contributes rich, creamy flavor and helps form malleable cake balls. Opting for a cream cheese variety adds tang and stability, improving texture and holding shape during dipping.
- 1 bag melting chocolates Melted to create a smooth coating that seals and decorates the cake pops; provides a crisp shell when cooled and helps adhere sprinkles. Using a bag of melting chocolates simplifies tempering and offers even coverage with minimal tools.
- Candy sprinkles Sprinkled over the coated pops to add color, texture, and visual appeal; enhances festive presentation and provides a contrasting crunch. Choosing varied shapes and colors complements the holiday theme and makes each pop unique.
Instructions
- 24 hours before you plan to make the cake pops, bake the cake per box instructions. Once baked, crumble and mix well with the cake icing. Refrigerate until ready to make the cake pops.: A warm, freshly baked cake will emit a sweet, bready aroma that signals readiness, but you must allow it to cool completely so the texture firms. Cooling prevents steam from creating excess moisture that makes the crumbs gummy, which would ruin the consistency when mixed with cake icing . One common mistake is trying to crumble the cake while it is still warm, which yields clumps instead of fine crumbs, so be patient and let it cool fully.
- Remove the cake mixture from the refrigerator when ready to make the cake pops. Using a small food scoop or cake pop mold, roll the cake pops into golf ball size pieces.: The sound of gentle tearing and the sight of small, even crumbs tell you you are doing this step correctly. Mixing with the cake icing produces a cohesive, pliable mixture that should hold together when pressed, which is essential for rolling. If the mix feels too wet, refrigerate briefly; if too dry, add a touch more icing. Avoid overmixing, which can make the texture too dense and heavy.
- Place a sucker stick in the bottom of each ball sticking it about half way through the ball. Set these aside.: Cooling the mixture tightens its structure and gives a firmer mouthfeel once shaped, which will help the balls remain intact on the sticks. You will notice the mixture becomes less tacky to the touch after chilling, a good visual cue that it is ready. A common pitfall is skipping this chill time and ending up with crumbly balls that fall apart when dipped.
- Melt the chocolates in a microwave safe bowl on high temp, stir every 30 seconds until completely melted.: As you take the mixture out, you should feel it slightly firm yet workable; this tactile cue is important for consistent rolling. Work on a cool surface and keep the unused portion chilled to prevent it from softening too much under warm hands. If the mixture softens too quickly, pop it back into the fridge for a short period to re-firm.
- SPECIAL NOTE: At this point, you will want to put something down under where the cake pops will set up. The chocolate is drippy and sticks to surfaces. Wax paper, parchment paper or newspaper underneath will work.: Rolling produces a soft, pressure driven squish sound, and your palms will coat slightly with crumbs which is normal. Aim for uniform sizes so the coat cooks evenly and sticks are stable. If one ball is noticeably larger, it will need longer to firm and may pull away from the stick during dipping, so keep them consistent.
- Dip the cake pops into the chocolate to cover well. Sprinkle with the sprinkles of your choice and allow to cool.: You should feel gentle resistance as the stick penetrates the center, which helps anchor the ball. The placement affects balance, so insert about midway to avoid top heavy pops that tip in the coating. A frequent error is pushing the stick too far through, which weakens the ball and can cause it to split when dipped.
- If you have the cake pop holder that holds each cake pop separately, then do that. If not, turn an egg carton upside down and poke the sucker sticks through the styrofoam to hold them till dried.: Once the sticks are secured, set the pops upright in a holder or prepared temporary base so they do not touch each other. This pause gives the center time to adapt around the stick and reduces wobble during dipping. If they wobble at this stage, refrigerate briefly to help them firm before dipping.
- Once dried, you will want to cover the cake pop with a cover like a cellophane bag or plastic sandwich bag. Tie with a cute ribbon.: Watch the chocolate transform from glossy lumps to a smooth ribbon as you stir, and the aroma will become rich and cocoa forward. Regular stirring avoids hot spots and burning, which creates grainy texture. If you rush this by microwaving for long intervals, you risk seizing the chocolate, so heat in short bursts and stir diligently.
- SPECIAL NOTE: At this point, you will want to put something down under where the cake pops will set up : The visual of drips pooling below is a clear sign you prepared correctly; use parchment or wax paper to protect surfaces and make cleanup simple. This step prevents the sticky mess from ruining countertops and captures stray sprinkles too. Neglecting to protect the surface results in stuck, messy pops and a longer cleanup stretch.
- Dip the cake pops into the chocolate to cover well: As you dip, listen for the quiet slide as the coating envelops the ball and watch the surface become uniformly glossy, which means the chocolate is at the right viscosity. Hold the pop over the bowl and gently tap to let excess coating drip back, then apply sprinkles immediately so they adhere. A common issue is using chocolate that is too thick, causing clumpy, heavy shells that pull the cake apart; thin the chocolate slightly with short reheats if needed.
- Sprinkle with the sprinkles of your choice and allow to cool: The sprinkles will embed into the warm coating and create a textured contrast that is visually cheerful. Place the dipped pops upright to set, and avoid touching the coating while it hardens to preserve the finish. If the chocolate takes too long to set, transfer to a cool area or briefly refrigerate, but avoid condensation by not chilling too rapidly.
- If you have the cake pop holder that holds each cake pop separately, then do that: A dedicated holder keeps pops perfectly upright and prevents contact marks on the coating, which preserves the glossy look. Using a holder also helps you organize while decorating multiple pops. When a holder is unavailable, improvisation is key to avoid smudging, so consider alternatives below.
- If not, turn an egg carton upside down and poke the sucker sticks through the styrofoam to hold them till dried: This simple hack supports the pops without letting them touch, and the textured surface helps air circulate for even setting. It is a practical visual reminder that clever solutions often work better than expensive tools. Be cautious with cardboard that has ink or dye, which could transfer to the base of the pops.
- Once dried, you will want to cover the cake pop with a cover like a cellophane bag or plastic sandwich bag: The sound of a crinkling bag signals the final touch, and wrapping preserves freshness and presentation. Tying with a ribbon personalizes each gift and keeps them clean for transport. A mistake I often see is covering while the coating is still tacky, which seals moisture and can soften the shell, so confirm the coating is completely set first.
Notes
- Chill thoroughly Before rolling, refrigerate the cake and cake icing mixture until it is firm to the touch, which minimizes crumbling and helps the balls hold their shape during dipping.
- Keep chocolate smooth Stir the melting chocolates every 30 seconds while heating to prevent overheating, and reheat in short bursts if the coating thickens.
- Use a small scoop A small food scoop guarantees uniform sized balls which bake and set consistently, leading to even dipping and balanced presentation.
- Protect surfaces Lay down parchment or wax paper before dipping to catch drips and loose candy sprinkles, keeping cleanup simple and preserving your counters.
- Work in batches Only take out a portion of the chilled mixture at a time so remaining dough stays firm and easy to work with, preventing sticky, unmanageable crumbs.
- Package after fully set Ensure coatings are completely dry before wrapping in cellophane or plastic, otherwise trapped moisture can dull the shine and soften the shell.