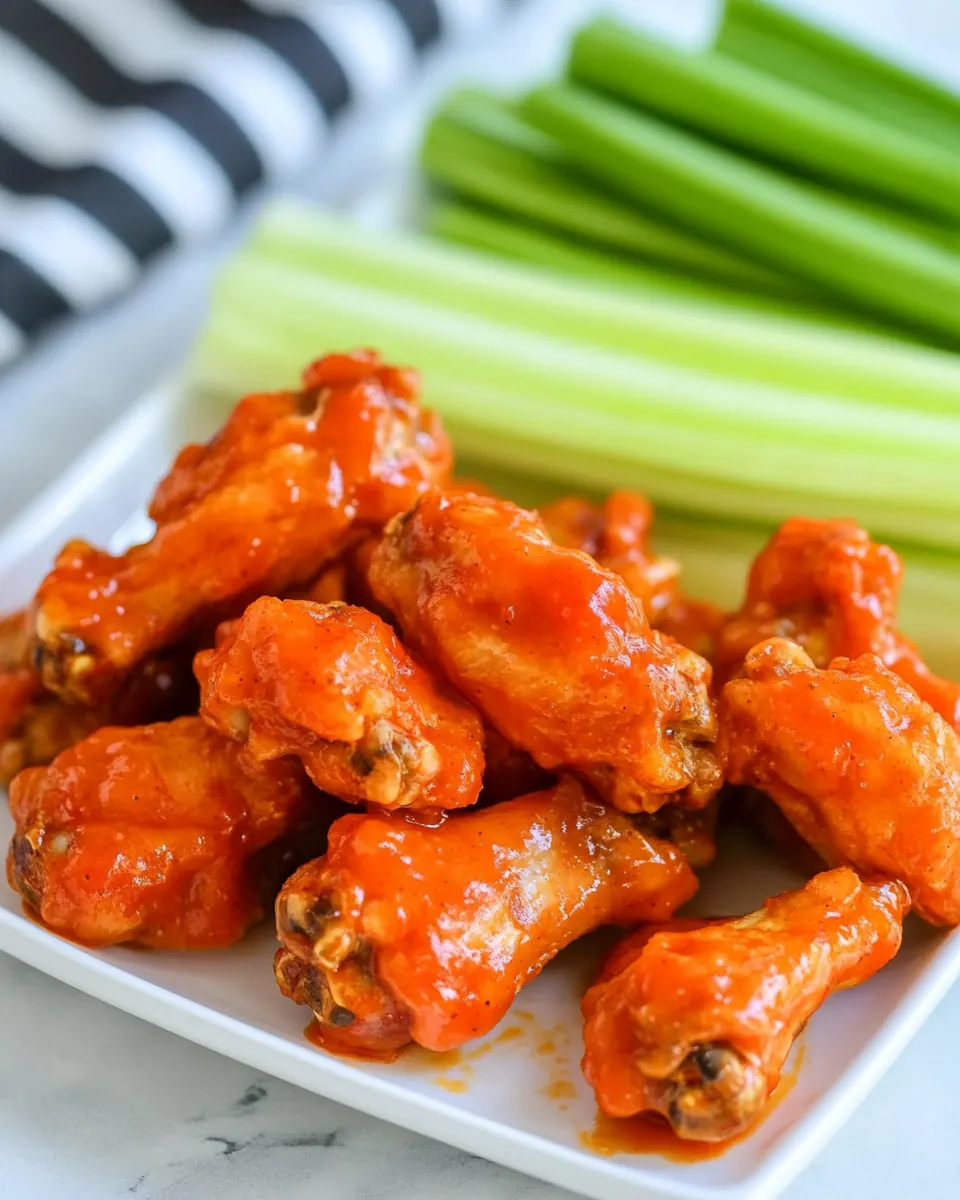
Buffalo Wings
Buffalo Wings have been my go to snack for every game night and casual get together for years. From the first time I learned to toss hot, glossy wings in that buttery, tangy sauce, I was hooked, and I still get a little thrill when the sauce clings and glazes each piece. I remember the very first batch I made for friends, how the kitchen filled with the sharp, vinegary heat of the sauce and the warm, savory aroma of frying chicken. There was laughter, napkins flying, and the unmistakable hush that comes when everyone reaches for a second piece.
Over time I tuned the method, paying attention to small changes that made a big difference. I discovered the magic of a crisp exterior that gives way to juicy chicken beneath, and how a simple sauce of hot sauce, butter, and a splash of Worcestershire sauce can balance heat with richness. I like to serve these when a crowd is expected, because they vanish fast and everyone seems to gather around the frying pan like it is the centerpiece. You will notice I favor straightforward, reliable techniques so you can reproduce this again and again with confidence.
Recipe Snapshot
25 mins
10 mins
15 mins
Easy
400 kcal
American
Gluten-Free, Low FODMAP
Appetizers
Heavy pot, Thermometer, Shallow dish, Tongs, Saucepan
Why You Need This Buffalo Wings
Irresistible Crispy Texture
I love how these Buffalo Wings deliver a crunchy shell that gives a satisfying crack when you bite in, revealing hot, tender chicken. The light flour coating fries up crisp, and that contrast between exterior and interior keeps people coming back for more. I pay attention to oil temperature so the chicken cooks quickly without absorbing excess oil, and that is why the texture stays spot on.
Simple, Bold Sauce
The sauce is a tiny triumvirate of hot sauce, butter, and Worcestershire sauce that punches above its weight. I like how the butter smooths the heat while the Worcestershire sauce adds an umami note, creating layers of flavor from just a few pantry items. We can tweak the heat level easily by adding a little more or less hot sauce, which makes this recipe crowd friendly.
Great for Entertaining
When you need a shareable, casual dish, Buffalo Wings shine. They are finger food that encourages conversation and conviviality, and they scale well if you need to double or triple the batch. I often prepare the sauce while the wings fry to keep the pace steady, and that small timing trick helps everything come together hot and ready.
Flexible and Familiar
There is something comforting about a recipe that feels both classic and forgiving. I appreciate that you can adapt the cut to boneless pieces if needed, or adjust the coating thickness for a lighter or heartier crust. We both benefit from a method that rewards attention without demanding fancy tools or exotic ingredients.
Hands On, Rewarding Process
Cooking these wings is active and rewarding, with sensory cues to guide you. I enjoy the sizzle when the wings hit the oil, and the glossy sheen when they are tossed in sauce. That immediate feedback is satisfying and helps you learn how to judge doneness and seasoning by sight, sound, and smell.
Main Ingredients for Buffalo Wings
These ingredients are deliberately straightforward, built to create contrast and balance. The key players are the chicken for substance, the flour and vegetable oil for texture, and the sauce ingredients that bring heat, richness, and depth. Together they form a simple ecosystem where each element supports the others.
- vegetable oil, for frying: Used for deep or shallow frying to achieve crispy skin; heats to the proper temperature to cook wings evenly and prevent sogginess. Adds a neutral flavor that lets the sauce and seasonings stand out while providing the medium for browning.
- 1 2 cups all-purpose flour: Coats wings to create a light, crisp exterior when fried; helps absorb seasonings and promotes even browning. Can be seasoned with salt and pepper or spices to enhance texture and flavor of the crust.
- 24 chicken wings, thawed if frozen: Provides the primary protein and base of the dish; wings should be thawed and patted dry to ensure proper frying and sauce adhesion. Offers rich, juicy meat that pairs well with spicy and buttery sauces.
- 1 (12-ounce) bottle hot sauce: Forms the spicy component of the sauce with vinegar-based heat characteristic of Buffalo wings; combines with butter and Worcestershire to create a balanced sauce. Can be adjusted for heat level depending on brand or personal preference.
- 1/2 cup unsalted butter: Adds richness and mellows the heat when melted into the hot sauce to create a smooth, glossy coating for the wings. Supplies fat that carries flavor and helps sauce adhere to the fried surface.
- 1 tablespoon Worcestershire sauce: Enhances savory depth and umami when mixed into the sauce; balances acidity and heat with a subtle tangy, fermented note. Small amount rounds out flavor and complements butter and hot sauce for a more complex finish.
How to Prepare Buffalo Wings
This method is hands on but straightforward, and I like to keep the workflow flowing so the wings finish hot and perfectly sauced. Read each step before you begin so you can organize bowls, heat the oil, and time the sauce to be ready when the wings come out of the fryer.
- Fill a heavy pot with 2–3 inches oil and heat over medium-high heat to 350–375 degrees F.: You will hear the oil barely ripple as it approaches the correct temperature, and a quick breadcrumb test should sizzle energetically on contact. Getting the oil into this narrow band matters, because oil that is too cool soaks into the coating making it greasy, while oil that is too hot will brown the exterior before the chicken is cooked through. A common mistake is crowding the pot, which drops the temperature suddenly. If that happens, let the oil recover back to the target range before adding more pieces.
- While oil is heating, place flour in a shallow dish and dredge wings in the flour, making sure to coat all sides of the wings.: As you dust each wing you will feel the flour cling to the skin, creating a thin, even blanket that will fry crisp. The surface should look uniformly pale and slightly textured. This light coating helps seal in juices and creates the satisfying crack when you bite into the finished wing. Avoid overcoating, because a thick paste of flour can lead to a cakey crust. If your hands get clumpy, shake off excess flour and spread wings in a single layer while you work.
- Working in batches, add wings to hot oil and cook until golden brown, 5–7 minutes. Drain on a paper towel–lined plate.: You will hear the loud sizzle as each piece hits the oil, and the sound will soften as a golden crust forms. Look for an even, deepening golden color, and watch the surface for shrinking where the skin tightens. Internal juices should run clear when pierced, and the surface will feel firm to the touch. Resist the urge to flip constantly, let each side develop color for a couple of minutes before turning. A common pitfall is frying too many at once which lowers oil temperature and results in pale, greasy wings, so keep batches modest for even cooking.
- While frying wings, combine hot sauce, butter and Worcestershire sauce in a saucepan over medium heat and cook until combined and heated through.: After frying, the wings will release tiny spatters as they rest, and the paper towel will wick away excess oil so the crust stays crisp. You will notice the aroma shift to a roasted, savory note as steam escapes. Letting wings rest briefly ensures they finish carrying their crisp texture rather than steaming and softening. One mistake is piling wings too high which traps steam, so arrange them in a single layer while they cool slightly.
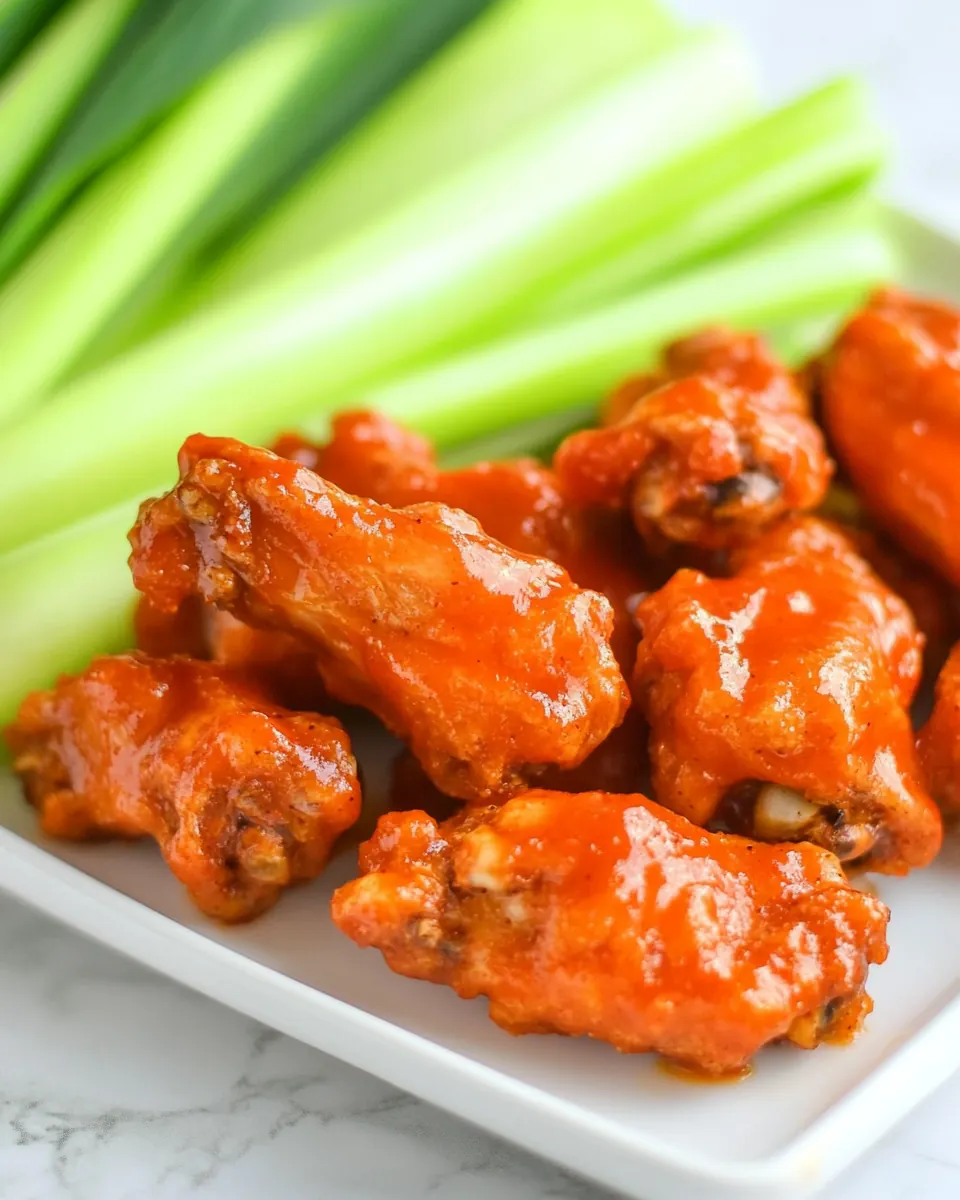
- Toss fried wings in sauce, making sure to coat all sides. Serve warm with ranch dressing.: As the butter melts into the hot sauce you will see the mixture become glossy and slightly thickened, releasing a warm, tangy steam. Whisk gently until the sauce is homogenous so the heat disperses evenly across each wing. This step matters because a well emulsified sauce clings and creates that classic lacquered finish. Avoid boiling vigorously which can separate the butter; keep it at a gentle simmer for best results.
- Toss fried wings in sauce, making sure to coat all sides.: When you transfer the wings into a bowl with the sauce, you will hear a soft glug and see a shiny coat quickly form. Use tongs to lift and turn each piece so the sauce spreads evenly and every bite is balanced. The residual heat helps the sauce set slightly, yielding a glossy finish. A common error is to pour sauce over a crowded tray which leads to uneven coverage, so toss in a spacious bowl and work in small batches for uniformity.
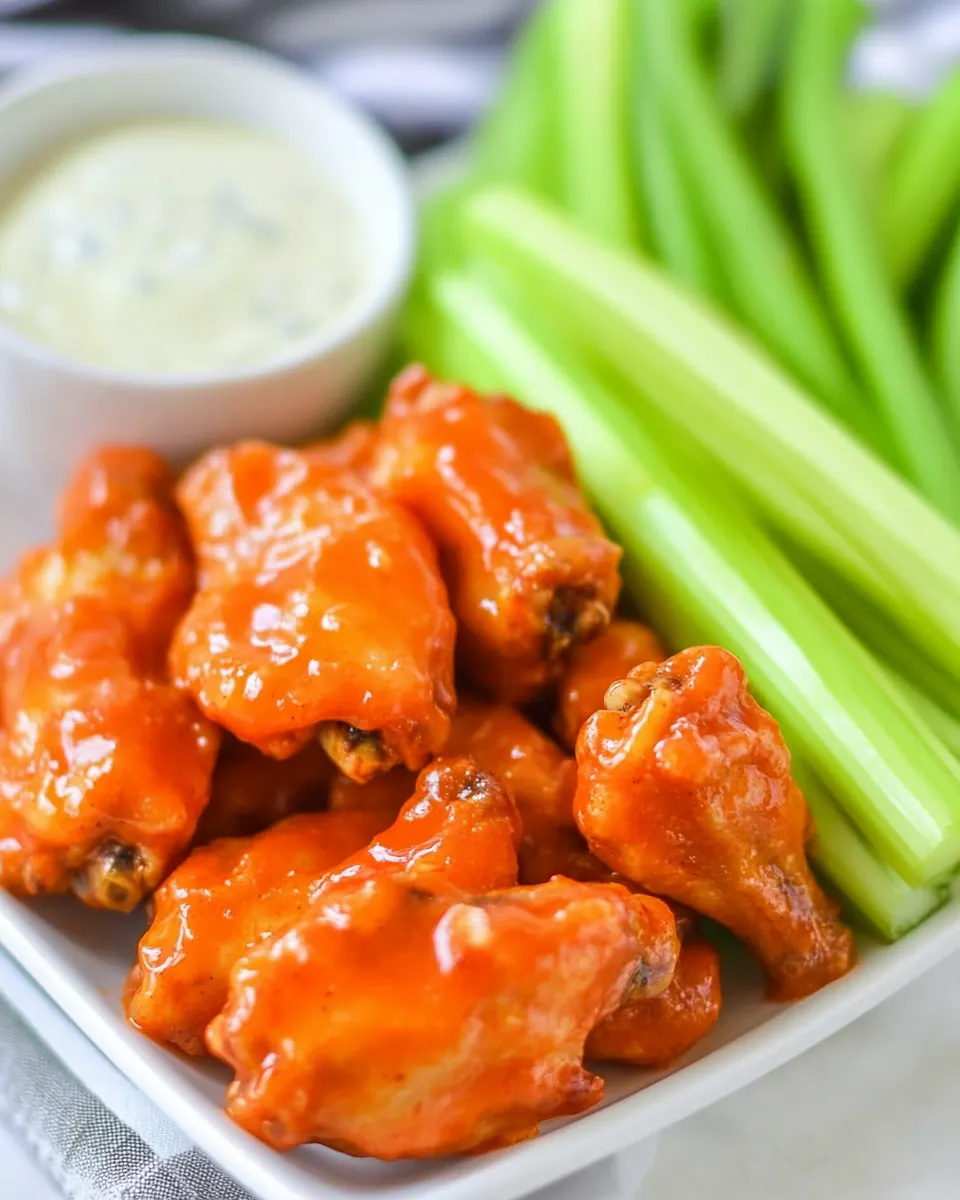
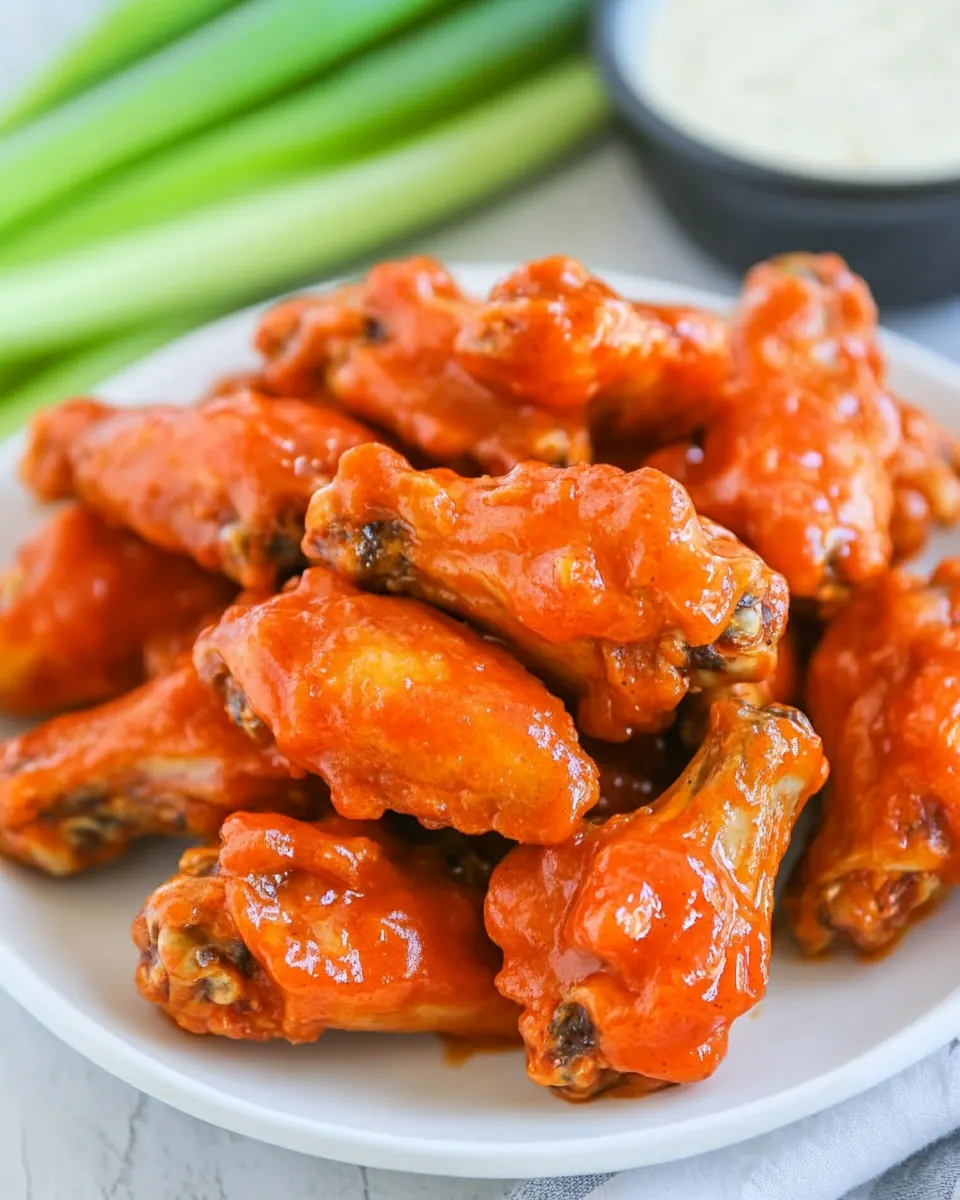
- Serve warm with ranch dressing.: Serving while hot ensures the contrast between crisp skin and saucy glaze is at its peak, and the cool, creamy dressing provides a soothing counterpoint to the heat. Arrange wings on a platter with napkins nearby and offer the dressing on the side so diners can choose how much to add. Letting wings sit too long before serving will mellow the crunch, so plate them promptly for best results.
Expert Tips about Buffalo Wings
These tips come from repeated practice and a few recoveries from small mistakes. Follow them to make your cooking smoother and your wings more crowd pleasing. I include practical notes on temperature, timing, and presentation that you can apply right away.
- Maintain steady oil temperature — Use a thermometer and keep the oil between 350 and 375 degrees F, because this range produces a crisp exterior while ensuring the chicken cooks through without becoming greasy.
- Dry wings before coating — Pat the chicken completely dry to help the flour adhere, which leads to a more consistent and crunchy finish.
- Work in batches — Frying a few wings at a time prevents the oil temperature from dropping, which is essential for even browning and texture.
- Gently emulsify the sauce — Melt the butter into the hot sauce over moderate heat while stirring so the sauce becomes glossy and cohesive.
- Double check doneness — Look for a deep golden color and clear juices when pierced, signs that the chicken is fully cooked and juicy inside.
- Serve immediately — The crispness is at its best right after tossing in sauce, so plate and serve while the wings are still hot.
Accompaniments for Buffalo Wings
These serving ideas help you plan a full spread for gatherings, casual dinners, or special occasions. Pairings emphasize contrast and balance, and a few storage notes keep leftovers tasty.
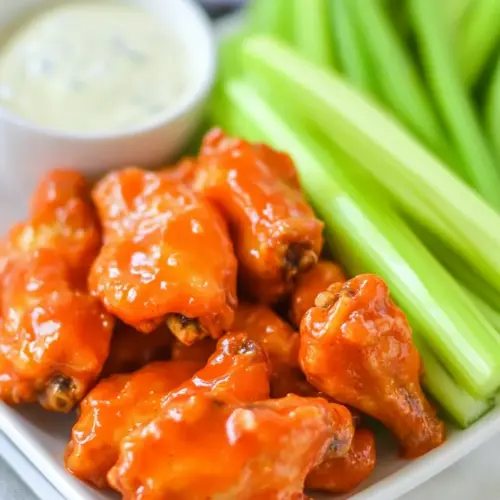
- Classic sides — Serve with raw cut vegetables such as celery and carrot sticks to provide a crisp, cooling counterpoint to the hot, saucy wings.
- Dipping sauces — Offer a creamy ranch dressing for cooling relief and another small bowl of extra hot sauce for guests who want more heat.
- Occasions — Perfect for game night, casual parties, and family gatherings. The informal nature of Buffalo Wings makes them ideal for social events where people can graze and chat.
- Storage tips — Keep leftover wings in an airtight container in the refrigerator for up to two days. Reheat briefly in a hot oven to help crisp the skin before serving.
- Seasonal pairings — These wings work well year round; serve them at summer barbecues or cozy indoor game days in cooler months for easy crowd pleasing.
FAQ
Conclusion
Buffalo Wings stand out because they combine crisp, golden fried chicken with a bold, buttery and vinegary glaze that hits all the right notes. Give them a try the next time you need an easy, shareable dish that cooks quickly and satisfies a crowd. You will enjoy the hands on process and the immediate payoff when you hear that first satisfying crunch and taste the warm, tangy sauce.
Buffalo Wings
Equipment
- Heavy pot
- Thermometer
- Shallow Dish
- Tongs
- Saucepan
Ingredients
- vegetable oil, for frying Used for deep or shallow frying to achieve crispy skin; heats to the proper temperature to cook wings evenly and prevent sogginess. Adds a neutral flavor that lets the sauce and seasonings stand out while providing the medium for browning.
- 1 -2 cups all-purpose flour Coats wings to create a light, crisp exterior when fried; helps absorb seasonings and promotes even browning. Can be seasoned with salt and pepper or spices to enhance texture and flavor of the crust.
- 24 chicken wings, thawed if frozen Provides the primary protein and base of the dish; wings should be thawed and patted dry to ensure proper frying and sauce adhesion. Offers rich, juicy meat that pairs well with spicy and buttery sauces.
- 1 (12-ounce) bottle hot sauce Forms the spicy component of the sauce with vinegar-based heat characteristic of Buffalo wings; combines with butter and Worcestershire to create a balanced sauce. Can be adjusted for heat level depending on brand or personal preference.
- 1/2 cup unsalted butter Adds richness and mellows the heat when melted into the hot sauce to create a smooth, glossy coating for the wings. Supplies fat that carries flavor and helps sauce adhere to the fried surface.
- 1 tablespoon Worcestershire sauce Enhances savory depth and umami when mixed into the sauce; balances acidity and heat with a subtle tangy, fermented note. Small amount rounds out flavor and complements butter and hot sauce for a more complex finish.
Instructions
- Fill a heavy pot with 2–3 inches oil and heat over medium-high heat to 350–375 degrees F.: You will hear the oil barely ripple as it approaches the correct temperature, and a quick breadcrumb test should sizzle energetically on contact. Getting the oil into this narrow band matters, because oil that is too cool soaks into the coating making it greasy, while oil that is too hot will brown the exterior before the chicken is cooked through. A common mistake is crowding the pot, which drops the temperature suddenly. If that happens, let the oil recover back to the target range before adding more pieces.
- While oil is heating, place flour in a shallow dish and dredge wings in the flour, making sure to coat all sides of the wings.: As you dust each wing you will feel the flour cling to the skin, creating a thin, even blanket that will fry crisp. The surface should look uniformly pale and slightly textured. This light coating helps seal in juices and creates the satisfying crack when you bite into the finished wing. Avoid overcoating, because a thick paste of flour can lead to a cakey crust. If your hands get clumpy, shake off excess flour and spread wings in a single layer while you work.
- Working in batches, add wings to hot oil and cook until golden brown, 5–7 minutes. Drain on a paper towel–lined plate.: You will hear the loud sizzle as each piece hits the oil, and the sound will soften as a golden crust forms. Look for an even, deepening golden color, and watch the surface for shrinking where the skin tightens. Internal juices should run clear when pierced, and the surface will feel firm to the touch. Resist the urge to flip constantly, let each side develop color for a couple of minutes before turning. A common pitfall is frying too many at once which lowers oil temperature and results in pale, greasy wings, so keep batches modest for even cooking.
- While frying wings, combine hot sauce, butter and Worcestershire sauce in a saucepan over medium heat and cook until combined and heated through.: After frying, the wings will release tiny spatters as they rest, and the paper towel will wick away excess oil so the crust stays crisp. You will notice the aroma shift to a roasted, savory note as steam escapes. Letting wings rest briefly ensures they finish carrying their crisp texture rather than steaming and softening. One mistake is piling wings too high which traps steam, so arrange them in a single layer while they cool slightly.
- Toss fried wings in sauce, making sure to coat all sides. Serve warm with ranch dressing.: As the butter melts into the hot sauce you will see the mixture become glossy and slightly thickened, releasing a warm, tangy steam. Whisk gently until the sauce is homogenous so the heat disperses evenly across each wing. This step matters because a well emulsified sauce clings and creates that classic lacquered finish. Avoid boiling vigorously which can separate the butter; keep it at a gentle simmer for best results.
- Toss fried wings in sauce, making sure to coat all sides.: When you transfer the wings into a bowl with the sauce, you will hear a soft glug and see a shiny coat quickly form. Use tongs to lift and turn each piece so the sauce spreads evenly and every bite is balanced. The residual heat helps the sauce set slightly, yielding a glossy finish. A common error is to pour sauce over a crowded tray which leads to uneven coverage, so toss in a spacious bowl and work in small batches for uniformity.
- Serve warm with ranch dressing.: Serving while hot ensures the contrast between crisp skin and saucy glaze is at its peak, and the cool, creamy dressing provides a soothing counterpoint to the heat. Arrange wings on a platter with napkins nearby and offer the dressing on the side so diners can choose how much to add. Letting wings sit too long before serving will mellow the crunch, so plate them promptly for best results.
Notes
- Maintain steady oil temperature — Use a thermometer and keep the oil between 350 and 375 degrees F, because this range produces a crisp exterior while ensuring the chicken cooks through without becoming greasy.
- Dry wings before coating — Pat the chicken completely dry to help the flour adhere, which leads to a more consistent and crunchy finish.
- Work in batches — Frying a few wings at a time prevents the oil temperature from dropping, which is essential for even browning and texture.
- Gently emulsify the sauce — Melt the butter into the hot sauce over moderate heat while stirring so the sauce becomes glossy and cohesive.
- Double check doneness — Look for a deep golden color and clear juices when pierced, signs that the chicken is fully cooked and juicy inside.
- Serve immediately — The crispness is at its best right after tossing in sauce, so plate and serve while the wings are still hot.