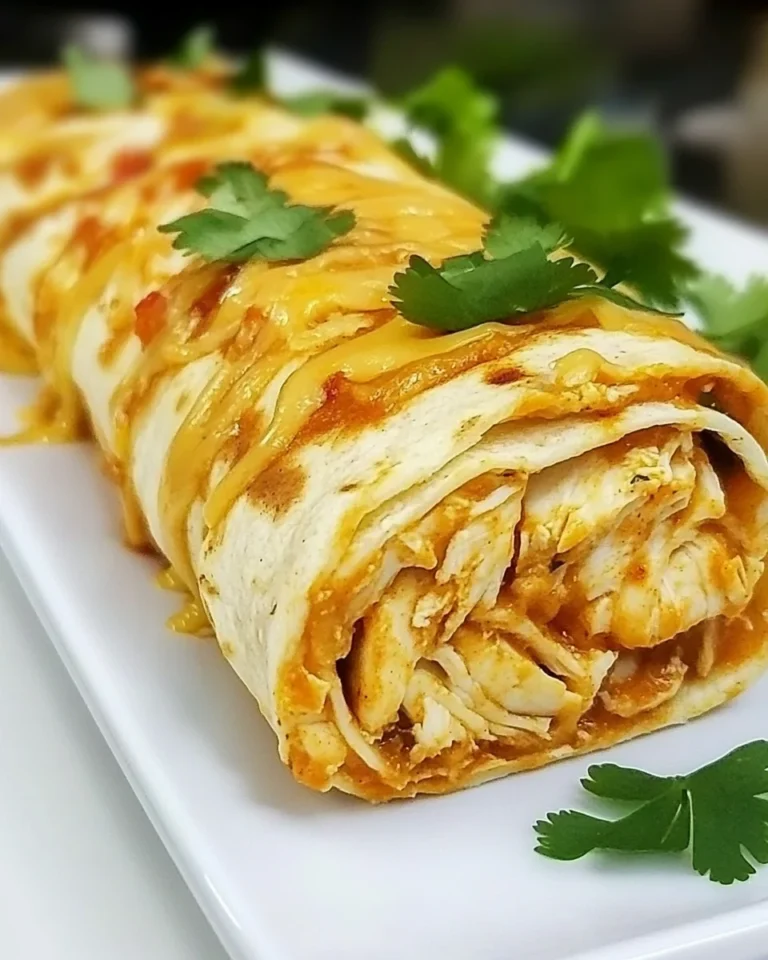
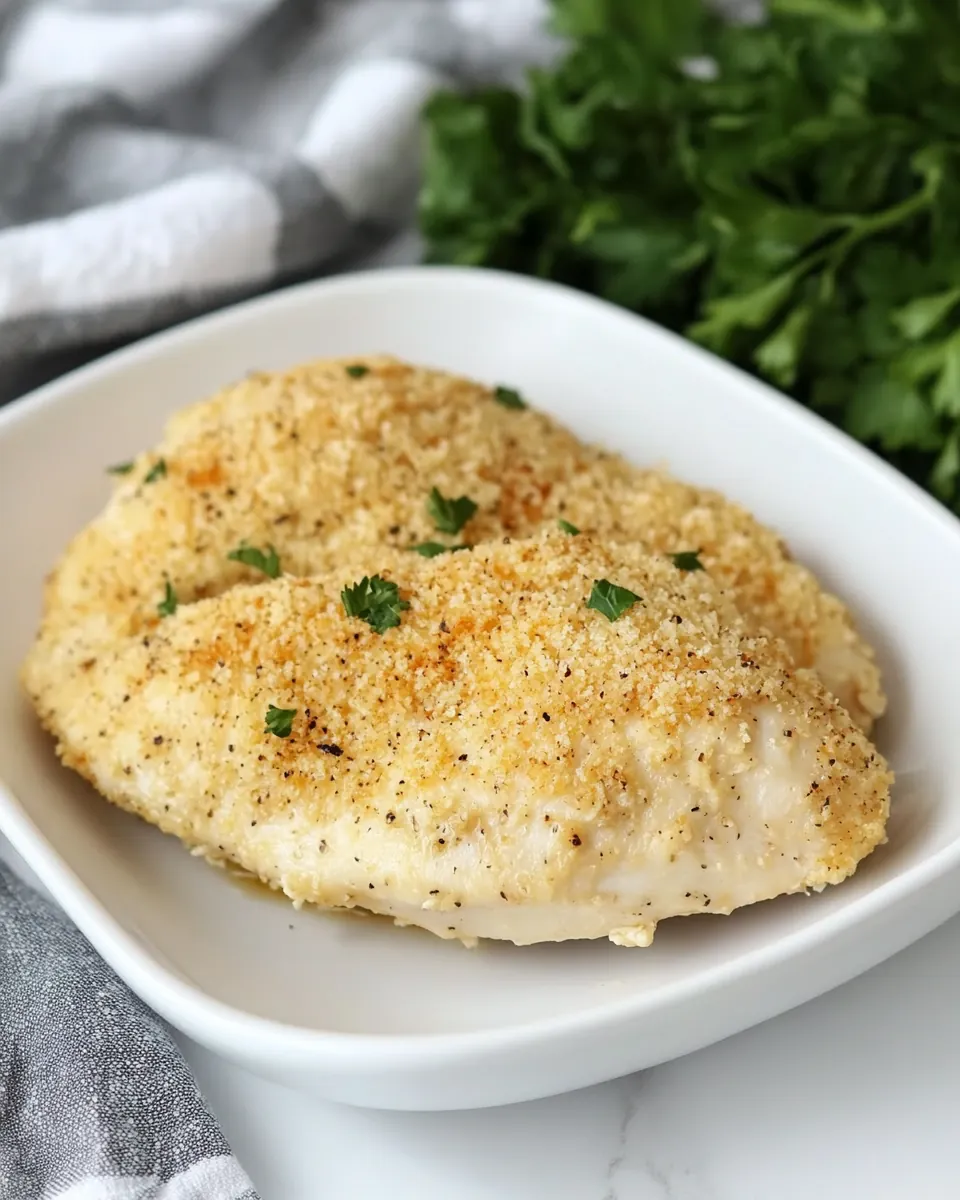
Baked Ranch Chicken
Baked Ranch Chicken has been one of those recipes I reach for when I want something comforting, simple, and a little nostalgic. The first time I made it, it was a rainy Saturday and I was craving something that tasted like a cozy diner meal but felt home cooked. I remember the warm, savory aroma of chicken and melted butter filling the kitchen while the panko crisped up into a golden crust. That day I served it with a tossed salad and everyone asked for seconds, which of course made me grin.
Over the years Ive tinker ed with small details, learning that a light pat of butter and a careful coating of the crumb mixture makes all the difference. I often think back to that first pan going into the oven, with the tiny crackle as the topping started to brown. When guests come over and I want to keep things relaxed, this is one of the dishes I choose because it looks like effort and tastes like love without demanding my full attention.
Recipe Snapshot
45 mins
5 mins
40 mins
Medium
320 kcal
American
Gluten-Free, Keto
Dinner
Oven, Baking pan, Mixing bowl
Why You’ll Love This Baked Ranch Chicken
Crunchy, not soggy
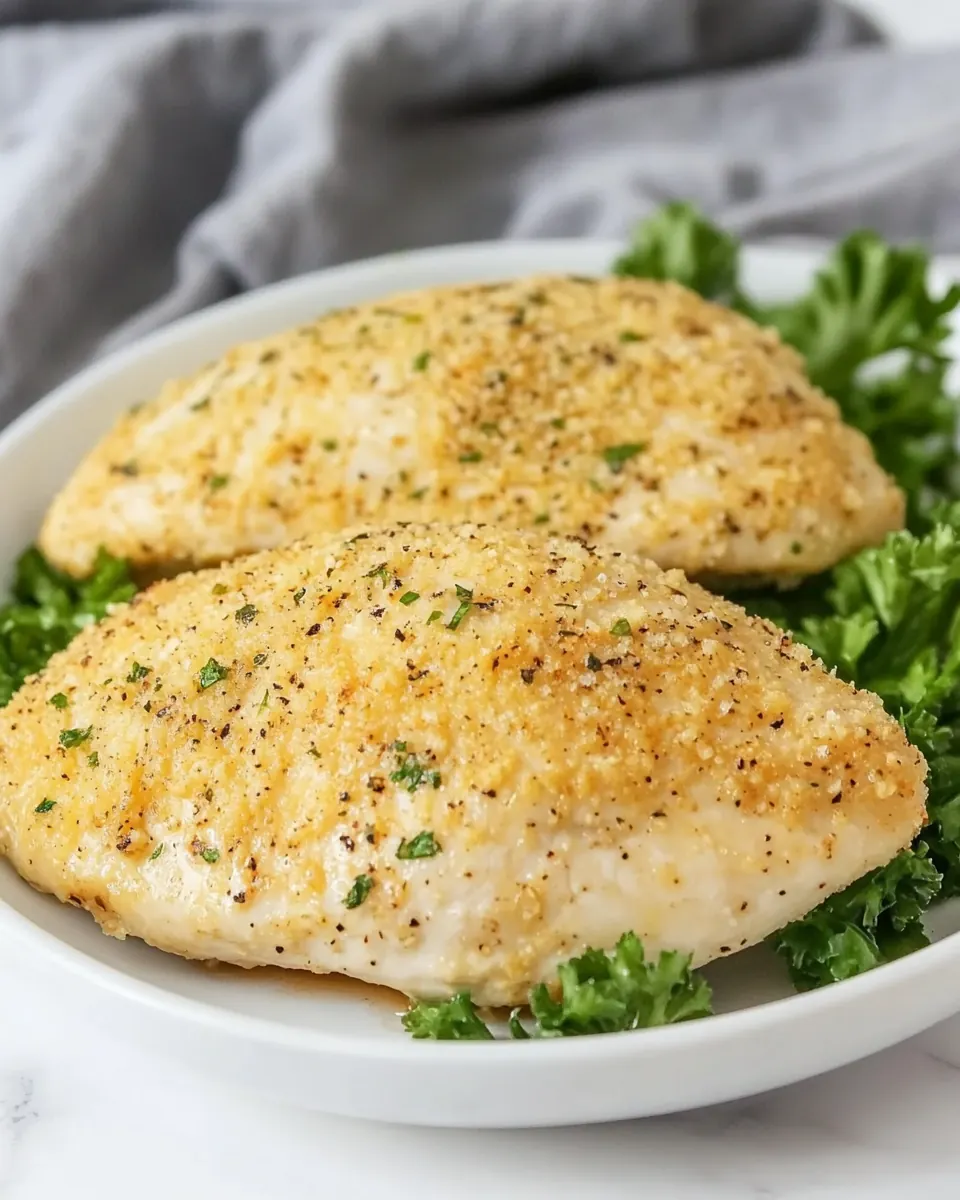
I love that Baked Ranch Chicken delivers a crunchy crust thanks to the Panko bread crumbs. Panko stays crisp through baking, and when combined with parmesan cheese it gives a toasted, nutty quality that contrasts beautifully with the tender chicken beneath. I always notice the satisfying sound when I cut into it, a light crackle that says you did it right.
Bold, familiar seasoning
The ranch seasoning packet brings that iconic tangy, herbed profile everyone recognizes. I appreciate how it layers with the garlic salt and lemon pepper to create depth without needing a dozen spices. When I make this, the seasoning clings to the crumbs, so each bite has consistent flavor. Its a reliable shortcut that still tastes homemade to me.
Comfort without fuss
This recipe is forgiving, and thats a big reason I keep it in my weeknight rotation. The steps are straightforward, and you can prep the coating quickly while the oven warms. Ive learned that gently pressing the crumb mix onto the chicken helps it adhere, which means fewer crumbs left behind in the pan and more golden crust on the meat.
Versatile family pleaser
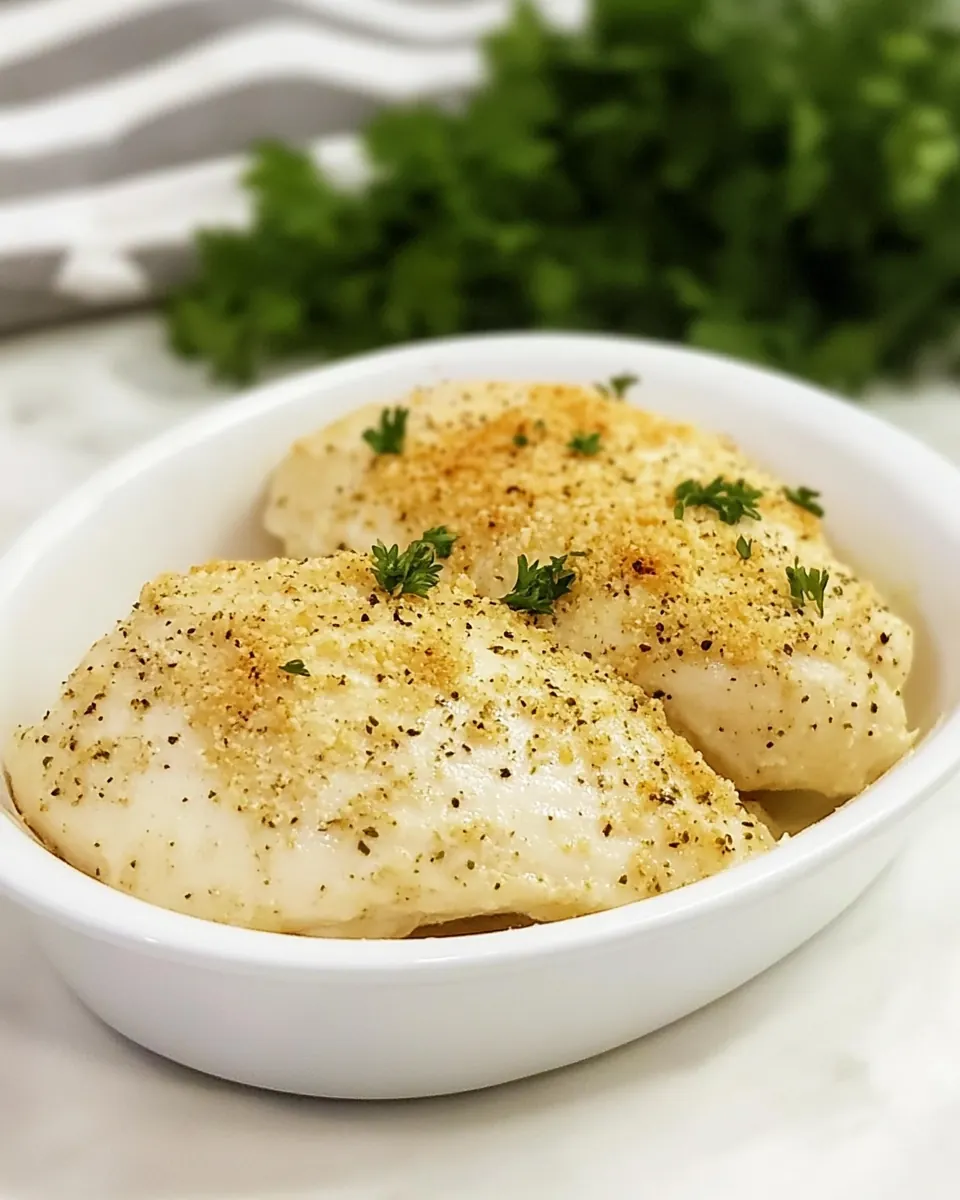
Whether its a casual weeknight or a small gathering, Baked Ranch Chicken fits the bill. The texture and flavors appeal to kids and adults alike, and it pairs seamlessly with roasted vegetables, rice, or a crisp salad. I often double the batch because it disappears fast, and leftovers reheat nicely without losing the crunch if you finish them under the broiler for a minute.
Little touches that elevate
Small details like melting butter before dipping, and finishing with a short broil for color, turn this into more than just coated chicken. Ive found those moments of caramelization add a toasty aroma and a visual pop that makes the dish feel special. I enjoy that its a short list of ingredients delivering big results, which makes me come back to it again and again.
What to Gather for Baked Ranch Chicken
These ingredients are designed to work together to create a balance of crunchy texture, savory depth, and juicy protein. The key players are the chicken for substance, Panko bread crumbs and parmesan cheese for crispness and umami, and the ranch seasoning for that familiar herby tang. Butter acts as the binding, allowing the crumbs to brown beautifully in the oven.
- 4 boneless, skinless chicken breasts: Cook thoroughly to provide the primary protein and base of the dish; boneless, skinless chicken breasts offer lean meat that bakes quickly and soaks up the ranch coating. Trim excess fat and pound to even thickness for uniform cooking, then season lightly before applying the breadcrumb mixture. Use as the main component to serve alongside vegetables or grains, ensuring safe internal temperature of 165°F.
- 1/2 cup Panko bread crumbs: Provide crisp texture and crunchy topping when combined with seasonings; Panko bread crumbs create a light, airy crust that browns attractively in the oven. Measure and press onto the buttered, seasoned chicken to adhere well, delivering contrast to the tender meat underneath. Combine with parmesan and ranch for enhanced flavor and structure in the coating.
- 1/4 cup grated parmesan cheese: Add savory, umami-rich richness that helps bind and flavor the breadcrumb crust; grated parmesan cheese melts slightly and promotes golden browning. Mix evenly into the Panko so each bite has a cheesy note and improved texture. Use freshly grated for best melting and flavor distribution across the chicken pieces.
- 1 teaspoon garlic salt (with parsley flakes): Season generously to infuse garlic flavor and subtle herb flecks into the coating; garlic salt with parsley flakes supplies both saltiness and mild herbiness. Sprinkle into the breadcrumb mixture to distribute savory garlic notes throughout the crust while contributing to overall seasoning balance. Adjust quantity if additional salt is added elsewhere to avoid over-salting.
- dash of lemon pepper: Brighten the seasoning blend with a hint of citrusy, peppery tang; a dash of lemon pepper lifts the flavors and complements the ranch and parmesan. Use sparingly to avoid overwhelming the other spices, placing it into the breadcrumb mix or directly on the chicken. Its zesty brightness pairs well with buttery and cheesy elements for a balanced profile.
- 3 tablespoons Hidden Valley® Original Ranch® Seasoning, or 1 seasoning packet: Impart classic tangy, herby ranch flavor throughout the coating; Hidden Valley® Original Ranch® Seasoning (or one packet) brings a concentrated mix of herbs and spices that defines the recipe. Stir into the breadcrumb-parmesan mixture so each crusted bite has the signature ranch taste, or combine with melted butter for a more evenly distributed coating. Opt for the packet if convenience is preferred.
- 4 tablespoons butter, divided: Moisten and help the coating adhere while adding rich flavor; dividing butter allows some to be melted and mixed with seasonings and some to dot on top for extra browning. Brush melted butter onto chicken before pressing on the breadcrumb mixture, and reserve a bit to melt over the top mid-bake for enhanced color and succulence. Use salted or unsalted based on desired final saltiness.
Making This Baked Ranch Chicken
This recipe is straightforward and rewarding, and the steps are designed to guide you toward a golden crust and moist interior. I find that taking a few mindful moments during prep, like evenly coating the chicken and preheating the oven fully, pays off in consistent results. Below I expand each direction into thorough, sensory rich guidance so you can feel confident at every stage.
- Preheat oven to 350°F.: As you allow the oven to reach a steady 350°F , you ll notice the kitchen slowly warming and a faint scent of residual heat if the oven was used earlier. Properly preheating ensures the chicken starts cooking immediately and the coating begins to set rather than steam, which helps achieve a crisp exterior. I recommend waiting until the oven signals it s ready rather than relying on a timer, because ovens can vary. A common mistake is placing the pan in too soon, which can lead to uneven color and a softer crust. If you want extra browning later, plan a brief broil at the end, but only after the meat is cooked through.
- Place crumbs, parmesan cheese, garlic salt, lemon pepper, and Hidden Valley Mix in a bowl and mix.: When you combine the Panko bread crumbs , parmesan cheese , garlic salt , dash of lemon pepper , and the ranch seasoning, you ll see a speckled, aromatic mixture form with herb flecks and golden crumbs. The scent will be savory and herb forward, with a faint citrus whisper from the lemon pepper. Mixing thoroughly ensures each bite gets an even hit of seasoning. One trap is not breaking up clumps of cheese or panko, which can lead to uneven coating; use a fork or your fingers to fluff the crumbs. Keep the bowl open to the air so the mixture stays dry and ready to crisp.
- Melt 2 tablespoons butter and dip chicken breasts in butter and then dip in a mixture of crumbs.: As you melt the first 2 tablespoons butter , the butter will shimmer and give off a warm, rich aroma that signals readiness. Dipping each chicken breast in the melted butter coats the surface so the crumb mixture adheres and browns attractively. After dipping, press the crumb mix firmly onto the meat so it forms a uniform layer. You ll feel the texture change from slick to textured as the crumbs bind. A common slip is skimping on pressing the crumbs, which can cause them to fall off during baking. If the butter cools and stiffens, rewarm gently to keep the coating process smooth.
- Placed in a greased pan. Top with 2 tablespoons of melted butter.: When you arrange the coated breasts in a greased pan, notice how the coating glints under the light, and leave a little space between pieces so hot air can circulate. Drizzling or brushing the remaining 2 tablespoons butter over the tops encourages deeper browning and a glossy finish as the fat melts and mingles with the crumbs. The pan should be just large enough to avoid crowding, which would trap steam and soften the crust. A common mistake is using a cold pan straight from the fridge, which can cause uneven cooking; letting the pan sit at room temperature briefly helps. Watch for bubbling butter at the edges that signals the crust is beginning to toast.
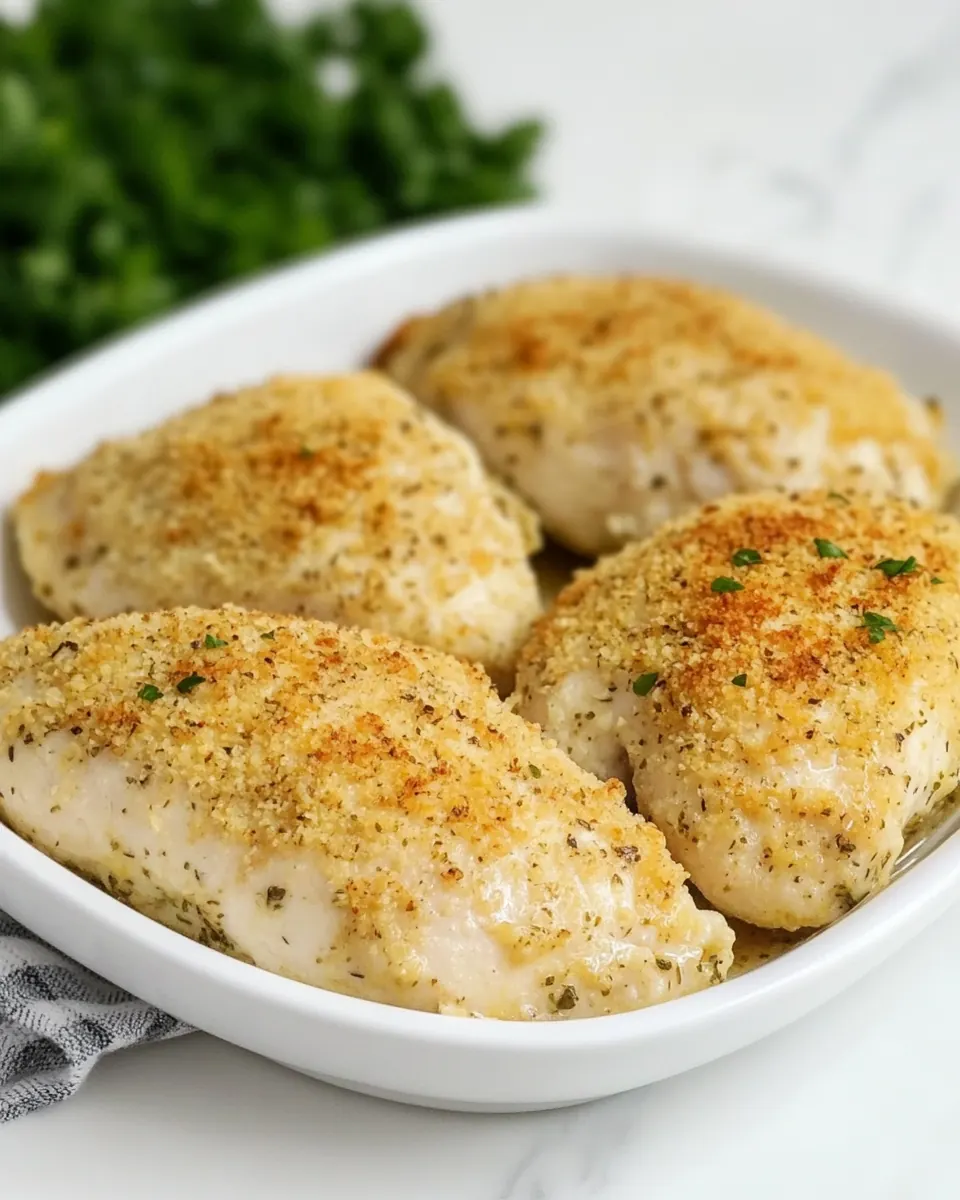
- Bake for 40-45 minutes. I baked it for 40 minutes and then broiled it on HIGH for the last 5-7 minutes to brown the panko a bit. ENJOY!: As the chicken bakes for the specified time, the kitchen will fill with a warm, toasty aroma as the Panko bread crumbs and parmesan cheese caramelize. The internal juices of the meat will shift and firm, and you may hear a faint sizzle as the butter finishes rendering. The visual cue to look for is an even golden brown on the crust and clear juices when pierced, plus an internal temperature of 165°F for safe doneness. I like to finish with a short broil on HIGH for the last 5 to 7 minutes if I want extra color, watching closely so it doesn t burn. A mistake to avoid is leaving it under the broiler too long, which can char the crumbs while leaving the interior slightly dry. Let the pieces rest briefly after baking so the juices settle and you get a juicier bite.
Customization Ideas
This section gives a range of ways to adapt Baked Ranch Chicken for different textures, dietary needs, and flavor preferences. Below are detailed ideas that keep the core method intact while allowing you to personalize the dish based on what you have on hand.
- Crunch boost Swap some of the Panko bread crumbs with crushed plain cornflakes for an extra crisp texture that browns beautifully under the broiler.
- Cheesy twist Fold in a touch more parmesan cheese to the crumb mix for a deeper savory note and a slightly more golden finish.
- Less salt Reduce added seasoning by using a low salt ranch packet or decreasing the garlic salt, relying on the parmesan cheese for umami instead.
- Butter alternative Brush the chicken with a light olive oil instead of melted butter for a slightly lighter crust that still crisps well.
- Make ahead Coat the chicken and arrange it on the pan, then cover and refrigerate for up to 24 hours before baking to let flavors meld; bring to room temperature before baking for even cooking.
How to Serve Baked Ranch Chicken
Baked Ranch Chicken is wonderfully flexible when it comes to serving. I like pairing it with a bright vegetable and a simple grain to make a complete plate, and the crunchy texture invites a variety of sides. Below are detailed serving suggestions and storage ideas to help you plan meals and occasions around this recipe.
- Weeknight dinner Serve the chicken with steamed rice and a dressed green salad for a balanced, easy weeknight plate.
- Family meals Pair with roasted potatoes and sautéed green beans to create a kid friendly spread that still feels put together.
- Casual entertaining Slice the chicken and serve on a platter with lemon wedges and a crisp slaw, letting guests serve themselves family style.
- Meal prep Store cooled portions in airtight containers in the refrigerator for up to 3 days, reheating briefly in a hot oven to crisp the crust before serving.
- Seasonal pairing In spring and summer, accompany with a light cucumber tomato salad; in fall, serve alongside roasted root vegetables to complement the golden crust.
- Storage tip To keep the crust as crisp as possible, store the chicken without sauce and reheat in a 350°F oven for 8 to 10 minutes, finishing with a quick 1 minute broil if desired.
FAQ
Conclusion
Baked Ranch Chicken stands out for its effortless combination of crunchy panko, savory parmesan, and that unmistakable ranch seasoning. Its a simple, dependable recipe that yields a golden crust and juicy interior with very little hands on time. Give it a try on a busy weeknight or when you want a comforting meal that still looks special, and dont be surprised if it becomes a repeat in your rotation.
Baked Ranch Chicken
Equipment
- Oven
- Baking Pan
- Mixing Bowl
Ingredients
- 4 boneless, skinless chicken breasts Cook thoroughly to provide the primary protein and base of the dish; boneless, skinless chicken breasts offer lean meat that bakes quickly and soaks up the ranch coating. Trim excess fat and pound to even thickness for uniform cooking, then season lightly before applying the breadcrumb mixture. Use as the main component to serve alongside vegetables or grains, ensuring safe internal temperature of 165°F.
- 1/2 cup Panko bread crumbs Provide crisp texture and crunchy topping when combined with seasonings; Panko bread crumbs create a light, airy crust that browns attractively in the oven. Measure and press onto the buttered, seasoned chicken to adhere well, delivering contrast to the tender meat underneath. Combine with parmesan and ranch for enhanced flavor and structure in the coating.
- 1/4 cup grated parmesan cheese Add savory, umami-rich richness that helps bind and flavor the breadcrumb crust; grated parmesan cheese melts slightly and promotes golden browning. Mix evenly into the Panko so each bite has a cheesy note and improved texture. Use freshly grated for best melting and flavor distribution across the chicken pieces.
- 1 teaspoon garlic salt (with parsley flakes) Season generously to infuse garlic flavor and subtle herb flecks into the coating; garlic salt with parsley flakes supplies both saltiness and mild herbiness. Sprinkle into the breadcrumb mixture to distribute savory garlic notes throughout the crust while contributing to overall seasoning balance. Adjust quantity if additional salt is added elsewhere to avoid over-salting.
- dash of lemon pepper Brighten the seasoning blend with a hint of citrusy, peppery tang; a dash of lemon pepper lifts the flavors and complements the ranch and parmesan. Use sparingly to avoid overwhelming the other spices, placing it into the breadcrumb mix or directly on the chicken. Its zesty brightness pairs well with buttery and cheesy elements for a balanced profile.
- 3 tablespoons Hidden Valley® Original Ranch® Seasoning, or 1 seasoning packet Impart classic tangy, herby ranch flavor throughout the coating; Hidden Valley® Original Ranch® Seasoning (or one packet) brings a concentrated mix of herbs and spices that defines the recipe. Stir into the breadcrumb-parmesan mixture so each crusted bite has the signature ranch taste, or combine with melted butter for a more evenly distributed coating. Opt for the packet if convenience is preferred.
- 4 tablespoons butter, divided Moisten and help the coating adhere while adding rich flavor; dividing butter allows some to be melted and mixed with seasonings and some to dot on top for extra browning. Brush melted butter onto chicken before pressing on the breadcrumb mixture, and reserve a bit to melt over the top mid-bake for enhanced color and succulence. Use salted or unsalted based on desired final saltiness.
Instructions
- Preheat oven to 350°F.: As you allow the oven to reach a steady 350°F , you ll notice the kitchen slowly warming and a faint scent of residual heat if the oven was used earlier. Properly preheating ensures the chicken starts cooking immediately and the coating begins to set rather than steam, which helps achieve a crisp exterior. I recommend waiting until the oven signals it s ready rather than relying on a timer, because ovens can vary. A common mistake is placing the pan in too soon, which can lead to uneven color and a softer crust. If you want extra browning later, plan a brief broil at the end, but only after the meat is cooked through.
- Place crumbs, parmesan cheese, garlic salt, lemon pepper, and Hidden Valley Mix in a bowl and mix.: When you combine the Panko bread crumbs , parmesan cheese , garlic salt , dash of lemon pepper , and the ranch seasoning, you ll see a speckled, aromatic mixture form with herb flecks and golden crumbs. The scent will be savory and herb forward, with a faint citrus whisper from the lemon pepper. Mixing thoroughly ensures each bite gets an even hit of seasoning. One trap is not breaking up clumps of cheese or panko, which can lead to uneven coating; use a fork or your fingers to fluff the crumbs. Keep the bowl open to the air so the mixture stays dry and ready to crisp.
- Melt 2 tablespoons butter and dip chicken breasts in butter and then dip in a mixture of crumbs.: As you melt the first 2 tablespoons butter , the butter will shimmer and give off a warm, rich aroma that signals readiness. Dipping each chicken breast in the melted butter coats the surface so the crumb mixture adheres and browns attractively. After dipping, press the crumb mix firmly onto the meat so it forms a uniform layer. You ll feel the texture change from slick to textured as the crumbs bind. A common slip is skimping on pressing the crumbs, which can cause them to fall off during baking. If the butter cools and stiffens, rewarm gently to keep the coating process smooth.
- Placed in a greased pan. Top with 2 tablespoons of melted butter.: When you arrange the coated breasts in a greased pan, notice how the coating glints under the light, and leave a little space between pieces so hot air can circulate. Drizzling or brushing the remaining 2 tablespoons butter over the tops encourages deeper browning and a glossy finish as the fat melts and mingles with the crumbs. The pan should be just large enough to avoid crowding, which would trap steam and soften the crust. A common mistake is using a cold pan straight from the fridge, which can cause uneven cooking; letting the pan sit at room temperature briefly helps. Watch for bubbling butter at the edges that signals the crust is beginning to toast.
- Bake for 40-45 minutes. I baked it for 40 minutes and then broiled it on HIGH for the last 5-7 minutes to brown the panko a bit. ENJOY!: As the chicken bakes for the specified time, the kitchen will fill with a warm, toasty aroma as the Panko bread crumbs and parmesan cheese caramelize. The internal juices of the meat will shift and firm, and you may hear a faint sizzle as the butter finishes rendering. The visual cue to look for is an even golden brown on the crust and clear juices when pierced, plus an internal temperature of 165°F for safe doneness. I like to finish with a short broil on HIGH for the last 5 to 7 minutes if I want extra color, watching closely so it doesn t burn. A mistake to avoid is leaving it under the broiler too long, which can char the crumbs while leaving the interior slightly dry. Let the pieces rest briefly after baking so the juices settle and you get a juicier bite.
Notes
- Crunch boost Swap some of the Panko bread crumbs with crushed plain cornflakes for an extra crisp texture that browns beautifully under the broiler.
- Cheesy twist Fold in a touch more parmesan cheese to the crumb mix for a deeper savory note and a slightly more golden finish.
- Less salt Reduce added seasoning by using a low salt ranch packet or decreasing the garlic salt, relying on the parmesan cheese for umami instead.
- Butter alternative Brush the chicken with a light olive oil instead of melted butter for a slightly lighter crust that still crisps well.
- Make ahead Coat the chicken and arrange it on the pan, then cover and refrigerate for up to 24 hours before baking to let flavors meld; bring to room temperature before baking for even cooking.