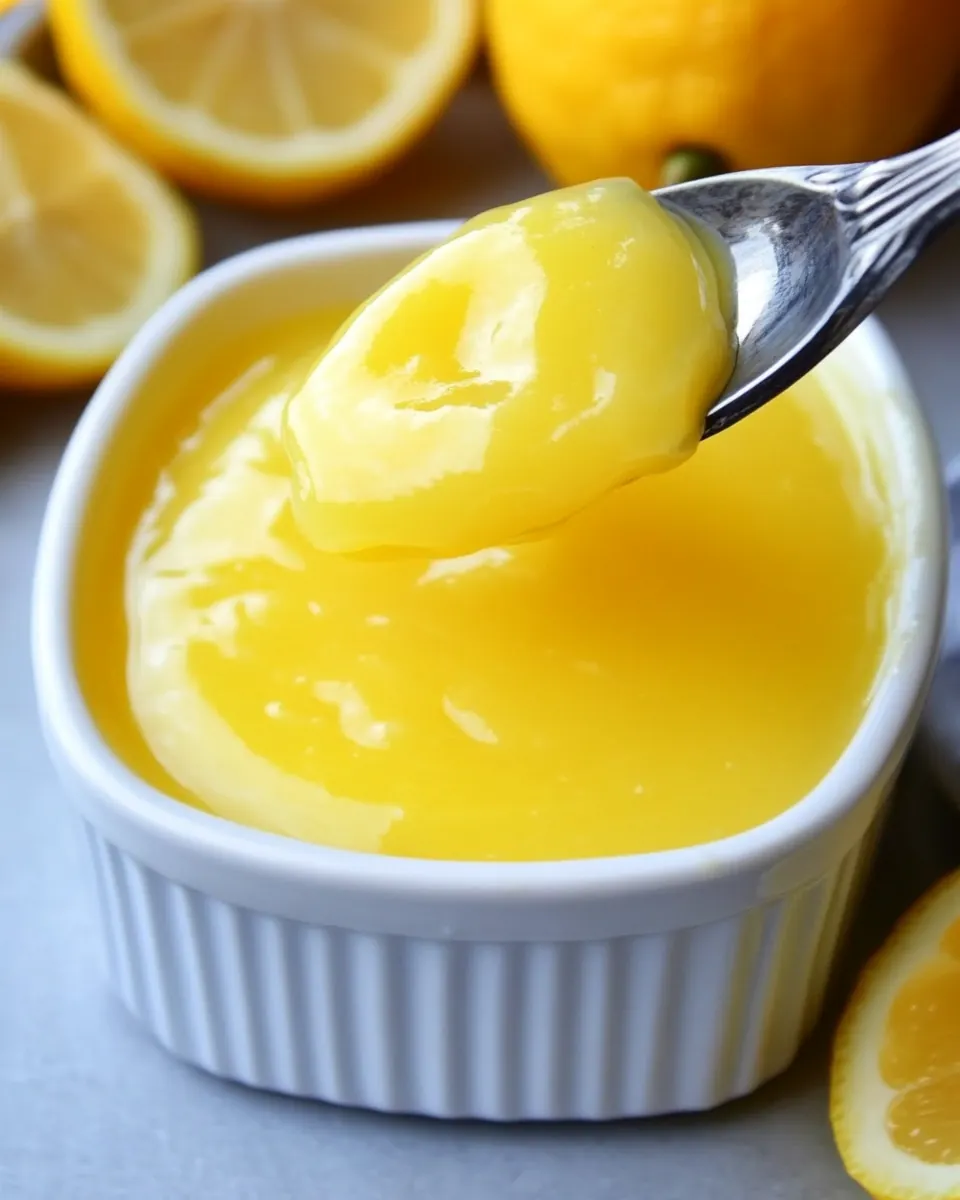
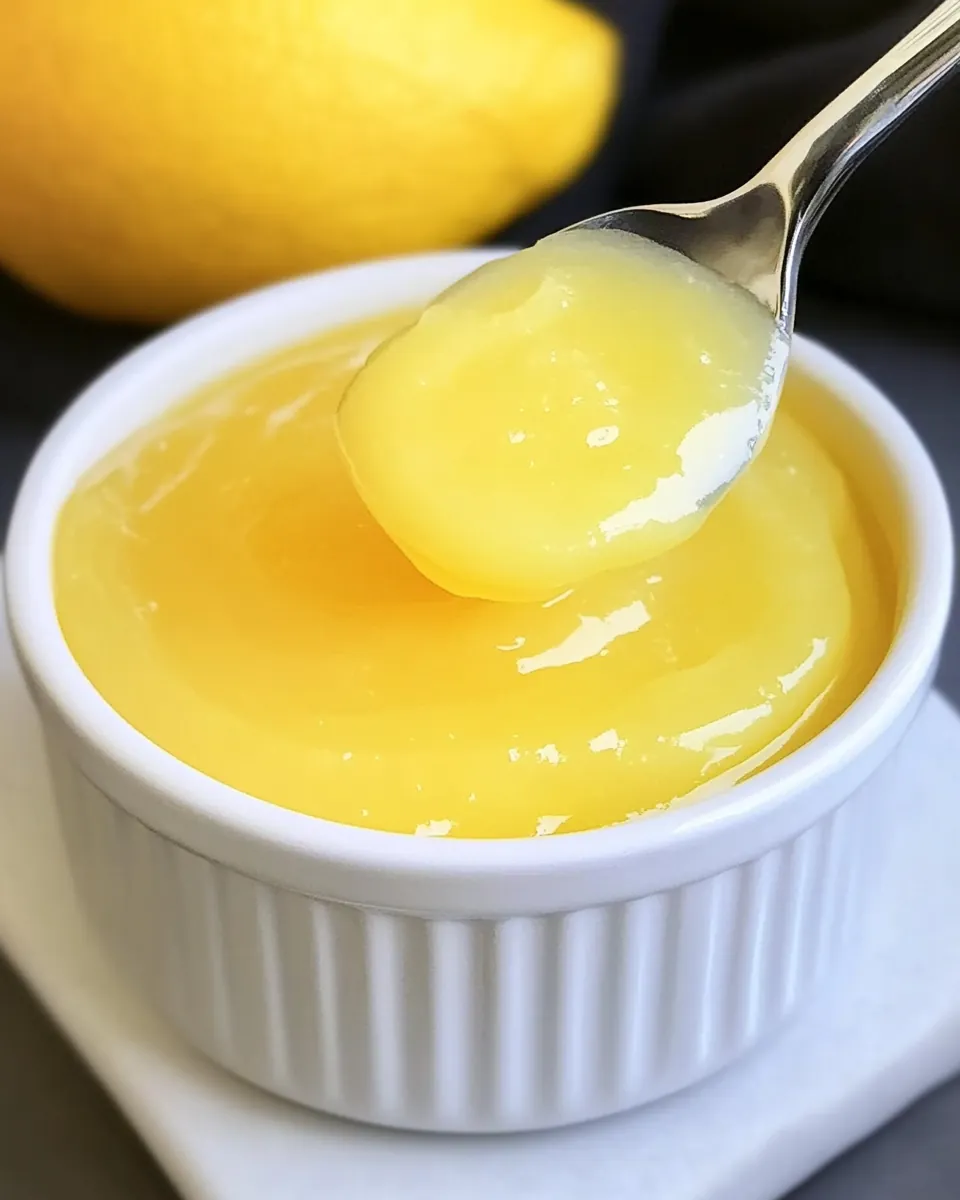
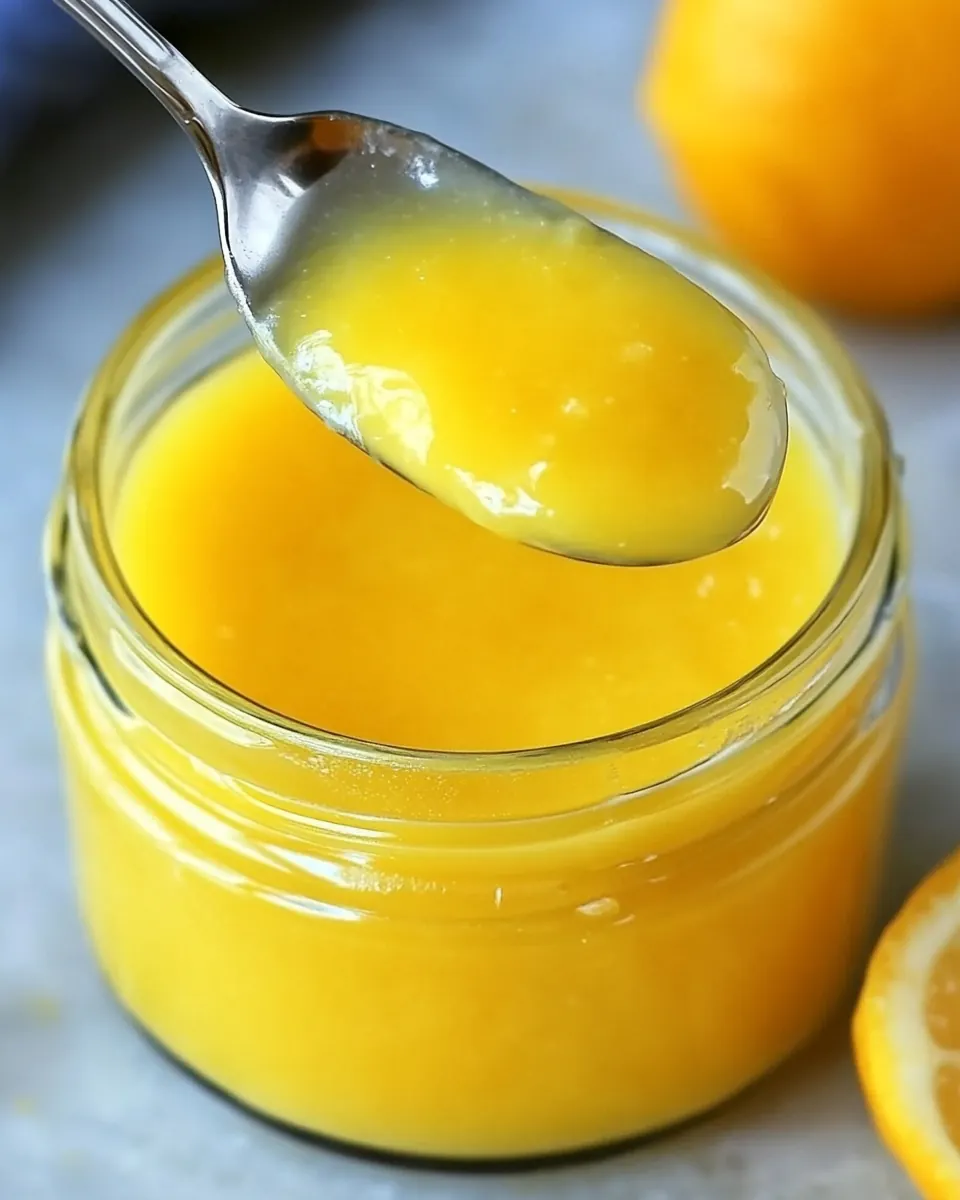
Lemon Curd
Lemon Curd began as a tiny experiment on a rainy afternoon when I wanted something bright to counter the gray sky.
I remember standing at my counter, the citrus scent filling the kitchen as I zested the first lemon, feeling a small thrill at how a few simple ingredients could yield such a silky, vibrant spread. Over the years I have returned to this recipe when I needed a quick pick me up, or a splash of sunshine to tuck into a tart, spoon over yogurt, or dollop onto pancakes. Each time I make Lemon Curd, I learn a little more about balancing texture and tartness, and that patience while cooking it gently really pays off.
One memorable afternoon a friend arrived unexpectedly, and I whisked together a batch in under an hour while we chatted. By the time the tea was ready, the curd had chilled and we were spooning it onto scones, trading stories and laughing at how something so simple could make an ordinary visit feel special. That day cemented this recipe as my go to when I want to impress with minimal fuss. I hope when you make Lemon Curd, it brings that same easy joy to your table.
Recipe Snapshot
25 mins
5 mins
20 mins
Easy
150 kcal
American
Gluten-Free, Low FODMAP
Desserts
Saucepan, Glass or metal bowl, Whisk, Fine mesh strainer
The Beauty of This Lemon Curd
Bright concentrated lemon flavor
I adore how Lemon Curd packs pure lemon flavor into a creamy, spoonable form. The combination of lemon juice and lemon zest creates layers of citrus brightness, from the aromatic oils in the zest to the sharp tang of the juice. I always find it satisfying to taste that immediate brightness, followed by a smooth, rich mouthfeel.
Silky texture that spreads and layers beautifully
The addition of butter and the careful cooking of the eggs give this curd a lusciously silky texture. I like it because it spreads effortlessly on baked goods, and it holds its shape when used as a filling, which makes it incredibly versatile. When done right, the texture feels decadent without being heavy.
Quick to make with pantry staples
One reason I keep this recipe in regular rotation is how fast it comes together. With a few pantry staples like sugar, eggs, and butter, you can make something that tastes complex and refined. I often make it between errands or while a loaf of bread cools, because the active time is short and the results are rewarding.
Flexible to use in sweet and not so sweet applications
I love that Lemon Curd plays well in lots of contexts. I spoon it into tarts, layer it in parfaits, and even use it to perk up plain yogurt. The balance of tartness and sweetness lets it complement both delicate pastries and more robust baked goods. For entertaining, it makes a lovely, simple component that elevates a spread without fuss.
Easy to master with a few techniques
Although it feels special, the technique is approachable. I tell people to focus on gentle heat and constant stirring, and to strain at the end for an ultra smooth result. Once you get the hang of watching for thickening and using a thermometer if you have one, producing perfect curd becomes second nature.
Key Ingredients for Lemon Curd
These ingredients work together to create bright citrus flavor and a rich, spoonable texture. The eggs provide structure and thickening, the sugar balances the tartness of the lemon juice, and the butter enriches the curd so it is silky and glossy. The zest delivers aromatic oils that make the lemon flavor pop, so each element plays a clear role in the final harmony.
- 3 eggs: Whisk vigorously to provide structure and body; whole eggs coagulate when gently heated and help thicken the curd while adding richness and a silky texture. Use room-temperature eggs to ensure even incorporation and avoid curdling during the cooking process.
- 1 egg yolk: Separate and whisk thoroughly to increase final creaminess and stability; the extra yolk adds concentrated fat and emulsifying properties that make the curd smoother and more velvety. Incorporate it gradually into the warm lemon mixture to help bind the custard without scrambling.
- 2 1/4 cups sugar: Dissolve completely to balance tartness and provide sweetness; sugar not only sweetens but also helps stabilize the custard and control the coagulation temperature of the eggs. Adjust measurements carefully if altering batch size, as sugar affects both flavor and texture.
- 1/2 cup butter cubed (1 stick): Cut into small cubes and add gradually to melt evenly; butter contributes richness, glossy finish, and a silky mouthfeel when emulsified into the cooked curd off heat. Use unsalted butter to control salinity, and whisk until fully incorporated for a smooth, stable emulsion.
- 1 1/2 teaspoons lemon zest (see note 1): Grate finely to release essential oils and bright aromatics; lemon zest intensifies citrus flavor without adding extra acidity and provides fragrant high notes. Measure by packed zest volume and avoid the bitter white pith when zesting.
- 3 ounces lemon juice: Measure precisely and strain if necessary to remove pulp; lemon juice supplies the tart acidity that sets the curd's flavor and reacts with eggs to create the proper balance between tang and sweetness. Use fresh juice for the brightest flavor and adjust cooking time slightly for different acidities.
Lemon Curd Instructions
This curd comes together through gentle heat and attentive stirring. The instructions below expand on each step so you can sense the right textures and aromas while avoiding common pitfalls. Read through once, then move confidently through the process.
- Bring a saucepan of water to a gentle simmer and set a glass or metal bowl over the top to create a double boiler. In the bowl, whisk together eggs, yolks, sugar, butter, lemon zest, and lemon juice.: You will notice a steady hiss and small bubbles forming at the edges of the pan, not a roaring boil, which is important because gentle heat prevents the eggs from scrambling. The bowl should sit snugly without touching the water to ensure even indirect heat. I pay attention to the steam and adjust the burner so the water maintains a calm simmer, because too vigorous boiling sends droplets into the bowl and can overheat the mixture. A common mistake is rushing this step and using direct heat, which makes temperature control difficult and risks curdling. Take a moment to get the simmer right, and you will have far smoother results.
- Cook over the simmering water, stirring frequently, until very thick, about 20 to 25 minutes (the curd must reach 170 degrees on a thermometer to thicken).: As you whisk, the mixture will start shiny and somewhat separated, then slowly gain cohesion as the sugar dissolves and the lemon juices mingle with the eggs . The scent of citrus will become pronounced, and you should feel the mixture thicken slightly under your whisk. It is important to add the butter as small cubes so it can blend in more easily later; if you add large lumps, it will take longer to melt and incorporate evenly. A frequent error here is under whisking which leaves sugar grains undissolved, so whisk until the sugar seems fully integrated and the aroma is even throughout.
- Strain through a fine-mesh strainer or cheesecloth, then cover and chill completely.: During this stage, you will see the mixture go from glossy and loose to noticeably thicker, coating the back of a spoon. The scent becomes deeper and more balanced, with the sharp lemon top notes tempered by the richness of the butter and eggs . Stirring frequently prevents hot spots and ensures even thickening; I use a flat whisk and make slow figure eight motions to keep everything moving. If you have a thermometer, aim for 170 degrees to be confident the proteins have set without scrambling. People often mistake small curdling as done, but texture at that point will be grainy; keep going until the mixture is smooth and thick.
- Strain through a fine mesh strainer or cheesecloth, then cover and chill completely: As you push the curd through the strainer, you will notice an immediate extra level of silkiness as any coagulated bits are removed. The curd should pour smoothly and have a glossy sheen. Covering it directly on the surface or with plastic wrap prevents a skin from forming during chilling and keeps the texture uniformly smooth. I always taste a tiny bit chilled to check the acid sweet balance, because flavors settle as it cools. A common mistake is skipping the straining, which leaves tiny cooked egg bits and ruins the lusciously smooth mouthfeel you are aiming for.
Substitutions and Tips
I like to keep substitutions minimal because the charm of Lemon Curd is its bright, straightforward profile. Below are practical tips and small swaps that preserve the character while offering flexibility if you need it.
- Use fresh lemons: Freshly squeezed lemon juice is irreplaceable here, it brings vibrant aroma and flavor that bottled juice cannot match.
- Zest first: Zest your lemons before cutting, it saves time and ensures you capture the fragrant oils easily.
- Control the heat: Maintain a gentle simmer under your double boiler, because calm steam gives you the best texture without scrambled eggs.
- Cube the butter: Cold, cubed butter added at the end emulsifies into a silky finish, avoid adding it in large pieces.
- Strain for smoothness: Passing the curd through a fine mesh removes any tiny cooked bits, leaving a glassy, spreadable curd.
- Storage advice: Keep the curd covered in the refrigerator for up to one week, and use clean utensils to avoid contamination.
What to Pair With Lemon Curd
Lemon Curd shines on many surfaces and in many contexts, from simple breakfasts to festive gatherings. Here are serving ideas, pairings, and storage notes to help you make the most of it.
- On toast and scones: Spread chilled curd on warm scones or toast for a bright breakfast or tea time treat that balances flaky and creamy textures.
- As a tart filling: Use it to fill prebaked tart shells, top with fresh fruit or whipped cream for a polished dessert at dinner parties.
- Layered in parfaits: Spoon into yogurt or mascarpone layered with granola for a breezy brunch option that plays sweet and tart against crunchy textures.
- With pancakes and waffles: Dollop onto hot pancakes or waffles in place of syrup for an uplifting citrus twist in the morning.
- For picnics and gatherings: Bring a jar along to spread on biscuits, finger breads, or to serve alongside a cheese board for a lively contrast.
- Storage tips: Keep the curd chilled and covered, it will last up to one week in the refrigerator, and for longer storage you can freeze in airtight jars for up to three months.
- Seasonal pairings: In spring, pair with fresh berries and light pastries; in summer, use it as a cooling component with ice cream or frozen yogurt.
FAQ
Conclusion
What makes this recipe special is its ability to transform a handful of simple pantry ingredients into a silky, intensely lemony spread that brightens many dishes. I encourage you to try making Lemon Curd because the technique is straightforward and the results are reliably impressive whether you spoon it on toast, fill a tart, or dollop it onto yogurt. Keep your approach patient and attentive, and you will be rewarded with a glossy, flavorful curd that feels both homey and elegant. Enjoy the process and the delicious payoff.
Lemon Curd
Equipment
- Saucepan
- Glass or metal bowl
- Whisk
- Fine-mesh strainer
Ingredients
- 3 eggs Whisk vigorously to provide structure and body; whole eggs coagulate when gently heated and help thicken the curd while adding richness and a silky texture. Use room-temperature eggs to ensure even incorporation and avoid curdling during the cooking process.
- 1 egg yolk Separate and whisk thoroughly to increase final creaminess and stability; the extra yolk adds concentrated fat and emulsifying properties that make the curd smoother and more velvety. Incorporate it gradually into the warm lemon mixture to help bind the custard without scrambling.
- 2 1/4 cups sugar Dissolve completely to balance tartness and provide sweetness; sugar not only sweetens but also helps stabilize the custard and control the coagulation temperature of the eggs. Adjust measurements carefully if altering batch size, as sugar affects both flavor and texture.
- 1/2 cup butter cubed (1 stick) Cut into small cubes and add gradually to melt evenly; butter contributes richness, glossy finish, and a silky mouthfeel when emulsified into the cooked curd off heat. Use unsalted butter to control salinity, and whisk until fully incorporated for a smooth, stable emulsion.
- 1 1/2 teaspoons lemon zest (see note 1) Grate finely to release essential oils and bright aromatics; lemon zest intensifies citrus flavor without adding extra acidity and provides fragrant high notes. Measure by packed zest volume and avoid the bitter white pith when zesting.
- 3 ounces lemon juice Measure precisely and strain if necessary to remove pulp; lemon juice supplies the tart acidity that sets the curd's flavor and reacts with eggs to create the proper balance between tang and sweetness. Use fresh juice for the brightest flavor and adjust cooking time slightly for different acidities.
Instructions
- Bring a saucepan of water to a gentle simmer and set a glass or metal bowl over the top to create a double boiler. In the bowl, whisk together eggs, yolks, sugar, butter, lemon zest, and lemon juice.: You will notice a steady hiss and small bubbles forming at the edges of the pan, not a roaring boil, which is important because gentle heat prevents the eggs from scrambling. The bowl should sit snugly without touching the water to ensure even indirect heat. I pay attention to the steam and adjust the burner so the water maintains a calm simmer, because too vigorous boiling sends droplets into the bowl and can overheat the mixture. A common mistake is rushing this step and using direct heat, which makes temperature control difficult and risks curdling. Take a moment to get the simmer right, and you will have far smoother results.
- Cook over the simmering water, stirring frequently, until very thick, about 20 to 25 minutes (the curd must reach 170 degrees on a thermometer to thicken).: As you whisk, the mixture will start shiny and somewhat separated, then slowly gain cohesion as the sugar dissolves and the lemon juices mingle with the eggs . The scent of citrus will become pronounced, and you should feel the mixture thicken slightly under your whisk. It is important to add the butter as small cubes so it can blend in more easily later; if you add large lumps, it will take longer to melt and incorporate evenly. A frequent error here is under whisking which leaves sugar grains undissolved, so whisk until the sugar seems fully integrated and the aroma is even throughout.
- Strain through a fine-mesh strainer or cheesecloth, then cover and chill completely.: During this stage, you will see the mixture go from glossy and loose to noticeably thicker, coating the back of a spoon. The scent becomes deeper and more balanced, with the sharp lemon top notes tempered by the richness of the butter and eggs . Stirring frequently prevents hot spots and ensures even thickening; I use a flat whisk and make slow figure eight motions to keep everything moving. If you have a thermometer, aim for 170 degrees to be confident the proteins have set without scrambling. People often mistake small curdling as done, but texture at that point will be grainy; keep going until the mixture is smooth and thick.
- Strain through a fine mesh strainer or cheesecloth, then cover and chill completely: As you push the curd through the strainer, you will notice an immediate extra level of silkiness as any coagulated bits are removed. The curd should pour smoothly and have a glossy sheen. Covering it directly on the surface or with plastic wrap prevents a skin from forming during chilling and keeps the texture uniformly smooth. I always taste a tiny bit chilled to check the acid sweet balance, because flavors settle as it cools. A common mistake is skipping the straining, which leaves tiny cooked egg bits and ruins the lusciously smooth mouthfeel you are aiming for.
Notes
- Use fresh lemons: Freshly squeezed lemon juice is irreplaceable here, it brings vibrant aroma and flavor that bottled juice cannot match.
- Zest first: Zest your lemons before cutting, it saves time and ensures you capture the fragrant oils easily.
- Control the heat: Maintain a gentle simmer under your double boiler, because calm steam gives you the best texture without scrambled eggs.
- Cube the butter: Cold, cubed butter added at the end emulsifies into a silky finish, avoid adding it in large pieces.
- Strain for smoothness: Passing the curd through a fine mesh removes any tiny cooked bits, leaving a glassy, spreadable curd.
- Storage advice: Keep the curd covered in the refrigerator for up to one week, and use clean utensils to avoid contamination.