Honey Lemon Chicken
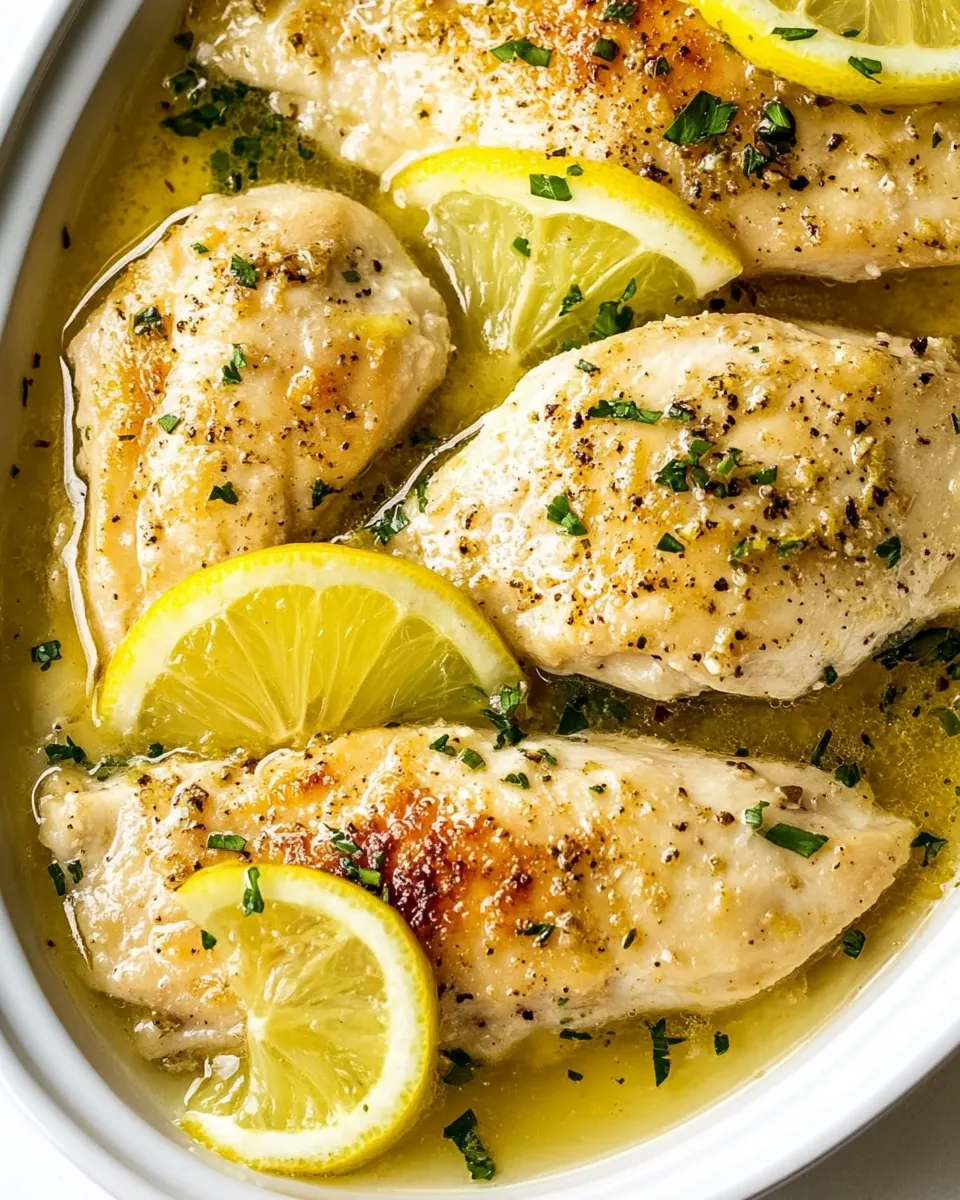
Honey Lemon Chicken is one of those comforting meals I turn to when I want something bright, cozy, and impossibly simple. The first time I made it was after a long, rainy day, and the mix of sweet honey and bright lemon felt like a small celebration on a weeknight plate. I remember standing at the stove, listening to the pan sizzle, and thinking how a few pantry staples could transform plain chicken into something restaurant worthy.
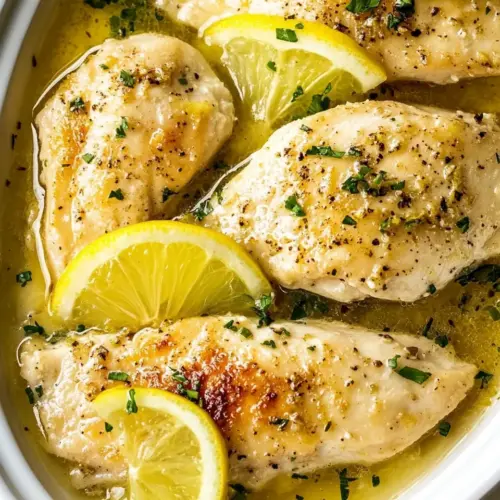
I like how this dish feels both familiar and a little bit fancy. The quick flour dredge gives the chicken a delicate crust that soaks up the sauce without getting soggy. As the sauce reduces, it develops glossy sheen and a warm aroma that fills the kitchen, and I often find myself hovering with a spoon just to catch the first drizzle. When friends come over unexpectedly, this recipe is my secret weapon because it looks impressive, yet it takes almost no brainpower.
What I appreciate most is the balance, the way the sweetness from the honey tames the lemon‘s sharpness, and the butter adds a silky mouthfeel that makes every bite luscious. Over time, I tweaked small things like the order of adding ingredients so the sauce stays bright, and now it reliably comes together with a golden sear, a quick deglaze, and a glossy finish. It’s a recipe that comforts without weighing you down, and it becomes part of the weeknight rotation the instant you make it once.
Recipe Snapshot
20 mins
5 mins
15 mins
Easy
400 kcal
American
Gluten-Free, Paleo
Dinner
Skillet, Knife, Cutting board, Spoon
The Appeal of This Honey Lemon Chicken
Bright Yet Comforting Flavor
I love how Honey Lemon Chicken marries sweet and tart in a single spoonful. The honey rounds the edges of the lemon, creating a lively note that feels fresh rather than cloying. I notice this contrast every time I serve it, and guests often comment on how the sauce sings without being overpowering.
Rapid Weeknight Win
This recipe fits perfectly into busy nights. From my experience, it takes almost no time to prepare and the payoff is huge. You get a full flavored main course fast, which means less time in the kitchen and more time around the table. I frequently rely on it when I need something quick and satisfying.
Minimal Ingredients, Maximum Impact
One thing I always mention is how a handful of pantry items can create depth. With basic chicken, butter, honey, and lemon juice, you get layers of flavor. The technique of dredging in flour and searing adds texture that elevates the dish well beyond its short ingredient list.
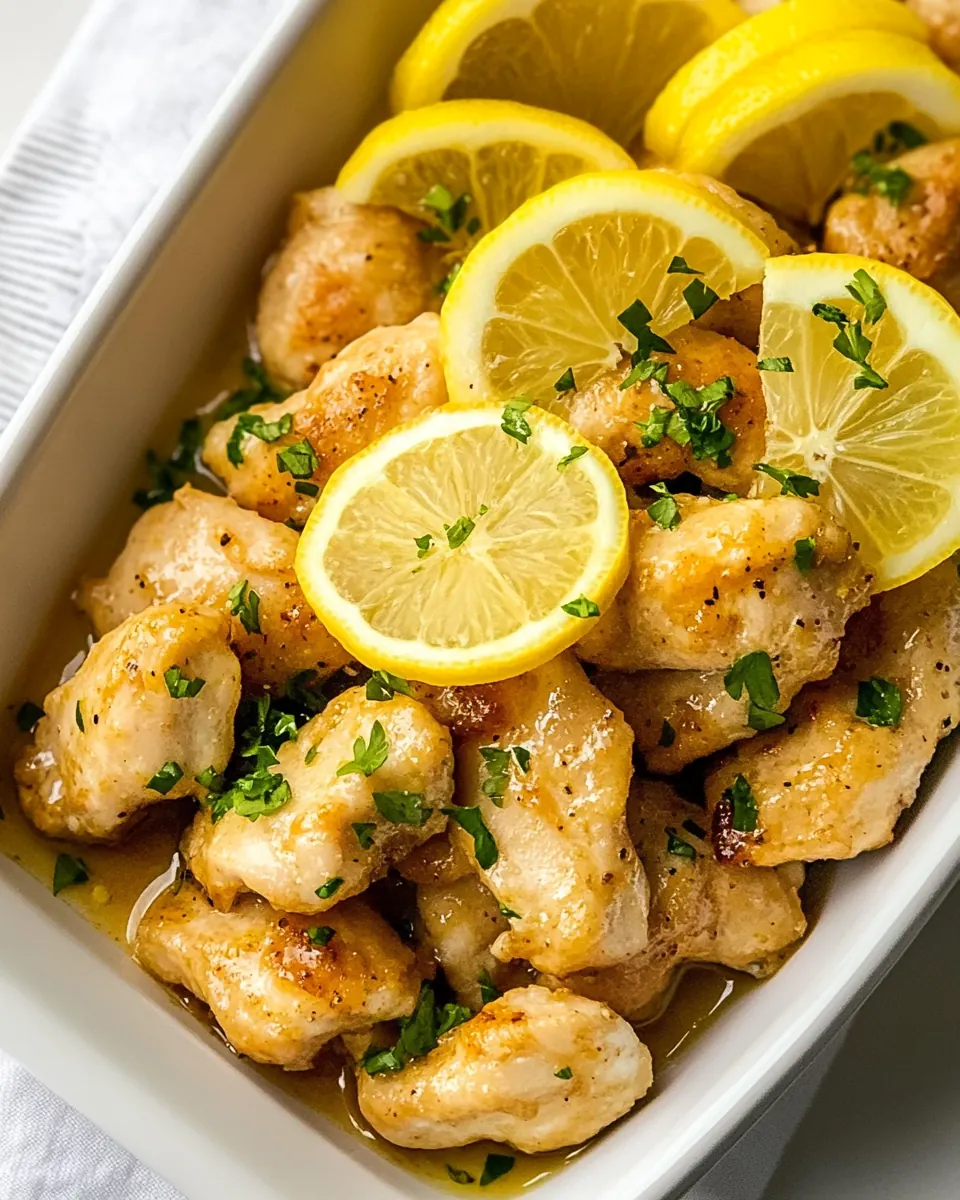
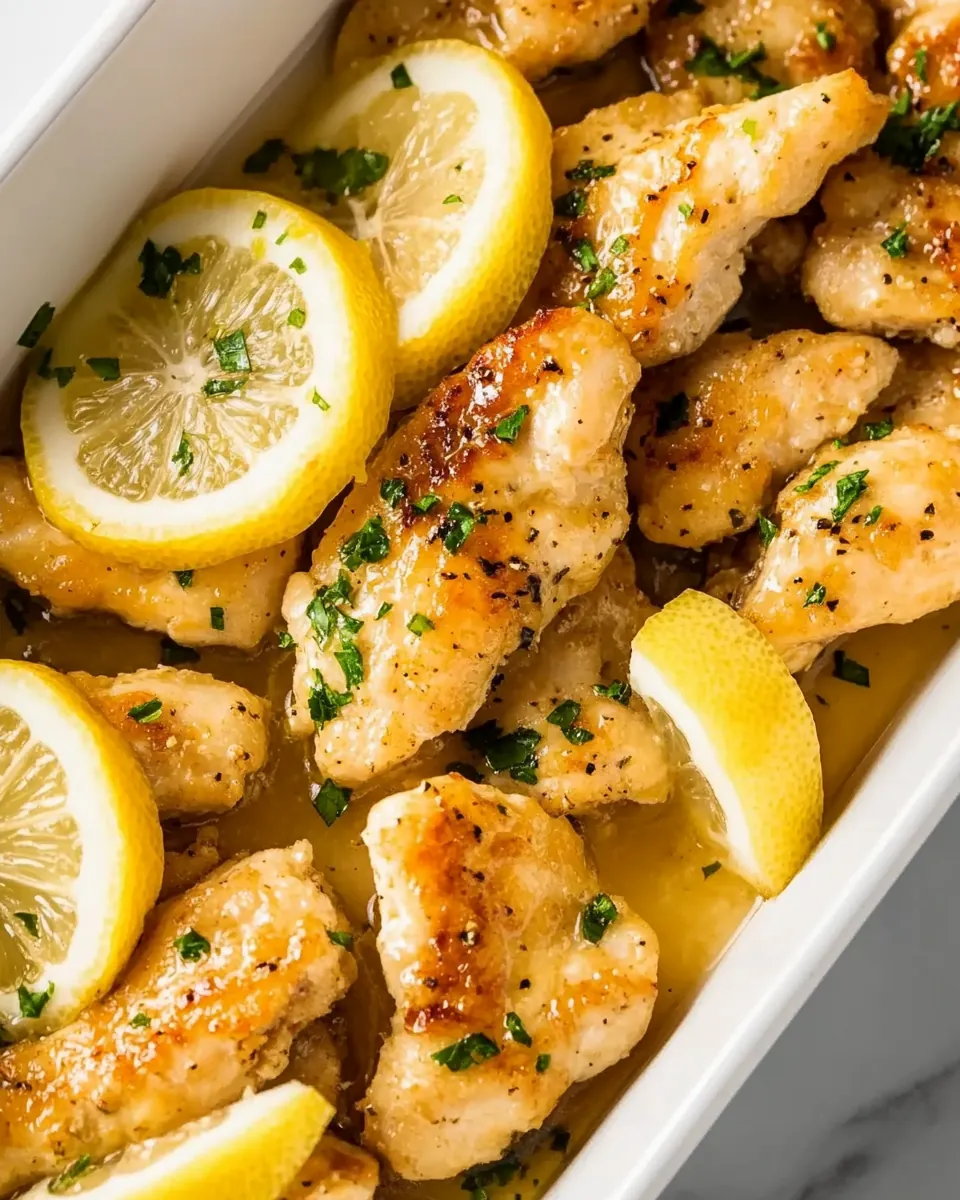
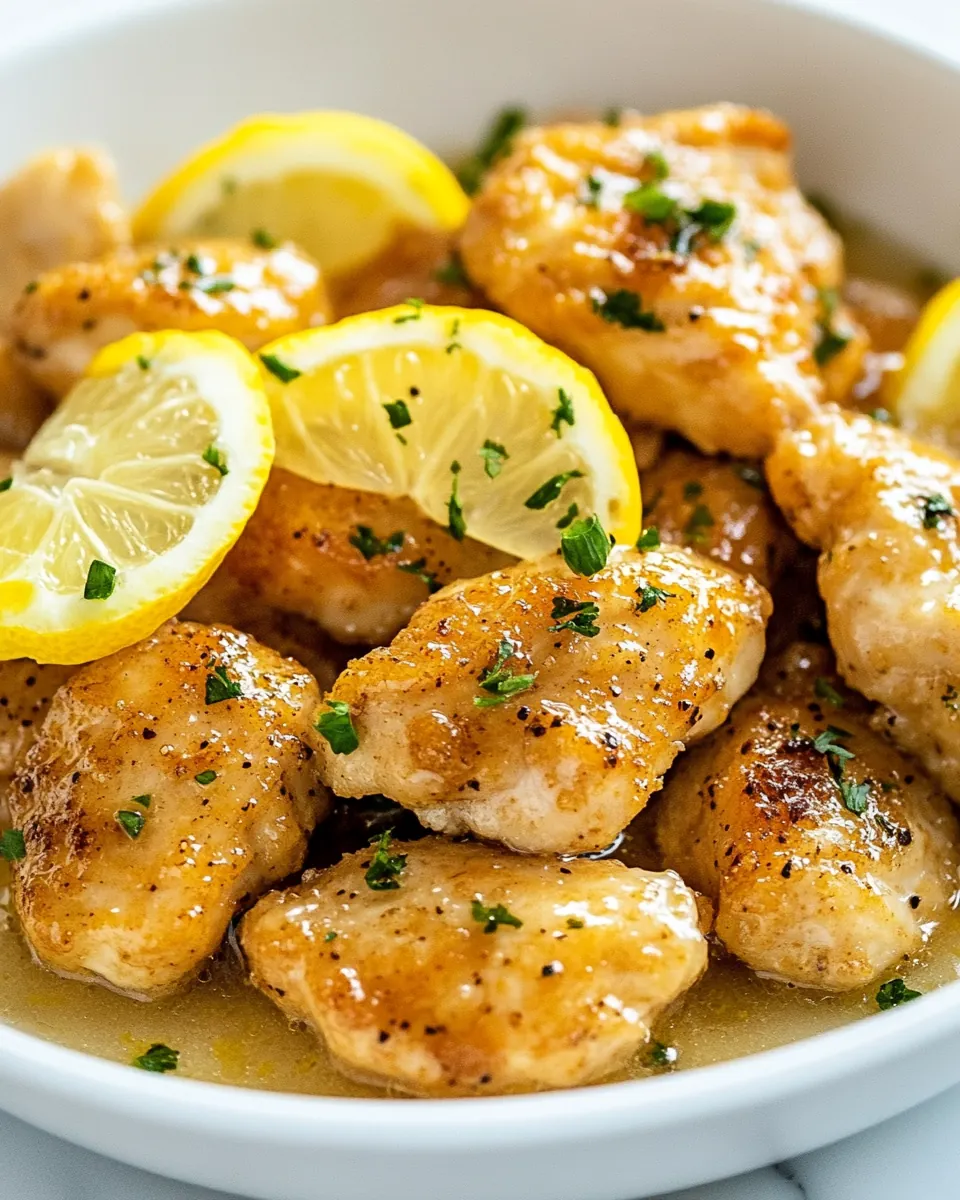
Comforting Texture
That golden crust on the chicken and the glossy sauce spooned over the top is why I keep making this. The exterior provides a gentle crunch that contrasts nicely with the tender interior. In my kitchen, that mix of textures is what keeps people scraping the pan for more sauce.
Flexible and Friendly
I appreciate how adaptable the recipe is. You can scale it up without losing the essence, and it pairs easily with simple sides. I often serve it with rice or a light salad, and both options feel natural. For me, the simplicity makes it friendly for cooks at any skill level.
What You Need for Honey Lemon Chicken
These ingredients are intentionally straightforward, each playing a clear role. The chicken is the star, while the flour gives a light crust that helps the sauce cling. The aromatics and fats, like butter and olive oil, carry flavor and create a glossy sauce when combined with the sweet and acidic components, namely honey and lemon juice. The broth expands the sauce volume and deepens savory notes so the finish feels balanced and rounded.
- 2 large chicken breasts: Pound or halve to even thickness so the meat cooks quickly and stays juicy; provides the main protein and base of the dish. Season well before dredging to build flavor layers and ensure a satisfying texture after pan-searing. Slice against the grain when serving to maximize tenderness and mouthfeel.
- 1/4 teaspoon garlic powder: Sprinkle evenly to add a mild garlic aroma and enhance savory depth; helps round out the lemon and honey flavors without overpowering them. Use sparingly to prevent bitterness and to complement the other seasonings during dredging and cooking.
- Salt & pepper to taste: Season to taste to bring out natural flavors and balance the sweet-tart sauce; salt elevates savory notes while pepper adds subtle heat. Apply before and after dredging as needed to maintain consistent seasoning throughout the cooking process.
- Flour for dredging: Coat lightly to create a crisp, golden exterior that helps seal in juices and provides texture contrast with the sauce. Shake off excess to avoid a gummy coating and ensure even browning when pan-frying in oil and butter.
- 1 tablespoon olive oil: Heat until shimmering to create a hot surface for browning the chicken; contributes a clean, fruity flavor and helps prevent sticking. Use to start the pan-sear, then finish with butter for added richness.
- 2 tablespoons butter divided: Melt in two stages to both brown the chicken and enrich the sauce; reserve one tablespoon for searing and add the rest to finish the pan sauce for silkiness. Monitor browning carefully to avoid burning while extracting nutty flavor from the milk solids.
- 1/2 cup chicken broth: Deglaze the pan to capture browned bits and form the savory base of the sauce; supplies a mild, savory liquid that balances the sweet and acidic components. Simmer briefly to concentrate flavor and reduce slightly for better sauce cling.
- 1 tablespoon lemon juice: Add to brighten and provide acidic balance to the sweetness of the honey; helps cut richness and lifts overall flavor. Use freshly squeezed for the cleanest taste and adjust quantity to personal preference for tartness.
- 2 tablespoons honey: Whisk in to supply primary sweetness and a glossy finish to the sauce; binds with butter and lemon to create a balanced glaze. Warm gently to dissolve and integrate without losing delicate floral notes.
Directions for Honey Lemon Chicken
These directions will guide you step by step through transforming simple pantry staples into a glossy, saucy main that feels elevated. Read each step and tune your senses, because the sights, sounds, and smells will tell you when you are on track.
- Cut your chicken breasts in half lengthwise so you have four thinner cutlets. Sprinkle them with salt, pepper, and garlic powder. Dredge them in flour so they're evenly coated.: The moment you slice through, you can feel the difference in thickness and know the meat will cook evenly, which prevents drying. Look for uniform pieces; they should be about the same thickness to ensure even browning. A common misstep is cutting unevenly which leads to parts overcooking, so take your time and use a sharp knife. As you work, the meat will feel cool and slightly springy, and an even thickness helps the surface get that desirable golden color when seared.
- Add the oil and one tablespoon of the butter to a skillet over medium-high heat. Once the pan is hot, add the chicken and cook it for 4-5 minutes/side or until golden. If it starts to splatter a lot, reduce the heat a bit.: Right after cutting, seasoning allows the flavors to stick and penetrate the surface, offering a base savory note. The salt will start to draw some moisture to the surface, helping the flour adhere, while the garlic powder gives a subtle roasted aroma as it hits the hot pan later. Avoid over salting at this stage, especially if you plan to adjust later, because too much surface salt can make the crust taste sharp instead of warm.
- Take the chicken out of the pan and set it aside. Remove the pan from the heat and stir in the chicken broth, lemon juice, honey, and the rest of the butter. Scrape up the brown bits from the bottom of the pan and add the chicken back in.: When you gently press the thin layer of flour onto the meat, you should see a light, even dusting that clings without caking. This coating browns quickly and forms tiny crisp edges that capture sauce. If you add too much flour, the crust becomes pasty and masks texture, so shake off excess. The flour also helps thicken the pan sauce slightly when the liquids are added, giving the final glaze a luxurious consistency.
- Cook the chicken for another 5 minutes or so (medium-high heat), until the sauce has reduced and thickened a bit and the chicken is fully cooked through. Spoon the sauce over the chicken. Season with extra salt & pepper if needed.: As the fat heats, you will notice it shimmer and release a faint nutty aroma when ready, which signals the ideal sear temperature. The combination of oil and butter raises the smoke point and adds richness. A common error is to heat the pan too slowly or not let the fat get hot enough, which prevents browning and results in a steamed appearance instead of a golden crust. Listen for a gentle sizzle when you test with a flour sprinkle.
- Once the pan is hot, add the chicken and cook it for 4 to 5 minutes side or until golden: As the chicken sizzles, you will hear an energetic sound and see edges turn golden brown; that is the Maillard reaction creating deep flavor. Resist the urge to move the pieces too soon, because that interrupts the crisping process. If the pan begins to splatter excessively, slightly lower the heat to avoid burning the butter. When you flip, the seared side should release easily and show a deep, even color.
- Take the chicken out of the pan and set it aside: Resting the seared pieces briefly ensures juices redistribute and prevents them from overcooking during the sauce stage. The pan will hold the fond, those browned bits full of concentrated flavor, which you will use next. A mistake here is leaving the meat in the pan while making sauce, which often leads to overcooking; resting keeps the meat tender and ready to finish in the sauce.
- Remove the pan from the heat and stir in the chicken broth, lemon juice, honey, and the rest of the butter: Adding these liquids off the heat helps melt the butter gently and prevents sudden scorching. As you whisk or stir, the honey dissolves into the broth and lemon, releasing a fragrant steam and a balance of sweet and acidic notes that will become the sauce. Scrape the bottom to incorporate those browned bits, they dissolve and create a deeper, more savory background. Avoid adding cold ingredients directly to an extremely hot pan, which can cause the fats to separate and the sauce to break.
- Scrape up the brown bits from the bottom of the pan and add the chicken back in: Those caramelized pieces are flavor gold, and as you scrape they dissolve into the sauce, enriching it with a roasted, almost nutty quality. Nestle the chicken pieces back into the liquid so each gets coated, allowing the sauce to seep into the edges. A misstep is to skip scraping, which leaves those flavors behind and results in a thinner, less complex sauce.
- Cook the chicken for another 5 minutes or so until the sauce has reduced and thickened a bit and the chicken is fully cooked through: During this short simmer, watch as the sauce loses volume, grows glossy, and begins to cling to the meat. You should see gentle bubbling and smell the meld of honey and lemon intensifying, while the sauce coats the back of a spoon. The chicken will finish cooking to a safe internal texture, remaining juicy. Over reducing can make the sauce too thick or overly sweet, so aim for a silky glaze that lightly coats each piece.
- Spoon the sauce over the chicken: Once it looks glossy and slightly thickened, use a spoon to baste the pieces, ensuring each bite gets that buttery, lemon kissed sweetness. The finished plate should glisten, and the sauce should cling rather than slide off. Taste and season with extra salt & pepper if needed, because final seasoning brings everything into balance. A common oversight is failing to taste at the end, which can leave the dish under seasoned or flat.
Variations to Try
I like to offer a few ways to shift the profile while staying true to the spirit of Honey Lemon Chicken. Below are practical variations you can try, each starting with a quick highlighted phrase and then expanded so you know exactly how to adjust the recipe with confidence.
- Make it brighter: Increase the amount of lemon juice by small increments to sharpen the acidity, but balance with a little extra honey if it tastes too tart, stirring and tasting as you go until you reach the brightness you enjoy.
- Richer sauce: Stir in an extra half tablespoon of butter at the end for silkier mouthfeel, but add it off the heat so it emulsifies rather than separates, giving the glaze a glossy finish.
- Thicker glaze: After adding the liquids, simmer a bit longer to concentrate flavors and thicken; watch closely so it does not become too sticky, and remove from heat when it lightly coats a spoon.
- Lighter finish: Substitute half the butter with a teaspoon of olive oil for a leaner sauce body while maintaining a glossy sheen, good when you want less richness without losing flavor.
- Quick weeknight plating: Serve the chicken sliced over rice or simple steamed grains so the sauce can soak into the base, creating a comforting, easy meal that comes together in minutes.
What Goes Well With This Honey Lemon Chicken
This dish pairs beautifully with simple sides that soak up the sauce and offer texture contrast. Below are serving suggestions, pairing ideas for various occasions, and storage notes to keep the leftovers tasting fresh.
- Steamed rice or pilaf: The neutral grain soaks up the glossy sauce, making every bite saucy and satisfying, ideal for casual weeknights or a relaxed dinner.
- Light green salad: Crisp greens dressed with a vinaigrette provide a refreshing contrast to the sweet and buttery sauce, perfect for balancing the plate during lunch or dinner.
- Roasted vegetables: Oven roasted carrots or asparagus add caramelized notes and a firmer texture that pairs well with the tender chicken, great for a weekend meal.
- Occasion suggestions: This recipe works well for family dinners, small gatherings, or anytime you want a feel good main that does not require hours in the kitchen; it’s approachable and crowd friendly.
- Storage tips: Keep leftovers in an airtight container for up to three days in the refrigerator, and reheat gently in a skillet to restore the sauce’s shine without drying out the chicken.
- Seasonal pairings: In spring or summer, a simple salad with herbs complements the lemon notes, while in cooler months roasted root vegetables add cozy depth that pairs nicely with the honey sweetness.
FAQ
Conclusion
Honey Lemon Chicken stands out because it combines bright citrus and sweet honey with a silky, buttery sauce that elevates simple seared chicken into a memorable meal. Give it a try on a busy weeknight or when you want an approachable dish that still feels special. Once you make it, you’ll likely find it becomes a go to recipe for its speed, dependable flavor balance, and lovely glossy finish.
Honey Lemon Chicken
Equipment
- Skillet
- Knife
- Cutting Board
- Spoon
Ingredients
- 2 large chicken breasts Pound or halve to even thickness so the meat cooks quickly and stays juicy; provides the main protein and base of the dish. Season well before dredging to build flavor layers and ensure a satisfying texture after pan-searing. Slice against the grain when serving to maximize tenderness and mouthfeel.
- 1/4 teaspoon garlic powder Sprinkle evenly to add a mild garlic aroma and enhance savory depth; helps round out the lemon and honey flavors without overpowering them. Use sparingly to prevent bitterness and to complement the other seasonings during dredging and cooking.
- Salt & pepper to taste Season to taste to bring out natural flavors and balance the sweet-tart sauce; salt elevates savory notes while pepper adds subtle heat. Apply before and after dredging as needed to maintain consistent seasoning throughout the cooking process.
- Flour for dredging Coat lightly to create a crisp, golden exterior that helps seal in juices and provides texture contrast with the sauce. Shake off excess to avoid a gummy coating and ensure even browning when pan-frying in oil and butter.
- 1 tablespoon olive oil Heat until shimmering to create a hot surface for browning the chicken; contributes a clean, fruity flavor and helps prevent sticking. Use to start the pan-sear, then finish with butter for added richness.
- 2 tablespoons butter divided Melt in two stages to both brown the chicken and enrich the sauce; reserve one tablespoon for searing and add the rest to finish the pan sauce for silkiness. Monitor browning carefully to avoid burning while extracting nutty flavor from the milk solids.
- 1/2 cup chicken broth Deglaze the pan to capture browned bits and form the savory base of the sauce; supplies a mild, savory liquid that balances the sweet and acidic components. Simmer briefly to concentrate flavor and reduce slightly for better sauce cling.
- 1 tablespoon lemon juice Add to brighten and provide acidic balance to the sweetness of the honey; helps cut richness and lifts overall flavor. Use freshly squeezed for the cleanest taste and adjust quantity to personal preference for tartness.
- 2 tablespoons honey Whisk in to supply primary sweetness and a glossy finish to the sauce; binds with butter and lemon to create a balanced glaze. Warm gently to dissolve and integrate without losing delicate floral notes.
Instructions
- Cut your chicken breasts in half lengthwise so you have four thinner cutlets. Sprinkle them with salt, pepper, and garlic powder. Dredge them in flour so they're evenly coated.: The moment you slice through, you can feel the difference in thickness and know the meat will cook evenly, which prevents drying. Look for uniform pieces; they should be about the same thickness to ensure even browning. A common misstep is cutting unevenly which leads to parts overcooking, so take your time and use a sharp knife. As you work, the meat will feel cool and slightly springy, and an even thickness helps the surface get that desirable golden color when seared.
- Add the oil and one tablespoon of the butter to a skillet over medium-high heat. Once the pan is hot, add the chicken and cook it for 4-5 minutes/side or until golden. If it starts to splatter a lot, reduce the heat a bit.: Right after cutting, seasoning allows the flavors to stick and penetrate the surface, offering a base savory note. The salt will start to draw some moisture to the surface, helping the flour adhere, while the garlic powder gives a subtle roasted aroma as it hits the hot pan later. Avoid over salting at this stage, especially if you plan to adjust later, because too much surface salt can make the crust taste sharp instead of warm.
- Take the chicken out of the pan and set it aside. Remove the pan from the heat and stir in the chicken broth, lemon juice, honey, and the rest of the butter. Scrape up the brown bits from the bottom of the pan and add the chicken back in.: When you gently press the thin layer of flour onto the meat, you should see a light, even dusting that clings without caking. This coating browns quickly and forms tiny crisp edges that capture sauce. If you add too much flour, the crust becomes pasty and masks texture, so shake off excess. The flour also helps thicken the pan sauce slightly when the liquids are added, giving the final glaze a luxurious consistency.
- Cook the chicken for another 5 minutes or so (medium-high heat), until the sauce has reduced and thickened a bit and the chicken is fully cooked through. Spoon the sauce over the chicken. Season with extra salt & pepper if needed.: As the fat heats, you will notice it shimmer and release a faint nutty aroma when ready, which signals the ideal sear temperature. The combination of oil and butter raises the smoke point and adds richness. A common error is to heat the pan too slowly or not let the fat get hot enough, which prevents browning and results in a steamed appearance instead of a golden crust. Listen for a gentle sizzle when you test with a flour sprinkle.
- Once the pan is hot, add the chicken and cook it for 4 to 5 minutes side or until golden: As the chicken sizzles, you will hear an energetic sound and see edges turn golden brown; that is the Maillard reaction creating deep flavor. Resist the urge to move the pieces too soon, because that interrupts the crisping process. If the pan begins to splatter excessively, slightly lower the heat to avoid burning the butter. When you flip, the seared side should release easily and show a deep, even color.
- Take the chicken out of the pan and set it aside: Resting the seared pieces briefly ensures juices redistribute and prevents them from overcooking during the sauce stage. The pan will hold the fond, those browned bits full of concentrated flavor, which you will use next. A mistake here is leaving the meat in the pan while making sauce, which often leads to overcooking; resting keeps the meat tender and ready to finish in the sauce.
- Remove the pan from the heat and stir in the chicken broth, lemon juice, honey, and the rest of the butter: Adding these liquids off the heat helps melt the butter gently and prevents sudden scorching. As you whisk or stir, the honey dissolves into the broth and lemon, releasing a fragrant steam and a balance of sweet and acidic notes that will become the sauce. Scrape the bottom to incorporate those browned bits, they dissolve and create a deeper, more savory background. Avoid adding cold ingredients directly to an extremely hot pan, which can cause the fats to separate and the sauce to break.
- Scrape up the brown bits from the bottom of the pan and add the chicken back in: Those caramelized pieces are flavor gold, and as you scrape they dissolve into the sauce, enriching it with a roasted, almost nutty quality. Nestle the chicken pieces back into the liquid so each gets coated, allowing the sauce to seep into the edges. A misstep is to skip scraping, which leaves those flavors behind and results in a thinner, less complex sauce.
- Cook the chicken for another 5 minutes or so until the sauce has reduced and thickened a bit and the chicken is fully cooked through: During this short simmer, watch as the sauce loses volume, grows glossy, and begins to cling to the meat. You should see gentle bubbling and smell the meld of honey and lemon intensifying, while the sauce coats the back of a spoon. The chicken will finish cooking to a safe internal texture, remaining juicy. Over reducing can make the sauce too thick or overly sweet, so aim for a silky glaze that lightly coats each piece.
- Spoon the sauce over the chicken: Once it looks glossy and slightly thickened, use a spoon to baste the pieces, ensuring each bite gets that buttery, lemon kissed sweetness. The finished plate should glisten, and the sauce should cling rather than slide off. Taste and season with extra salt & pepper if needed, because final seasoning brings everything into balance. A common oversight is failing to taste at the end, which can leave the dish under seasoned or flat.
Notes
- Make it brighter: Increase the amount of lemon juice by small increments to sharpen the acidity, but balance with a little extra honey if it tastes too tart, stirring and tasting as you go until you reach the brightness you enjoy.
- Richer sauce: Stir in an extra half tablespoon of butter at the end for silkier mouthfeel, but add it off the heat so it emulsifies rather than separates, giving the glaze a glossy finish.
- Thicker glaze: After adding the liquids, simmer a bit longer to concentrate flavors and thicken; watch closely so it does not become too sticky, and remove from heat when it lightly coats a spoon.
- Lighter finish: Substitute half the butter with a teaspoon of olive oil for a leaner sauce body while maintaining a glossy sheen, good when you want less richness without losing flavor.
- Quick weeknight plating: Serve the chicken sliced over rice or simple steamed grains so the sauce can soak into the base, creating a comforting, easy meal that comes together in minutes.