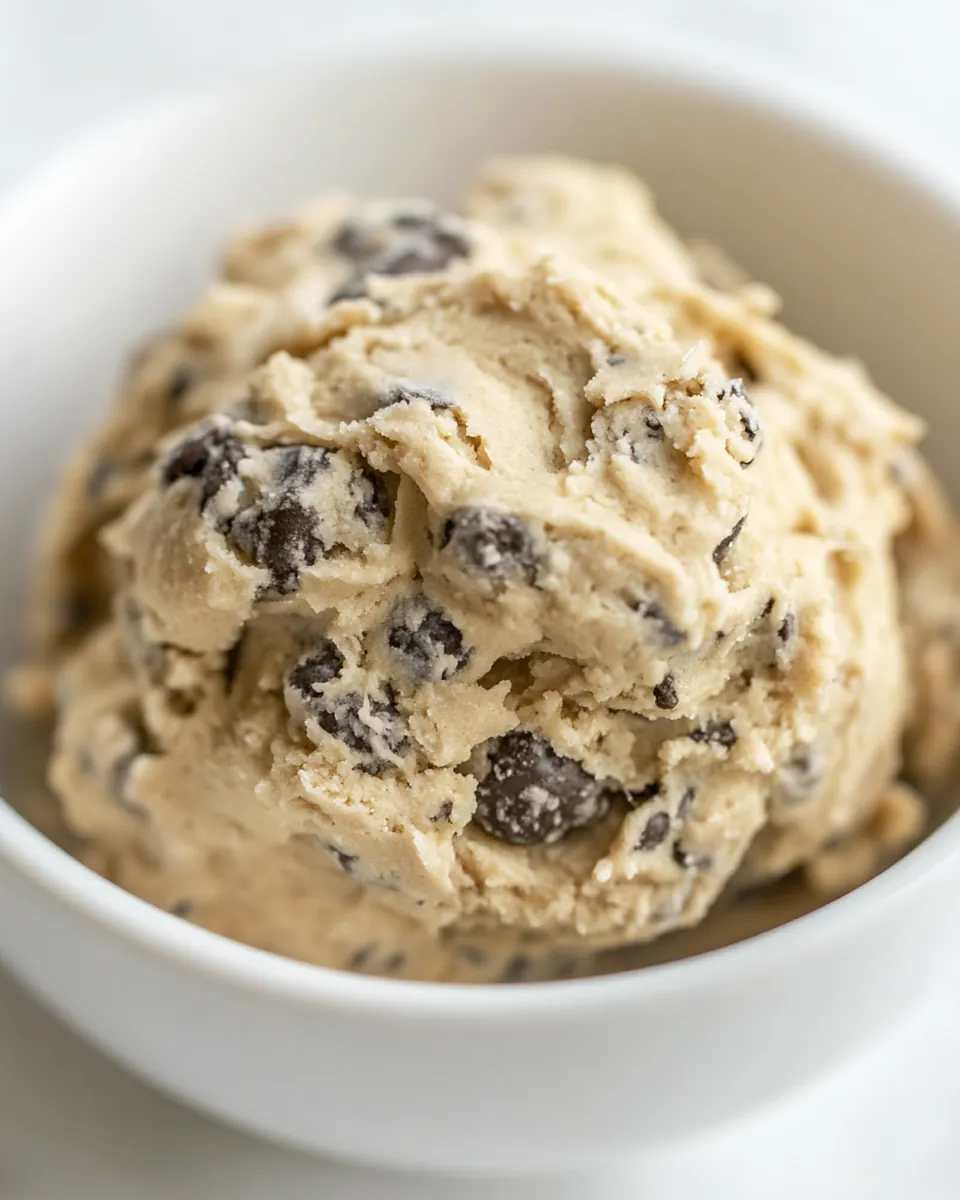
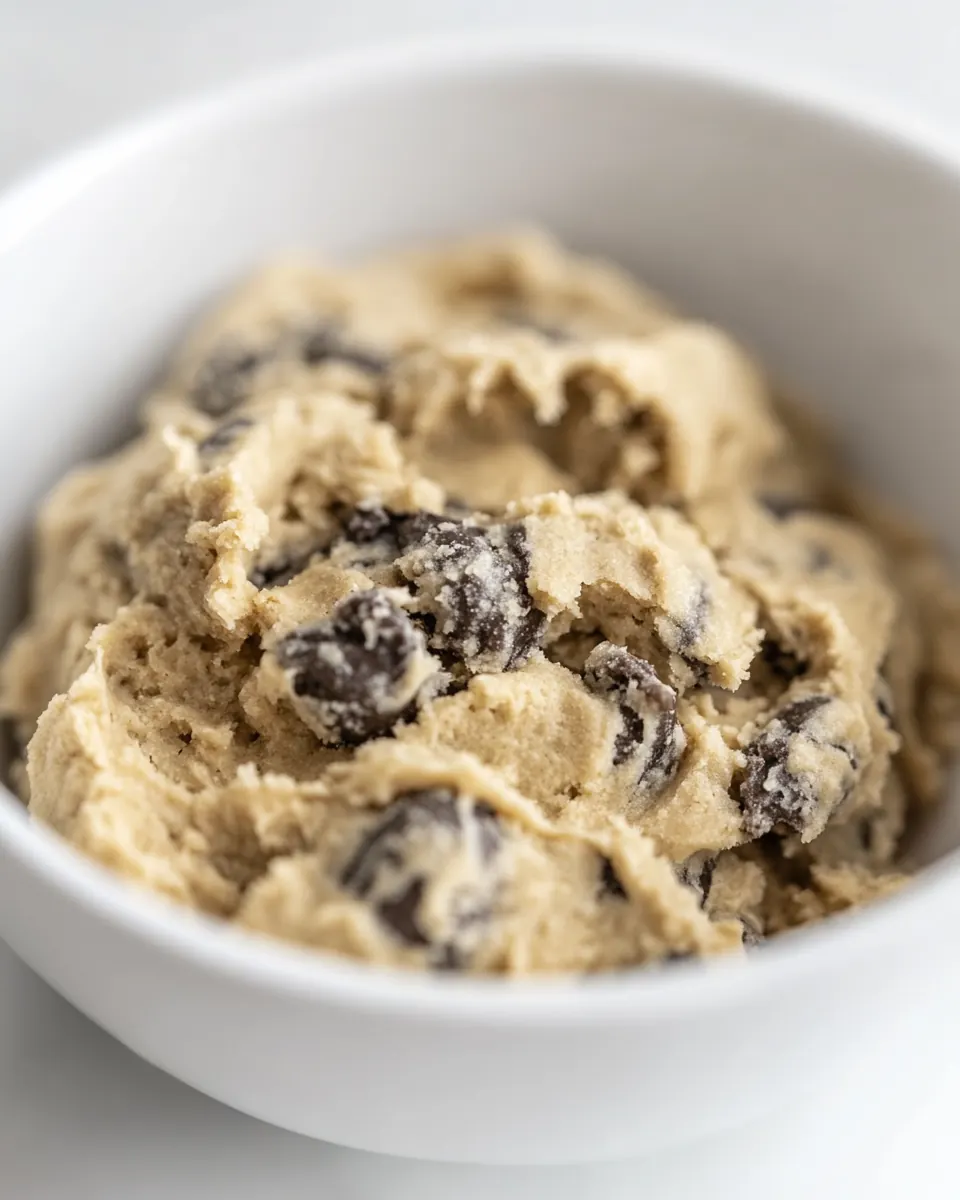
Edible Cookie Dough
Edible Cookie Dough has always been my secret comfort on late nights when I crave something sweet but don’t want the commitment of baking a whole batch of cookies. The first time I made this, I was testing textures for a cake and realized the safe to eat, raw cookie dough was the real winner, so I kept a jar in the fridge for emergencies. I remember spooning a generous heap into a bowl, the mini chocolate chips catching the light like tiny promises of joy, and thinking this belongs on every dessert table, not hidden away in my recipe notes.
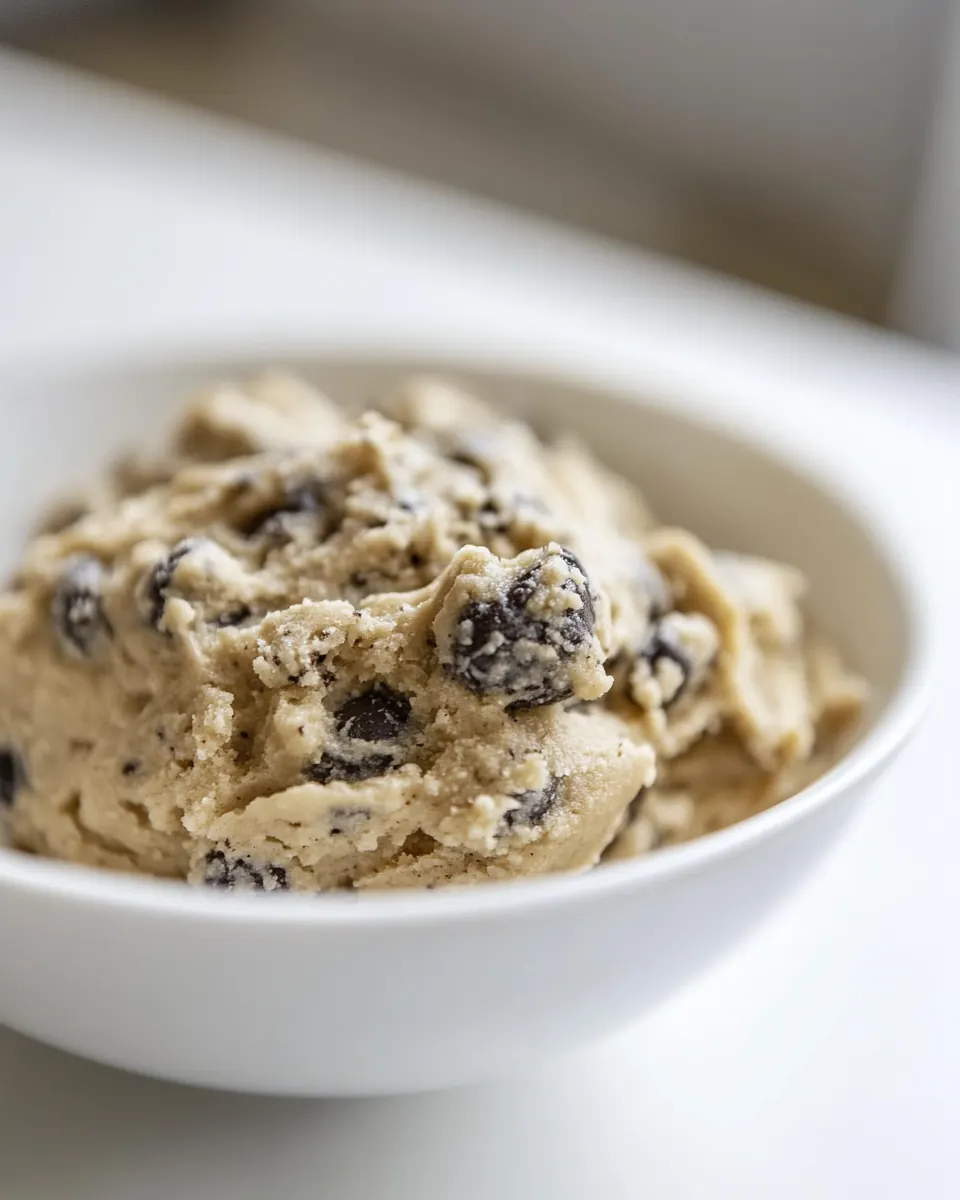
Growing up, cookie dough was off limits, the forbidden treat that only appeared when guests were around. Making this Edible Cookie Dough changed that rule in my house. Now I love how simple ingredients like all purpose flour, salted butter, and mini chocolate chips come together into something you can eat straight away. The texture is soft, a little chewy, and the brown sugar adds a warm, molasses whisper that makes each bite comforting.
Recipe Snapshot
11 mins
10 mins
1 mins
Easy
200 kcal
American
Gluten-Free, Low FODMAP
Desserts
Oven, Baking sheet, Large bowl, Electric hand mixer, Spatula
Why This Edible Cookie Dough Shines
It’s outrageously simple
I adore how Edible Cookie Dough strips dessert back to joyful essentials. With just a handful of pantry staples, you can have an indulgent snack in minutes. I appreciate recipes that don’t demand fuss, and this one rewards you for having basic all purpose flour and granulated sugar on hand.
Safe and approachable
One of the reasons I keep coming back to this recipe is the extra step of toasting the all purpose flour. It’s a tiny action that makes raw dough safe to eat, and I like teaching people that small techniques can unlock big pleasures. The moment the flour’s aroma warms the kitchen, you know this is worth the five minutes in the oven.
Comfort without baking
Sometimes you want cookie flavor with zero wait. I’ve served this when friends dropped by unexpectedly, and they were delighted to find something spoonable and nostalgic. The combination of salted butter and packed brown sugar creates that classic cookie backbone, while a splash of vanilla extract makes it unmistakably familiar.
Highly adaptable and shareable
I love that you can portion this easily for gatherings, freeze scoops for later, or stash a jar in the fridge for solo indulgence. The texture holds up well, so every scoop is reliably creamy with pockets of mini chocolate chips to surprise you. I’ve learned to keep a few spoons ready when company arrives.
A little indulgence that feels responsible
Because the recipe explicitly handles food safety, I feel comfortable serving it at casual get togethers. It’s an indulgence that doesn’t require elaborate equipment or hours of attention, which makes me reach for it again and again. That combination of ease and safety is why this treat has a permanent spot in my dessert rotation.
Main Ingredients for Edible Cookie Dough
These ingredients are intentionally minimal, and each one plays a clear role. The philosophy here is simple, build a safe, spoonable dough by balancing structure, fat, sweetness, and flavor. The key players are the all purpose flour for body, salted butter for richness, and mini chocolate chips for texture and pockets of chocolate delight. When they work together, you get a quick, no bake treat that tastes like a classic cookie in raw form.
- 3/4 cup all purpose flour: Provides structure and bulk to the dough, helping it hold together when mixed and shaped. Heat-treated all purpose flour reduces risk of raw flour pathogens while preserving its floury texture. Contributes a neutral base that allows buttery and sweet flavors to shine through.
- 1/2 cup salted butter softened: Adds rich creaminess and a smooth mouthfeel, contributing to the dough's tender texture and flavor depth. Salted butter introduces a touch of savory contrast that balances the sweetness. Softened state makes it easy to cream with sugars for aeration and lightness.
- 1/4 cup granulated sugar: Contributes bright sweetness and subtle crunch when creamed with butter, helping to create a slightly crisp exterior in spoonable dough. Granulated sugar assists with structure by dissolving into the fat, aiding moisture balance. Enhances overall sweetness without overpowering other flavors.
- 1/2 cup packed brown sugar: Provides deep, molasses-like sweetness and moistness, lending chewiness and richer color to the cookie dough. Packed brown sugar helps retain moisture, preventing the dough from becoming dry or crumbly. Complements the granulated sugar for a rounded, caramelized flavor profile.
- 1 teaspoon vanilla extract: Adds aromatic warmth and enhances other flavors with a sweet, floral note that rounds out the dough's flavor profile. Vanilla extract helps unify and elevate the taste of sugars and butter without adding texture. Small quantity ensures a subtle but noticeable flavor lift.
- 2 tablespoons milk: Adjusts consistency for a soft, scoopable dough by adding necessary moisture to the mixture. Milk contributes slight richness and helps dissolve sugars for a smoother texture. Balances density so the dough remains pliable rather than dry.
- 1/2 teaspoon salt: Balances and enhances sweetness while amplifying other flavors, preventing the dough from tasting flat. Salt helps control overall flavor perception and accentuates the buttery and chocolate notes. Small amount is sufficient to improve depth without making the dough savory.
- 1/2 cup mini chocolate chips: Provides pockets of concentrated chocolate flavor and pleasant texture contrast throughout the dough. Mini chocolate chips distribute evenly, offering convenient bursts of sweetness in every bite. Small size keeps the dough easy to scoop and eat straight from a bowl.
Cooking Method for Edible Cookie Dough
Making this dough is delightfully straightforward, and I like to guide you through sensory cues so you know you are on the right track. These steps follow the original directions but expand on the little techniques that make the texture and safety stand out. Keep your tools ready and pay attention to aroma and mouthfeel as you proceed.
- Preheat oven to 350° F. Spread flour onto a baking sheet and bake 5 minutes. This kills off any bacteria in the raw flour so you can eat the raw cookie dough safely.: As the oven warms, you will notice a gentle hum and rising heat in the kitchen, signaling that the small but important step of toasting flour is underway. The reason for preheating is to create a consistent oven temperature so when you place the flour on a baking sheet it heats evenly, reducing any risk from raw flour. A common mistake is setting the flour in a cold oven, then turning it on, which leads to uneven toasting and pockets of under treated flour. Watch for a faint toasty aroma after about five minutes, that scent is your cue that the flour has been heat treated sufficiently.
- In a large bowl, using an electric hand mixer, cream butter and sugars together until light and fluffy.: When the all purpose flour is spread in a thin, even layer on the baking sheet, it will warm quickly and you will see a subtle change in texture as fine steam lifts from it. This brief bake reduces any surface bacteria, making the flour safe to eat raw in dough form. A likely misstep is piling the flour too thick, which prevents even heating; aim for a single even layer and give it a gentle stir if you suspect unevenness. The visual cue is a slightly drier look and a gentle toasted smell, not browning.
- Add in vanilla extract and milk and mix again briefly.: You should notice a clean, warm scent from the toasted all purpose flour , which reassures you that the flour has been treated. This safety step is why I confidently serve this dough as a ready to eat treat. People sometimes skip it, but omitting this step undermines the whole concept of edible dough; never skip the toasting if you plan to eat the dough uncooked.
- Pour in flour and salt and stir to create cookie dough.: The combination of salted butter , granulated sugar , and packed brown sugar should transform into a pale, airy mass when creamed properly. You will hear a steady whir and see the mixture increase slightly in volume, with a creamy texture that holds soft peaks for a moment. The why here is texture, creaming incorporates air and dissolves sugar into the fat, producing a tender mouthfeel. Avoid overmixing which can lead to grease separation; stop when the mixture looks homogenous and slightly aerated.
- Scrape sides of bowl well and stir in mini chocolate chips in by hand.: When you add the vanilla extract and milk , the aroma will lift and the mixture will soften, signaling the dough is binding. Mix just until combined so the texture remains dense rather than runny. This step is about balancing moisture and flavor; adding too much liquid will yield a wet dough that cannot hold its shape. If your mixer splashes, reduce speed and scrape the bowl to keep everything incorporated evenly.
- Enjoy with a spoon or scoop into portions, and enjoy!: As you add the toasted all purpose flour and salt , the bowl will transform from creamy to a thick, scoopable dough. Use a sturdy spatula to fold until no streaks of flour remain, keeping the texture soft and slightly tacky. The reason this matters is gluten development, you want minimal stirring to avoid toughness, so stop when combined. A common error is heavy mixing which makes the dough dense; mix gently and trust your eyes for uniformity.
- Scrape sides of bowl well and stir in mini chocolate chips in by hand: After scraping the sides, folding in the mini chocolate chips by hand preserves their shape and ensures even distribution, giving a consistent chocolate hit in every bite. You will feel small resistance as the chips fold into the dough, and the look should be speckled with chocolate across the surface. Mixing by hand also prevents overworking the dough. Avoid using the mixer for this step, which can break the chips and over aerate the dough.
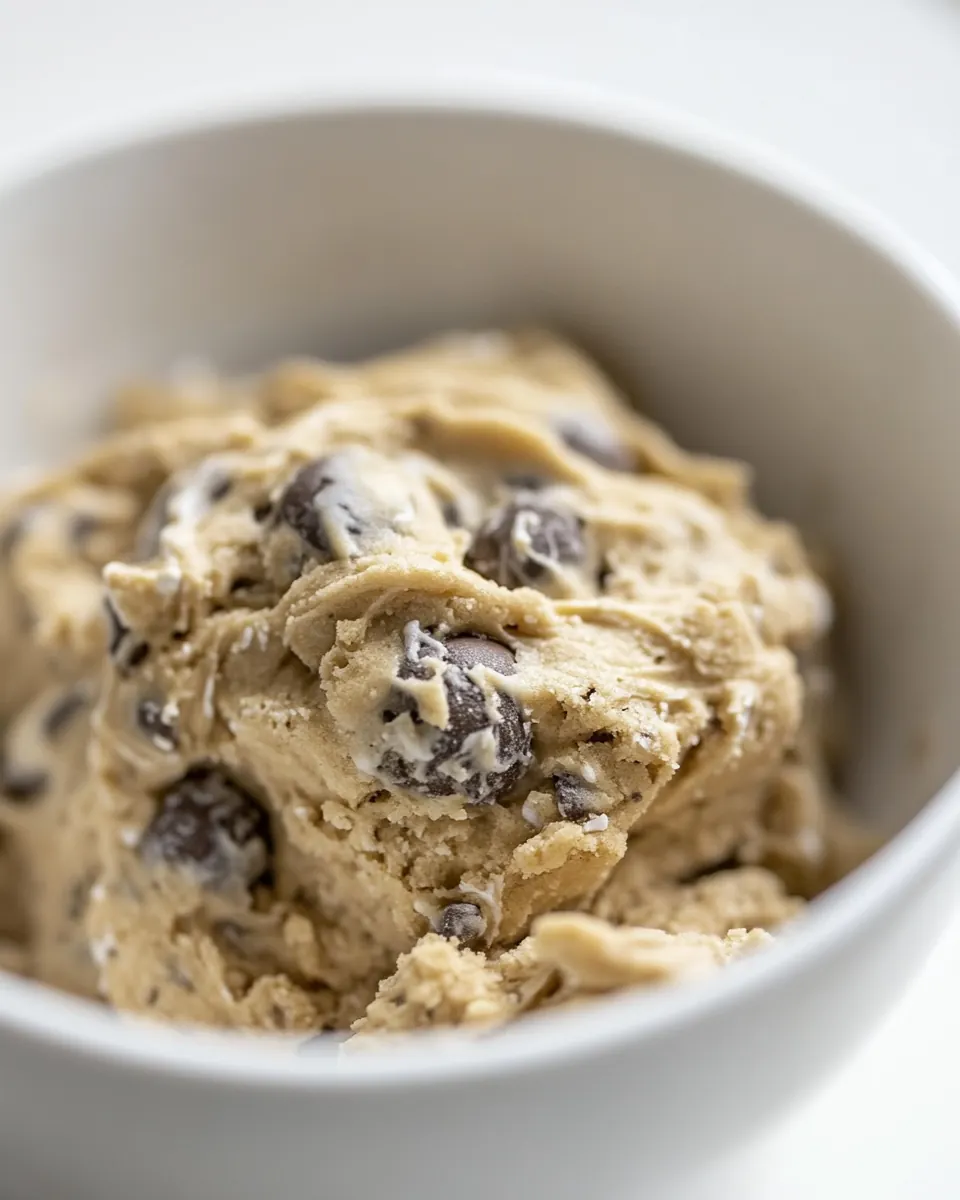
- Enjoy with a spoon or scoop into portions, and enjoy!: The final dough will be soft, glossy, and studded with tiny chocolate pockets, inviting you to taste. Use a spoon to savor the creamy, buttery texture and the sweet salt contrast, or portion into scoops for storage. Keep in mind that chilling slightly firms the dough for cleaner scooping. A typical mistake is leaving it at room temperature too long, which can make it overly soft and harder to portion; if that happens pop it into the fridge for ten to fifteen minutes to set.
Ways to Customize
I like to think of customization as gentle nudges rather than overhauls. These ideas keep the spirit of the recipe intact while letting you personalize flavor and texture. Below are practical, tested adjustments and storage notes to make the most of your batch.
- Swap sugar ratios Try adjusting the balance between granulated sugar and packed brown sugar to tweak chewiness and caramel notes, but keep total sugar similar to maintain texture.
- Chill before scooping If you prefer neat portions, place the dough in the fridge for ten to fifteen minutes, which firms it enough to form tidy scoops without drying it out.
- Freeze for later Portion into scoops and freeze on a tray until solid, then transfer to a freezer bag for up to three months, allowing quick snacks without losing texture.
- Adjust milk for texture Add the milk slowly, one teaspoon at a time, if your dough is too stiff; this prevents turning it into a batter while achieving the desired scoopable consistency.
- Use softened butter Make sure the salted butter is soft but not warm, it should yield to a finger press, which helps with proper creaming and a light final texture.
- Balance salt carefully If your salted butter is very salty, reduce the added salt slightly and taste as you go to avoid an overly briny finish.
Side Dish Ideas for Edible Cookie Dough
This sweet, spoonable treat is versatile in how you present and enjoy it. Below are serving suggestions, pairing ideas, storage solutions, and occasions where this recipe shines. I include practical notes so you can match mood and timing to the treat.
- Spoonable snack Serve in small bowls with a teaspoon for casual snacking during movie nights or study sessions, the portion control helps keep it indulgent without going overboard.
- Scoop and freeze Pre scoop into bite sized portions for a frozen treat that softens after a couple minutes at room temperature, ideal for hot weather when you want a chilled sweet.
- Party dip Use as a dip for shortbread or fruit slices at gatherings, the creamy texture and mini chocolate chip pockets make it irresistible as a shareable dish.
- Lunchbox treat Pack a small container for an after school or office sweet, it keeps well in the fridge for up to a week according to the storage notes, making it a convenient dessert option.
- Seasonal gift Portion into decorative jars with instructions for chilling or scooping, this makes a thoughtful homemade gift during holidays or special occasions.
- Storage tips Refrigerate in an airtight container for up to one week, or freeze pre scooped portions for up to three months, defrost slightly at room temperature before serving.
FAQ
Conclusion
This Edible Cookie Dough stands out because it delivers authentic cookie flavor in a spoonable, no bake form that is both safe and satisfying. Give it a try the next time you crave a quick sweet fix, and you may find it becomes your go to treat for unexpected guests or late night cravings. It’s simple, nostalgic, and reliably comforting, so have fun making and sharing it with people who appreciate an easy, delicious snack.

Edible Cookie Dough
Equipment
- Oven
- Baking Sheet
- Large Bowl
- electric hand mixer
- Spatula
Ingredients
- 3/4 cup all purpose flour Provides structure and bulk to the dough, helping it hold together when mixed and shaped. Heat-treated all purpose flour reduces risk of raw flour pathogens while preserving its floury texture. Contributes a neutral base that allows buttery and sweet flavors to shine through.
- 1/2 cup salted butter softened Adds rich creaminess and a smooth mouthfeel, contributing to the dough's tender texture and flavor depth. Salted butter introduces a touch of savory contrast that balances the sweetness. Softened state makes it easy to cream with sugars for aeration and lightness.
- 1/4 cup granulated sugar Contributes bright sweetness and subtle crunch when creamed with butter, helping to create a slightly crisp exterior in spoonable dough. Granulated sugar assists with structure by dissolving into the fat, aiding moisture balance. Enhances overall sweetness without overpowering other flavors.
- 1/2 cup packed brown sugar Provides deep, molasses-like sweetness and moistness, lending chewiness and richer color to the cookie dough. Packed brown sugar helps retain moisture, preventing the dough from becoming dry or crumbly. Complements the granulated sugar for a rounded, caramelized flavor profile.
- 1 teaspoon vanilla extract Adds aromatic warmth and enhances other flavors with a sweet, floral note that rounds out the dough's flavor profile. Vanilla extract helps unify and elevate the taste of sugars and butter without adding texture. Small quantity ensures a subtle but noticeable flavor lift.
- 2 tablespoons milk Adjusts consistency for a soft, scoopable dough by adding necessary moisture to the mixture. Milk contributes slight richness and helps dissolve sugars for a smoother texture. Balances density so the dough remains pliable rather than dry.
- 1/2 teaspoon salt Balances and enhances sweetness while amplifying other flavors, preventing the dough from tasting flat. Salt helps control overall flavor perception and accentuates the buttery and chocolate notes. Small amount is sufficient to improve depth without making the dough savory.
- 1/2 cup mini chocolate chips Provides pockets of concentrated chocolate flavor and pleasant texture contrast throughout the dough. Mini chocolate chips distribute evenly, offering convenient bursts of sweetness in every bite. Small size keeps the dough easy to scoop and eat straight from a bowl.
Instructions
- Preheat oven to 350° F. Spread flour onto a baking sheet and bake 5 minutes. This kills off any bacteria in the raw flour so you can eat the raw cookie dough safely.: As the oven warms, you will notice a gentle hum and rising heat in the kitchen, signaling that the small but important step of toasting flour is underway. The reason for preheating is to create a consistent oven temperature so when you place the flour on a baking sheet it heats evenly, reducing any risk from raw flour. A common mistake is setting the flour in a cold oven, then turning it on, which leads to uneven toasting and pockets of under treated flour. Watch for a faint toasty aroma after about five minutes, that scent is your cue that the flour has been heat treated sufficiently.
- In a large bowl, using an electric hand mixer, cream butter and sugars together until light and fluffy.: When the all purpose flour is spread in a thin, even layer on the baking sheet, it will warm quickly and you will see a subtle change in texture as fine steam lifts from it. This brief bake reduces any surface bacteria, making the flour safe to eat raw in dough form. A likely misstep is piling the flour too thick, which prevents even heating; aim for a single even layer and give it a gentle stir if you suspect unevenness. The visual cue is a slightly drier look and a gentle toasted smell, not browning.
- Add in vanilla extract and milk and mix again briefly.: You should notice a clean, warm scent from the toasted all purpose flour , which reassures you that the flour has been treated. This safety step is why I confidently serve this dough as a ready to eat treat. People sometimes skip it, but omitting this step undermines the whole concept of edible dough; never skip the toasting if you plan to eat the dough uncooked.
- Pour in flour and salt and stir to create cookie dough.: The combination of salted butter , granulated sugar , and packed brown sugar should transform into a pale, airy mass when creamed properly. You will hear a steady whir and see the mixture increase slightly in volume, with a creamy texture that holds soft peaks for a moment. The why here is texture, creaming incorporates air and dissolves sugar into the fat, producing a tender mouthfeel. Avoid overmixing which can lead to grease separation; stop when the mixture looks homogenous and slightly aerated.
- Scrape sides of bowl well and stir in mini chocolate chips in by hand.: When you add the vanilla extract and milk , the aroma will lift and the mixture will soften, signaling the dough is binding. Mix just until combined so the texture remains dense rather than runny. This step is about balancing moisture and flavor; adding too much liquid will yield a wet dough that cannot hold its shape. If your mixer splashes, reduce speed and scrape the bowl to keep everything incorporated evenly.
- Enjoy with a spoon or scoop into portions, and enjoy!: As you add the toasted all purpose flour and salt , the bowl will transform from creamy to a thick, scoopable dough. Use a sturdy spatula to fold until no streaks of flour remain, keeping the texture soft and slightly tacky. The reason this matters is gluten development, you want minimal stirring to avoid toughness, so stop when combined. A common error is heavy mixing which makes the dough dense; mix gently and trust your eyes for uniformity.
- Scrape sides of bowl well and stir in mini chocolate chips in by hand: After scraping the sides, folding in the mini chocolate chips by hand preserves their shape and ensures even distribution, giving a consistent chocolate hit in every bite. You will feel small resistance as the chips fold into the dough, and the look should be speckled with chocolate across the surface. Mixing by hand also prevents overworking the dough. Avoid using the mixer for this step, which can break the chips and over aerate the dough.
- Enjoy with a spoon or scoop into portions, and enjoy!: The final dough will be soft, glossy, and studded with tiny chocolate pockets, inviting you to taste. Use a spoon to savor the creamy, buttery texture and the sweet salt contrast, or portion into scoops for storage. Keep in mind that chilling slightly firms the dough for cleaner scooping. A typical mistake is leaving it at room temperature too long, which can make it overly soft and harder to portion; if that happens pop it into the fridge for ten to fifteen minutes to set.
Notes
- Swap sugar ratios Try adjusting the balance between granulated sugar and packed brown sugar to tweak chewiness and caramel notes, but keep total sugar similar to maintain texture.
- Chill before scooping If you prefer neat portions, place the dough in the fridge for ten to fifteen minutes, which firms it enough to form tidy scoops without drying it out.
- Freeze for later Portion into scoops and freeze on a tray until solid, then transfer to a freezer bag for up to three months, allowing quick snacks without losing texture.
- Adjust milk for texture Add the milk slowly, one teaspoon at a time, if your dough is too stiff; this prevents turning it into a batter while achieving the desired scoopable consistency.
- Use softened butter Make sure the salted butter is soft but not warm, it should yield to a finger press, which helps with proper creaming and a light final texture.
- Balance salt carefully If your salted butter is very salty, reduce the added salt slightly and taste as you go to avoid an overly briny finish.