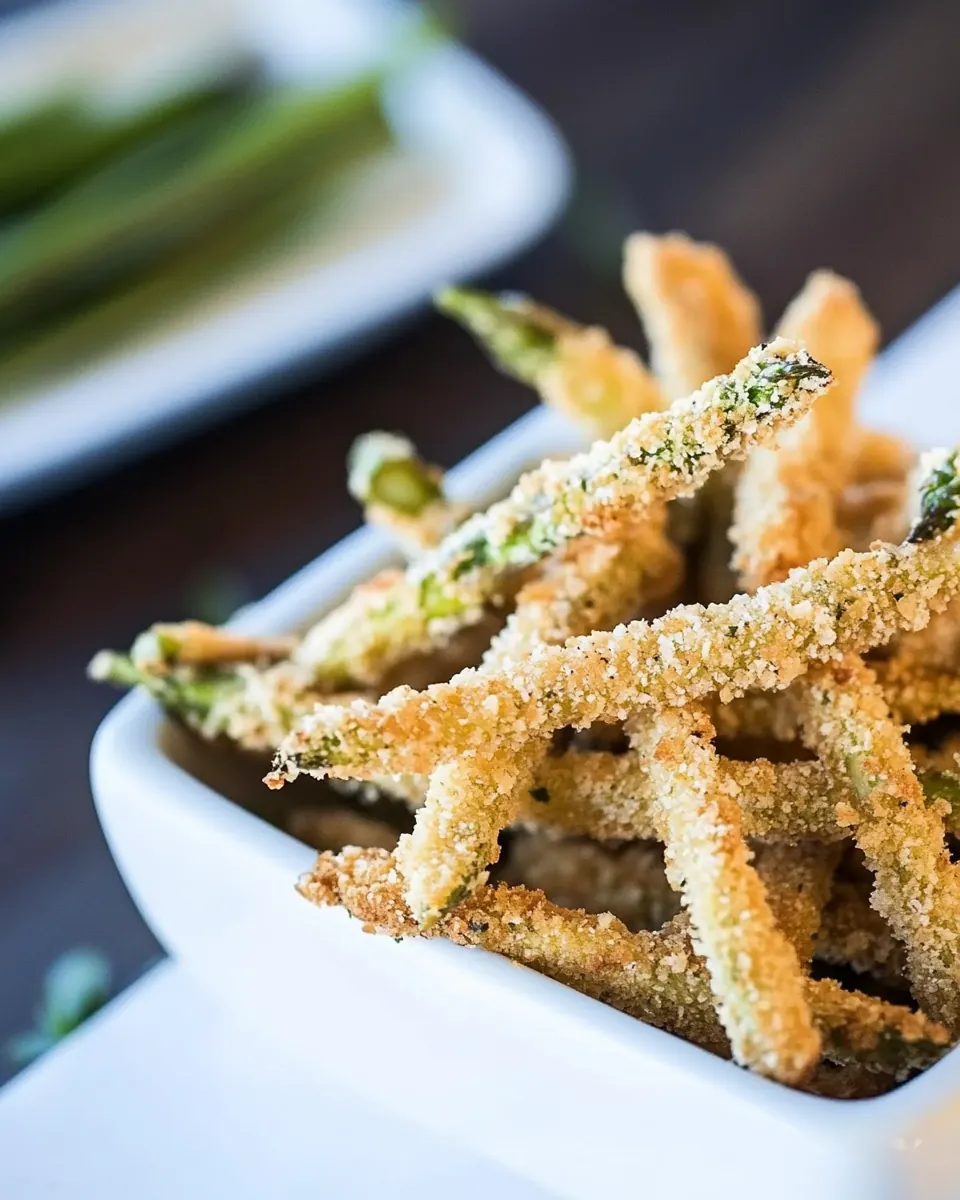
Asparagus Fries
Asparagus Fries came into my weeknight rotation the moment I needed a crunchy green side that felt indulgent without being heavy. I remember one rainy evening when I was craving fries but wanted something lighter and brighter on the plate. I grabbed a bunch of fresh asparagus, lined up a simple breading station, and set the oven to work.
What started as a small experiment quickly turned into a family favorite, because the exterior turns satisfyingly crisp while the inside stays tender and slightly sweet. I love how a few pantry staples transform a humble stalk of asparagus into something snackable and party ready. Over time I tuned the technique, learning when to shake off excess flour or how long to bake so they stay vibrant.
Recipe Snapshot
30 mins
10 mins
20 mins
Easy
150 kcal
American
Gluten-Free, Paleo
Appetizers
Oven, Baking tray, Baking paper, Mixing bowls
What You’ll Enjoy About This Asparagus Fries
Crunchy but light
I adore Asparagus Fries because they deliver a crisp, golden exterior while keeping the inner stalk pleasantly tender. When you bite in, you get audible crunch that makes these feel like a treat, yet the center still tastes fresh and vegetal. I often serve them when I want something that hits that comfort food craving without feeling heavy.
Simple pantry ingredients
One of the joys here is the minimal shopping list. With flour, an egg, breadcrumbs, and grated parmesan cheese, you have everything you need to produce impressive results. I appreciate recipes that reward a little technique over fancy components, it’s how I can make a weeknight feel special without stress.
Versatile for occasions
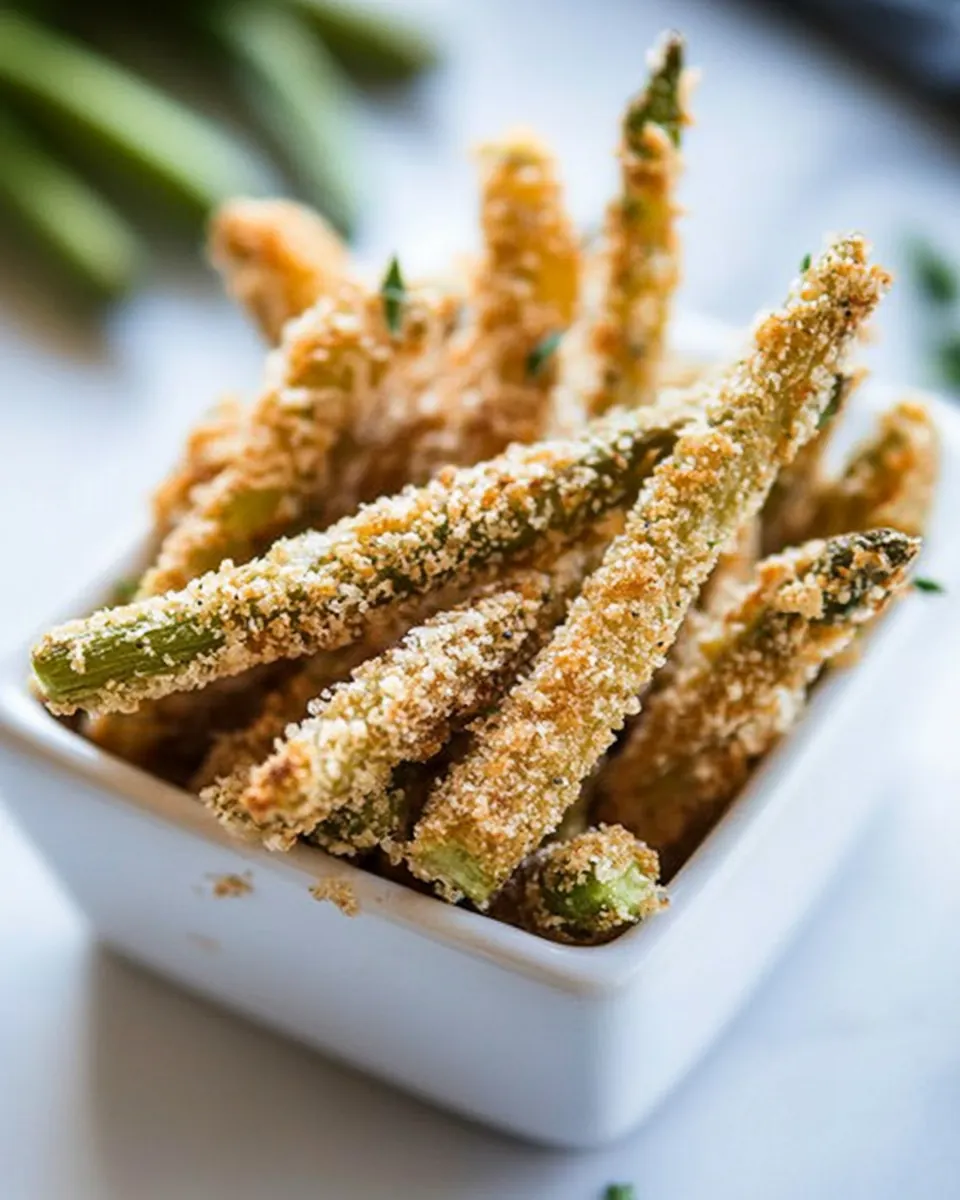
I’ve made these for casual movie nights, last minute guests, and even as an appetizer at a springtime brunch. Asparagus Fries bridge snack and side, fitting many roles on a table. They travel well from oven to plate, and people love dipping them or stacking them on a crostini for a playful bite.
Quick to prepare
From trimming the spears to pulling them out of the oven takes about the time it does to toss a salad, which is why I keep this technique in my back pocket. The method is forgiving, so even if your timing is off by a couple of minutes you still get lovely texture. I find the short bake helps retain the bright green color and subtle sweetness.
Kid friendly and approachable
My kids ask for these by name now, because the coating makes asparagus feel familiar. The crunchy breadcrumb shell helps shy eaters warm up to the vegetable, and it’s a great way to introduce more greens at the table. I often let little helpers dunk the spears at the station, it makes preparation part of the fun.
Main Ingredients for Asparagus Fries
These ingredients play distinct roles to create texture and flavor. The star is the fresh asparagus, which provides a tender, grassy base. The flour acts as a dry anchor so the coating adheres, while the egg forms a sticky layer that helps the whole-grain breadcrumbs bind. Finally, the grated parmesan cheese adds savory depth and encourages a golden finish.
- 20 asparagus spears, hard ends removed: Trimmed and firm, provide structure and a fresh, vegetal base for the fries; hold up well to coating and baking or frying. Offer a crisp-tender bite when cooked properly and contribute a mild, slightly sweet flavor that balances the savory breading.
- 1/2 cup flour: Dry and powdery, create a light coating that helps the egg adhere to the asparagus and absorbs excess moisture. Add a neutral, slightly nutty backbone to the breading process and help produce a crisp exterior once cooked.
- 1 egg: Beaten and slightly runny, bind the flour and breadcrumbs to the asparagus and help the coating stick during cooking. Add richness and a subtle savory note while also aiding browning for an attractive golden finish.
- 1/2 cup whole-grain breadcrumbs: Coarse and crunchy, form the primary crunchy layer that delivers texture contrast to the tender asparagus. Bring whole–grain nuttiness and a hearty mouthfeel, enhancing both flavor complexity and crispness when baked or fried.
- 1/3 cup parmesan cheese, grated: Fine and salty, contribute umami and a savory tang that brightens the breadcrumb coating and complements the asparagus. Melt slightly during cooking to help the crust brown and add depth of flavor to each fry.
Making This Asparagus Fries
I like to keep the instruction flow calm and friendly because the method is forgiving yet rewarding. Follow each step with attention to sensory cues and you will get consistent results. Keep your workspace organized, and remember that small adjustments in timing will depend on asparagus thickness.
- Preheat the oven to 400 degrees F.: The kitchen fills with a dry warmth that signals roasting is about to happen, and the steady oven heat is crucial for a crisp exterior without steaming the asparagus . You'll notice the oven ticking and the faint hum as it reaches temperature. Using a properly preheated oven ensures the coating browns quickly, sealing moisture inside. A common mistake is putting the spears into an oven that is not hot enough, which leads to soggy coating rather than a golden crust. If your oven takes longer than expected to preheat, wait the extra five to ten minutes so surface moisture evaporates rapidly when baking.
- Dip the asparagus in the flour then shake off the excess. Dip it next to the egg then the breadcrumbs. Shake off the excess.: As you dredge, the tactile experience is reassuring, you feel the dry flour cling then the wet sheen of egg followed by the gritty texture of the breadcrumbs . Doing this in a two or three step station speeds the rhythm, and a gentle shake removes loose bits that would otherwise burn. Why this matters, the staged adhesion builds layers that brown rather than soak the vegetable. Watch for clumping, which is a frequent issue here, so tap each spear lightly and recoat if necessary to maintain an even shell.
- Place them on a baking tray lined with baking paper then bake them for 10 minutes.: The initial bake time sets the crust and begins the internal tenderizing, and you'll see edges start to turn paler golden. The air in the oven smells toasty and slightly nutty as the breadcrumbs warm. This step primes the coating, so when you add parmesan cheese it will adhere and brown rather than melt away. Avoid overcrowding the tray which causes steaming, spaced spears crisp more evenly and brown on all sides.
- Take them out of the oven then sprinkle the Parmesan cheese on top.: When you pull the tray, there is a wave of warm toasted aroma, and the surface may look set but not fully golden. Sprinkling the grated parmesan cheese now gives pockets of savory crust that blossom in the next bake. The cheese melts into the breadcrumbs, making those crunchy bits slightly richer. A common misstep is adding too much cheese at once which can create clumpy patches, so sprinkle evenly for balanced flavor and even browning.
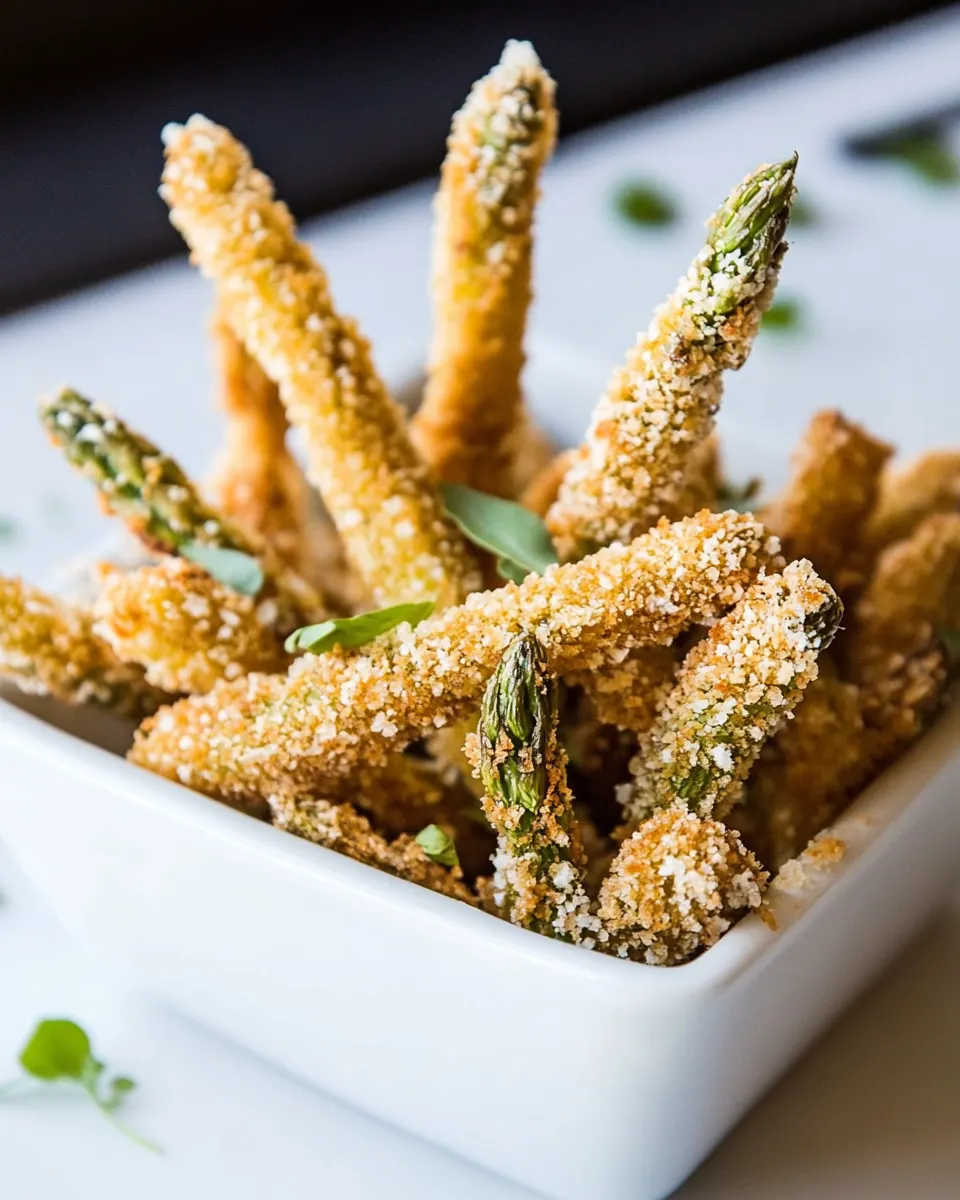
- Bake for another 10 minutes or until they are golden brown.: In the final bake you will hear a faint crackle from the crumbs as they crisp, and visually the tips and edges develop an inviting golden brown color. The contrast between the bright green stalk and the toasted exterior is the sign they are ready. This final roast intensifies flavor and ensures the parmesan cheese melts into a savory glaze. Watch closely toward the end to prevent overbrowning, which is the usual pitfall, and remove them the moment the crumbs reach a deep golden hue for best texture.
Recipe Notes about Asparagus Fries
These notes collect practical pointers I use every time I make Asparagus Fries. They save time and help you get a crisp, golden result that still highlights the bright, vegetal notes of the asparagus. Read them once, and your next batch will be even better.
- Use room temperature egg. A room temperature egg helps the coating adhere more evenly, because it mixes more smoothly with the flour and creates a consistent film for the breadcrumbs.
- Toast breadcrumbs beforehand if desired. Lightly toasting the whole-grain breadcrumbs in a skillet for one to two minutes intensifies their nutty flavor, but do so carefully to avoid burning.
- Pat the spears between coats. After the flour and after the egg, a quick pat helps remove excess and prevents soggy spots that fail to crisp in the oven.
- Line the tray with baking paper. This reduces sticking and makes cleanup easy, while allowing the underside of the coating to crisp rather than cling to the pan.
- Serve immediately. These are at their peak texturally right after baking, so plan plating and any dips before you start the final ten minute bake.
Serving Suggestions
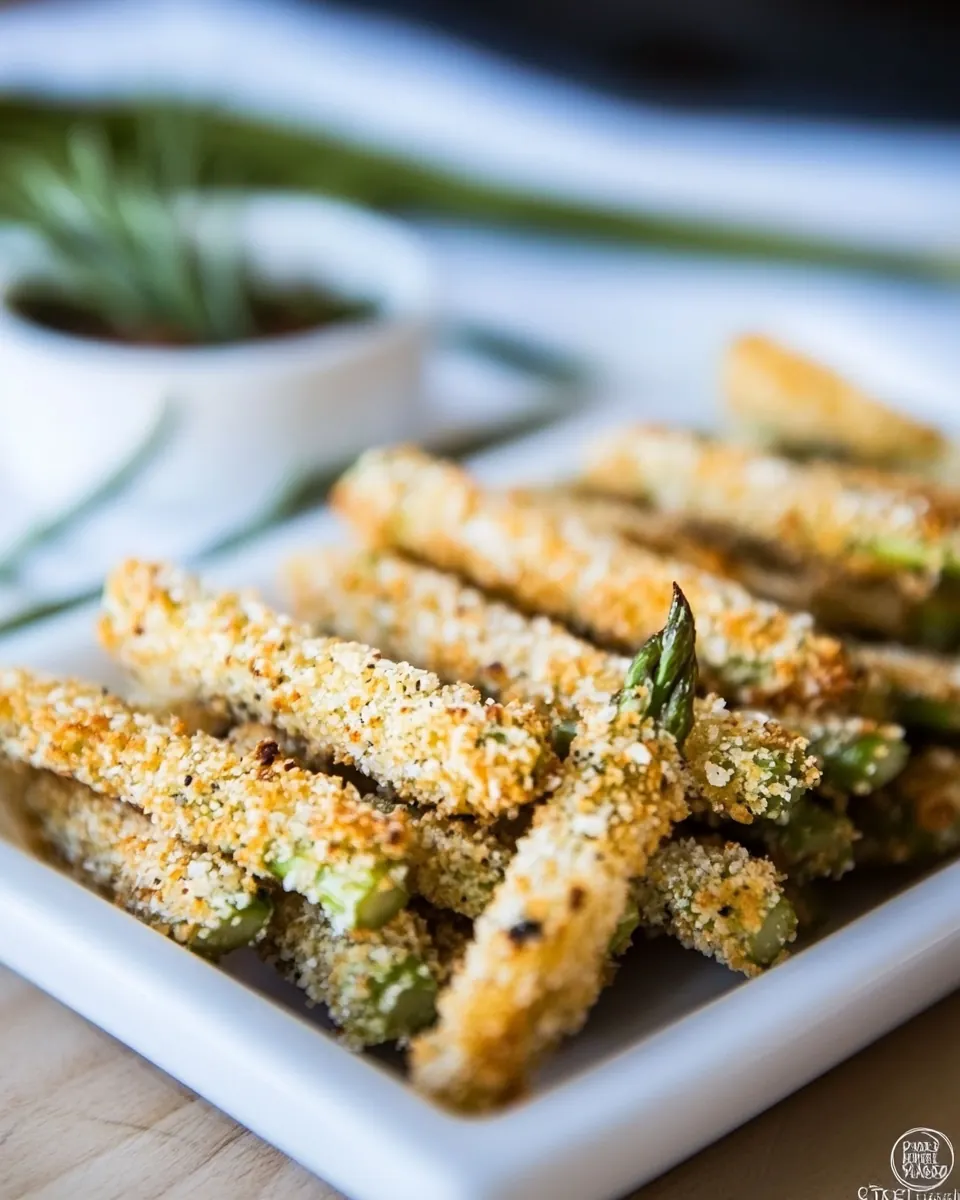
I like to present Asparagus Fries hot from the oven, with contrasting dips and a simple plated arrangement. These are great as a side to casual dinners or as an appetizer when friends stop by. Below are practical ideas for occasions and storage, and ways to incorporate them into larger meals.
- As a starter for spring gatherings. Arrange on a platter with small bowls for dipping, which makes them easy to share at brunch or a light dinner party.
- Paired with a creamy dip. A tangy yogurt based dip or a lemon aioli complements the savory parmesan cheese and crunchy coating, adding a cool counterpoint to the warm spears.
- Side for weeknight meals. Serve alongside roasted chicken or grilled fish for a bright, textural contrast that keeps the meal feeling fresh and not heavy.
- Storage and reheating tips. Keep leftover Asparagus Fries in an airtight container in the fridge for up to two days. Reheat in a hot oven or toaster oven to restore crispness rather than microwaving which makes them limp.
- Occasions to serve. These work well for casual movie nights, spring luncheons, Ramadan iftar spreads as a light vegetable option, or holiday sides when you want something green on the plate without fuss.
- Presentation idea. Stack spears in small bundles tied with chives for an elegant touch, and sprinkle extra grated parmesan cheese just before serving to refresh the savory note.
FAQ
Conclusion
Asparagus Fries stand out because they turn a simple vegetable into a crunchy, craveable side with minimal fuss. They are speedy to prepare, use common pantry ingredients, and yield a golden, savory result that still celebrates the bright flavor of asparagus. I encourage you to try them as a snack, appetizer, or side dish the next time you want something crispy and green on the plate. Share them hot from the oven, and enjoy how quickly they disappear at the table.

Asparagus Fries
Equipment
- Oven
- Baking Tray
- Baking paper
- Mixing Bowls
Ingredients
- 20 asparagus spears, hard ends removed Trimmed and firm, provide structure and a fresh, vegetal base for the fries; hold up well to coating and baking or frying. Offer a crisp-tender bite when cooked properly and contribute a mild, slightly sweet flavor that balances the savory breading.
- 1/2 cup flour Dry and powdery, create a light coating that helps the egg adhere to the asparagus and absorbs excess moisture. Add a neutral, slightly nutty backbone to the breading process and help produce a crisp exterior once cooked.
- 1 egg Beaten and slightly runny, bind the flour and breadcrumbs to the asparagus and help the coating stick during cooking. Add richness and a subtle savory note while also aiding browning for an attractive golden finish.
- 1/2 cup whole-grain breadcrumbs Coarse and crunchy, form the primary crunchy layer that delivers texture contrast to the tender asparagus. Bring whole-grain nuttiness and a hearty mouthfeel, enhancing both flavor complexity and crispness when baked or fried.
- 1/3 cup parmesan cheese, grated Fine and salty, contribute umami and a savory tang that brightens the breadcrumb coating and complements the asparagus. Melt slightly during cooking to help the crust brown and add depth of flavor to each fry.
Instructions
- Preheat the oven to 400 degrees F.: The kitchen fills with a dry warmth that signals roasting is about to happen, and the steady oven heat is crucial for a crisp exterior without steaming the asparagus . You'll notice the oven ticking and the faint hum as it reaches temperature. Using a properly preheated oven ensures the coating browns quickly, sealing moisture inside. A common mistake is putting the spears into an oven that is not hot enough, which leads to soggy coating rather than a golden crust. If your oven takes longer than expected to preheat, wait the extra five to ten minutes so surface moisture evaporates rapidly when baking.
- Dip the asparagus in the flour then shake off the excess. Dip it next to the egg then the breadcrumbs. Shake off the excess.: As you dredge, the tactile experience is reassuring, you feel the dry flour cling then the wet sheen of egg followed by the gritty texture of the breadcrumbs . Doing this in a two or three step station speeds the rhythm, and a gentle shake removes loose bits that would otherwise burn. Why this matters, the staged adhesion builds layers that brown rather than soak the vegetable. Watch for clumping, which is a frequent issue here, so tap each spear lightly and recoat if necessary to maintain an even shell.
- Place them on a baking tray lined with baking paper then bake them for 10 minutes.: The initial bake time sets the crust and begins the internal tenderizing, and you'll see edges start to turn paler golden. The air in the oven smells toasty and slightly nutty as the breadcrumbs warm. This step primes the coating, so when you add parmesan cheese it will adhere and brown rather than melt away. Avoid overcrowding the tray which causes steaming, spaced spears crisp more evenly and brown on all sides.
- Take them out of the oven then sprinkle the Parmesan cheese on top.: When you pull the tray, there is a wave of warm toasted aroma, and the surface may look set but not fully golden. Sprinkling the grated parmesan cheese now gives pockets of savory crust that blossom in the next bake. The cheese melts into the breadcrumbs, making those crunchy bits slightly richer. A common misstep is adding too much cheese at once which can create clumpy patches, so sprinkle evenly for balanced flavor and even browning.
- Bake for another 10 minutes or until they are golden brown.: In the final bake you will hear a faint crackle from the crumbs as they crisp, and visually the tips and edges develop an inviting golden brown color. The contrast between the bright green stalk and the toasted exterior is the sign they are ready. This final roast intensifies flavor and ensures the parmesan cheese melts into a savory glaze. Watch closely toward the end to prevent overbrowning, which is the usual pitfall, and remove them the moment the crumbs reach a deep golden hue for best texture.
Notes
- Use room temperature egg. A room temperature egg helps the coating adhere more evenly, because it mixes more smoothly with the flour and creates a consistent film for the breadcrumbs.
- Toast breadcrumbs beforehand if desired. Lightly toasting the whole-grain breadcrumbs in a skillet for one to two minutes intensifies their nutty flavor, but do so carefully to avoid burning.
- Pat the spears between coats. After the flour and after the egg, a quick pat helps remove excess and prevents soggy spots that fail to crisp in the oven.
- Line the tray with baking paper. This reduces sticking and makes cleanup easy, while allowing the underside of the coating to crisp rather than cling to the pan.
- Serve immediately. These are at their peak texturally right after baking, so plan plating and any dips before you start the final ten minute bake.