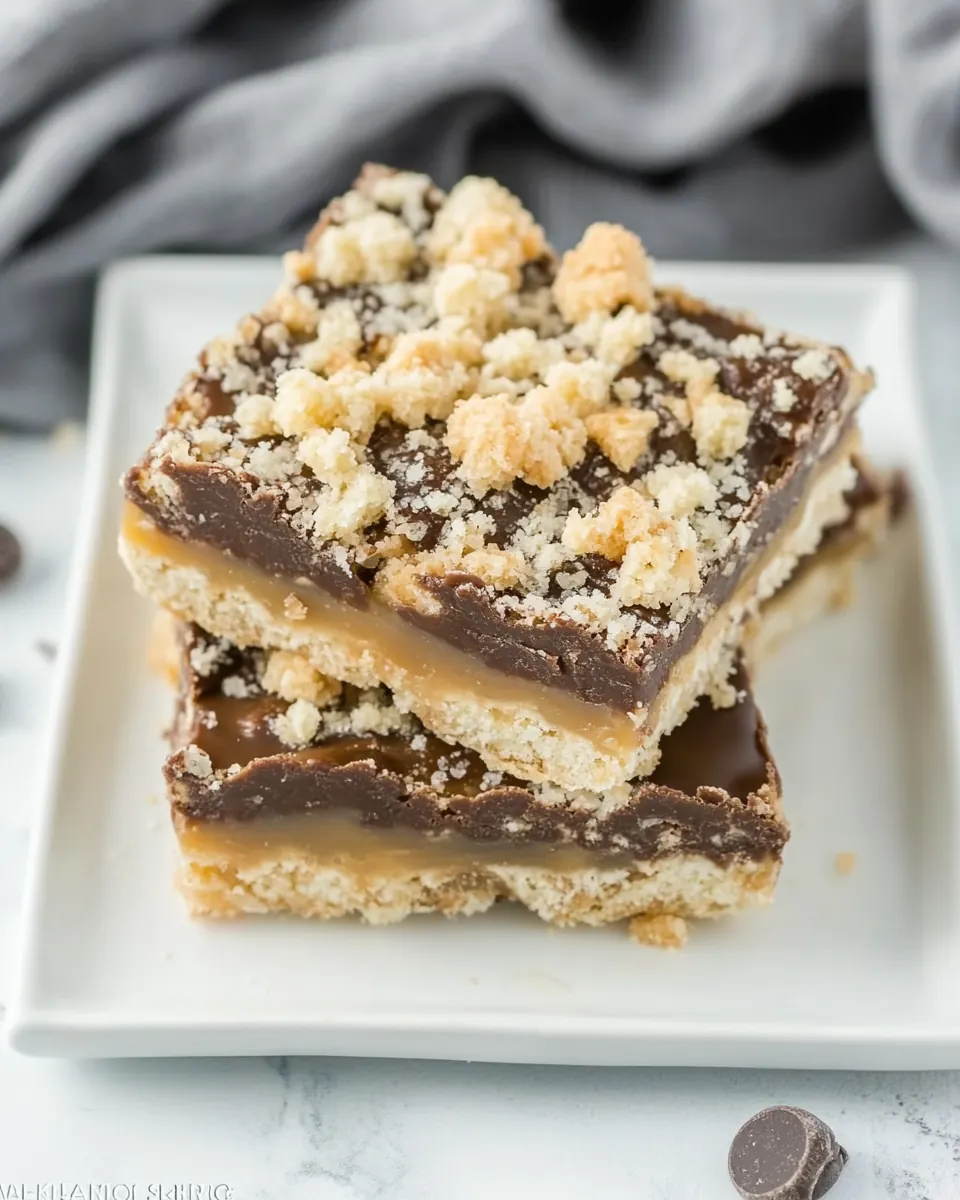
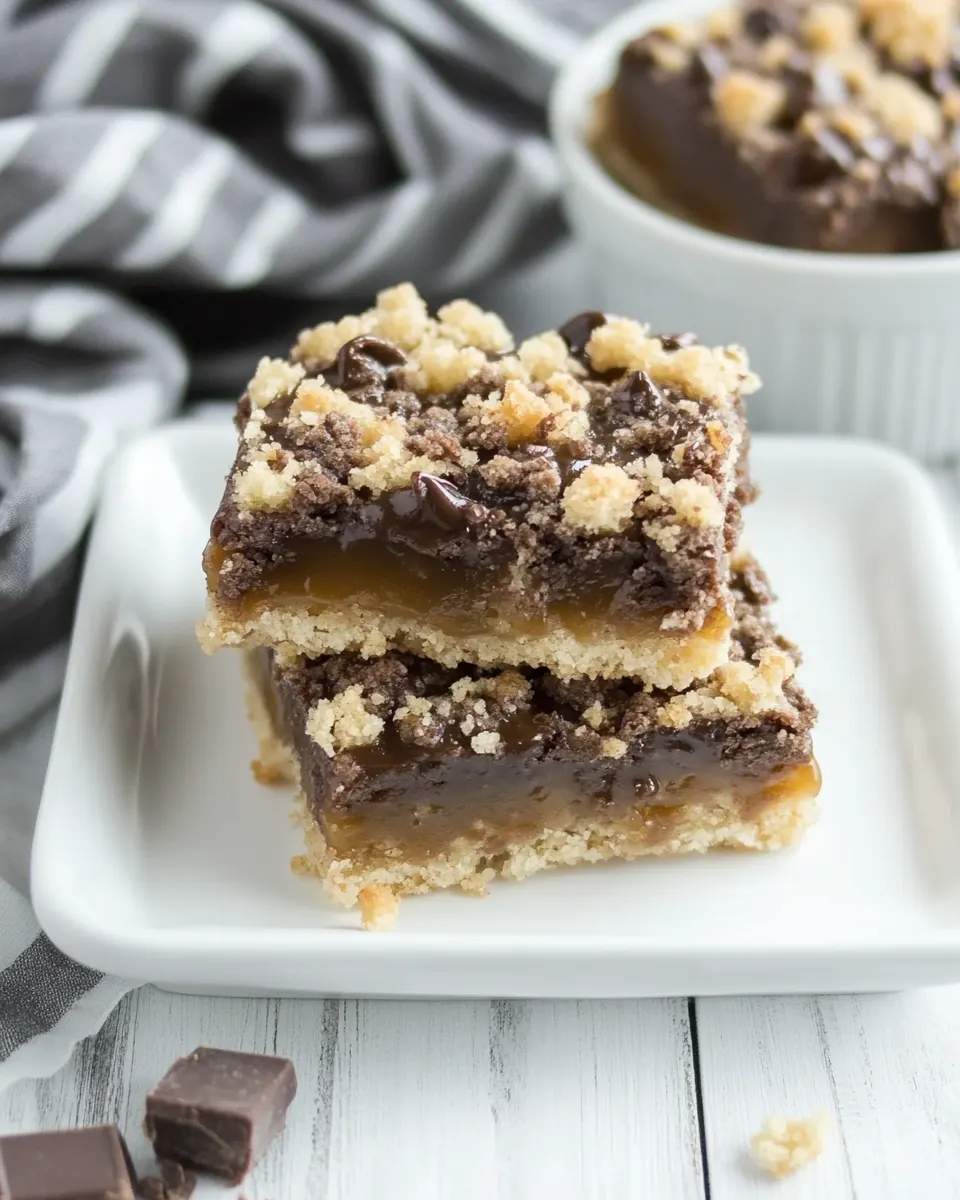
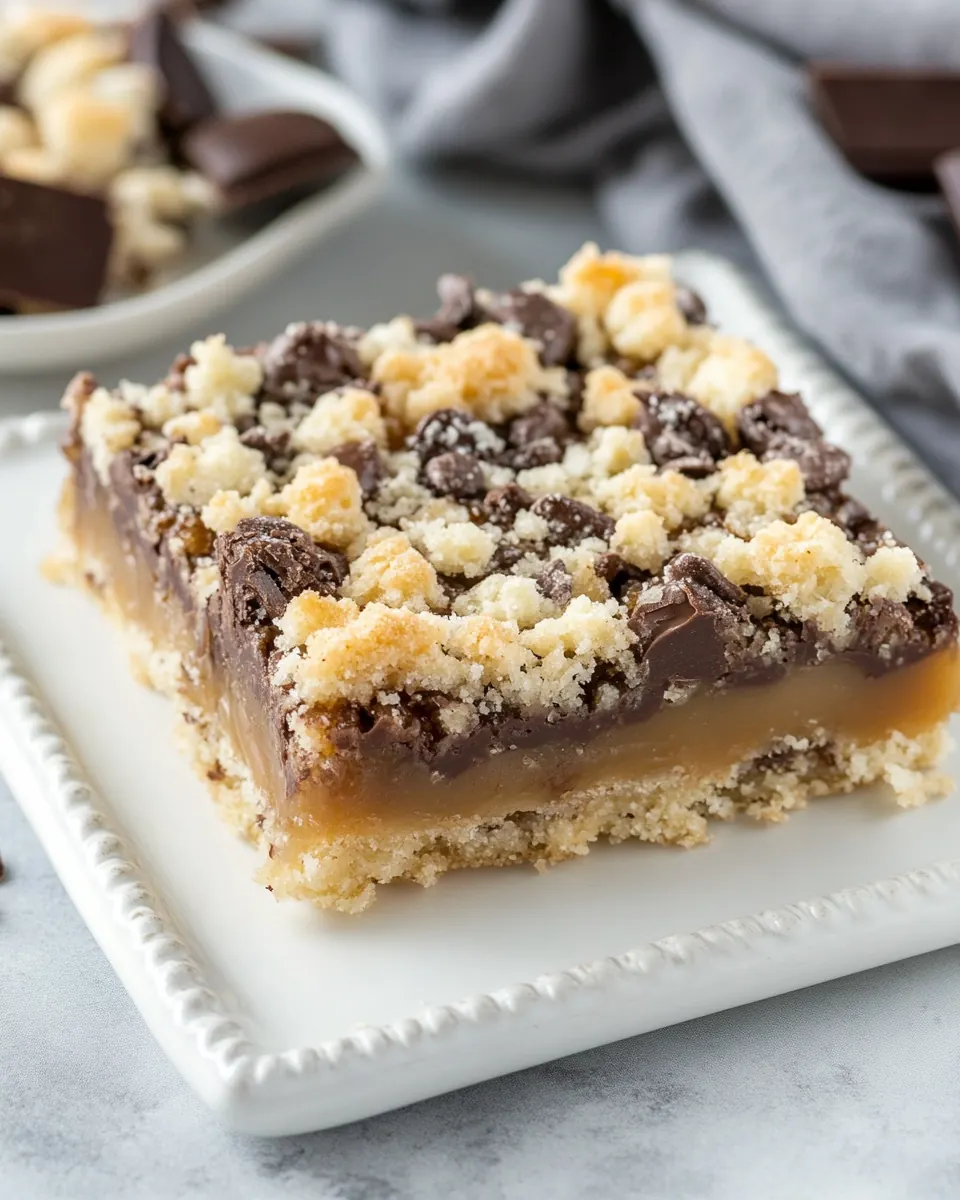
Chocolate Caramel Bars with Streusel
Chocolate Caramel Bars with Streusel are one of those treats I reach for when I want something nostalgic yet a little fancier than a cookie. The first time I made these, I was chasing the memory of a neighborhood bake sale bar that vanished from the table far too quickly, and I wanted to recreate that mix of crisp crust, buttery caramel, and melty chocolate. I remember pressing the dough into the pan and thinking about how simple ingredients can feel luxurious when they come together the right way.
I like to make these on a slow Sunday afternoon, with a cup of coffee nearby and a playlist that shifts between old favorites and new discoveries. As the caramel bubbles on the stove, the house fills with a warm, toasty aroma that makes everyone wander into the kitchen. It is impossible not to taste a tiny corner while cooling, though I always tell myself to let them set for a bit so the layers slice cleanly.
Recipe Snapshot
50 mins
20 mins
30 mins
Medium
250 kcal
American
Gluten-Free, Low FODMAP
Desserts
9 x 13 pan, Saucepan, Mixing bowl, Spatula
Why This Chocolate Caramel Bars with Streusel Stands Out
Buttery, familiar crust
I adore how the base of these bars starts with a simple combination of butter, sugar, and flour. That trio creates a tender, slightly crumbly foundation that crisps at the edges while staying tender inside. When I press the dough into the pan, I can already tell by the way it holds together that the texture will be spot on after baking.
Rich, handmade caramel
Making the caramel from scratch is a highlight. I like that the recipe asks you to simmer until it thickens and darkens, since that depth of color translates directly into flavor. There is a satisfying, slightly nutty scent as the sugars cook, and stirring keeps you present, watching the transformation. The payoff is a glossy, luxuriant layer that slices smoothly when cooled just right.
Melting pockets of chocolate
The scatter of chocolate chips adds those melty pockets everyone reaches for first. I love the contrast between the soft caramel and the spotty, gooey chocolate that breaks up the buttery base. It is a small detail that elevates every bite and makes the bars feel indulgent without being fussy.
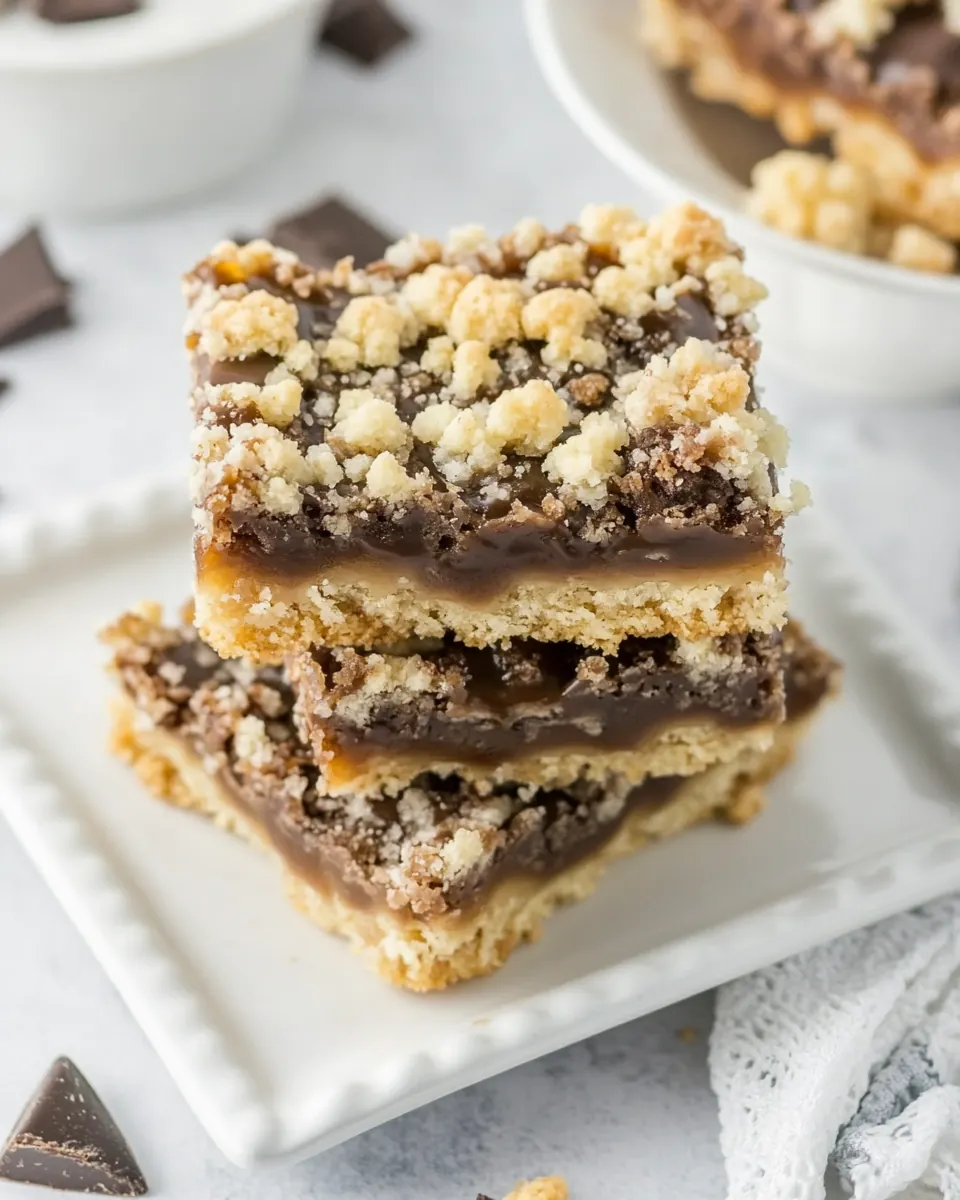
Streusel for texture and charm
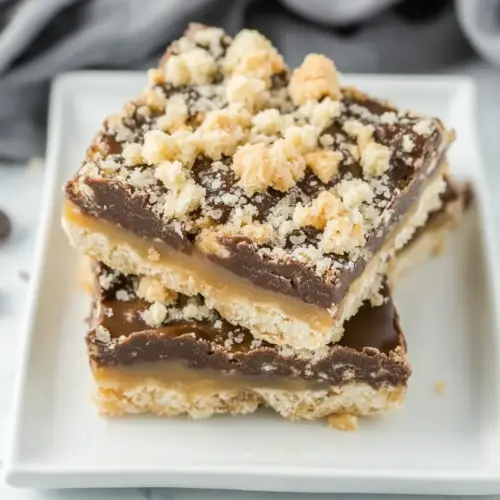
Reserving a portion of the dough as crumbs and sprinkling them on top gives a rustic, homey finish. The streusel browns and crisps just enough to add a pleasing crunch above the caramel. I enjoy the visual cue it provides, since the golden crumbs promise a perfect balance of textures when you slice into the bars.
Approachable and shareable
What I value most is how approachable the process is. The techniques are simple, and the steps feel familiar, even if you are not a regular baker. These bars are sturdy enough to wrap, store, and share, which makes them ideal for gifting or bringing to gatherings. I always feel proud handing over a pan, because the flavors read like comfort but the layers say effort and care.
Recipe Ingredients for Chocolate Caramel Bars with Streusel
These ingredients work as a straightforward team: a buttery base that crisps, a deeply flavored caramel that binds, and crumbs on top for texture. The key players are the butter for richness, the sugar and flour for structure, and the caramel layer for sweetness and chewiness. Each element supports the others so each bite has crunch, chew, and melt.
- 2 sticks (1 cup) butter at room temperature: Soften and cream to provide richness and a tender, moist crumb while helping bind the streusel and bar base together; at room temperature it incorporates easily with sugar for a smooth texture and even baking.
- 1/2 cup sugar: Sweeten and assist in creaming to aerate the dough, contributing to a balanced sweetness and lightness in both the streusel and bars; sugar also helps with caramelization and browning during baking.
- 1 teaspoon vanilla: Enhance and deepen flavor by adding warm aromatic notes that complement chocolate and caramel; vanilla rounds out the overall taste profile and masks any potential bitterness.
- 2 1/2 cup s flour: Combine and structure the dough by supplying gluten and bulk for the crust and streusel; all-purpose flour creates the framework that holds the bars together and gives them a pleasant bite.
How to Assemble Chocolate Caramel Bars with Streusel
These directions guide you through preparing a sturdy crust, silky caramel, and a final bake that sets everything perfectly. Read each step slowly so you can tune into the visual and sensory clues that tell you the mixture is ready. I find the rhythm of creaming, cooking, and layering to be almost meditative when you take your time.
- Line a 9 x 13 pan with non-stick foil or regular foil (spray with non-stick spray). Buttered parchment will also work.: The kitchen will smell of warm foil and butter if you skip proper lining, and cleanup becomes harder. Properly lining and spraying ensures the bars lift out cleanly, showing neat layers. A common mistake is leaving the foil loose so the dough presses unevenly, so press the foil firmly into the corners and smooth any folds before adding the crust.
- Preheat the oven to 350º.: You will notice a steady, even warmth in the oven once it reaches temperature, which helps the crust bake evenly without soggy spots. Preheating ensures the bottom crust starts setting immediately, creating a crisp edge. Avoid placing the pan into an oven that is still heating, since that can lead to uneven baking and a denser texture.
- Beat the 2 sticks of butter with the sugar till light and fluffy, about two minutes. Add vanilla, then slowly add in flour, scraping the sides of the bowl till the dough is smooth and flour incorporated.: Crèaming butter and sugar traps tiny air pockets that translate to a tender, slightly airy crumb. The mixture should take on a pale color and a light, billowy texture; scraping the bowl prevents streaks of dry flour. If you overmix the dough once flour is added, the crust can become tough, so stop as soon as the flour is incorporated and the dough is smooth.
- Put 3/4 of the dough into the prepared pan and pat firmly to form the bottom crust. Set aside the remaining dough and chill the crust as you prepare the caramel.: When you press the dough into the pan, you should feel slight resistance, and the surface will look even and compact. Chilling helps the crust hold its shape and reduces spreading during baking. A frequent error is pressing too thin, which yields a fragile base that can break when cutting, so aim for even thickness across the pan.
- Combine all filling ingredients except vanilla and chocolate chips in a saucepan. Bring to a simmer, stirring occasionally. Then allow the mixture to boil gently, stirring often, for about 10 minutes, until it starts to darken and thicken.: As the filling simmers, steam will rise and the aroma of cooked sugar will deepen to a toasty scent that signals caramelization. Frequent stirring prevents scorching, and gentle bubbling indicates you are in the right window for thickening. If the heat is too high the sugars can burn quickly, producing a bitter flavor, so keep the heat moderated and stir often.
- Remove from heat, add vanilla, and allow to cool for about 10 minutes.: After removing from the stove, the mixture will steam and settle; adding vanilla at this point preserves its aroma without evaporating. Cooling slightly prevents the caramel from liquefying the crust when spread. A common misstep is spreading piping hot caramel, which soaks into the crust and makes the bars soggy; waiting the full cooling time ensures cleaner layers.
- When the caramel has cooled slightly, spread it evenly over the prepared crust. Sprinkle with chocolate chips, then reserved crumbs.: Spreading should feel smooth under your spatula, and the caramel will take on a glossy sheen. The scattered chocolate chips will begin to soften from the caramel warmth, creating pools of melted chocolate after baking. Pressing the crumbs gently into the top helps them adhere, while leaving some loose for a crunchy finish. If the caramel is uneven, the bars will cut irregularly, so aim for an even layer across the panel.
- Bake for about 30 minutes, until the filling is bubbly. Cool in the pan, then remove the bars to a cutting board using the foil and slice to the desired size.: While baking, you will see the edges of the crust deepen to a light golden brown and the filling will bubble at the edges, a clear visual cue that it is set. Cooling allows the caramel to firm, so the bars slice neatly without dragging. Cutting too soon is a routine error, leading to sticky, messy pieces; allow ample cooling before slicing.
- Store at room temperature for a day or two, then refrigerate. Wrap well and freeze any you will not eat within a week.: At room temperature the texture remains tender, with the caramel slightly yielding, while refrigeration firms the bars for longer storage. Wrapping tightly preserves freshness and prevents the crust from absorbing other odors. A mistake many make is leaving them uncovered in the fridge, which can dry the surface and dull the flavors, so wrap or use an airtight container.
Make It Your Own
I like to think of small tweaks that reflect how I bake and what I have on hand. These suggestions will keep the spirit of the recipe intact while letting you personalize texture and presentation. Below are practical tips to adapt or elevate the bars.
- Room Temperature Butter Matters Use softened butter rather than melted to achieve the ideal creamed texture and a tender crust.
- Even Pressing Press the crust into the pan with consistent pressure so the base bakes evenly and supports the caramel without cracking.
- Watch the Caramel Keep the heat moderate and stir often, since the caramel can go from perfect to scorched quickly, which ruins the flavor.
- Cool Before Cutting Allow the bars to cool until the caramel firms slightly, this ensures tidy slices and better presentation.
- Store Properly Keep the bars wrapped or in an airtight container at room temperature for short term, then refrigerate to extend freshness.
Perfect Matches for Chocolate Caramel Bars with Streusel
These bars pair beautifully with simple accompaniments and fit many occasions. I often plan serving based on how people will eat them, whether as a casual snack, dessert after a family meal, or a treat to bring to gatherings. Below I outline practical serving ideas, storage notes, and pairing suggestions to make the most of the bars.
- Coffee and Tea Pairing Serve slices with a robust coffee or a bright tea to balance the sweetness; the bitterness of brewed beverages cuts through the caramel richness.
- After Dinner Dessert Present small squares on a dessert plate after a comforting family meal, they are rich enough that small portions feel satisfying.
- Party Tray Arrange cut bars on a platter for events, they travel well and are easy for guests to grab, making them ideal for potlucks and gatherings.
- Gift Giving Wrap individual bars in parchment and tie with string for a thoughtful homemade gift; they store well for a few days at room temperature.
- Storage Tips Keep at room temperature for a day to enjoy a softer texture, refrigerate for longer life and firmer slices, and freeze tightly wrapped bars for up to a week to preserve freshness.
FAQ
Conclusion
These Chocolate Caramel Bars with Streusel stand out because they balance a tender buttery crust, silky homemade caramel, and pockets of melty chocolate for an irresistible texture contrast. I encourage you to give them a try, whether for a weekend baking session or to bring to a gathering. The process is straightforward, and the result feels both comforting and celebratory, perfect for sharing with friends and family.
Chocolate Caramel Bars with Streusel
Equipment
- 9 x 13 pan
- Saucepan
- Mixing Bowl
- Spatula
Ingredients
- 2 sticks (1 cup) butter at room temperature Soften and cream to provide richness and a tender, moist crumb while helping bind the streusel and bar base together; at room temperature it incorporates easily with sugar for a smooth texture and even baking.
- 1/2 cup sugar Sweeten and assist in creaming to aerate the dough, contributing to a balanced sweetness and lightness in both the streusel and bars; sugar also helps with caramelization and browning during baking.
- 1 teaspoon vanilla Enhance and deepen flavor by adding warm aromatic notes that complement chocolate and caramel; vanilla rounds out the overall taste profile and masks any potential bitterness.
- 2 1/2 cup s flour Combine and structure the dough by supplying gluten and bulk for the crust and streusel; all-purpose flour creates the framework that holds the bars together and gives them a pleasant bite.
Instructions
- Line a 9 x 13 pan with non-stick foil or regular foil (spray with non-stick spray). Buttered parchment will also work.: The kitchen will smell of warm foil and butter if you skip proper lining, and cleanup becomes harder. Properly lining and spraying ensures the bars lift out cleanly, showing neat layers. A common mistake is leaving the foil loose so the dough presses unevenly, so press the foil firmly into the corners and smooth any folds before adding the crust.
- Preheat the oven to 350º.: You will notice a steady, even warmth in the oven once it reaches temperature, which helps the crust bake evenly without soggy spots. Preheating ensures the bottom crust starts setting immediately, creating a crisp edge. Avoid placing the pan into an oven that is still heating, since that can lead to uneven baking and a denser texture.
- Beat the 2 sticks of butter with the sugar till light and fluffy, about two minutes. Add vanilla, then slowly add in flour, scraping the sides of the bowl till the dough is smooth and flour incorporated.: Crèaming butter and sugar traps tiny air pockets that translate to a tender, slightly airy crumb. The mixture should take on a pale color and a light, billowy texture; scraping the bowl prevents streaks of dry flour. If you overmix the dough once flour is added, the crust can become tough, so stop as soon as the flour is incorporated and the dough is smooth.
- Put 3/4 of the dough into the prepared pan and pat firmly to form the bottom crust. Set aside the remaining dough and chill the crust as you prepare the caramel.: When you press the dough into the pan, you should feel slight resistance, and the surface will look even and compact. Chilling helps the crust hold its shape and reduces spreading during baking. A frequent error is pressing too thin, which yields a fragile base that can break when cutting, so aim for even thickness across the pan.
- Combine all filling ingredients except vanilla and chocolate chips in a saucepan. Bring to a simmer, stirring occasionally. Then allow the mixture to boil gently, stirring often, for about 10 minutes, until it starts to darken and thicken.: As the filling simmers, steam will rise and the aroma of cooked sugar will deepen to a toasty scent that signals caramelization. Frequent stirring prevents scorching, and gentle bubbling indicates you are in the right window for thickening. If the heat is too high the sugars can burn quickly, producing a bitter flavor, so keep the heat moderated and stir often.
- Remove from heat, add vanilla, and allow to cool for about 10 minutes.: After removing from the stove, the mixture will steam and settle; adding vanilla at this point preserves its aroma without evaporating. Cooling slightly prevents the caramel from liquefying the crust when spread. A common misstep is spreading piping hot caramel, which soaks into the crust and makes the bars soggy; waiting the full cooling time ensures cleaner layers.
- When the caramel has cooled slightly, spread it evenly over the prepared crust. Sprinkle with chocolate chips, then reserved crumbs.: Spreading should feel smooth under your spatula, and the caramel will take on a glossy sheen. The scattered chocolate chips will begin to soften from the caramel warmth, creating pools of melted chocolate after baking. Pressing the crumbs gently into the top helps them adhere, while leaving some loose for a crunchy finish. If the caramel is uneven, the bars will cut irregularly, so aim for an even layer across the panel.
- Bake for about 30 minutes, until the filling is bubbly. Cool in the pan, then remove the bars to a cutting board using the foil and slice to the desired size.: While baking, you will see the edges of the crust deepen to a light golden brown and the filling will bubble at the edges, a clear visual cue that it is set. Cooling allows the caramel to firm, so the bars slice neatly without dragging. Cutting too soon is a routine error, leading to sticky, messy pieces; allow ample cooling before slicing.
- Store at room temperature for a day or two, then refrigerate. Wrap well and freeze any you will not eat within a week.: At room temperature the texture remains tender, with the caramel slightly yielding, while refrigeration firms the bars for longer storage. Wrapping tightly preserves freshness and prevents the crust from absorbing other odors. A mistake many make is leaving them uncovered in the fridge, which can dry the surface and dull the flavors, so wrap or use an airtight container.
Notes
- Room Temperature Butter Matters Use softened butter rather than melted to achieve the ideal creamed texture and a tender crust.
- Even Pressing Press the crust into the pan with consistent pressure so the base bakes evenly and supports the caramel without cracking.
- Watch the Caramel Keep the heat moderate and stir often, since the caramel can go from perfect to scorched quickly, which ruins the flavor.
- Cool Before Cutting Allow the bars to cool until the caramel firms slightly, this ensures tidy slices and better presentation.
- Store Properly Keep the bars wrapped or in an airtight container at room temperature for short term, then refrigerate to extend freshness.