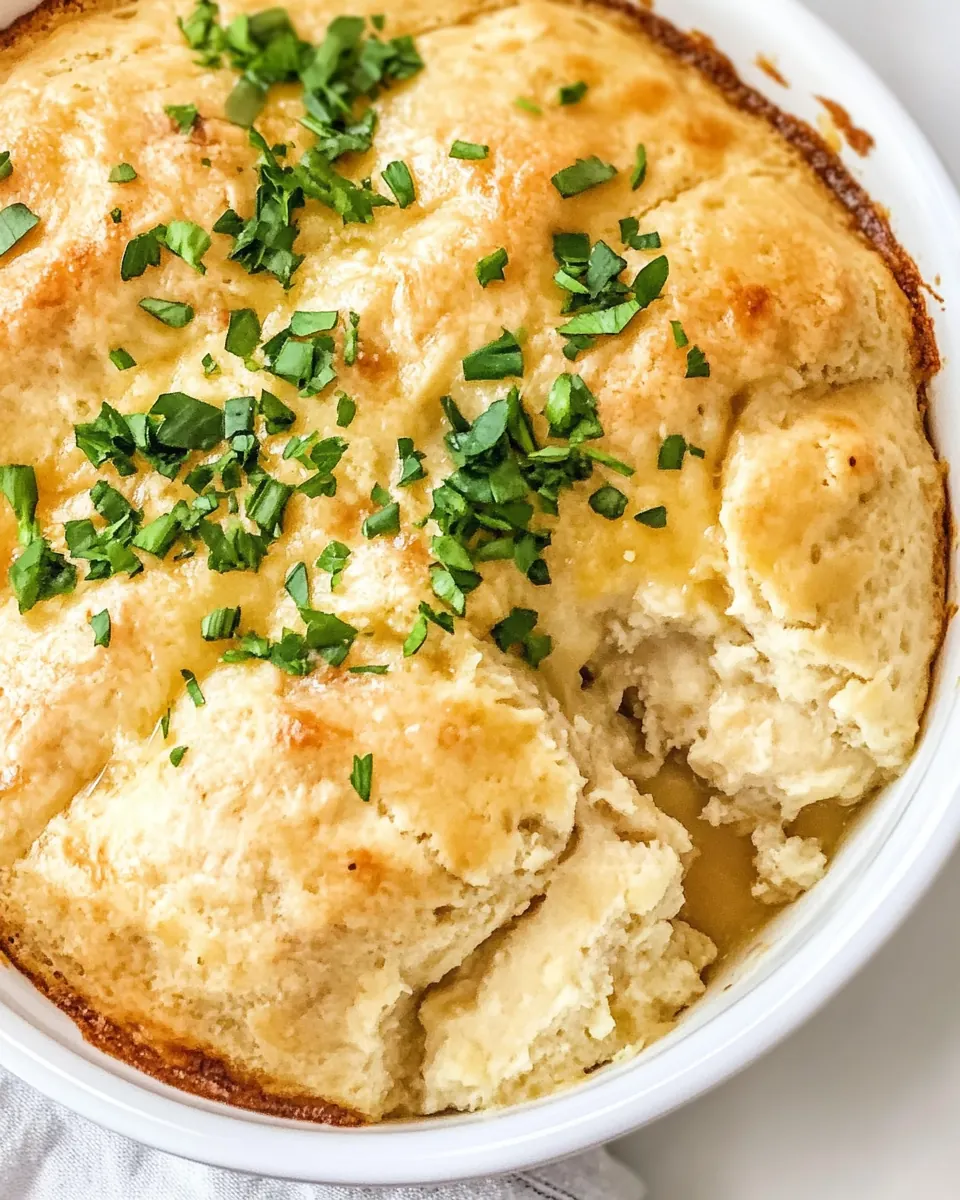
Chicken Cobbler
Chicken Cobbler has been a quiet staple in my weeknight lineup ever since I first turned leftover roast into something comforting and slightly nostalgic. The first time I made it I was short on time and spoons, but I had a pile of cooked chicken and a craving for something warm, creamy, and homey. I layered the shredded chicken into a pan, whisked a quick savory gravy, and topped it with a rustic batter that bakes up golden and slightly crisp at the edges, and the house smelled like a gentle hug.
I remember that evening because it was one of those meals that everyone quietly polished off while chatting about the day, and then asked for seconds without making a fuss. Over time I learned to tweak the balance of creamy sauce to biscuit topping, and to trust the visual clues when the top is ready, because ovens vary and texture matters. I like the way the surface bubbles and browns, forming a satisfying contrast to the tender chicken beneath.
Recipe Snapshot
40 mins
10 mins
30 mins
Easy
450 kcal
American
Gluten-Free, Low FODMAP
Dinner
9×13 inch baking dish, Oven, Whisk, Mixing bowl, Spatula
Why This Chicken Cobbler Is So Good
Comforting, without fuss
I love this version of Chicken Cobbler because it delivers the same cozy satisfaction as a pot pie, but without fussing with pastry. You get a rich, velvety filling from the cream of chicken soup and chicken broth, paired with a biscuit like topping that soaks up savory juices. It is forgiving, which means you can use rotisserie chicken or leftovers and still end up with something soulful.
Speed and accessibility
This dish is a genuine weeknight hero. With just a handful of pantry staples like self rising flour, buttermilk, and a packet of gravy mix, you can have dinner on the table in under an hour. I value recipes that respect a busy schedule while tasting like you invested more time.
Texture contrast
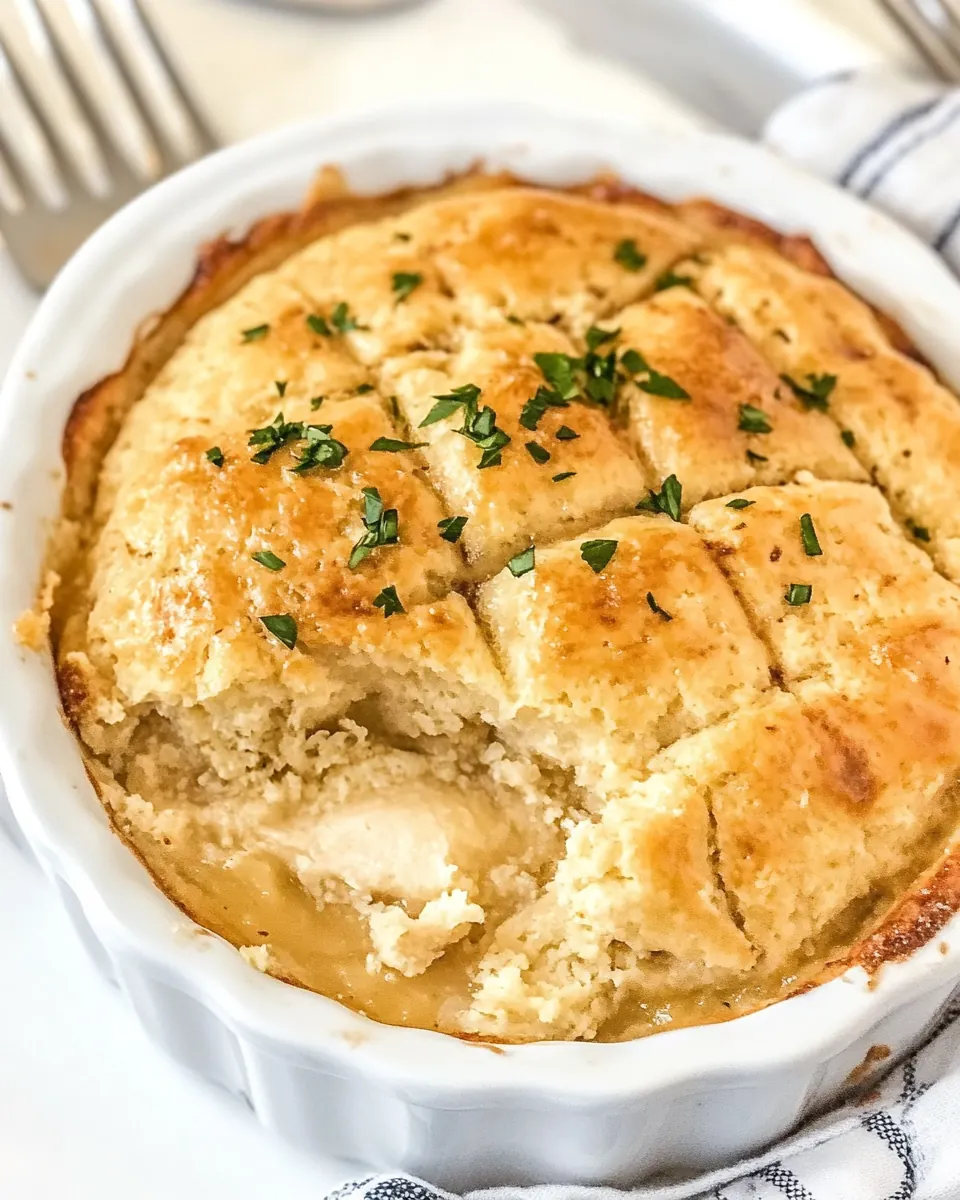
What keeps me making Chicken Cobbler is the contrast between the lush, saucy filling and the golden, slightly crisp top. The melted butter in the batter ensures the topping browns beautifully, while the filling stays moist. That contrast is what friends remember and ask for again.
Flexible and forgiving
I often tweak amounts or sneak in frozen vegetables when I need extra greens, and the recipe adapts. It is a forgiving canvas for creativity, yet reliable enough that I know the results will be comforting and balanced every time. That reliability is a big reason I keep this recipe in my rotation.
Family friendly appeal
Finally, Chicken Cobbler is a crowd pleaser. The flavors are familiar, and the textures are broadly appealing. Whether I am feeding picky eaters or hosting a casual gathering, it slides onto the table warm and welcome.
What’s In This Chicken Cobbler
I believe a great savory cobbler is all about balance between a creamy, savory base and a topping that provides lift and texture. These ingredients form a simple, dependable team. The canned soup and gravy mix bring umami and body, the broth thins and seasons the filling, and the biscuit batter gives you a tender, golden crown. The chicken is the star protein, while butter and buttermilk ensure the topping browns and stays tender.
- 4 cups cooked chopped chicken: Provide tender, pre-cooked protein to form the hearty base of the cobbler; chopped chicken offers ready-to-use texture and savory flavor and shortens preparation time by eliminating extra cooking steps.
- 1 (0.87-oz) packet chicken gravy mix: Add concentrated savory seasoning to boost overall gravy flavor; a packet of chicken gravy mix seasons the liquid component and helps create a cohesive, flavorful sauce for the filling.
- 2 cups chicken broth: Supply salty, savory liquid to dissolve the gravy mix and thin the filling; chicken broth contributes moisture and depth while adjusting consistency for a saucy base.
- 1 (10.5-oz) can Unsalted Cream of Chicken Soup: Contribute creamy, concentrated chicken flavor and body to the sauce; canned cream of chicken soup enriches the filling with smooth texture and helps bind ingredients together.
- 1/2 cup butter, melted: Add rich, silky fat to moisten both filling and topping while enhancing flavor; melted butter improves mouthfeel and helps achieve a tender, golden crust on the cobbler.
- 1 cup self-rising flour: Provide structure and a leavening base for the cobbler topping; self–rising flour contains leavening and salt that create a light, slightly risen biscuit-like dough when mixed with liquid.
- 1 cup buttermilk: Offer tangy liquid to activate the self–rising flour and add moisture to the topping; buttermilk reacts with leavening agents to yield tenderness and a subtle brightness.
- 1/2 tsp black pepper, or to taste: Season the dish with mild heat and aromatic depth; black pepper adjusts overall flavor balance and can be increased to taste for a more pronounced spicy note.
How to Prepare Chicken Cobbler
With a little rhythm and attention to sensory cues, this recipe is straightforward. I like to stage everything so once the filling goes in the dish, the batter comes together in one bowl. Listen for bubbling, watch for a golden surface, and rely on the scent to tell you when the dish is ready to come out of the oven.
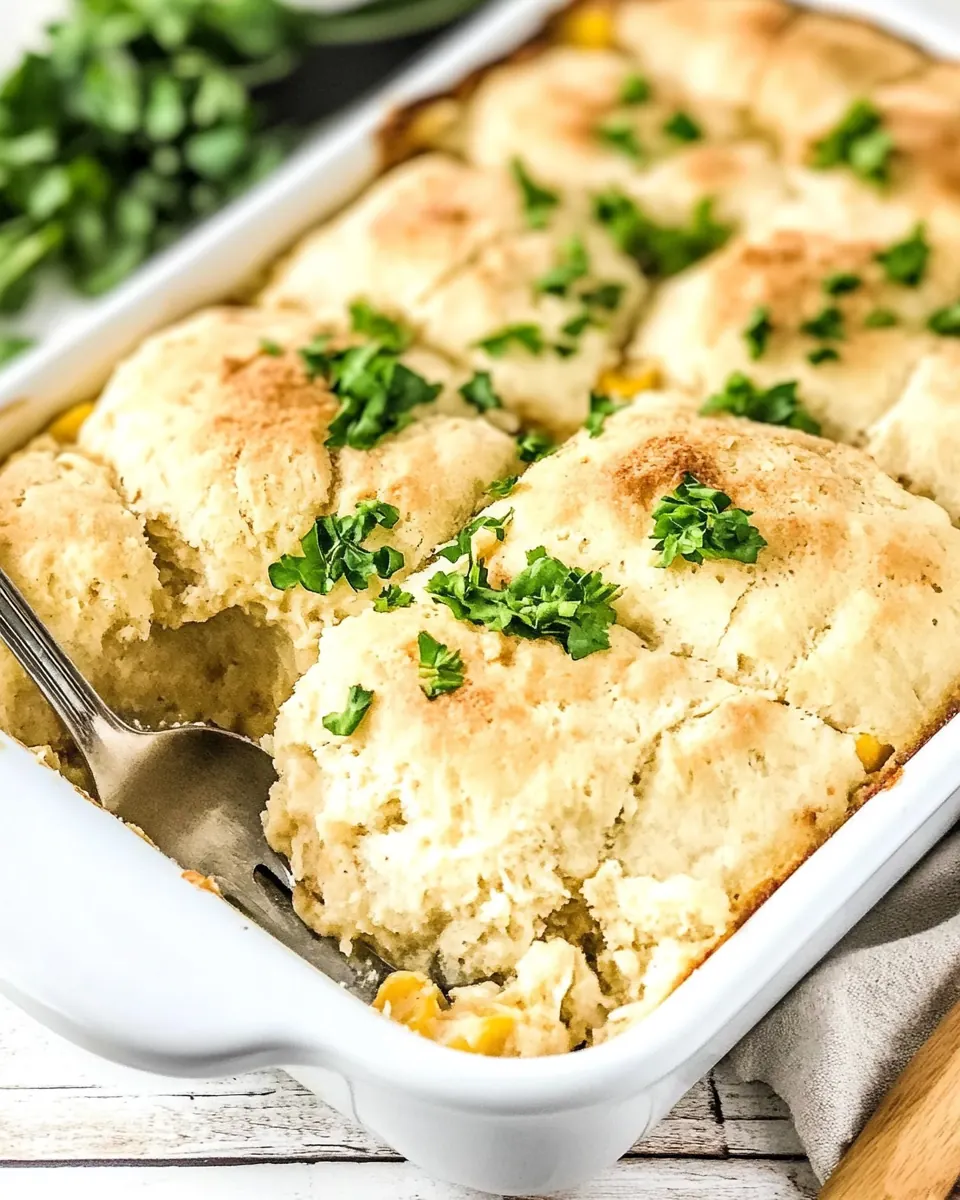
- Preheat oven to 425ºF. Lightly spray a 9×13-inch baking dish with cooking spray.: As the oven warms you will notice a dry, warm air carrying a faint metal smell that disappears as it heats, and this preheating creates the right environment for the topping to rise quickly and brown on contact. The heat jump is important because the high oven temperature encourages immediate steam production from the filling, which helps set the batter edges and promotes a light texture. A common mistake is not letting the oven fully reach temperature, which can lead to a soggy, underbaked top. Make sure your oven indicator reads the full temperature before inserting the dish, and gently tap the baking dish to ensure the spray prevents sticking.
- Spread chicken into baking dish. Whisk together gravy mix, chicken broth & soup. Pour over chicken.: When the chicken is arranged across the pan, you should feel the coolness of the meat if it is just warm, and visually aim for an even single layer so the sauce will distribute consistently. Even distribution prevents some bites from becoming overly dry and others overly saucy. If the pieces are uneven in size, the mouthfeel will vary, so shred or chop to similar bite sizes. A common misstep is crowding the pan with oversized chunks that create dry pockets, so break the chicken down evenly for consistent results.
- Mix melted butter, flour, pepper & buttermilk, and spread evenly over chicken.: You will see the pale soup thinned into a glossy sauce as you whisk, and little swirls form as the gravy mix dissolves. Whisk until homogenous, which promotes even seasoning and prevents clumps. The reason this matters is that a smooth sauce evenly coats the chicken and creates uniform pockets of moisture under the topping. A common error is adding the gravy mix cold without dissolving it, which leaves gritty pockets, so whisk thoroughly until smooth and slightly thickened.
- Bake for 25-30 minutes, or until browned on top.: As you pour the glossy sauce over the arranged chicken , watch how it pools and soaks between pieces, settling into crevices. This wetting is what keeps the chicken moist during baking and infuses each bite with flavor. Pour slowly and use a spatula to nudge the sauce into any dry areas. One pitfall to avoid is pouring too quickly which can flood one side of the pan; aim for even coverage so the topping bakes atop an evenly sauced base.
- Mix melted butter, flour, pepper & buttermilk, and spread evenly over chicken: Right away you will see a batter form that is slightly loose and glossy thanks to the butter and buttermilk . The texture should be spoonable, not runny; this consistency bakes into a tender, slightly crisp topping. Spread gently with a spatula so the topping covers the sauce in an even layer, leaving no big gaps. The why here is crucial: an even batter ensures even browning and uniform texture. Avoid over mixing, which can develop toughness, and be careful not to press down hard while spreading, which can push the batter into the filling and create soggy spots.
- Bake for 25 to 30 minutes, or until browned on top: During baking the kitchen will fill with a warm, buttery aroma, and you should hear a faint, steady tick as pockets of steam escape. Look for a golden brown surface with some bubbling at the edges where the filling meets the topping. The visual cue of golden color and gentle bubbling indicates the filling is hot and the batter has set. Overbaking will dry the topping, while underbaking leaves it doughy, so remove the dish when it is evenly golden and the center is hot. A common trap is relying only on time instead of visual and aromatic cues, so always check for warmth in the center and a nicely browned top before pulling it from the oven.
Substitutions and Tips
This section expands on practical adjustments and real world tips I’ve gathered over repeated batches. Read these notes before you start, and you’ll be rewarded with a more confident finish.
- Use rotisserie chicken for convenience and flavor, it speeds prep and adds juicy, well seasoned meat that melds with the sauce.
- Low sodium broth recommendation allows you to control final salt levels, which is important because the gravy mix and canned soup can add a lot of sodium.
- Add frozen vegetables like mixed peas and carrots if you want extra nutrients and color, stir them into the filling before covering with batter so they cook through.
- Butter temperature matters for topping texture, melted and slightly cooled butter blends best with buttermilk to form a smooth batter.
- Even spread of the batter prevents thick and thin spots, use a spatula to gently coax the batter to the edges without compressing it into the filling.
- Watch the top near the end of baking, if it is browning too fast tent loosely with foil to prevent overbrowning while the center finishes cooking.
How to Enjoy Chicken Cobbler
This dish works well for casual weeknight dinners and cozy weekend lunches. It is hearty and warming, so plan for comforting sides and relaxed service. Here are many ideas for serving, pairings, and storage so your experience is practical and delicious.
- Serve warm from the oven, allowing 5 to 10 minutes of rest so the filling firms slightly and serving is tidy.
- Simple green salad complements the richness, a crisp tossed salad with a bright vinaigrette cuts through the creaminess and refreshes the palate.
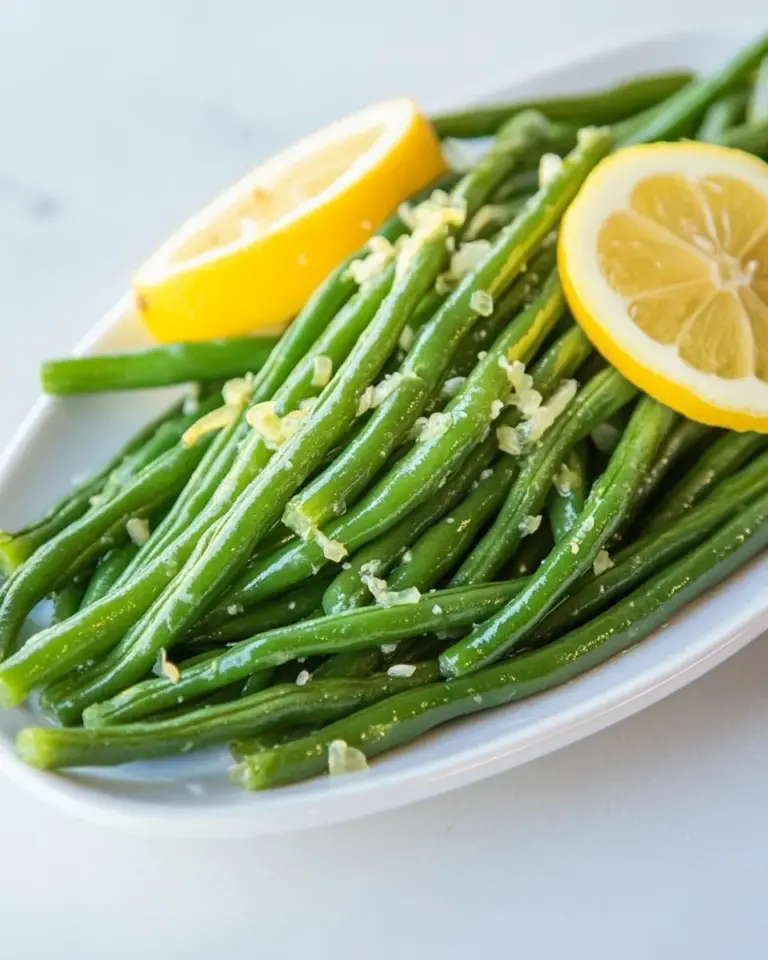
- Vegetable sides like steamed green beans or roasted Brussels sprouts pair well, offering contrasting texture and seasonal freshness.
- Casual gatherings are ideal occasions for this dish; place the baking dish on the table and let guests serve themselves for a cozy, communal meal.
- Meal prep and leftovers refrigerate in an airtight container for up to 3 days, reheat portions in a 350ºF oven until warmed through to revive the topping’s texture.
- Freezing is possible; freeze tightly wrapped portions and thaw overnight in the refrigerator before reheating, though the topping may be slightly softer after freezing.
- Holiday use is excellent for using leftover poultry, making it a practical second night meal after a holiday roast or turkey dinner.
- Family style serving encourages seconds; provide a serving spoon and let everyone help themselves to control portions.
- Plate presentation can be simple, a scoop onto a warmed plate plated next to a crisp side gives contrast and balance.
- Seasonal tweaks like adding a handful of thawed frozen mixed vegetables during colder months adds color and nutrients without altering the base flavors.
FAQ
Conclusion
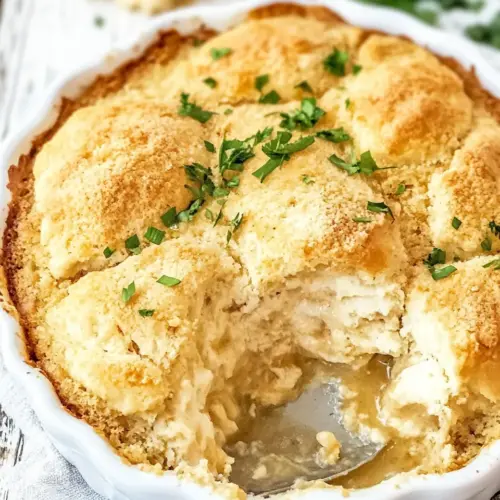
What makes Chicken Cobbler special is how easily humble pantry staples transform into a warm, satisfying, and crowd pleasing meal. The creamy, savory filling paired with a golden, biscuit like topping creates a texture contrast that feels indulgent yet familiar. Give it a try on a busy weeknight or after a holiday roast, and you will find it earns a regular spot in your rotation. I hope this recipe becomes one of those quiet favorites that you reach for when you want comfort without fuss, and that it brings the same simple pleasure to your table that it does to mine.
Chicken Cobbler
Equipment
- 9x13-inch Baking Dish
- Oven
- Whisk
- Mixing Bowl
- Spatula
Ingredients
- 4 cups cooked chopped chicken Provide tender, pre-cooked protein to form the hearty base of the cobbler; chopped chicken offers ready-to-use texture and savory flavor and shortens preparation time by eliminating extra cooking steps.
- 1 (0.87-oz) packet chicken gravy mix Add concentrated savory seasoning to boost overall gravy flavor; a packet of chicken gravy mix seasons the liquid component and helps create a cohesive, flavorful sauce for the filling.
- 2 cups chicken broth Supply salty, savory liquid to dissolve the gravy mix and thin the filling; chicken broth contributes moisture and depth while adjusting consistency for a saucy base.
- 1 (10.5-oz) can Unsalted Cream of Chicken Soup Contribute creamy, concentrated chicken flavor and body to the sauce; canned cream of chicken soup enriches the filling with smooth texture and helps bind ingredients together.
- 1/2 cup butter, melted Add rich, silky fat to moisten both filling and topping while enhancing flavor; melted butter improves mouthfeel and helps achieve a tender, golden crust on the cobbler.
- 1 cup self-rising flour Provide structure and a leavening base for the cobbler topping; self-rising flour contains leavening and salt that create a light, slightly risen biscuit-like dough when mixed with liquid.
- 1 cup buttermilk Offer tangy liquid to activate the self-rising flour and add moisture to the topping; buttermilk reacts with leavening agents to yield tenderness and a subtle brightness.
- 1/2 tsp black pepper, or to taste Season the dish with mild heat and aromatic depth; black pepper adjusts overall flavor balance and can be increased to taste for a more pronounced spicy note.
Instructions
- Preheat oven to 425ºF. Lightly spray a 9×13-inch baking dish with cooking spray.: As the oven warms you will notice a dry, warm air carrying a faint metal smell that disappears as it heats, and this preheating creates the right environment for the topping to rise quickly and brown on contact. The heat jump is important because the high oven temperature encourages immediate steam production from the filling, which helps set the batter edges and promotes a light texture. A common mistake is not letting the oven fully reach temperature, which can lead to a soggy, underbaked top. Make sure your oven indicator reads the full temperature before inserting the dish, and gently tap the baking dish to ensure the spray prevents sticking.
- Spread chicken into baking dish. Whisk together gravy mix, chicken broth & soup. Pour over chicken.: When the chicken is arranged across the pan, you should feel the coolness of the meat if it is just warm, and visually aim for an even single layer so the sauce will distribute consistently. Even distribution prevents some bites from becoming overly dry and others overly saucy. If the pieces are uneven in size, the mouthfeel will vary, so shred or chop to similar bite sizes. A common misstep is crowding the pan with oversized chunks that create dry pockets, so break the chicken down evenly for consistent results.
- Mix melted butter, flour, pepper & buttermilk, and spread evenly over chicken.: You will see the pale soup thinned into a glossy sauce as you whisk, and little swirls form as the gravy mix dissolves. Whisk until homogenous, which promotes even seasoning and prevents clumps. The reason this matters is that a smooth sauce evenly coats the chicken and creates uniform pockets of moisture under the topping. A common error is adding the gravy mix cold without dissolving it, which leaves gritty pockets, so whisk thoroughly until smooth and slightly thickened.
- Bake for 25-30 minutes, or until browned on top.: As you pour the glossy sauce over the arranged chicken , watch how it pools and soaks between pieces, settling into crevices. This wetting is what keeps the chicken moist during baking and infuses each bite with flavor. Pour slowly and use a spatula to nudge the sauce into any dry areas. One pitfall to avoid is pouring too quickly which can flood one side of the pan; aim for even coverage so the topping bakes atop an evenly sauced base.
- Mix melted butter, flour, pepper & buttermilk, and spread evenly over chicken: Right away you will see a batter form that is slightly loose and glossy thanks to the butter and buttermilk . The texture should be spoonable, not runny; this consistency bakes into a tender, slightly crisp topping. Spread gently with a spatula so the topping covers the sauce in an even layer, leaving no big gaps. The why here is crucial: an even batter ensures even browning and uniform texture. Avoid over mixing, which can develop toughness, and be careful not to press down hard while spreading, which can push the batter into the filling and create soggy spots.
- Bake for 25 to 30 minutes, or until browned on top: During baking the kitchen will fill with a warm, buttery aroma, and you should hear a faint, steady tick as pockets of steam escape. Look for a golden brown surface with some bubbling at the edges where the filling meets the topping. The visual cue of golden color and gentle bubbling indicates the filling is hot and the batter has set. Overbaking will dry the topping, while underbaking leaves it doughy, so remove the dish when it is evenly golden and the center is hot. A common trap is relying only on time instead of visual and aromatic cues, so always check for warmth in the center and a nicely browned top before pulling it from the oven.
Notes
- Use rotisserie chicken for convenience and flavor, it speeds prep and adds juicy, well seasoned meat that melds with the sauce.
- Low sodium broth recommendation allows you to control final salt levels, which is important because the gravy mix and canned soup can add a lot of sodium.
- Add frozen vegetables like mixed peas and carrots if you want extra nutrients and color, stir them into the filling before covering with batter so they cook through.
- Butter temperature matters for topping texture, melted and slightly cooled butter blends best with buttermilk to form a smooth batter.
- Even spread of the batter prevents thick and thin spots, use a spatula to gently coax the batter to the edges without compressing it into the filling.
- Watch the top near the end of baking, if it is browning too fast tent loosely with foil to prevent overbrowning while the center finishes cooking.