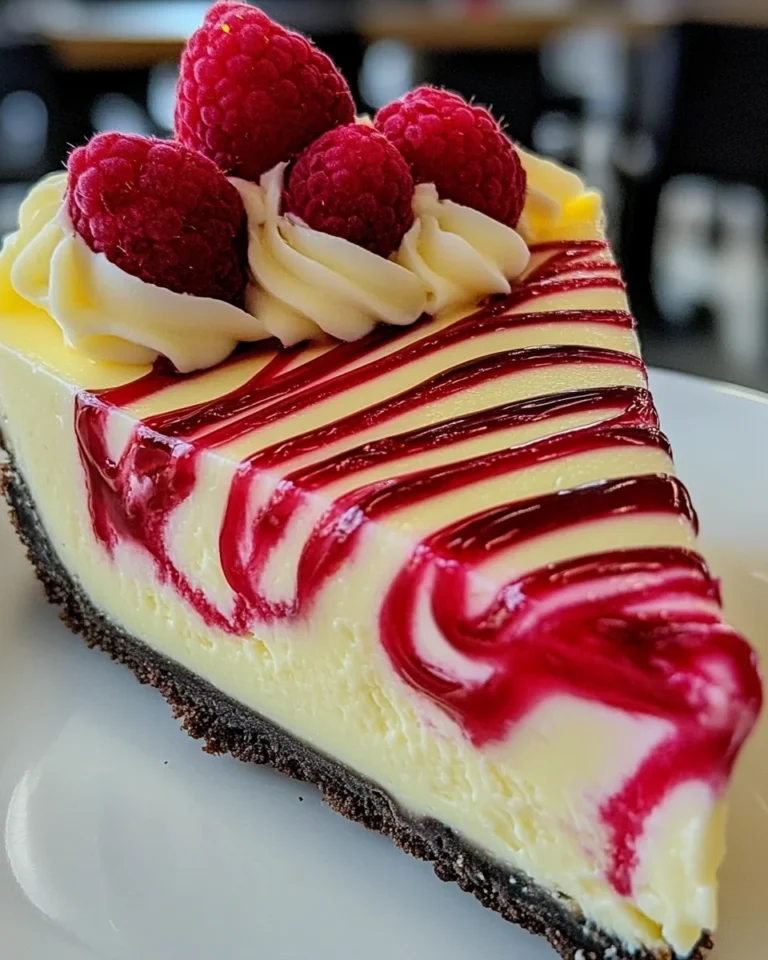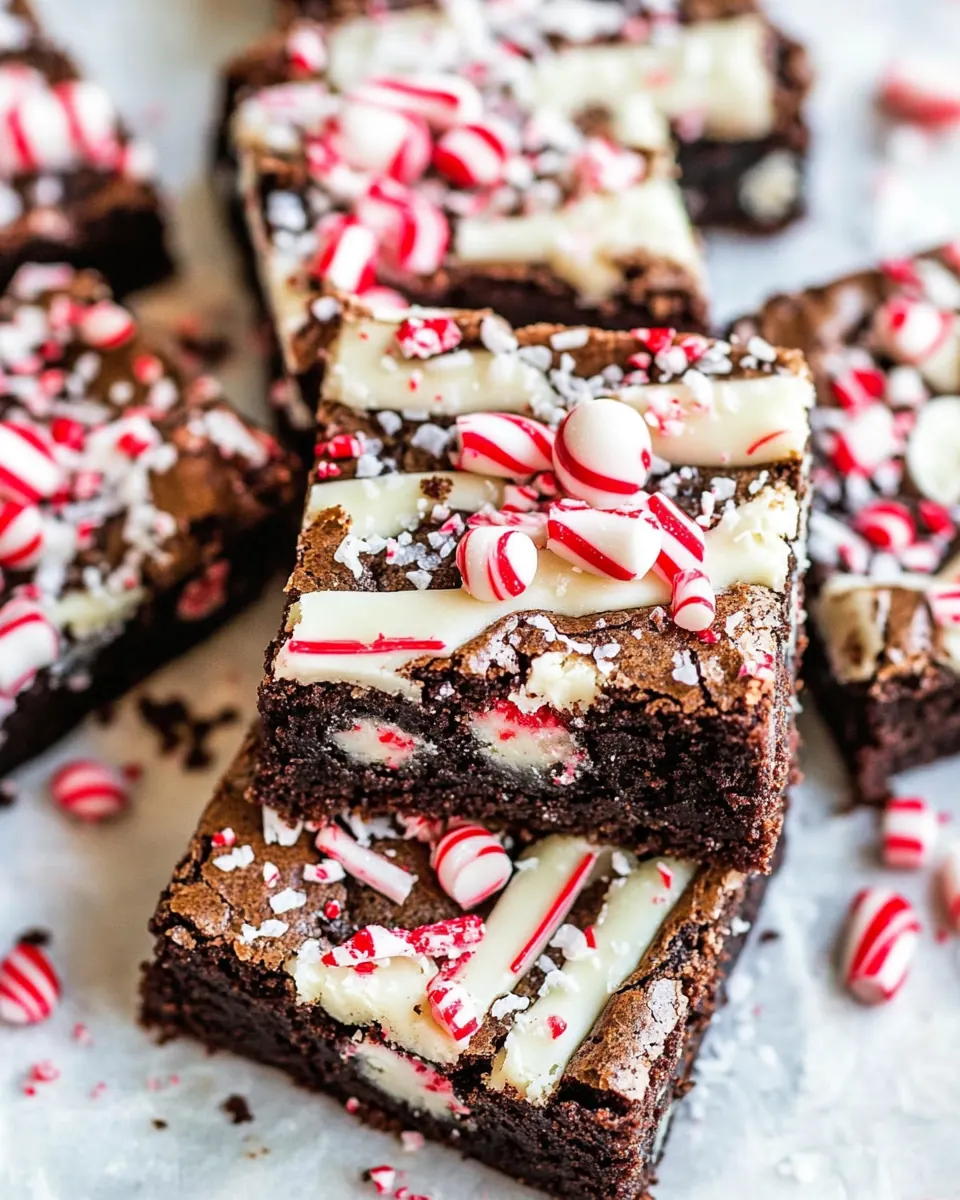
Peppermint Bark Brownies
Peppermint Bark Brownies are the kind of dessert that turns an ordinary afternoon into a memory, and I remember the very first time I baked them for an impromptu holiday potluck. I carried the pan through a doorway packed with friends, and the scent of butter and cocoa powder trailed behind me like a warm invitation. Someone immediately asked for the recipe, and that eager question pushed me to refine the balance of fudgy crumb and peppermint crunch until it felt just right.
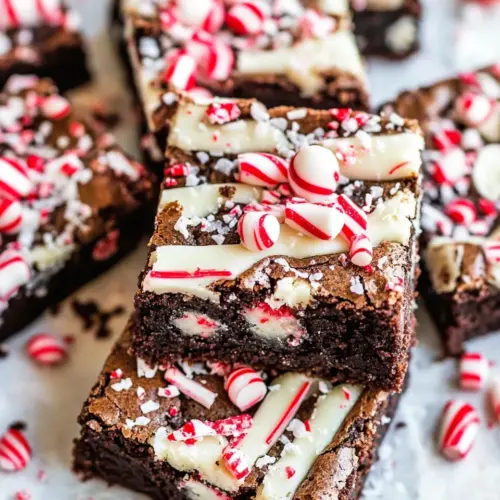
I fell for these bars because they let me indulge two pleasures at once, the deep chocolate comfort and the bright, cool snap of peppermint. Over the years I have changed tiny things, like melting the butter slowly to preserve its flavor, or stirring the batter just enough so it stays dense and fudgy. Each time I bring a pan to a gathering, I watch people reach for a second square, and that simple reaction is what keeps me baking these again and again. The ritual of folding in chopped peppermint bark is oddly soothing, it feels festive without fuss, and it lets you personalize the final look by varying the crushed candy you’ll sprinkle on top.
Recipe Snapshot
45 mins
15 mins
30 mins
Medium
240 kcal
American
Gluten-Free, Low FODMAP
Desserts
9×13 inch baking pan, Parchment paper, Mixing bowl, Whisk, Spatula, Microwave safe bowl
The Appeal of This Peppermint Bark Brownies
1. Texture Play
I adore how Peppermint Bark Brownies combine a velvety, almost fudgy center with a crunchy, cooling peppermint top. The contrast makes every bite interesting, and I often pause between mouthfuls just to enjoy that interplay.
2. Flavor Contrast
The deep, slightly bitter notes from the cocoa powder and the sweet richness from the brown sugar are balanced by sharp peppermint pieces. I find that bright pop keeps the brownies from feeling too heavy during dessert rounds.
3. Easy Holiday Hero
These bars are my go to when I need something quick that still looks intentional. They travel well, slice clean, and the festive crushed candy finish makes them photo ready with almost no effort.
4. Flexible and Personalizable
I’ve swapped brands of peppermint bark and experimented with white chocolate drizzles to change the final sweetness. That freedom means everyone can make them their own without hurting the core recipe.
5. Crowd Pleaser
Every time I bring a pan to a party, the plate empties fast. People who say they are not dessert folks still come back for a square, and that dependable reaction makes this one of my most requested recipes.
Everything You Need for Peppermint Bark Brownies
These ingredients are the backbone of a festive, reliable tray of brownies. I like to treat the list as a partnership where each player has a role: the butter gives richness, the cocoa powder supplies chocolate intensity, and chopped peppermint bark delivers the signature crunch and cooling finish. Together they form a compact, indulgent dessert that is as much about texture as it is about flavor.
- 1 cup butter, melted and slightly cooled: Melted and slightly cooled to bind wet ingredients and provide rich fat for tender, fudgy brownies; contributes flavor and helps distribute sugar and cocoa evenly when mixed.
- 1 cup granulated white sugar: Granulated white sugar used to sweeten and help create a crackly top and tender crumb; dissolves into the melted butter and eggs for balanced sweetness and structure.
- 1 cup packed dark brown sugar: Packed dark brown sugar adds moisture and deep caramel-molasses flavor, enhancing chewiness and complexity in the brownie batter when creamed with the other sugars.
- 4 large eggs: Whisked in to emulsify and leaven; eggs provide structure, moisture, and richness while helping set the dense, fudgy texture of the brownies during baking.
- 1 tablespoon pure vanilla extract: Added for aromatic sweetness and flavor enhancement; vanilla extract rounds out chocolate notes and intensifies overall taste with a warm, sweet perfume.
- 1 cup all-purpose flour: Incorporated to provide structure and body; all-purpose flour develops gluten that holds the brownies together while keeping them soft when measured and mixed correctly.
- 1 cup Dutch-processed or unsweetened cocoa powder: Used to deliver concentrated chocolate flavor and darkness; Dutch–processed or unsweetened cocoa contributes bitterness, color, and the core chocolate profile of the brownies.
- 1 teaspoon espresso powder (optional): Included optionally to boost chocolate depth and highlight cocoa flavors; espresso powder intensifies chocolate notes without making the brownies taste like coffee.
- 1 teaspoon kosher salt: Used to season and balance sweetness; kosher salt enhances chocolate and other flavors while controlling taste and preventing flatness in the final brownies.
- 1 1/2 cups chopped peppermint bark, divided: Chopped and divided so some pieces fold into the batter for pockets of peppermint and chocolate, while additional pieces top the brownies for texture and flavor contrast.
- 1/2 cup white chocolate chips: Added to introduce creamy white chocolate pockets and a sweet, smooth contrast; white chocolate chips melt into swirls and create bursts of sweet richness.
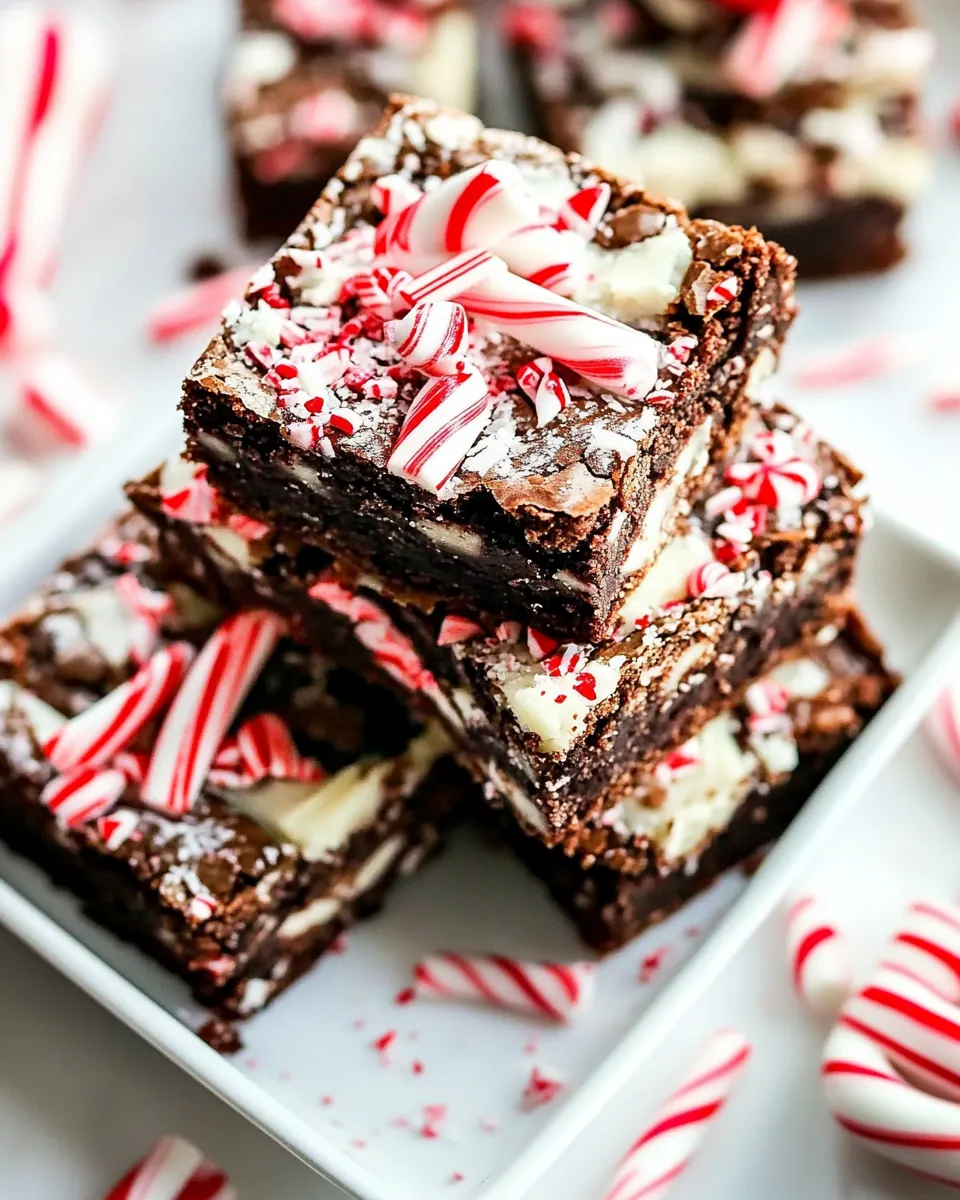
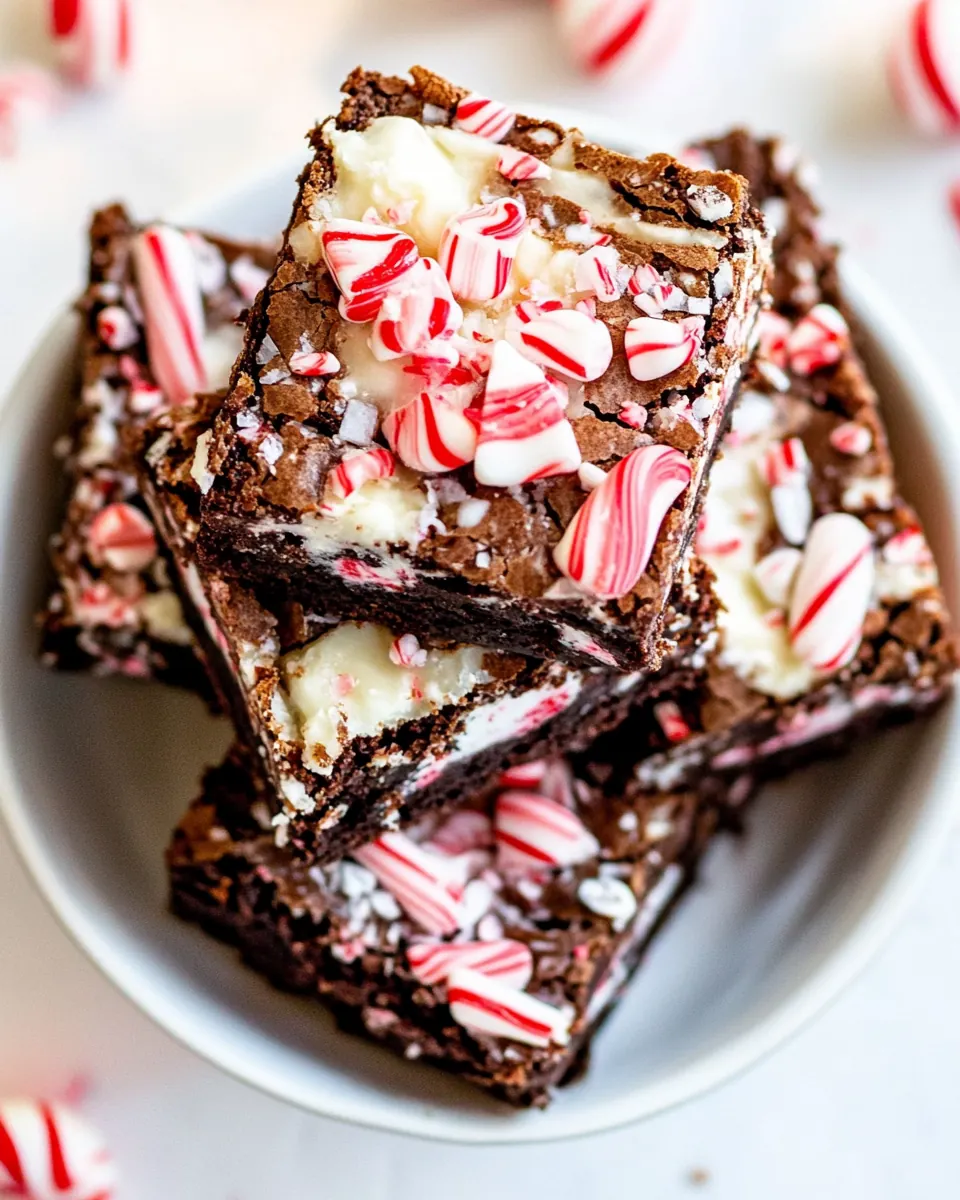
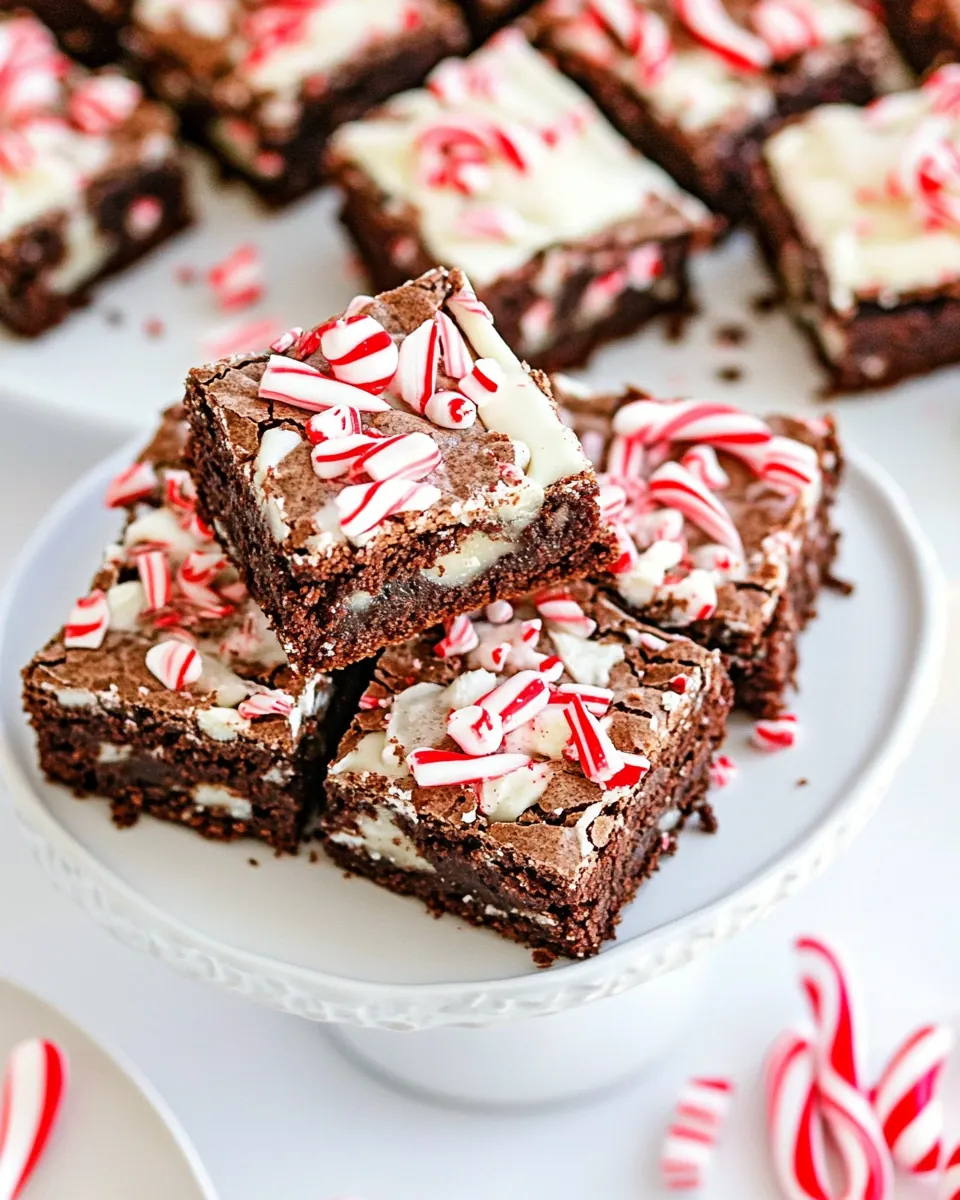
- Crushed candy canes or peppermint candies, for garnish: Used as garnish to add crunchy peppermint flavor and festive appearance; crushed candy canes or peppermint candies provide bright, minty crunch on top of the finished brownies.
How to Prepare Peppermint Bark Brownies
These directions will walk you through from warming the butter to the final crunchy candy sprinkle. I like to move with calm confidence during baking, so I prep tools and ingredients ahead of time for a smooth flow. Below I expand each step with sensory cues and troubleshooting tips so you know you are on the right track.
- Preheat oven to 350°F. Spray a 9×13" baking pan with nonstick cooking spray. Line with parchment paper with an overhang on the sides and spray again. This will make it easy to lift the brownies out of the pan after baking. Set the pan aside.: You should notice warm air filling your oven as it approaches 350°F , and the ritual of lining the pan gives a professional feeling to the process. The parchment overhang is tactile proof you will remove the whole slab cleanly, and the double spray prevents sticking along the edges. If your oven has hot spots, rotate the pan midway through baking for even color. A common mistake is skipping the parchment which makes it hard to lift the brownies out intact, and can cause tearing at the corners.
- In a large mixing bowl whisk together melted butter, granulated sugar, and brown sugar.: As you whisk the warm butter with both sugars, the mixture will gloss slightly and smell delectably buttery and caramel like from the dark brown sugar. This emulsification builds the base for a tender crumb, because sugar dissolved into fat helps create that shiny, slightly crackled top when baked. If the butter is too hot, it will dissolve the sugars too rapidly and impact the batter temperature, so let it cool until warm to the touch. Avoid vigorous beating which introduces air pockets that can make the brownies cake like instead of fudgy.
- Whisk until sugar is dissolved. Add the eggs and vanilla extract until smooth and combined.: You will feel the mixture thicken and notice a uniform color once the eggs and vanilla are incorporated, and a faint vanilla perfume will rise. Smoothness here ensures even baking and a unified structure. If you see streaks of egg, keep whisking gently; overbeating will trap air and change the texture. The common pitfall is adding eggs to very hot butter which will scramble them, so always confirm the mixture is warm rather than hot.
- Sift in flour and cocoa. Add the salt and espresso powder, if using, and stir until just combined. Don’t over mix.: When the dry ingredients hit the bowl you will see the batter darken and thicken, and the scent will become more cocoa forward. Sifting prevents lumps and helps you incorporate evenly with minimal stirring. Mixing just until the flour disappears keeps the brownies dense and fudgy, because excessive stirring develops gluten. If you notice streaks of dry mixture after a few stirs, gently fold until uniform. Overworking at this stage creates a cakier finish, which is the most frequent error here.
- Fold in 1 cup of chopped peppermint bark. Spread evenly into prepared pan and sprinkle the remaining 1/2 cup of peppermint bark on top of the brownies.: The batter will become flecked with white and dark chocolate pieces, and you will hear a soft scrape as you fold the chunks through. Folding preserves density and avoids smashing the peppermint pieces into dust. Spreading the batter evenly ensures uniform rising and an even top for garnishing. Pressing too hard when spreading can compact the batter and inhibit rise, so use gentle movements and a slightly offset spatula for a smooth surface.
- Bake for 25 to 30 minutes on the middle rack in the oven until the brownies are just set to touch. Don’t over bake the brownies. They will set up as they cool. Remove from oven and let cool completely.: You will notice the edges slightly pulling away from the pan and the top taking on a satiny sheen, these are visual cues that the brownies are approaching doneness. A gentle touch in the center should feel set but with a little give, because residual heat finishes the cooking. Overbaking yields dry, crumbly brownies, so err on the shorter side and allow cooling time. A common mistake is testing doneness with a toothpick and misreading melted chocolate as raw batter, so trust the touch and visual cues.
- Place the white chocolate chips in a small microwave safe bowl. Place the bowl in the microwave and heat in 30 second intervals until the chocolate is smooth, stirring occasionally.: As the white chocolate warms, its scent becomes sweet and vanilla like, and stirring will reveal a glossy, pourable texture. Heat in short bursts to prevent overheating which causes seizing, and pause to stir so residual heat finishes the melting. If the chocolate appears grainy after microwaving, stirring gently with a teaspoon of neutral oil can smooth it, but this is rarely necessary if you use brief intervals. Overheating is the biggest trap here, resulting in a dull, pasty drizzle.
- With a spoon, drizzle the white chocolate over the brownies and immediately sprinkle with crushed peppermint candy. Let sit for 15 minutes so the chocolate can harden. Cut into squares and serve.: The glossy white chocolate will form ribbons across the dark top, and the fresh crushed peppermint will add glitter like specks and an invigorating scent. Letting the drizzle set keeps the presentation neat and ensures clean slices, and the first bite will contrast cool peppermint shards against the warm memory of baked cocoa. Cutting too early will smear the topping, so be patient for at least the suggested resting time. A frequent oversight is pressing down when slicing, which can compress the squares, so use a sharp knife and a single confident stroke for each cut.
Tips for Success
Small habits make a big difference when baking Peppermint Bark Brownies. I rely on timing, gentle mixing, and mindful melting to ensure the texture and finish are consistently excellent. The tips below expand on the trickier stages so you can reproduce my favorite results.
- Choose quality peppermint bark: I look for a bark with clearly defined chocolate and peppermint layers; the larger the pieces the better they survive folding and baking without dissolving into the batter.
- Cool the melted butter: Let the butter cool until warm so the eggs incorporate smoothly; adding eggs to very hot butter can cause them to scramble and ruin the texture.
- Sift dry ingredients: Sifting flour and cocoa powder removes lumps and ensures an even, dense batter which is key for fudgy brownies.
- Fold, do not beat: Use a spatula to fold in chopped bark and dry ingredients to avoid developing gluten which leads to cakier brownies.
- Monitor baking closely: Start checking at 25 minutes and use the touch test for doneness; slightly underbaked centers finish as the brownies cool, preserving fudginess.
Serving Suggestions
When it comes time to serve Peppermint Bark Brownies, presentation and context elevate the experience. These squares are festive by nature, and a few simple choices make them perfect for holiday dessert tables, cozy coffee breaks, or packaged gifts for neighbors. Below are detailed serving ideas and storage notes to keep your brownies fresh and inviting.
- Party platter presentation: Arrange squares on a large platter with a dusting of fine crushed candy for sparkle and place a few extra pieces of peppermint bark as decoration.
- Gifting: Layer brownies in a decorative box with parchment separators, tie with ribbon, and include a small card describing the peppermint components.
- Pairings: Serve with hot beverages like coffee or a mild herbal tea to balance the sweetness, and offer napkins because the peppermint can leave flakes on fingers.
- Occasions: These are ideal for winter gatherings, holiday cookie swaps, and family dessert tables where a festive, handheld sweet is welcome.
- Storage tips: Keep in an airtight container at room temperature for up to 3 days, or freeze wrapped squares for up to 3 months for longer storage.
FAQ
Conclusion
What makes these brownies special is the joyful contrast of rich chocolate crumb and bright peppermint crunch. I encourage you to give them a try for your next gathering or cozy night in, because they are straightforward to prepare and always spark compliments. Baking them is a small ritual that rewards patience with memorable flavor and texture, and sharing a pan with friends or family makes the result even sweeter.
Peppermint Bark Brownies
Equipment
- 9x13-inch Baking Pan
- Parchment Paper
- Mixing Bowl
- Whisk
- Spatula
- Microwave-safe Bowl
Ingredients
- 1 cup butter, melted and slightly cooled Melted and slightly cooled to bind wet ingredients and provide rich fat for tender, fudgy brownies; contributes flavor and helps distribute sugar and cocoa evenly when mixed.
- 1 cup granulated white sugar Granulated white sugar used to sweeten and help create a crackly top and tender crumb; dissolves into the melted butter and eggs for balanced sweetness and structure.
- 1 cup packed dark brown sugar Packed dark brown sugar adds moisture and deep caramel-molasses flavor, enhancing chewiness and complexity in the brownie batter when creamed with the other sugars.
- 4 large eggs Whisked in to emulsify and leaven; eggs provide structure, moisture, and richness while helping set the dense, fudgy texture of the brownies during baking.
- 1 tablespoon pure vanilla extract Added for aromatic sweetness and flavor enhancement; vanilla extract rounds out chocolate notes and intensifies overall taste with a warm, sweet perfume.
- 1 cup all-purpose flour Incorporated to provide structure and body; all-purpose flour develops gluten that holds the brownies together while keeping them soft when measured and mixed correctly.
- 1 cup Dutch-processed or unsweetened cocoa powder Used to deliver concentrated chocolate flavor and darkness; Dutch-processed or unsweetened cocoa contributes bitterness, color, and the core chocolate profile of the brownies.
- 1 teaspoon espresso powder, optional Included optionally to boost chocolate depth and highlight cocoa flavors; espresso powder intensifies chocolate notes without making the brownies taste like coffee.
- 1 teaspoon kosher salt Used to season and balance sweetness; kosher salt enhances chocolate and other flavors while controlling taste and preventing flatness in the final brownies.
- 1 1/2 cups chopped peppermint bark, divided Chopped and divided so some pieces fold into the batter for pockets of peppermint and chocolate, while additional pieces top the brownies for texture and flavor contrast.
- 1/2 cup white chocolate chips Added to introduce creamy white chocolate pockets and a sweet, smooth contrast; white chocolate chips melt into swirls and create bursts of sweet richness.
- Crushed candy canes or peppermint candies, for garnish Used as garnish to add crunchy peppermint flavor and festive appearance; crushed candy canes or peppermint candies provide bright, minty crunch on top of the finished brownies.
Instructions
- Preheat oven to 350°F. Spray a 9×13" baking pan with nonstick cooking spray. Line with parchment paper with an overhang on the sides and spray again. This will make it easy to lift the brownies out of the pan after baking. Set the pan aside.: You should notice warm air filling your oven as it approaches 350°F , and the ritual of lining the pan gives a professional feeling to the process. The parchment overhang is tactile proof you will remove the whole slab cleanly, and the double spray prevents sticking along the edges. If your oven has hot spots, rotate the pan midway through baking for even color. A common mistake is skipping the parchment which makes it hard to lift the brownies out intact, and can cause tearing at the corners.
- In a large mixing bowl whisk together melted butter, granulated sugar, and brown sugar.: As you whisk the warm butter with both sugars, the mixture will gloss slightly and smell delectably buttery and caramel like from the dark brown sugar. This emulsification builds the base for a tender crumb, because sugar dissolved into fat helps create that shiny, slightly crackled top when baked. If the butter is too hot, it will dissolve the sugars too rapidly and impact the batter temperature, so let it cool until warm to the touch. Avoid vigorous beating which introduces air pockets that can make the brownies cake like instead of fudgy.
- Whisk until sugar is dissolved. Add the eggs and vanilla extract until smooth and combined.: You will feel the mixture thicken and notice a uniform color once the eggs and vanilla are incorporated, and a faint vanilla perfume will rise. Smoothness here ensures even baking and a unified structure. If you see streaks of egg, keep whisking gently; overbeating will trap air and change the texture. The common pitfall is adding eggs to very hot butter which will scramble them, so always confirm the mixture is warm rather than hot.
- Sift in flour and cocoa. Add the salt and espresso powder, if using, and stir until just combined. Don’t over mix.: When the dry ingredients hit the bowl you will see the batter darken and thicken, and the scent will become more cocoa forward. Sifting prevents lumps and helps you incorporate evenly with minimal stirring. Mixing just until the flour disappears keeps the brownies dense and fudgy, because excessive stirring develops gluten. If you notice streaks of dry mixture after a few stirs, gently fold until uniform. Overworking at this stage creates a cakier finish, which is the most frequent error here.
- Fold in 1 cup of chopped peppermint bark. Spread evenly into prepared pan and sprinkle the remaining 1/2 cup of peppermint bark on top of the brownies.: The batter will become flecked with white and dark chocolate pieces, and you will hear a soft scrape as you fold the chunks through. Folding preserves density and avoids smashing the peppermint pieces into dust. Spreading the batter evenly ensures uniform rising and an even top for garnishing. Pressing too hard when spreading can compact the batter and inhibit rise, so use gentle movements and a slightly offset spatula for a smooth surface.
- Bake for 25 to 30 minutes on the middle rack in the oven until the brownies are just set to touch. Don’t over bake the brownies. They will set up as they cool. Remove from oven and let cool completely.: You will notice the edges slightly pulling away from the pan and the top taking on a satiny sheen, these are visual cues that the brownies are approaching doneness. A gentle touch in the center should feel set but with a little give, because residual heat finishes the cooking. Overbaking yields dry, crumbly brownies, so err on the shorter side and allow cooling time. A common mistake is testing doneness with a toothpick and misreading melted chocolate as raw batter, so trust the touch and visual cues.
- Place the white chocolate chips in a small microwave safe bowl. Place the bowl in the microwave and heat in 30 second intervals until the chocolate is smooth, stirring occasionally.: As the white chocolate warms, its scent becomes sweet and vanilla like, and stirring will reveal a glossy, pourable texture. Heat in short bursts to prevent overheating which causes seizing, and pause to stir so residual heat finishes the melting. If the chocolate appears grainy after microwaving, stirring gently with a teaspoon of neutral oil can smooth it, but this is rarely necessary if you use brief intervals. Overheating is the biggest trap here, resulting in a dull, pasty drizzle.
- With a spoon, drizzle the white chocolate over the brownies and immediately sprinkle with crushed peppermint candy. Let sit for 15 minutes so the chocolate can harden. Cut into squares and serve.: The glossy white chocolate will form ribbons across the dark top, and the fresh crushed peppermint will add glitter like specks and an invigorating scent. Letting the drizzle set keeps the presentation neat and ensures clean slices, and the first bite will contrast cool peppermint shards against the warm memory of baked cocoa. Cutting too early will smear the topping, so be patient for at least the suggested resting time. A frequent oversight is pressing down when slicing, which can compress the squares, so use a sharp knife and a single confident stroke for each cut.
Notes
- Choose quality peppermint bark: I look for a bark with clearly defined chocolate and peppermint layers; the larger the pieces the better they survive folding and baking without dissolving into the batter.
- Cool the melted butter: Let the butter cool until warm so the eggs incorporate smoothly; adding eggs to very hot butter can cause them to scramble and ruin the texture.
- Sift dry ingredients: Sifting flour and cocoa powder removes lumps and ensures an even, dense batter which is key for fudgy brownies.
- Fold, do not beat: Use a spatula to fold in chopped bark and dry ingredients to avoid developing gluten which leads to cakier brownies.
- Monitor baking closely: Start checking at 25 minutes and use the touch test for doneness; slightly underbaked centers finish as the brownies cool, preserving fudginess.