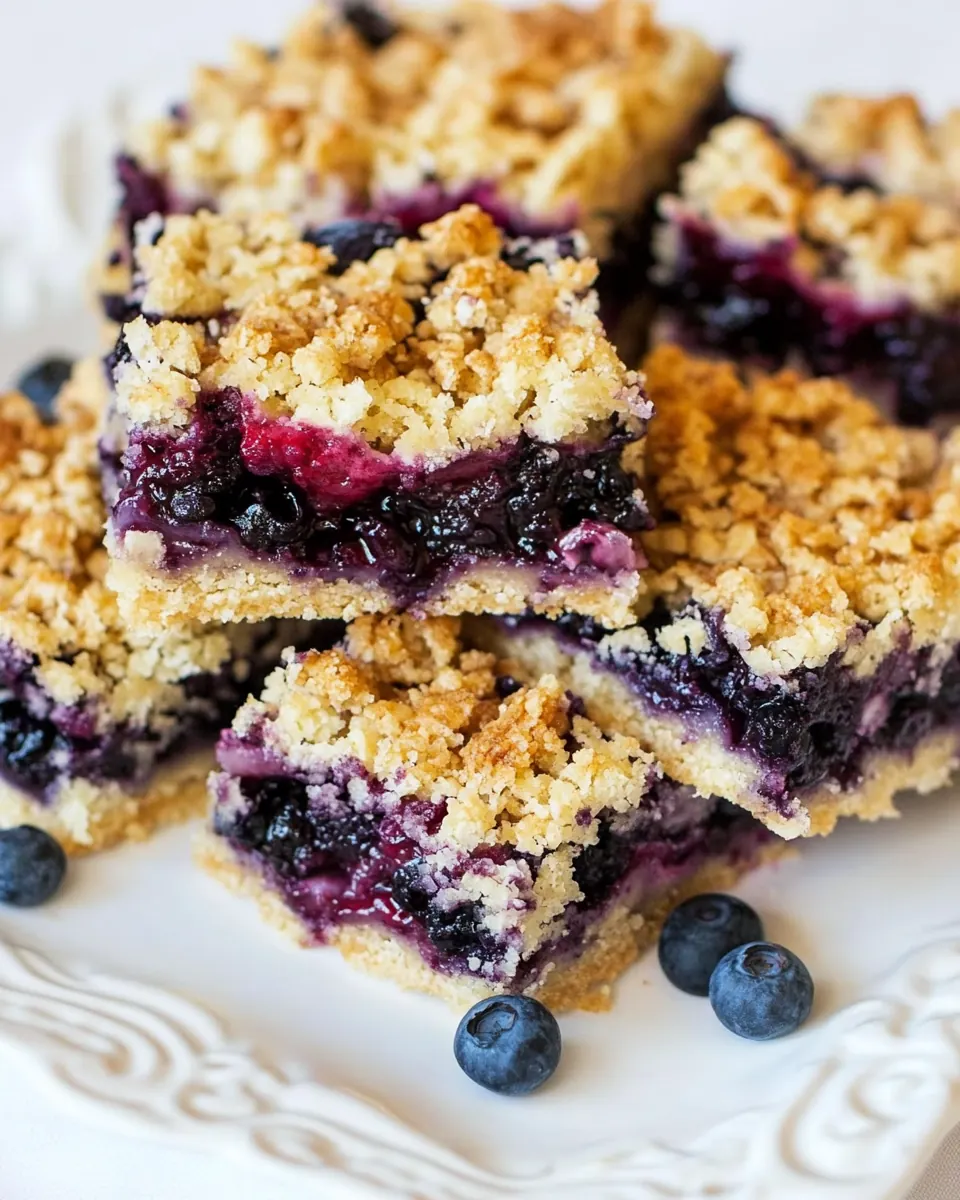
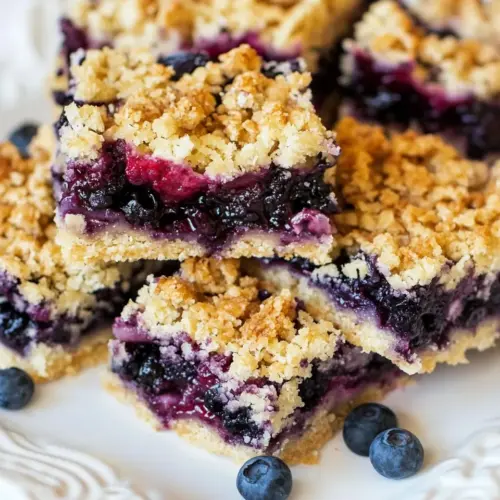
Lemon Blueberry Streusel Bars
Lemon Blueberry Streusel Bars is the kind of recipe I reach for when summer offers an abundance of berries and I want something that feels both homey and a little special. The first time I made these, I was juggling a cranky oven and a kitchen full of cousins, and they disappeared faster than I could slice them. I remember the bright lemon scent cutting through the buttery streusel and the pop of warm blueberries that made everyone grin, and that memory keeps me coming back to this recipe.
I like how these bars fit into so many moments. They are casual enough for a picnic, yet pretty enough for a brunch table. When I bring a tray, people often ask for the recipe, and I tell them it’s the balance between the crumbly, slightly salty crust and the tangy, glossy lemon filling that does the trick. Over time I learned little tricks, like patting the crust firmly so it holds its shape, and letting the bars cool fully so the filling sets. Those small choices make a big difference in texture and ease of serving.
Recipe Snapshot
1 hr 15 mins
30 mins
45 mins
Medium
220 kcal
American
Gluten-Free, Low FODMAP
Desserts
9 x 13-inch metal baking pan, Foil, Mixing bowls, Pastry cutter, Flat wide glass, Spatula, Wire rack
Why This Lemon Blueberry Streusel Bars Shines
Bright, balanced flavors
I love how the combination of lemon and blueberries sings without overwhelming the senses. The lemon juice and zest add a lively acidity that keeps the bars from feeling too sweet, while the sweetened condensed milk gives a silky, concentrated sweetness so the fruit remains the star. When I bite into a bar, I notice a pleasing contrast between sharp citrus and mellow berry notes, and that contrast keeps me reaching for another piece.
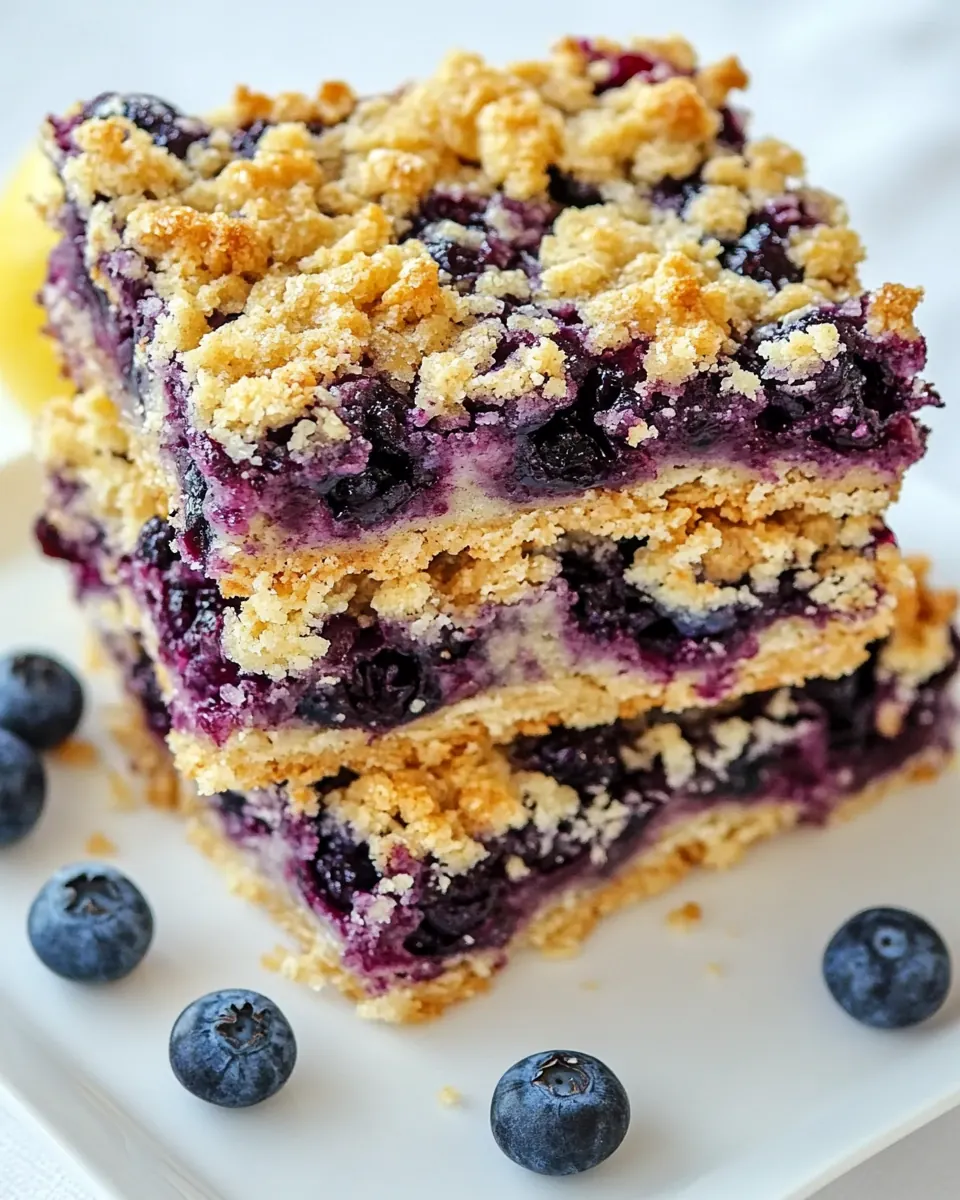
Textural contrast that satisfies
The interplay of a tender, buttery crust with a soft, jammy filling and a crunchy streusel on top is what makes these bars memorable. I particularly enjoy how the all purpose flour and old fashioned rolled oats create a sturdy base that still yields to the fork. The reserved crumb topping browns and crisps, offering a toasty note that complements the juicy blueberries.
Easy to scale and share
These bars are designed to feed a crowd without extra fuss. The recipe fills a 9 by 13 pan, which means you can get a lot of servings with relatively little hands on time. I often double the batch for gatherings, and the bars travel well, so they are a reliable option when I need a dessert that survives car rides and warm afternoons.
Reliable techniques for home bakers
I appreciate that the method uses straightforward techniques that yield consistent results. Pressing the crumb crust, whisking the lemon filling until it thickens slightly, and watching the streusel brown are simple cues that guide success. I find that following those cues is more important than obsessing over perfect measurements, and that makes the recipe friendly for bakers of every level.
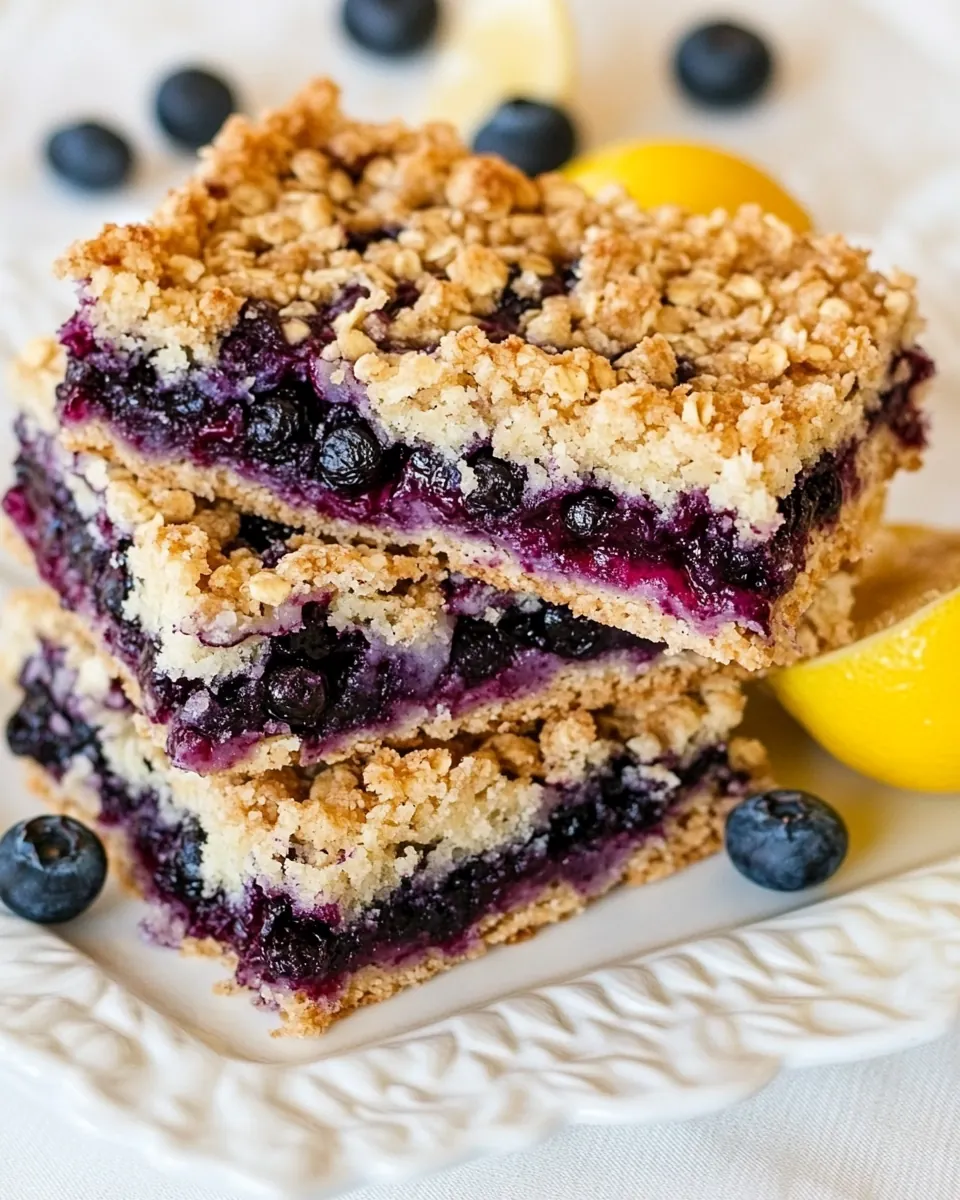
Seasonal appeal
When blueberries are at their peak, these bars feel especially right. The bright color and fresh flavor are intrinsically linked to summer afternoons and backyard gatherings. I love serving them with a cup of tea or a cold glass of milk, and they always read as both comforting and seasonal on the table.
Lemon Blueberry Streusel Bars Ingredients
These ingredients form a straightforward, harmonious cast where each element plays a distinct role. The base is built from rich, unsalted butter, all purpose flour, and old fashioned rolled oats to provide structure and a pleasant chew. The filling relies on concentrated sweetness from sweetened condensed milk balanced by bright lemon juice and aromatic lemon zest, while the blueberries bring juiciness and color. Together, they create bars that are both sturdy and tender, with a crunchy top that invites a satisfying bite.
- 1 cup (2 sticks) unsalted butter, at room temperature: Cream softened to provide richness and moisture while helping bind the streusel and crust components for a tender, buttery texture throughout the bars.
- 3 cups all purpose flour: Combine to create structure and bulk in both the crust and streusel layer, contributing to a tender crumb and helping the bars hold together when sliced.
- 1 1/2 cups old fashioned rolled oats (don't use quick cook oats): Add rustic texture and chewiness while absorbing some of the fat and moisture; oats also contribute a hearty flavor and help balance sweetness in the streusel and crust.
- 1 1/3 cups packed light brown sugar: Sweeten and deepen flavor with a hint of caramelized molasses, improving the streusel’s chew and color while balancing the tart lemon filling.
- 1 teaspoon salt: Enhance overall flavor by balancing sweetness and brightening the profile; also helps control yeast-free baking reactions and strengthen gluten slightly.
- 1 teaspoon baking powder: Leaven gently to provide slight lift and tenderness in the crumb, helping the crust and streusel to be light rather than dense.
- 1 large egg (separated): Separate to use the yolk for richness that enriches dough and the whipped white for lightening the topping or providing structure to the filling as needed.
- 1 14-ounce can sweetened condensed milk: Contribute creamy concentrated sweetness and body to the lemon filling, creating a smooth, custard-like layer that sets when baked without curdling.
- 1/2 cup freshly squeezed lemon juice: Provide bright, tart acidity to cut through the sweetness, set the filling with a pleasant tang, and enhance the overall citrus flavor of the bars.
- 2 teaspoons grated lemon zest: Offer concentrated citrus aroma and bright intense lemon flavor; zest accentuates the lemon character without adding extra liquid to the filling.
- 2 1/2 cups room temperature blueberries, washed and dried on paper towels: Supply fresh, juicy bursts and tender fruit texture that contrast the buttery streusel and custardy lemon layer, adding color and natural sweetness to each bite.
The Method for Lemon Blueberry Streusel Bars
These directions guide you through a few simple stages: preparing the crumb base, baking a partial crust, whisking the lemon filling, layering the fruit, and finishing with a crunchy streusel. I like to read through the steps before starting so my tools and ingredients are ready.
- Preheat the oven to 350°F. Line a 9 x 13-inch metal baking pan with foil, leaving a 1-inch overhang on the ends. Spray the foil with cooking spray – bottom and sides of the pan.: Warm air in the oven ensures even baking and a consistent rise while lining the pan with foil makes removing the bars effortless once cooled. You'll notice the oven giving off a gentle heat and the foil will shine when the spray is applied, which helps prevent sticking. If the pan is not well lined, the bars can cling and tear when lifted out, so make sure the overhang is generous and the foil is pressed into corners smoothly to prevent batter seepage.
- In a large bowl, whisk together the flour, oats, sugar, salt, and baking powder. Using a pastry cutter (or your fingers), blend the butter completely into the flour mixture. Transfer 2 cups of the crumb mixture to another bowl and reserve for the topping.: As you combine the dry ingredients, you should see a uniform pale mixture that smells faintly of brown sugar and oats. Rubbing the butter into the dry mix creates pea sized bits that will melt in the oven, producing flakiness and pockets of richness. When reserving the topping, you are creating a smaller batch of crumbs that will toast beautifully, so make sure it is evenly mixed. A frequent mistake is overworking the butter into the flour which can make the crumbs greasy, so stop when small, coarse lumps remain.
- Blend the egg white into the remaining crumbs and then press the mixture into the bottom of the pan to form a level crust. Use the bottom of a flat, wide glass to tap the mixture and even it out.: The addition of the egg white binds the crumbs so they hold together after pressing. You should feel the mixture come together under pressure, and the surface will look compact and smooth when tamped down. Using a glass gives even pressure and helps prevent thin spots. If the crust seems too loose or sandy, you may not have mixed the white in enough, which can cause it to crumble after baking, so press firmly until it holds.
- Bake the crust 10 to 12 minutes, or until it starts to form a dry top.: During this short bake, the edges will take on a light golden hue and the aroma of toasted oats will emerge. The top will lose its raw sheen, signaling that the base is set enough to hold the filling without becoming soggy. Remove it when it looks dry rather than waiting for deep color, since overbaking now can make the crust too firm. Watching closely prevents a dry crust that steals tenderness from the finished bars.
- Meanwhile, in a medium bowl, whisk the condensed milk, lemon juice & zest, and egg yolk. Let the mixture stand for 5 minutes (it will begin to thicken).: As you whisk, the mixture will become glossy and slightly viscous, thanks to the sweetened condensed milk and egg yolk emulsifying with the lemon. The lemon oils from the zest will perfume the mixture, releasing a citrusy aroma. Letting it rest allows tiny air bubbles to settle and the components to meld, which helps the filling set evenly in the oven. If you skip the rest, the filling may spread too thinly and not develop the delicate skin that signals doneness.
- Sprinkle the blueberries evenly over the hot crust and then drop spoonfuls of the lemon mixture over the blueberries. Spread gently with a spatula to distribute as evenly as you can. Bake until the lemon mixture begins to form a shiny skin – 7 to 8 minutes.: The hot crust will warm the blueberries slightly and the contrast of cold fruit on warm dough creates gentle steam, which helps the filling meld with the berries. As you drop the lemon mixture, it will sit around and between the berries, creating glossy pockets that shimmer when baked. After about seven to eight minutes you will see the filling take on a slight sheen and the edges may show tiny bubbles. Avoid overworking when spreading, as mashing the berries releases too much juice and can dilute the filling.
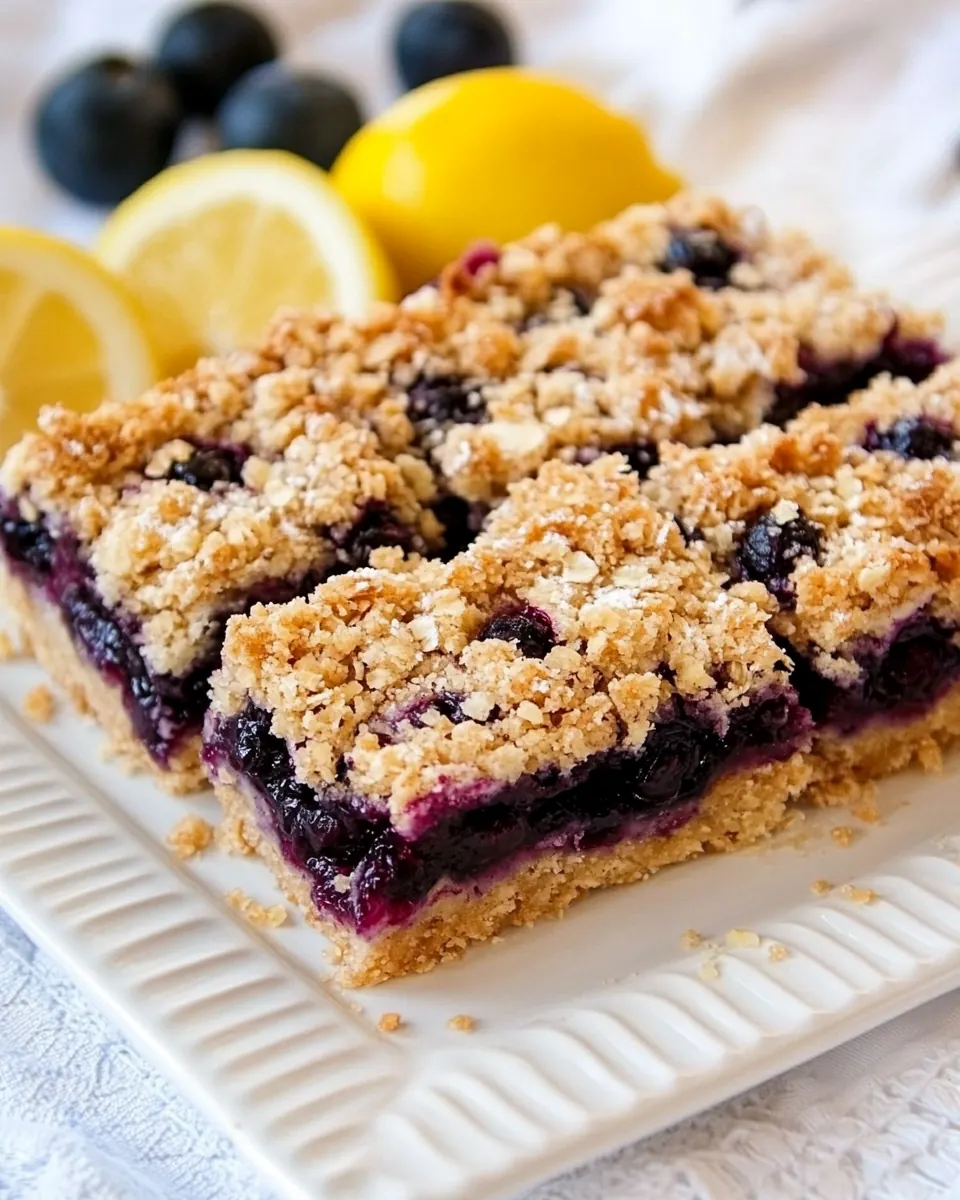
- Sprinkle the reserved crumble topping over the lemon-blueberry layer, pressing the streusel between your fingers into small lumps as you sprinkle. Bake until the filling is bubbly at the edges and the topping is brown, 25 to 30 minutes.: The streusel will begin to brown and crisp, releasing a toasty fragrance and forming a textured, golden top. Pressing the crumbs into small lumps helps them maintain contrast and prevents them from completely melting into the filling. When the edges bubble, it indicates the filling is set and heated through. A common pitfall here is underbaking which leaves the center too soft, so watch for the bubbling edges and an even golden color on top.
- Let the bars cool in the pan on a rack until just warm, about an hour. Carefully lift them out of the pan using the foil overhang and transfer to a wire rack to cool completely. Remove the foil and cut into 24 bars when cool. (If you have time to chill the bars, they're easier to cut cleanly when chilled).: Cooling allows the filling to firm so the bars slice neatly. You will notice the filling lose its gloss and hold shape as it cools, and the streusel will crisp further. Lifting with the foil keeps the bars intact, and chilling tightens the center, giving clean edges. Cutting too soon leads to squished pieces, so patience pays off. If you need to speed things up, refrigerate for a short period but avoid freezing immediately, which affects texture.
Tips and Tricks about Lemon Blueberry Streusel Bars
I like to keep a few practical habits when making these bars so the process is smooth and the results are consistent. Below are expanded tips that come from repeated kitchen testing and small adjustments that make a big difference.
- Measure flour correctly: Spoon the all purpose flour into your measuring cup and level it off rather than scooping, which prevents a dry, dense crust.
- Use old fashioned oats only: The old fashioned rolled oats give the streusel structure and chew, while quick oats will break down and produce a less distinct topping.
- Dry the berries well: Pat the blueberries dry to avoid adding excess moisture to the filling, which keeps the bars from becoming soggy.
- Don’t overwork the crust: Blend the butter just until pea sized pieces remain for a tender, flaky texture rather than a tough base.
- Check doneness with visual cues: Look for a shiny skin on the lemon layer and bubbling at the edges to ensure proper set and avoid underbaking.
Perfect Pairings for Lemon Blueberry Streusel Bars
These bars work well across occasions and pairings. Below I outline serving ideas, storage pointers, and contexts where they shine.
- Casual brunches: Serve the bars on a platter alongside coffee and tea for a light, fruity finish that guests can enjoy with their morning beverage.
- Picnic or potluck: Transport the bars in a shallow box, chilled, to keep them tidy; they are easy to hand out and hold up well at outdoor gatherings.
- Party dessert tray: Arrange with other small sweets so guests can sample different flavors; the bright lemon flavor contrasts nicely with richer desserts.
- Storage tips: Keep the bars refrigerated in an airtight container for up to five days, or freeze individual pieces wrapped tightly for longer storage.
- Seasonal timing: These bars are ideal for summer when blueberries are ripe, but they make a cheerful option anytime you want a bright, fruity bake.
FAQ
Conclusion
These bars stand out because they combine a tender, buttery crumb with a bright, glossy lemon filling and juicy blueberries for a harmoniously balanced dessert. Give them a try when you want something that feels both homey and refined; they are forgiving to make and rewarding to serve. Share them with friends at a summer gathering or enjoy one with a quiet cup of tea, and let the simple, vibrant flavors do the rest.
Lemon Blueberry Streusel Bars
Equipment
- 9 x 13-inch metal baking pan
- Foil
- Mixing Bowls
- Pastry Cutter
- Flat wide glass
- Spatula
- Wire Rack
Ingredients
- 1 cup (2 sticks) unsalted butter, at room temperature Cream softened to provide richness and moisture while helping bind the streusel and crust components for a tender, buttery texture throughout the bars.
- 3 cups all purpose flour Combine to create structure and bulk in both the crust and streusel layer, contributing to a tender crumb and helping the bars hold together when sliced.
- 1 1/2 cups old fashioned rolled oats (don't use quick cook oats) Add rustic texture and chewiness while absorbing some of the fat and moisture; oats also contribute a hearty flavor and help balance sweetness in the streusel and crust.
- 1 1/3 cups packed light brown sugar Sweeten and deepen flavor with a hint of caramelized molasses, improving the streusel’s chew and color while balancing the tart lemon filling.
- 1 teaspoon salt Enhance overall flavor by balancing sweetness and brightening the profile; also helps control yeast-free baking reactions and strengthen gluten slightly.
- 1 teaspoon baking powder Leaven gently to provide slight lift and tenderness in the crumb, helping the crust and streusel to be light rather than dense.
- 1 large egg (separated) Separate to use the yolk for richness that enriches dough and the whipped white for lightening the topping or providing structure to the filling as needed.
- 1 14-ounce can sweetened condensed milk Contribute creamy concentrated sweetness and body to the lemon filling, creating a smooth, custard-like layer that sets when baked without curdling.
- 1/2 cup freshly squeezed lemon juice Provide bright, tart acidity to cut through the sweetness, set the filling with a pleasant tang, and enhance the overall citrus flavor of the bars.
- 2 teaspoons grated lemon zest Offer concentrated citrus aroma and bright intense lemon flavor; zest accentuates the lemon character without adding extra liquid to the filling.
- 2 1/2 cups room temperature blueberries, washed and dried on paper towels Supply fresh, juicy bursts and tender fruit texture that contrast the buttery streusel and custardy lemon layer, adding color and natural sweetness to each bite.
Instructions
- Preheat the oven to 350°F. Line a 9 x 13-inch metal baking pan with foil, leaving a 1-inch overhang on the ends. Spray the foil with cooking spray - bottom and sides of the pan.: Warm air in the oven ensures even baking and a consistent rise while lining the pan with foil makes removing the bars effortless once cooled. You'll notice the oven giving off a gentle heat and the foil will shine when the spray is applied, which helps prevent sticking. If the pan is not well lined, the bars can cling and tear when lifted out, so make sure the overhang is generous and the foil is pressed into corners smoothly to prevent batter seepage.
- In a large bowl, whisk together the flour, oats, sugar, salt, and baking powder. Using a pastry cutter (or your fingers), blend the butter completely into the flour mixture. Transfer 2 cups of the crumb mixture to another bowl and reserve for the topping.: As you combine the dry ingredients, you should see a uniform pale mixture that smells faintly of brown sugar and oats. Rubbing the butter into the dry mix creates pea sized bits that will melt in the oven, producing flakiness and pockets of richness. When reserving the topping, you are creating a smaller batch of crumbs that will toast beautifully, so make sure it is evenly mixed. A frequent mistake is overworking the butter into the flour which can make the crumbs greasy, so stop when small, coarse lumps remain.
- Blend the egg white into the remaining crumbs and then press the mixture into the bottom of the pan to form a level crust. Use the bottom of a flat, wide glass to tap the mixture and even it out.: The addition of the egg white binds the crumbs so they hold together after pressing. You should feel the mixture come together under pressure, and the surface will look compact and smooth when tamped down. Using a glass gives even pressure and helps prevent thin spots. If the crust seems too loose or sandy, you may not have mixed the white in enough, which can cause it to crumble after baking, so press firmly until it holds.
- Bake the crust 10 to 12 minutes, or until it starts to form a dry top.: During this short bake, the edges will take on a light golden hue and the aroma of toasted oats will emerge. The top will lose its raw sheen, signaling that the base is set enough to hold the filling without becoming soggy. Remove it when it looks dry rather than waiting for deep color, since overbaking now can make the crust too firm. Watching closely prevents a dry crust that steals tenderness from the finished bars.
- Meanwhile, in a medium bowl, whisk the condensed milk, lemon juice & zest, and egg yolk. Let the mixture stand for 5 minutes (it will begin to thicken).: As you whisk, the mixture will become glossy and slightly viscous, thanks to the sweetened condensed milk and egg yolk emulsifying with the lemon. The lemon oils from the zest will perfume the mixture, releasing a citrusy aroma. Letting it rest allows tiny air bubbles to settle and the components to meld, which helps the filling set evenly in the oven. If you skip the rest, the filling may spread too thinly and not develop the delicate skin that signals doneness.
- Sprinkle the blueberries evenly over the hot crust and then drop spoonfuls of the lemon mixture over the blueberries. Spread gently with a spatula to distribute as evenly as you can. Bake until the lemon mixture begins to form a shiny skin - 7 to 8 minutes.: The hot crust will warm the blueberries slightly and the contrast of cold fruit on warm dough creates gentle steam, which helps the filling meld with the berries. As you drop the lemon mixture, it will sit around and between the berries, creating glossy pockets that shimmer when baked. After about seven to eight minutes you will see the filling take on a slight sheen and the edges may show tiny bubbles. Avoid overworking when spreading, as mashing the berries releases too much juice and can dilute the filling.
- Sprinkle the reserved crumble topping over the lemon-blueberry layer, pressing the streusel between your fingers into small lumps as you sprinkle. Bake until the filling is bubbly at the edges and the topping is brown, 25 to 30 minutes.: The streusel will begin to brown and crisp, releasing a toasty fragrance and forming a textured, golden top. Pressing the crumbs into small lumps helps them maintain contrast and prevents them from completely melting into the filling. When the edges bubble, it indicates the filling is set and heated through. A common pitfall here is underbaking which leaves the center too soft, so watch for the bubbling edges and an even golden color on top.
- Let the bars cool in the pan on a rack until just warm, about an hour. Carefully lift them out of the pan using the foil overhang and transfer to a wire rack to cool completely. Remove the foil and cut into 24 bars when cool. (If you have time to chill the bars, they're easier to cut cleanly when chilled).: Cooling allows the filling to firm so the bars slice neatly. You will notice the filling lose its gloss and hold shape as it cools, and the streusel will crisp further. Lifting with the foil keeps the bars intact, and chilling tightens the center, giving clean edges. Cutting too soon leads to squished pieces, so patience pays off. If you need to speed things up, refrigerate for a short period but avoid freezing immediately, which affects texture.
Notes
- Measure flour correctly: Spoon the all purpose flour into your measuring cup and level it off rather than scooping, which prevents a dry, dense crust.
- Use old fashioned oats only: The old fashioned rolled oats give the streusel structure and chew, while quick oats will break down and produce a less distinct topping.
- Dry the berries well: Pat the blueberries dry to avoid adding excess moisture to the filling, which keeps the bars from becoming soggy.
- Don't overwork the crust: Blend the butter just until pea sized pieces remain for a tender, flaky texture rather than a tough base.
- Check doneness with visual cues: Look for a shiny skin on the lemon layer and bubbling at the edges to ensure proper set and avoid underbaking.