How Long to Boil a Whole Chicken For
How Long to Boil a Whole Chicken For is the kind of recipe title that answers a kitchen question right away, and I still remember the first time I needed that answer on a snowed in afternoon. I was elbow deep in a tiny kitchen, a crate of vegetables at my feet, and a whole chicken staring back at me like a puzzle. I wanted a simple, restorative broth and a tender bird to shred for sandwiches, so I learned to treat boiling as a gentle, patient process rather than a rush job.
That afternoon taught me that boiling a whole chicken is less about speed and more about rhythm. I talked to my neighbor as the pot came to a simmer, sipped tea while the kitchen filled with a savory steam, and checked the bird periodically. By the time we sat down, the house smelled of roasted onion and warm stock, and the meat fell off the bone with little persuasion. Over the years I developed small rituals around this method, like an onion browned just so and a handful of peppercorns tucked into the cavity, that add depth without fuss.
Recipe Snapshot
1 hr 40 mins
10 mins
90 mins
Medium
350 kcal
American
Gluten-Free, Paleo
Dinner
Large pot, Slotted spoon, Fine mesh strainer, Thermometer
The Beauty of This How Long to Boil a Whole Chicken For
Reliable Results Every Time
I love that boiling a whole chicken yields consistent, comforting results. When you follow the basic timing and use real aromatics, the flesh turns tender and the broth becomes richly flavored, without extra effort. I often rely on this method when I need predictable texture for shredded chicken in salads or soups, because it is forgiving and hard to overdo when the temperature is managed.
Frugal and Practical
Boiling a whole chicken stretches a budget further than roasting or frying. The cooking liquid becomes a homemade stock that I save for later, and the leftover pieces transform into multiple meals. I particularly appreciate this on busy weeks when I want easy meal prep and minimal waste, and it always feels like a smart, economical choice.
Comforting Flavor, Minimal Fuss
This method brings out a pure, comforting flavor that feels like home. With just an onion, carrots, celery, bay leaf, and peppercorns, the broth becomes layered and cozy. I turn to it when I want something soothing after a long day, because the steps are straightforward yet the results feel indulgent.
Versatile Uses
I adore how versatile the outcome is. After boiling, I use the meat in sandwiches, tacos, or a simple midweek salad, and the strained broth becomes the base for soups, risottos, or sauces. This technique gives me flexible components that adapt to whatever I am planning for the week.
Great for All Skill Levels
Lastly, it is a method that invites cooks of every level. Whether you are nervous about cooking whole birds or you routinely prepare them, boiling is approachable. I often coach first timers through the sensory cues so they can build confidence, and that hands on guidance makes all the difference.
Everything You Need for How Long to Boil a Whole Chicken For
These ingredients are intentionally simple and cooperative. The focus is on clean, complementary players that create a balanced broth while coaxing the chicken to tender perfection. Aromatics build depth, salt seasons the meat and liquid, and whole spices offer a gentle warmth.
- 1 whole chicken approximately 4 to 5 pounds: Provide the primary protein and structure for the dish, yielding flavorful broth and tender meat when simmered slowly; adjust cooking time based on weight (about 1 to 1.5 hours for 4–5 pounds) and ensure internal temperature reaches 165°F. Allow to rest after cooking so juices redistribute, and use carcass for extended stock if desired.
- Water enough to cover the chicken: Cover the chicken completely to ensure even cooking and sufficient liquid for broth extraction; use cold water to start and bring gently to a simmer to avoid toughening the meat. Monitor water level and skim foam for a clearer stock during the initial boil.
- 2 teaspoons salt: Season the poaching liquid to penetrate and enhance both meat and broth; dissolve into the water early so flavors distribute throughout cooking. Adjust to taste afterward, keeping in mind that some will concentrate as the liquid reduces.
- 1 large onion quartered: Contribute savory sweetness and aromatic depth to the broth when simmered; quartering increases surface area to release flavor without overcooking. Remove or strain before serving for a clear presentation and smooth texture.
- 2 carrots cut into large chunks: Add natural sweetness and body to the stock while balancing savory elements; cutting into large chunks prevents them from disintegrating during the long simmer. Use cooked carrots removed from the broth as a flavorful garnish or mash for baby food.
- 2 celery stalks cut into large chunks: Provide aromatic, slightly bitter notes that brighten the broth and complement other vegetables; large chunks retain texture and can be strained out after cooking. Consider saving cooked celery pieces for blending into soups or sauces.
- 1 bay leaf: Impart subtle herbal depth and a mild, slightly floral aroma to the simmering liquid; add whole and remove after cooking to avoid overpowering the broth. Use fresh or dried bay leaf depending on availability, adding near the start of simmering.
- 10 whole black peppercorns: Introduce warm, pungent heat and a faintly citrusy note to the stock when added whole; keep whole to ease removal and prevent excessive peppery intensity. Lightly crush for a stronger flavor or add as-is for a gentle background spice.
Step by Step Guide for How Long to Boil a Whole Chicken For
Let me walk you through my slow, steady approach. I like to think of this as a patient process where you listen to the pot and watch for visual cues. Below are the exact steps from prep to reserved broth, rewritten with sensory notes and troubleshooting tips so you can get consistent results.
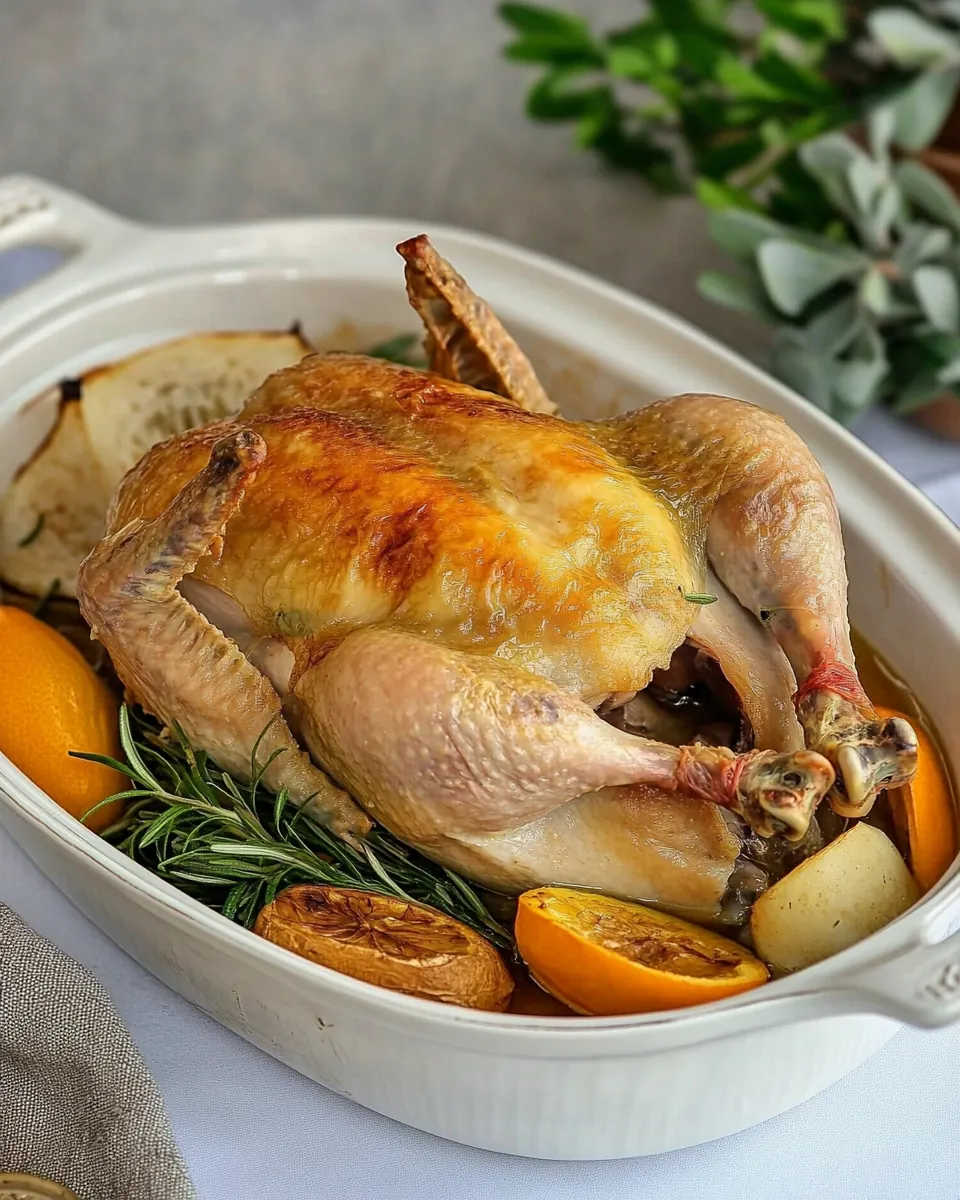
- Prepare the chicken by removing any giblets from the cavity and rinsing the chicken inside and out.: As the bird comes into your kitchen you will notice the cool, damp skin and the faint scent of poultry; cleaning the cavity and rinsing with cool water removes loose bits that can make the broth cloudy, and it lets you pat the chicken dry so it sits in the pot without stray debris. You should feel the weight of the bird and check the cavity carefully, fingers tracing the inner curve to locate any packets of giblets, which I always tuck aside for later use or discard. A common mistake is rushing this step and leaving fragments inside, which can float and cloud the stock; take an extra moment to inspect and wipe the interior with a paper towel if needed. The tactile feedback of a clean cavity reassures you the broth will be clear, and the rinse should be brief and gentle so you do not bruise the skin.
- Place the chicken in a large pot and add enough water to cover it completely. Add salt, onion, carrots, celery, bay leaf, and peppercorns.: When you lower the chicken into the pot you will hear the soft splash of water and see the liquid curve around the skin, which signals even contact for cooking. Add cold water so the temperature rises gradually and flavors extract evenly, then stir in the measured salt and tuck the quartered onion , chunked carrots , celery , bay leaf , and whole black peppercorns around the bird; the broth will smell faintly vegetal at first, and those aromatics will bloom as heat increases. One thing to avoid is overcrowding the pot; if the water cannot circulate, the chicken may cook unevenly, so pick a pot that gives a little room around the bird. The visual of vegetables bobbing at the surface is your cue that everything is positioned for a slow, steady simmer.
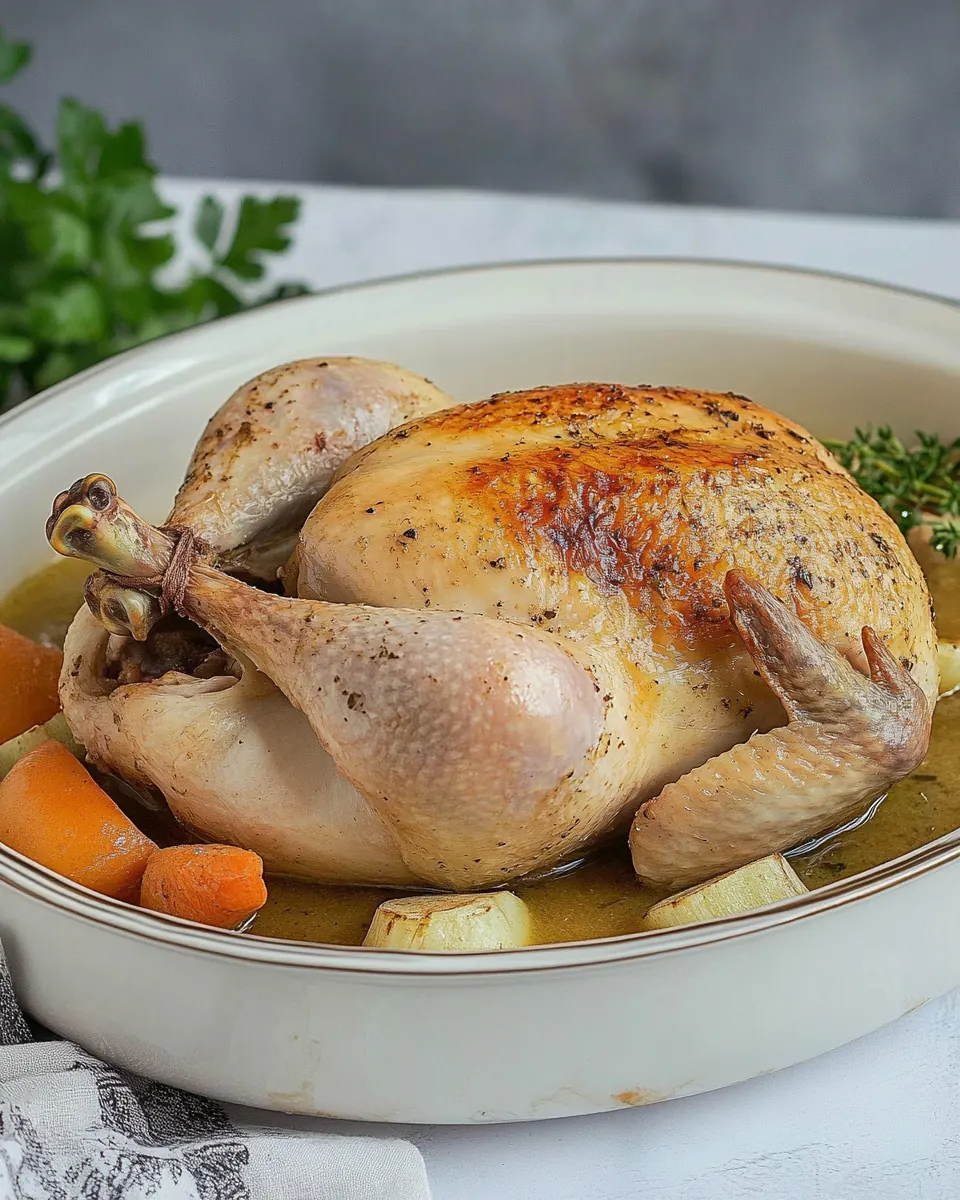
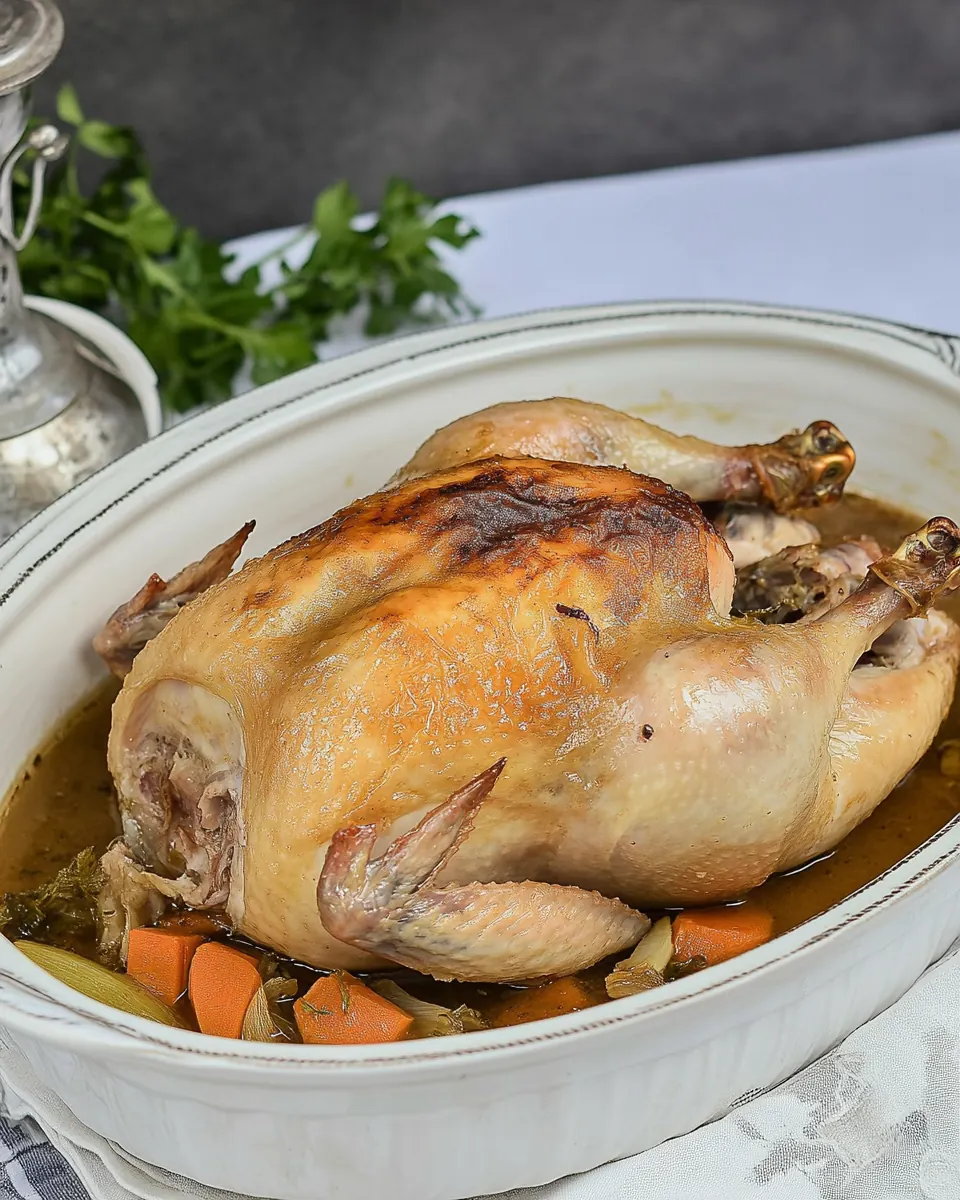
- Bring the pot to a boil over high heat, then reduce to a simmer. Cover partially and cook for 90 minutes, or until the chicken is tender and the internal temperature reaches 165°F.: You will see vigorous bubbling as the liquid reaches a boil, and that boiling energy helps drive impurities to the surface; skim any foam with a spoon so the broth stays clear, then lower the heat so the surface moves in gentle ripples, a true simmer. Partially covering the pot traps warmth while allowing steam to escape, and over the next hour and a half the kitchen will fill with an inviting aroma of caramelized onion and warm spice. The chicken should yield near the joints and the meat will feel tender when probed; for safety check the thickest part with a thermometer to confirm it reads at least 165°F . A typical pitfall here is boiling too hard, which toughens proteins and makes the meat stringy; aim for a steady simmer so collagen breaks down slow and the texture becomes silky. Listen for a quiet hiss rather than a roar, and watch for the meat to slightly pull away from the drumstick bone as a visual sign of doneness.
- Remove the chicken from the broth, and let it cool slightly before handling. Strain the broth through a strainer or cheesecloth and reserve for use in soups and sauces.: When you lift the chicken out with tongs or a slotted spoon you will notice the broth is deeply colored and aromatic, and setting the bird on a tray to cool makes carving easier because the juices re-distribute. Straining the liquid captures the clarified stock, leaving behind the softened vegetables and any particulates; running it through a fine mesh strainer or cheesecloth yields a clean, translucent liquid perfect for future recipes. While handling the warm bird, wear mitts and let it rest so the meat firms up slightly for easier shredding, and be mindful not to plunge the chicken back into boiling liquid which can leach texture and dilute flavor. A common error is storing unstrained broth with solids, which can ferment faster; I always cool and refrigerate the clear stock separately for the best shelf life and clarity.
Ways to Customize
If you want to tweak the basic approach, there are simple, effective ways to make this method your own. Below I share practical variations that preserve the fundamental technique while offering different flavor directions.
- Add more aromatics to deepen flavor, for example increase the onion or add extra carrots, but remember these will also sweeten the stock so balance with salt.
- Control the intensity by adjusting simmer time, a shorter simmer keeps a lighter broth, while a longer one concentrates flavor and yields more gelatinous stock.
- Use the reserved broth for sauces or soups, chilling it first makes removing fat easy, which refines the final texture and mouthfeel.
- Shred and store the cooked meat in bite sized portions for quick meals later, keep it in the broth or lightly salted water to retain moisture.
- Strain carefully through cheesecloth for crystal clear stock if you plan to serve it as a consomme or use it in delicate dishes.
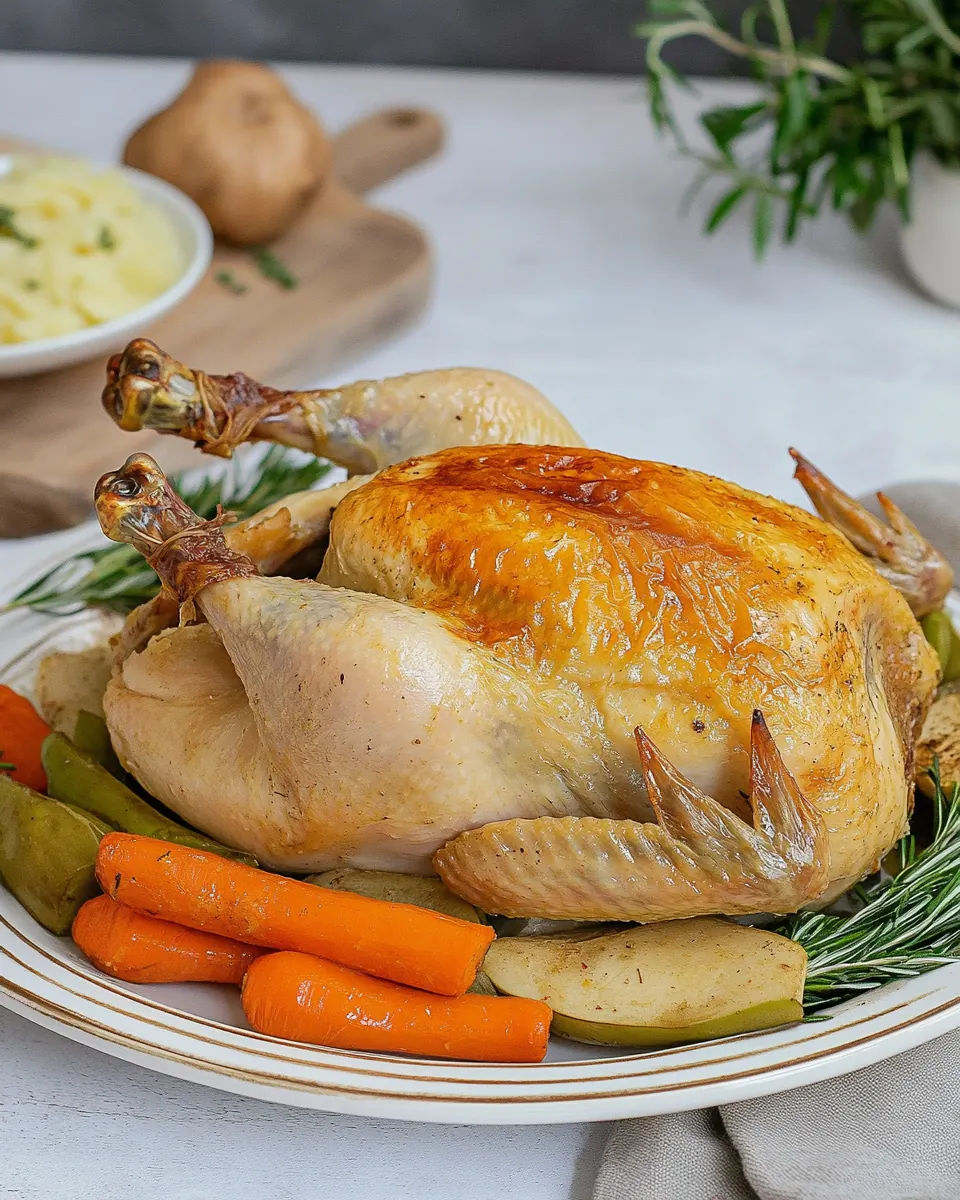
Serving Options for How Long to Boil a Whole Chicken For
This boiled whole chicken is extremely versatile at the table, pairing well with many sides and fitting different occasions. Below are serving suggestions that cover casual weeknight meals, comforting soups, and ways to store leftovers thoughtfully.
- Simple family dinner: Serve shredded chicken over rice with a ladle of the warmed broth for a straightforward, comforting plate that suits busy nights.
- Classic soup: Use reserved broth as the base for a noodle or vegetable soup, add pulled chicken and fresh herbs right before serving for a light yet satisfying bowl.
- Meal prep: Pack shredded chicken and cooled stock in separate containers, this makes easy lunches and quick dinners throughout the week with minimal reheating.
- Special occasions: For holiday or family gatherings, present carved portions with warmed broth and simple sides like steamed vegetables and crusty bread to soak up the liquid.
- Storage tips: Refrigerate strained stock for up to four days, or freeze in portions; freeze meat separately with a little reserved liquid to keep it moist when reheating.
FAQ
Conclusion
This recipe is special because it teaches a slow, dependable way to get tender meat and deeply flavored broth from one simple pot. You will come away with versatile shredded chicken and a reserved stock that enhances many future meals. Try it the next chilly day when you want a low fuss, high comfort meal; the gentle simmer and basic aromatics do the heavy lifting and reward your patience with rich, homemade results.
How Long to Boil a Whole Chicken For
Equipment
- Large Pot
- Slotted Spoon
- Fine-mesh strainer
- Thermometer
Ingredients
- 1 whole chicken approximately 4 to 5 pounds Provide the primary protein and structure for the dish, yielding flavorful broth and tender meat when simmered slowly; adjust cooking time based on weight (about 1 to 1.5 hours for 4–5 pounds) and ensure internal temperature reaches 165°F. Allow to rest after cooking so juices redistribute, and use carcass for extended stock if desired.
- Water enough to cover the chicken Cover the chicken completely to ensure even cooking and sufficient liquid for broth extraction; use cold water to start and bring gently to a simmer to avoid toughening the meat. Monitor water level and skim foam for a clearer stock during the initial boil.
- 2 teaspoons salt Season the poaching liquid to penetrate and enhance both meat and broth; dissolve into the water early so flavors distribute throughout cooking. Adjust to taste afterward, keeping in mind that some will concentrate as the liquid reduces.
- 1 large onion quartered Contribute savory sweetness and aromatic depth to the broth when simmered; quartering increases surface area to release flavor without overcooking. Remove or strain before serving for a clear presentation and smooth texture.
- 2 carrots cut into large chunks Add natural sweetness and body to the stock while balancing savory elements; cutting into large chunks prevents them from disintegrating during the long simmer. Use cooked carrots removed from the broth as a flavorful garnish or mash for baby food.
- 2 celery stalks cut into large chunks Provide aromatic, slightly bitter notes that brighten the broth and complement other vegetables; large chunks retain texture and can be strained out after cooking. Consider saving cooked celery pieces for blending into soups or sauces.
- 1 bay leaf Impart subtle herbal depth and a mild, slightly floral aroma to the simmering liquid; add whole and remove after cooking to avoid overpowering the broth. Use fresh or dried bay leaf depending on availability, adding near the start of simmering.
- 10 whole black peppercorns Introduce warm, pungent heat and a faintly citrusy note to the stock when added whole; keep whole to ease removal and prevent excessive peppery intensity. Lightly crush for a stronger flavor or add as-is for a gentle background spice.
Instructions
- Prepare the chicken by removing any giblets from the cavity and rinsing the chicken inside and out.: As the bird comes into your kitchen you will notice the cool, damp skin and the faint scent of poultry; cleaning the cavity and rinsing with cool water removes loose bits that can make the broth cloudy, and it lets you pat the chicken dry so it sits in the pot without stray debris. You should feel the weight of the bird and check the cavity carefully, fingers tracing the inner curve to locate any packets of giblets, which I always tuck aside for later use or discard. A common mistake is rushing this step and leaving fragments inside, which can float and cloud the stock; take an extra moment to inspect and wipe the interior with a paper towel if needed. The tactile feedback of a clean cavity reassures you the broth will be clear, and the rinse should be brief and gentle so you do not bruise the skin.
- Place the chicken in a large pot and add enough water to cover it completely. Add salt, onion, carrots, celery, bay leaf, and peppercorns.: When you lower the chicken into the pot you will hear the soft splash of water and see the liquid curve around the skin, which signals even contact for cooking. Add cold water so the temperature rises gradually and flavors extract evenly, then stir in the measured salt and tuck the quartered onion , chunked carrots , celery , bay leaf , and whole black peppercorns around the bird; the broth will smell faintly vegetal at first, and those aromatics will bloom as heat increases. One thing to avoid is overcrowding the pot; if the water cannot circulate, the chicken may cook unevenly, so pick a pot that gives a little room around the bird. The visual of vegetables bobbing at the surface is your cue that everything is positioned for a slow, steady simmer.
- Bring the pot to a boil over high heat, then reduce to a simmer. Cover partially and cook for 90 minutes, or until the chicken is tender and the internal temperature reaches 165°F.: You will see vigorous bubbling as the liquid reaches a boil, and that boiling energy helps drive impurities to the surface; skim any foam with a spoon so the broth stays clear, then lower the heat so the surface moves in gentle ripples, a true simmer. Partially covering the pot traps warmth while allowing steam to escape, and over the next hour and a half the kitchen will fill with an inviting aroma of caramelized onion and warm spice. The chicken should yield near the joints and the meat will feel tender when probed; for safety check the thickest part with a thermometer to confirm it reads at least 165°F . A typical pitfall here is boiling too hard, which toughens proteins and makes the meat stringy; aim for a steady simmer so collagen breaks down slow and the texture becomes silky. Listen for a quiet hiss rather than a roar, and watch for the meat to slightly pull away from the drumstick bone as a visual sign of doneness.
- Remove the chicken from the broth, and let it cool slightly before handling. Strain the broth through a strainer or cheesecloth and reserve for use in soups and sauces.: When you lift the chicken out with tongs or a slotted spoon you will notice the broth is deeply colored and aromatic, and setting the bird on a tray to cool makes carving easier because the juices re-distribute. Straining the liquid captures the clarified stock, leaving behind the softened vegetables and any particulates; running it through a fine mesh strainer or cheesecloth yields a clean, translucent liquid perfect for future recipes. While handling the warm bird, wear mitts and let it rest so the meat firms up slightly for easier shredding, and be mindful not to plunge the chicken back into boiling liquid which can leach texture and dilute flavor. A common error is storing unstrained broth with solids, which can ferment faster; I always cool and refrigerate the clear stock separately for the best shelf life and clarity.
Notes
- Add more aromatics to deepen flavor, for example increase the onion or add extra carrots, but remember these will also sweeten the stock so balance with salt.
- Control the intensity by adjusting simmer time, a shorter simmer keeps a lighter broth, while a longer one concentrates flavor and yields more gelatinous stock.
- Use the reserved broth for sauces or soups, chilling it first makes removing fat easy, which refines the final texture and mouthfeel.
- Shred and store the cooked meat in bite sized portions for quick meals later, keep it in the broth or lightly salted water to retain moisture.
- Strain carefully through cheesecloth for crystal clear stock if you plan to serve it as a consomme or use it in delicate dishes.