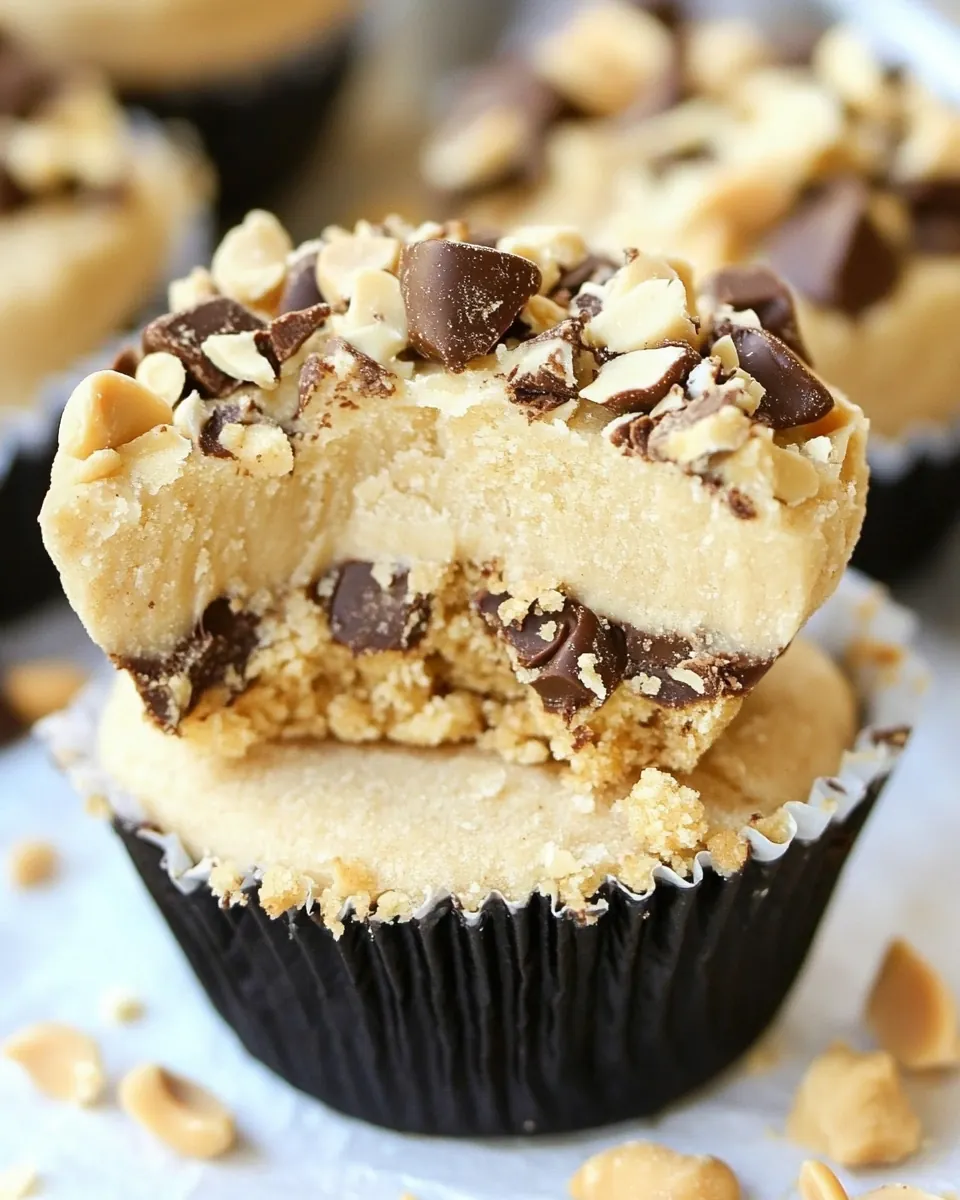
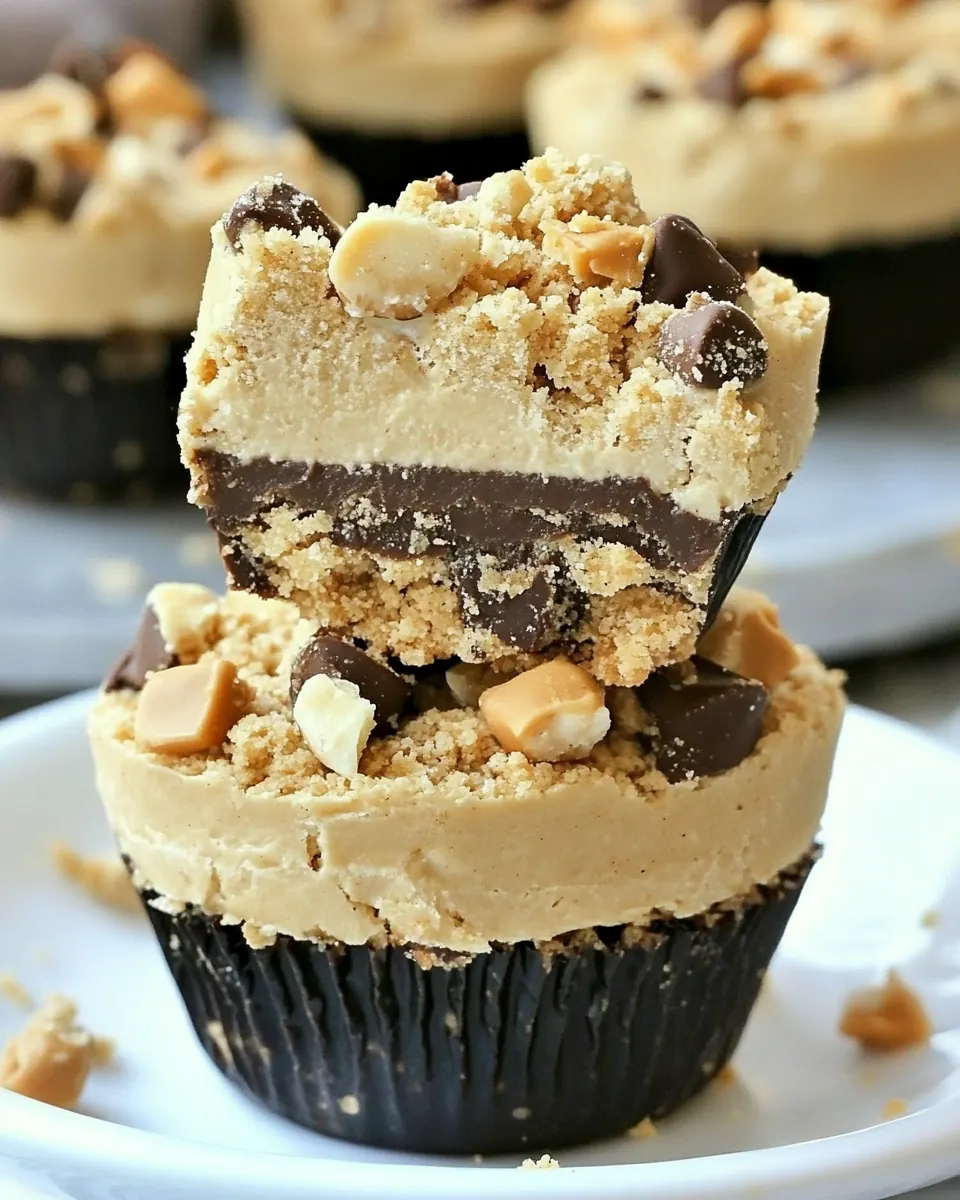
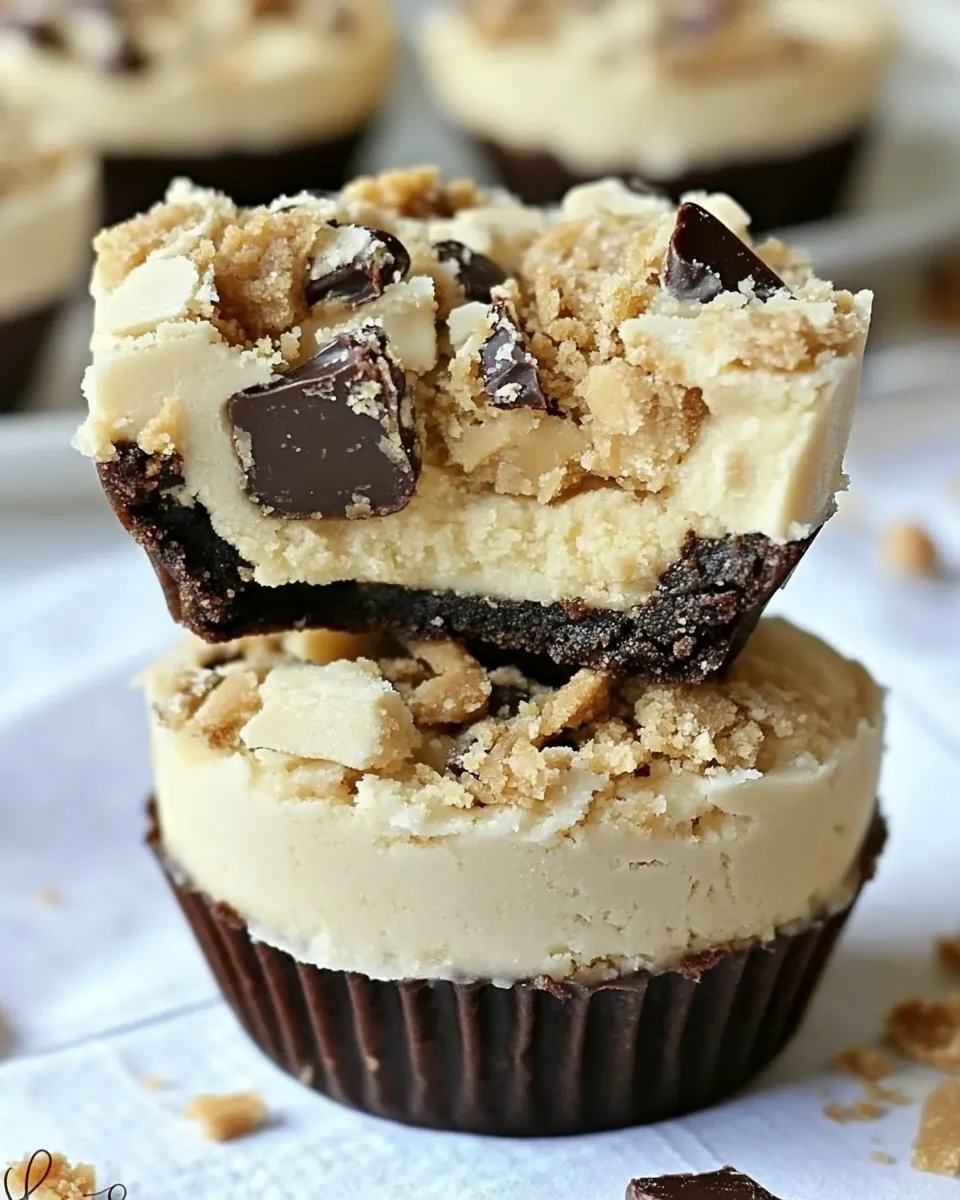
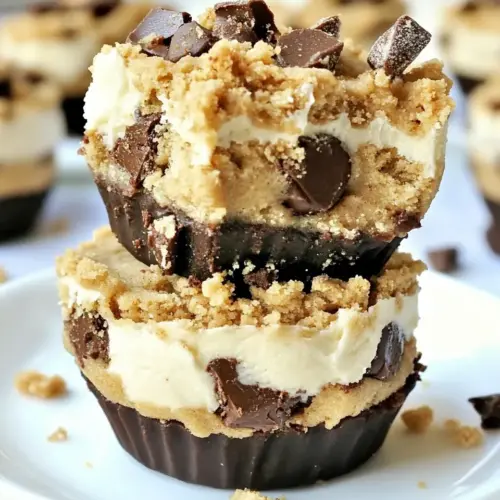
No Bake Peanut Butter Cookie Dough Cups
No Bake Peanut Butter Cookie Dough Cups are one of those treats I reach for when I want something nostalgic yet a bit grown up. The first time I made them I was chasing the memory of cookie dough sneaked from the bowl as a kid, but I wanted something prettier to bring to a potluck. I remember the warm, nutty aroma of peanut butter filling the kitchen while the chocolate melted into a glossy pool, and how everyone kept asking for the recipe.
Over the years I’ve tweaked the balance between the soft cookie dough center and the crisp chocolate shell, learning to trust small details like chilling times and the texture of the dough. I like to make a double batch for company, arranging them on a tray so people can help themselves. When you bite in, there is a satisfying contrast between the firm chocolate and the tender, slightly crumbly cookie dough studded with little pops of mini chocolate chips. It always brings a smile and a rush of childhood joy.
Recipe Snapshot
2 hr 1 mins
120 mins
1 mins
Hard
200 kcal
American
Gluten-Free, Vegan
Desserts
Mini muffin tin, Paper liners, Medium saucepan, Microwave safe bowl, Electric mixer
Why We Love This No Bake Peanut Butter Cookie Dough Cups
Perfect no bake convenience
I love how No Bake Peanut Butter Cookie Dough Cups come together without an oven, making them a lazy afternoon win. You can assemble these while the kids are doing homework or while you sip coffee, and the effort to payoff ratio feels very generous. I often make them when I need something fast for friends, because chilling does the heavy lifting.
Textural contrast that delights
These cups pair a glossy chocolate shell with a soft, slightly chewy cookie dough interior. I always notice the small contrast between the snap of the chocolate and the tender dough, and that keeps everyone coming back for more. The tiny bursts of mini chocolate chips woven into the dough add little moments of intense chocolate flavor.
Flexible for gatherings
I value recipes that scale easily, and these do just that. Whether you are serving a dozen guests or fewer, you can double or halve quantities with little fuss. Because they store well in the fridge, they are a forgiving make ahead dessert that frees up oven time for other dishes.
Kid friendly and crowd pleasing
Everyone from kids to adults loves these cups. The flavors are familiar, and the shape makes them perfect for little hands or elegant dessert platters. I often let kids help press the dough into the liners, which turns assembly into a fun activity rather than a chore.
Flavor depth from simple ingredients
It amazes me how pantry staples like peanut butter, butter, and chocolate combine to make something that tastes luxurious. A touch of salt and real vanilla seeds lift the profile so it never tastes flat. This recipe proves that simple ingredients treated with care can produce a memorable dessert.
Recipe Ingredients for No Bake Peanut Butter Cookie Dough Cups
These ingredients read like a pantry hug. The recipe relies on trusted, straightforward components that each play a clear role. The chocolate creates the outer shell and adds snap, the peanut butter brings creamy richness and binding power, and the sugars with butter create the classic cookie dough texture. Little additions like vanilla bean and salt sharpen flavor, while mini chocolate chips add delightful nuggets of texture.
- 16 ounces milk chocolate chopped or chocolate chips: Melted and smooth to form the glossy chocolate coating or cups; provides sweetness and structure when cooled, and binds the peanut butter center while adding rich cocoa flavor.
- 1/4 cup butter: Softened to enrich the chocolate and add a silky mouthfeel; contributes fat for smooth texture and helps the chocolate set with a glossy finish.
- 1 cup creamy peanut butter: Creamy and flavorful to create the peanut butter cookie dough center; supplies nutty taste, fat for spreadability, and acts as the primary binding component for the dough.
- 1/4 cup unsalted butter: Added as extra fat for the cookie dough to ensure tenderness and richness; helps achieve a pliable consistency that mimics cookie dough without baking.
- 1/4 cup granulated sugar: Granulated for light sweetness and a slight chew in the cookie dough; dissolves moderately to balance flavors and contribute bulk to the filling.
- 1 1/4 cups powdered sugar: Confectioners' sugar for smooth sweetness and structure; absorbs moisture from the peanut butter and butter to create a scoopable, no-bake dough texture.
- 1 1/2 sticks unsalted butter room temperature: Room–temperature butter included for creaminess and aeration when creamed with sugars; provides richness and helps the dough hold its shape while remaining soft.
- 1 cup granulated white sugar: Granulated white sugar to be creamed with butter for a tender, sweet cookie-dough base; helps incorporate air and adds a classic sweet profile.
- 1/2 cup packed light brown sugar: Packed light brown sugar for deeper caramel-like sweetness and moisture; adds chewiness and enhances the cookie-dough's rich flavor complexity.
- 1/4 teaspoons salt: Finely ground to season and balance the sweetness; intensifies flavors and prevents the filling from tasting flat by enhancing other ingredients.
- 2 tablespoons heavy cream: Thick cream added to loosen and enrich the peanut butter mixture; contributes silkiness and helps achieve a spreadable, luscious texture.
- 1 vanilla bean: Split and scraped to impart aromatic, floral vanilla seeds and complex flavor; offers a fresh vanilla note that elevates the cookie-dough filling.
- 1 cup all-purpose flour: All-purpose flour used raw in the no-bake dough as a dry binder; provides body and a slightly bready texture while helping the mixture hold together safely if heat-treated or toasted beforehand.
- 1 cup mini chocolate chips: Small chocolate chips folded into the peanut butter dough for bursts of chocolate; add texture contrast and extra pockets of chocolate in each cup.
Preparation Steps for No Bake Peanut Butter Cookie Dough Cups
These steps walk you through assembly, melting, and chilling with an emphasis on sensory cues and troubleshooting. Take your time with the melting and creaming, and use the texture cues described in each step to know when you are on track.
- Line a mini-muffin tin with paper liners.: The liners should fit snugly and create tidy cups, and you will feel the slight resistance when pressing them into each well, which helps keep the shells uniform. Make sure the tin is clean and dry, as any moisture can cause the chocolate to seize. A common mistake is using too thin liners that collapse when you spoon in melted chocolate, so choose sturdy mini liners for best results.
- In a medium saucepan, combine the peanut butter, butter and sugar over medium heat. Stir constantly until completely melted and starting to bubble. Remove from the heat and add the powdered sugar, 1/3 cup at a time, stir after each addition until completely combined. Set aside and let the mixture cool.: You will notice the mixture begin to melt into a cohesive glossy mass as the peanut butter and butter soften, and the aroma becomes warmly nutty. Stir constantly to prevent scorching on the bottom, and watch for tiny bubbles forming around the edges which signal readiness to remove from heat. If you stop stirring, the mixture can stick and burn, producing a bitter taste.
- Place chocolate and butter in a microwave safe bowl and melt in the microwave in 30 seconds increments, until completely melted, stirring after each burst.: As you fold in the powdered sugar, the texture will shift from runny to thick and malleable, and the sound will become quieter as the mixture thickens. Cooling is essential so the filling firms slightly, which prevents it from seeping into the chocolate shell. If you add the sugar too quickly the mixture can clump, so add it gradually and mix thoroughly for a smooth consistency.
- Using a spoon, scoop a hefty spoon of melted chocolate into the bottom of each muffin liner.: The chocolate should transform into a glossy, velvety liquid and you will smell a toasty chocolate scent as the butter integrates. Stirring between bursts ensures even melting and reduces the risk of burning the chocolate. If you overheat even a little, the chocolate can seize and look grainy, so use short intervals and gentle stirring.
- Using a spoon, scoop out the peanut butter mixture, roll into a ball and then flatten it slightly in your palm, place it on top of each chocolate lined muffin cup. The peanut butter shouldn’t touch the muffin tin walls. Refrigerate for 30 minutes.: As the chocolate spreads it will coat the base and you can tilt the tin slightly to encourage even coverage, watching for an even sheen and a thin rim where the chocolate meets the liner. Work quickly enough so the chocolate remains fluid, yet steady enough to avoid splashes. If the chocolate begins to thicken while you work, return it to gentle heat briefly to regain fluidity, taking care not to overheat.
- In the bowl of an electric mixer fitted with the wire attachment, combine butter, salt and sugars until soft and creamy, about 2 minutes. Mix in the cream and vanilla seeds. On low speed add the flour and mix until combined. Using a spatula, stir in the chocolate chips. Make sure you scrape the sides of the bowl as needed during this step.: The filling should be pliable but firm enough to hold its shape, and pressing it gently into a flattened disc helps create a neat center that is fully encased by chocolate later. Keep the peanut butter away from liner edges to avoid unsightly seams and potential leaks. If the filling is too warm it will sag and touch the walls, so chill the pieces until firm.
- Scoop the cookie dough onto the top of the muffin tin cups, until the tins are full. If the cookie dough sticks to your spoon, wet it in a little cold water. Pat the cookie dough on top in an even layer. Sprinkle any remaining peanut butter mixture or chocolate chips on top.: You will see the butter lighten and become airy, while the sugar becomes fully integrated, giving a pale, fluffy look. The vanilla seeds add tiny black flecks and a floral note that lifts sweetness. Folding in the all purpose flour and mini chocolate chips yields a tender dough; overmixing can develop gluten and make the dough tough, so stop as soon as combined.
- Refrigerate for at least 5-6 hours or overnight before serving. Store in the fridge as the cookie dough becomes soft if kept too long at room temperature.: When you press the dough into place the surface should feel slightly cool and yield under light pressure, creating even domes. The contrast between the matte cookie dough and the glossy chocolate edge looks appealing. If you find uneven lumps, a wet fingertip or spatula smooths them quickly; avoid overworking the surface which can warm the dough.
- Refrigerate for at least 5 to 6 hours or overnight before serving store in the fridge as the cookie dough becomes soft if kept too long at room temperature: As the cups chill the chocolate shell will firm to a satisfying snap while the interior sets to a scoopable, tender texture, and the aroma will mellow into a balanced peanut and chocolate harmony. Serving too soon yields a soft, unstable shell, while prolonged room temperature storage risks a softened filling. Keep them chilled and use a chilled serving plate for best results.
Ways to Adapt This Recipe
This recipe adapts well to small changes while maintaining its core character. Below are practical adaptations and variations you can try, each detailed to keep texture and flavor balanced.
- Swap chocolate type: Use dark chocolate instead of milk for a less sweet cup, which highlights the peanut butter more; dark chocolate gives a sharper contrast and a sturdier shell when chilled.
- Make them peanut free: Replace peanut butter with an equal amount of a seed butter like sunflower seed butter to accommodate nut allergies while keeping the creamy texture.
- Adjust sweetness: Reduce powdered sugar slightly in the filling if you prefer less sweet treats, tasting as you go to maintain structure without over thinning the dough.
- Texture boost: Stir in a small handful of crushed graham crackers into the cookie dough for a slight crunch and to mimic classic cookie dough texture, mixing gently to preserve tenderness.
- Make ahead strategies: Assemble fully and freeze on a tray, then transfer to an airtight container; thaw in the fridge before serving to maintain shape and texture.
What to Serve Alongside No Bake Peanut Butter Cookie Dough Cups
These cups pair with many simple accompaniments and fit well into party dessert spreads or casual gatherings. Choose contrasting textures and refreshing beverages to balance the richness.
- Fresh fruit platter: Serve with slices of apple and pear to cut through the richness and provide a crisp, juicy counterpoint.
- Vanilla iced coffee: Pair with a cold coffee that highlights the vanilla notes from the vanilla bean, creating a pleasant flavor echo.
- Ice cream scoop: Offer a small scoop of plain or salted caramel ice cream on the side for an indulgent duo that complements the chocolate and peanut butter flavors.
- Party occasions: Great for birthdays, potlucks, and Ramadan if served after evening meals, these cups travel well and can be plated elegantly on dessert trays.
- Storage tips: Keep stored in an airtight container in the fridge for up to a week, and label the container with the date to ensure freshness.
- Seasonal pairing: In colder months serve with mulled non alcoholic cider, and in warmer months choose chilled beverages to balance the dense richness of the cups.
FAQ
Conclusion
No Bake Peanut Butter Cookie Dough Cups stand out because they combine effortless assembly with deeply satisfying flavor and texture contrasts. They are simple to pull together from pantry staples, and chilling does most of the work, leaving you to enjoy the moment. I encourage you to give them a try, whether for a casual get together or a small celebration, because they reliably bring smiles and make hosting easier. Keep your ingredients measured and your chocolate gently melted, and you will end up with a batch that looks elegant and disappears quickly.
No Bake Peanut Butter Cookie Dough Cups
Equipment
- Mini Muffin Tin
- Paper liners
- Medium Saucepan
- Microwave-safe Bowl
- Electric Mixer
Ingredients
- 16 ounces milk chocolate chopped or chocolate chips Melted and smooth to form the glossy chocolate coating or cups; provides sweetness and structure when cooled, and binds the peanut butter center while adding rich cocoa flavor.
- 1/4 cup butter Softened to enrich the chocolate and add a silky mouthfeel; contributes fat for smooth texture and helps the chocolate set with a glossy finish.
- 1 cup creamy peanut butter Creamy and flavorful to create the peanut butter cookie dough center; supplies nutty taste, fat for spreadability, and acts as the primary binding component for the dough.
- 1/4 cup unsalted butter Added as extra fat for the cookie dough to ensure tenderness and richness; helps achieve a pliable consistency that mimics cookie dough without baking.
- 1/4 cup granulated sugar Granulated for light sweetness and a slight chew in the cookie dough; dissolves moderately to balance flavors and contribute bulk to the filling.
- 1 1/4 cups powdered sugar Confectioners' sugar for smooth sweetness and structure; absorbs moisture from the peanut butter and butter to create a scoopable, no-bake dough texture.
- 1 1/2 sticks unsalted butter room temperature Room-temperature butter included for creaminess and aeration when creamed with sugars; provides richness and helps the dough hold its shape while remaining soft.
- 1 cup granulated white sugar Granulated white sugar to be creamed with butter for a tender, sweet cookie-dough base; helps incorporate air and adds a classic sweet profile.
- 1/2 cup packed light brown sugar Packed light brown sugar for deeper caramel-like sweetness and moisture; adds chewiness and enhances the cookie-dough's rich flavor complexity.
- 1/4 teaspoons salt Finely ground to season and balance the sweetness; intensifies flavors and prevents the filling from tasting flat by enhancing other ingredients.
- 2 tablespoons heavy cream Thick cream added to loosen and enrich the peanut butter mixture; contributes silkiness and helps achieve a spreadable, luscious texture.
- 1 vanilla bean Split and scraped to impart aromatic, floral vanilla seeds and complex flavor; offers a fresh vanilla note that elevates the cookie-dough filling.
- 1 cup all-purpose flour All-purpose flour used raw in the no-bake dough as a dry binder; provides body and a slightly bready texture while helping the mixture hold together safely if heat-treated or toasted beforehand.
- 1 cup mini chocolate chips Small chocolate chips folded into the peanut butter dough for bursts of chocolate; add texture contrast and extra pockets of chocolate in each cup.
Instructions
- Line a mini-muffin tin with paper liners.: The liners should fit snugly and create tidy cups, and you will feel the slight resistance when pressing them into each well, which helps keep the shells uniform. Make sure the tin is clean and dry, as any moisture can cause the chocolate to seize. A common mistake is using too thin liners that collapse when you spoon in melted chocolate, so choose sturdy mini liners for best results.
- In a medium saucepan, combine the peanut butter, butter and sugar over medium heat. Stir constantly until completely melted and starting to bubble. Remove from the heat and add the powdered sugar, 1/3 cup at a time, stir after each addition until completely combined. Set aside and let the mixture cool.: You will notice the mixture begin to melt into a cohesive glossy mass as the peanut butter and butter soften, and the aroma becomes warmly nutty. Stir constantly to prevent scorching on the bottom, and watch for tiny bubbles forming around the edges which signal readiness to remove from heat. If you stop stirring, the mixture can stick and burn, producing a bitter taste.
- Place chocolate and butter in a microwave safe bowl and melt in the microwave in 30 seconds increments, until completely melted, stirring after each burst.: As you fold in the powdered sugar, the texture will shift from runny to thick and malleable, and the sound will become quieter as the mixture thickens. Cooling is essential so the filling firms slightly, which prevents it from seeping into the chocolate shell. If you add the sugar too quickly the mixture can clump, so add it gradually and mix thoroughly for a smooth consistency.
- Using a spoon, scoop a hefty spoon of melted chocolate into the bottom of each muffin liner.: The chocolate should transform into a glossy, velvety liquid and you will smell a toasty chocolate scent as the butter integrates. Stirring between bursts ensures even melting and reduces the risk of burning the chocolate. If you overheat even a little, the chocolate can seize and look grainy, so use short intervals and gentle stirring.
- Using a spoon, scoop out the peanut butter mixture, roll into a ball and then flatten it slightly in your palm, place it on top of each chocolate lined muffin cup. The peanut butter shouldn’t touch the muffin tin walls. Refrigerate for 30 minutes.: As the chocolate spreads it will coat the base and you can tilt the tin slightly to encourage even coverage, watching for an even sheen and a thin rim where the chocolate meets the liner. Work quickly enough so the chocolate remains fluid, yet steady enough to avoid splashes. If the chocolate begins to thicken while you work, return it to gentle heat briefly to regain fluidity, taking care not to overheat.
- In the bowl of an electric mixer fitted with the wire attachment, combine butter, salt and sugars until soft and creamy, about 2 minutes. Mix in the cream and vanilla seeds. On low speed add the flour and mix until combined. Using a spatula, stir in the chocolate chips. Make sure you scrape the sides of the bowl as needed during this step.: The filling should be pliable but firm enough to hold its shape, and pressing it gently into a flattened disc helps create a neat center that is fully encased by chocolate later. Keep the peanut butter away from liner edges to avoid unsightly seams and potential leaks. If the filling is too warm it will sag and touch the walls, so chill the pieces until firm.
- Scoop the cookie dough onto the top of the muffin tin cups, until the tins are full. If the cookie dough sticks to your spoon, wet it in a little cold water. Pat the cookie dough on top in an even layer. Sprinkle any remaining peanut butter mixture or chocolate chips on top.: You will see the butter lighten and become airy, while the sugar becomes fully integrated, giving a pale, fluffy look. The vanilla seeds add tiny black flecks and a floral note that lifts sweetness. Folding in the all purpose flour and mini chocolate chips yields a tender dough; overmixing can develop gluten and make the dough tough, so stop as soon as combined.
- Refrigerate for at least 5-6 hours or overnight before serving. Store in the fridge as the cookie dough becomes soft if kept too long at room temperature.: When you press the dough into place the surface should feel slightly cool and yield under light pressure, creating even domes. The contrast between the matte cookie dough and the glossy chocolate edge looks appealing. If you find uneven lumps, a wet fingertip or spatula smooths them quickly; avoid overworking the surface which can warm the dough.
- Refrigerate for at least 5 to 6 hours or overnight before serving store in the fridge as the cookie dough becomes soft if kept too long at room temperature: As the cups chill the chocolate shell will firm to a satisfying snap while the interior sets to a scoopable, tender texture, and the aroma will mellow into a balanced peanut and chocolate harmony. Serving too soon yields a soft, unstable shell, while prolonged room temperature storage risks a softened filling. Keep them chilled and use a chilled serving plate for best results.
Notes
- Swap chocolate type: Use dark chocolate instead of milk for a less sweet cup, which highlights the peanut butter more; dark chocolate gives a sharper contrast and a sturdier shell when chilled.
- Make them peanut free: Replace peanut butter with an equal amount of a seed butter like sunflower seed butter to accommodate nut allergies while keeping the creamy texture.
- Adjust sweetness: Reduce powdered sugar slightly in the filling if you prefer less sweet treats, tasting as you go to maintain structure without over thinning the dough.
- Texture boost: Stir in a small handful of crushed graham crackers into the cookie dough for a slight crunch and to mimic classic cookie dough texture, mixing gently to preserve tenderness.
- Make ahead strategies: Assemble fully and freeze on a tray, then transfer to an airtight container; thaw in the fridge before serving to maintain shape and texture.