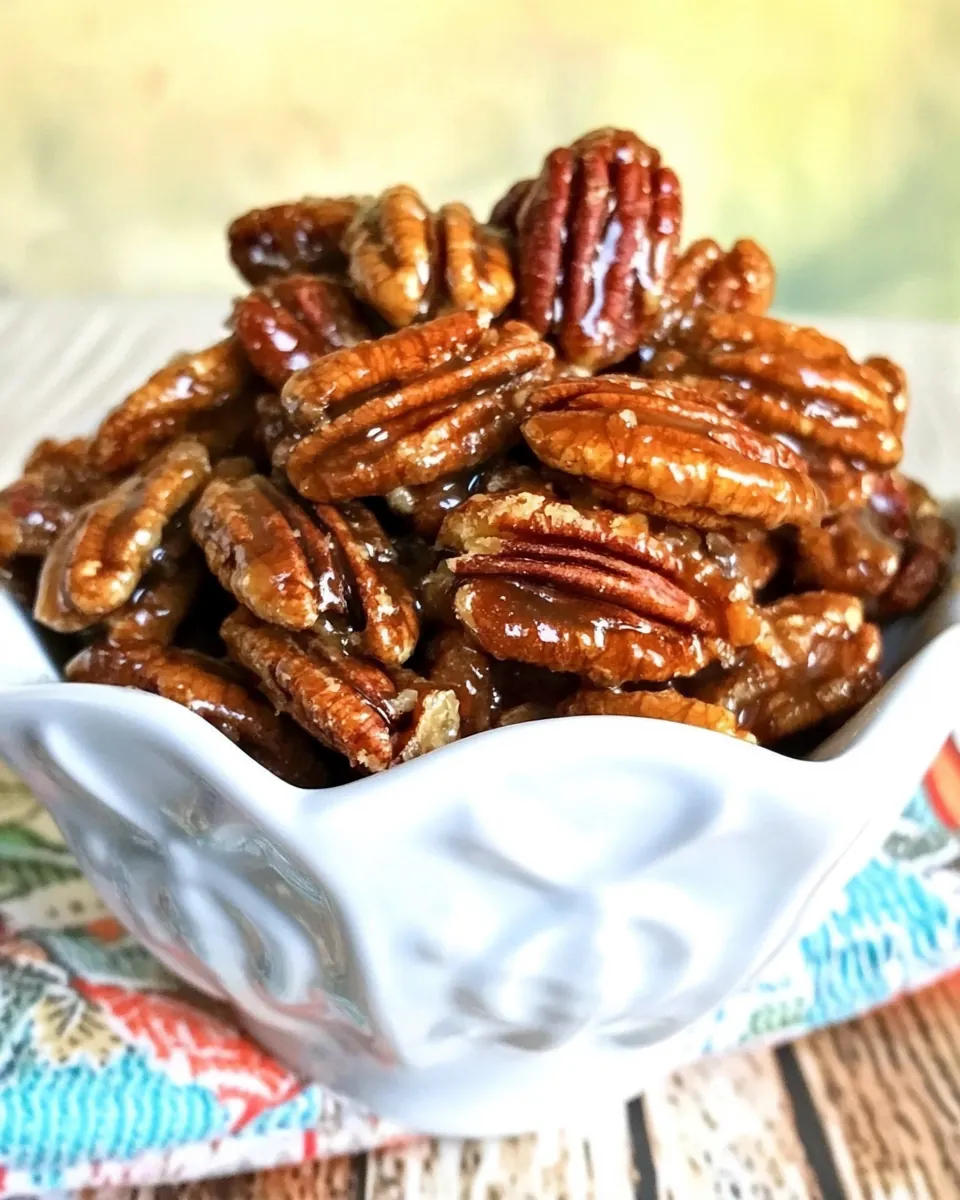
Maple Glazed Pecans
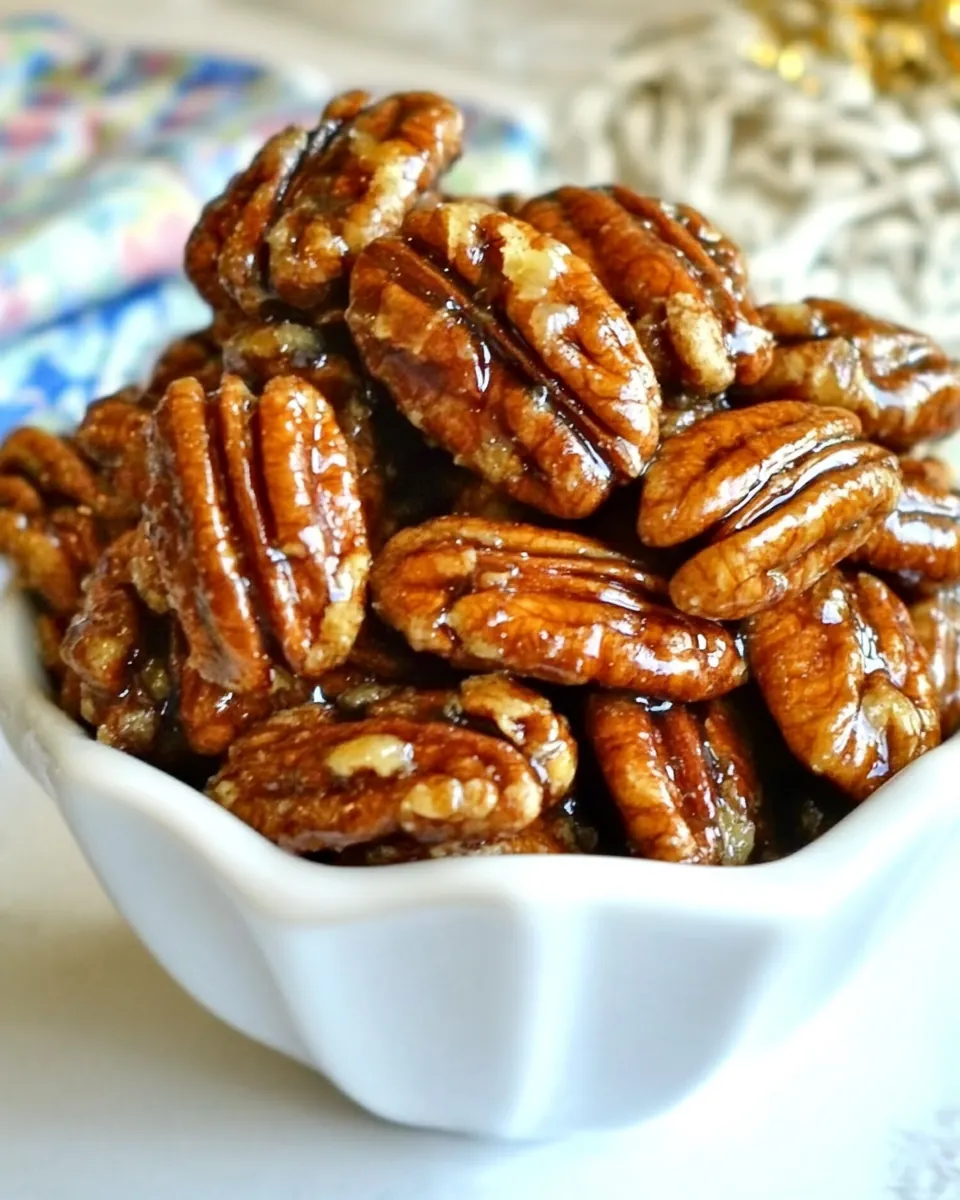
Maple Glazed Pecans have a way of sneaking into my snack rotation every autumn, and they taste like the kind of cozy that arrives on a cool afternoon. The first time I made them, I was chasing a memory of a farmers market stall where a small paper cone of candied nuts warmed my hands. I wanted to recreate that sticky, glossy coating and the satisfying snap of a perfectly toasted pecan, so I started experimenting until the balance between sweet, salty, and toasted was just right.
Over the years I have refined the method to be fast, reliable, and forgiving for busy evenings or last minute hostess duties. I keep the ingredient list short and honest, because when you have only a few players, each one needs to pull their weight. The result is a batch you can make while a pot of soup simmers or between preparing a salad and setting the table.
Recipe Snapshot
10 mins
5 mins
5 mins
Easy
200 kcal
American
Paleo, Vegan
Desserts
Skillet, Baking sheet, Parchment paper, Spatula
The Charm of This Maple Glazed Pecans
Simple ingredients, big impact
I love how Maple Glazed Pecans use only a handful of pantry staples to create something that feels gourmet. With just maple syrup, vanilla, a pinch of salt, and pecans, the flavor profile arrives fully formed. Each element boosts the others, the syrup lends caramelized sweetness, the vanilla deepens the aroma, and the salt wakes up the nuttiness.
Quick to make, perfect for gifting
Making these takes minutes on the stove, which means I can whip up a batch between tasks. They cool quickly and store beautifully, so they’re a favorite to tuck into jars for neighbors or bring to gatherings. I often make an extra batch because they vanish fast once people start nibbling.
Versatile snack and elegant garnish
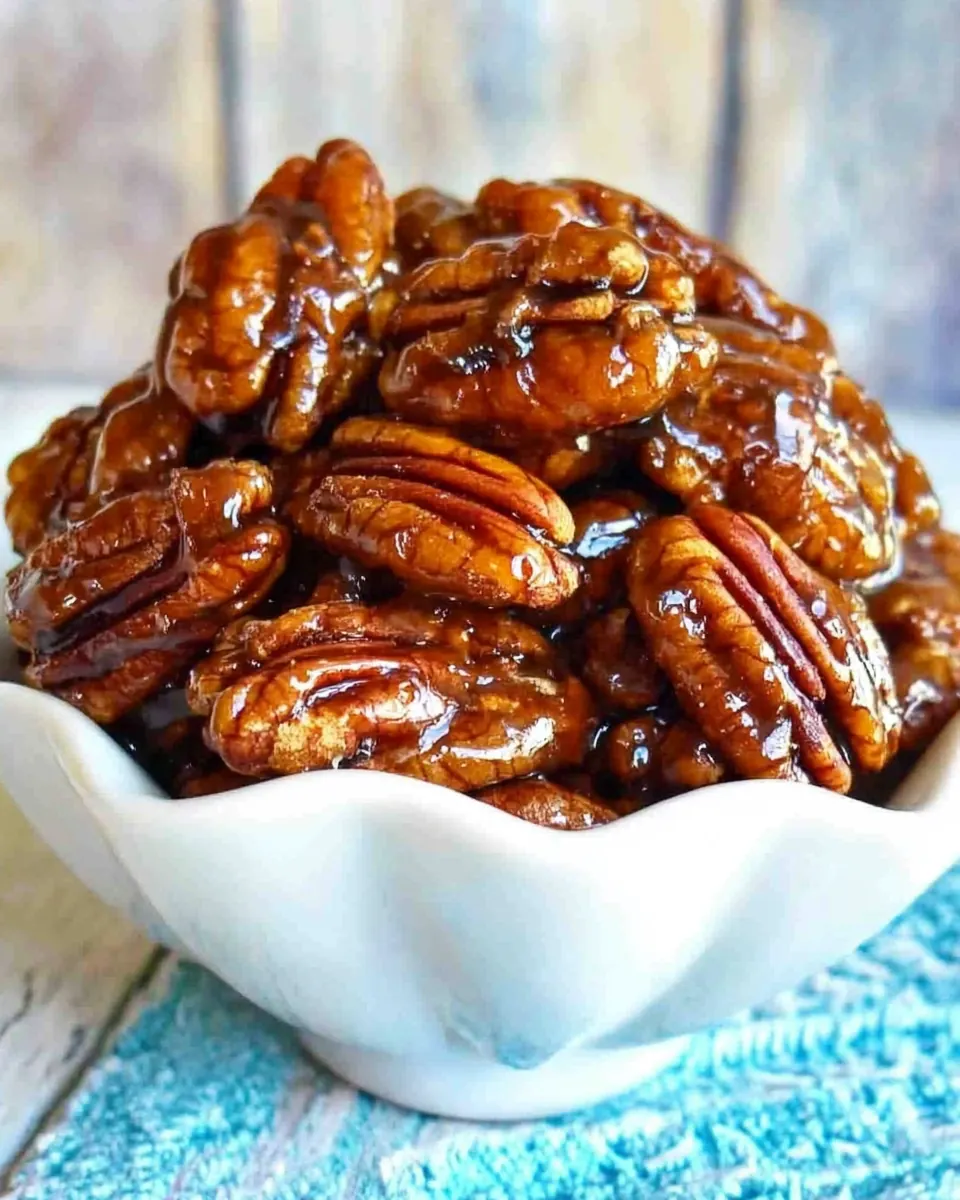
I’ve used Maple Glazed Pecans to top salads, scatter over roasted vegetables, or simply serve in a bowl with cocktails. Their crunchy texture and glossy finish elevate both casual and more formal dishes. They also add a welcome contrast when paired with creamy cheeses or simple ice cream.
Balancing sweetness and crunch
The magic is in the timing. Cook the syrup until it caramelizes just enough to cling to the nuts, and you get that addictive snap without sogginess. I like that the technique teaches you to read visual and aromatic cues, so every batch improves your instincts for caramelization.
Reliable crowd pleaser
Years of making these have taught me small adjustments that keep them consistent. A touch more salt if the syrup is particularly sweet, or a few extra seconds in the skillet for deeper color. They are forgiving, and that’s why I keep this recipe in my back pocket for last minute hosting.
Maple Glazed Pecans Ingredients
These ingredients are intentionally minimalistic, each serving a clear purpose in the final texture and flavor. The maple syrup provides both sweetness and a sticky medium to carry the glaze, while the vanilla extract adds a warm aromatic note. A pinch of sea salt lifts the flavors so the sweetness does not feel flat, and the pecan halves bring rich, buttery nuttiness and satisfying crunch. Together they form a simple harmony that produces glossy, toasted nuts that keep well.
- 1/3 cup pure maple syrup: Sweeten and coat the pecans with natural maple syrup, creating a glossy glaze that caramelizes slightly when baked. Adds rich, complex sweetness and a hint of woodsy flavor that complements toasted nuts.
- 1/2 teaspoon vanilla extract: Enhance and round out flavors by providing warm, floral notes that deepen the glaze profile. Helps balance sweetness while adding a subtle aromatic lift to the finished pecans.
- 1/8 teaspoon fine sea salt: Season and balance the sweetness by adding a touch of fine sea salt to elevate overall flavor. Helps contrast the maple syrup and intensify the nutty richness without becoming salty.
- 2 cups pecan halves: Provide crunchy texture and rich, buttery flavor as the main component of the snack. Pecans absorb the glaze and toast beautifully, becoming the star of the finished maple-coated treat.
How to Cook Maple Glazed Pecans
These directions are straightforward, but the payoff comes from attention and timing. Move deliberately, watch the syrup closely, and use the senses to judge color and aroma. Below are the cleaned steps with detailed guidance so you feel confident at each stage.
- Line a baking sheet with parchment paper and set aside.: The instant you spread the prepared pecans onto the lined sheet you will notice the glossy glaze beginning to harden as it cools, creating that desirable crisp exterior. The cool surface helps stop carryover cooking and prevents sticking, so the nuts separate easily once set. A common mistake is skipping the parchment and losing pieces to the pan, which can make cleanup difficult and damage the coating. If your sheet is warm, let it cool to avoid premature melting of the glaze on contact.
- In a pre-heated skillet (medium heat) stir together maple syrup, vanilla and sea salt. Fold in pecans coating all the pieces with the syrup.: As the mixture warms you will smell the sweet, woody notes of the maple syrup rising and a soft vanilla perfume joining in. Stirring encourages even heating and prevents hot spots that would burn the sugars. Using medium heat gives you time to control the caramelization process so the syrup thickens without scorching. One frequent error is using too high a flame, which causes the syrup to burn and tastes bitter. If the aroma turns acrid, remove the pan from heat immediately and start over with fresh syrup.
- Continue to cook until the syrup caramelizes (constantly stir so it doesn’t burn). This will take approximately 5 minutes.: When you add the pecans , they should be at room temperature so the glaze adheres evenly rather than shocking the syrup into uneven crystallization. Use a wooden spoon or spatula to fold gently, making sure every half is slick with the glossy mixture. You will see the nuts darken slightly as they absorb the syrup and begin to glisten. Mistakes here include crowding the pan, which prevents even coating, so work in a single layer if necessary.
- Place on prepared baking sheet and let cool. Store in an airtight container.: As the syrup reduces you will hear a faint change in the sound, a soft quieting from simmer to a lighter sizzle, and the aroma will shift from sugary to a deeper, toasty caramel. Keep the pan moving, scraping the bottom to avoid sticky burnt bits, because any burned sugar will ruin the batch. This takes approximately 5 minutes, and you can tell it is ready when the syrup clings and forms a slightly thicker coating that no longer looks glossy liquid but a tacky glaze. A common pitfall is stepping away while it cooks, which risks burning. If you catch dark flecks or bitter smell, discard and clean the pan before trying again.
- Place on prepared baking sheet and let cool.: Transfer the glazed pecans onto the parchment in a single layer so air can circulate and the glaze sets into a crisp shell. As they cool you will hear a faint snap when you test one, and the surface will matt slightly from glossy to firm. Cooling on the sheet prevents the pieces from sticking together, and spreading them apart helps them set uniformly. A mistake to avoid is piling them while hot, which traps steam and leads to soft spots. Let them cool completely before transferring to storage.
- Store in an airtight container.: Once fully cooled, the nuts will keep their crunch for days in a sealed container, and the aroma will remain vivid. Store at room temperature away from direct heat or light; refrigeration can introduce moisture and soften the glaze. A common error is sealing them while still warm, which causes condensation and loss of crispness. For gifting, choose small jars that protect the texture and showcase the glossy finish.
Making Adjustments
I like offering a short set of practical adjustments so you can tailor the batch to taste or occasion. Below are focused tips you can apply without changing the recipe’s simplicity. Each tip starts with a bolded lead to make scanning easy.
- Adjust sweetness: If you prefer a less sugary coating, reduce the maple syrup slightly and cook a touch longer to concentrate the flavor, tasting carefully to avoid burning.
- Boost aroma: Increase the vanilla extract by a small fraction for a more perfumed glaze, adding it early enough to infuse but not so long that the aroma dissipates.
- Increase saltiness: Add a few extra grains of sea salt if your syrup is very sweet, sprinkling them at the end so the crystals remain lively against the toasted pecans.
- Toast first for extra crunch: Lightly toast the pecans alone for a few minutes before glazing to deepen the nuttiness, but watch closely to avoid turning them bitter.
- Make ahead storage: Cool completely and store in an airtight container at room temperature to retain crunch for several days; avoid refrigeration which can introduce moisture.
Serving Suggestions
These glazed nuts are perfect for many uses around the table, and how you present them can change the mood of a meal. Below are ideas for occasions and pairings, written as practical suggestions you can adapt easily.
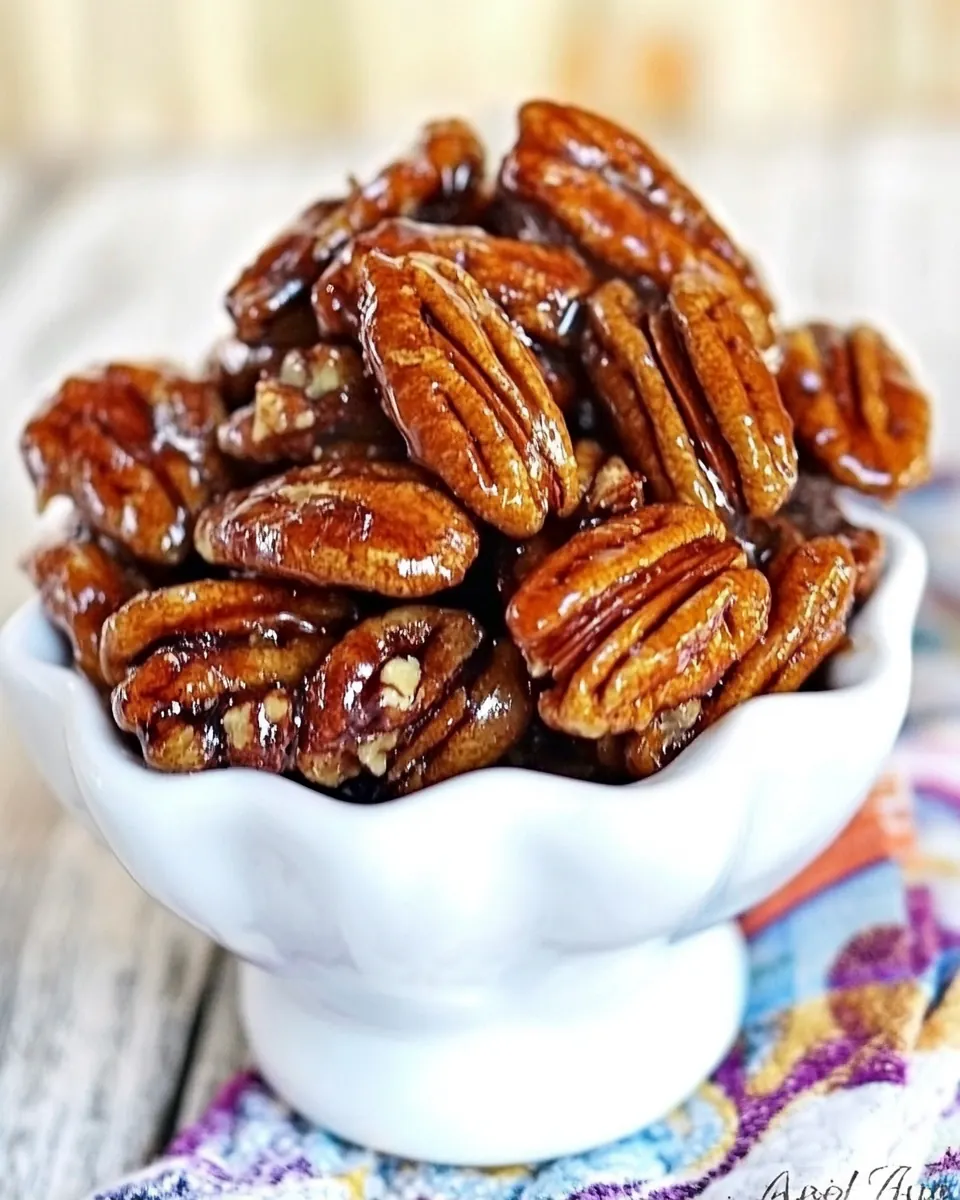
- Snack bowl for gatherings: Serve a generous bowl of Maple Glazed Pecans on a coffee table during cocktail hour so guests can nibble as they mingle, offering a sweet crunchy contrast to savory snacks.
- Salad topper: Scatter chopped glazed pecans over a leafy salad to add texture and a sweet note that pairs beautifully with tangy dressings and soft cheeses.
- Cheese board companion: Arrange the glazed nuts alongside wedges of cheese and crisp crackers for an elegant board, where the crunchy sweetness complements creamy and salty bites.
- Gift jars: Pack cooled Maple Glazed Pecans into small airtight jars for hostess gifts or holiday favors, decorating jars with ribbon and a simple label for a charming presentation.
- Seasonal pairing: These work especially well in the fall, accompanying roasted vegetables or warm desserts, and they fit nicely on holiday snack tables as a homemade treat.
- Storage note: For best texture, keep the nuts at room temperature in an airtight container, away from heat and humidity; they will stay crisp for several days.
FAQ
Conclusion
Maple Glazed Pecans are special because they turn four simple ingredients into a glossy, crunchy delight that feels both homemade and elevated. They are quick to prepare, store well, and function as a snack, garnish, or thoughtful gift. Try making them when you want a fast, impressive treat that showcases the warm flavors of maple and toasted nuts. I hope this recipe becomes one you reach for whenever you want a little sweet crunch in your day.

Maple Glazed Pecans
Equipment
- Skillet
- Baking Sheet
- Parchment Paper
- Spatula
Ingredients
- 1/3 cup pure maple syrup Sweeten and coat the pecans with natural maple syrup, creating a glossy glaze that caramelizes slightly when baked. Adds rich, complex sweetness and a hint of woodsy flavor that complements toasted nuts.
- 1/2 teaspoon vanilla extract Enhance and round out flavors by providing warm, floral notes that deepen the glaze profile. Helps balance sweetness while adding a subtle aromatic lift to the finished pecans.
- 1/8 teaspoon fine sea salt Season and balance the sweetness by adding a touch of fine sea salt to elevate overall flavor. Helps contrast the maple syrup and intensify the nutty richness without becoming salty.
- 2 cups pecan halves Provide crunchy texture and rich, buttery flavor as the main component of the snack. Pecans absorb the glaze and toast beautifully, becoming the star of the finished maple-coated treat.
Instructions
- Line a baking sheet with parchment paper and set aside.: The instant you spread the prepared pecans onto the lined sheet you will notice the glossy glaze beginning to harden as it cools, creating that desirable crisp exterior. The cool surface helps stop carryover cooking and prevents sticking, so the nuts separate easily once set. A common mistake is skipping the parchment and losing pieces to the pan, which can make cleanup difficult and damage the coating. If your sheet is warm, let it cool to avoid premature melting of the glaze on contact.
- In a pre-heated skillet (medium heat) stir together maple syrup, vanilla and sea salt. Fold in pecans coating all the pieces with the syrup.: As the mixture warms you will smell the sweet, woody notes of the maple syrup rising and a soft vanilla perfume joining in. Stirring encourages even heating and prevents hot spots that would burn the sugars. Using medium heat gives you time to control the caramelization process so the syrup thickens without scorching. One frequent error is using too high a flame, which causes the syrup to burn and tastes bitter. If the aroma turns acrid, remove the pan from heat immediately and start over with fresh syrup.
- Continue to cook until the syrup caramelizes (constantly stir so it doesn’t burn). This will take approximately 5 minutes.: When you add the pecans , they should be at room temperature so the glaze adheres evenly rather than shocking the syrup into uneven crystallization. Use a wooden spoon or spatula to fold gently, making sure every half is slick with the glossy mixture. You will see the nuts darken slightly as they absorb the syrup and begin to glisten. Mistakes here include crowding the pan, which prevents even coating, so work in a single layer if necessary.
- Place on prepared baking sheet and let cool. Store in an airtight container.: As the syrup reduces you will hear a faint change in the sound, a soft quieting from simmer to a lighter sizzle, and the aroma will shift from sugary to a deeper, toasty caramel. Keep the pan moving, scraping the bottom to avoid sticky burnt bits, because any burned sugar will ruin the batch. This takes approximately 5 minutes, and you can tell it is ready when the syrup clings and forms a slightly thicker coating that no longer looks glossy liquid but a tacky glaze. A common pitfall is stepping away while it cooks, which risks burning. If you catch dark flecks or bitter smell, discard and clean the pan before trying again.
- Place on prepared baking sheet and let cool.: Transfer the glazed pecans onto the parchment in a single layer so air can circulate and the glaze sets into a crisp shell. As they cool you will hear a faint snap when you test one, and the surface will matt slightly from glossy to firm. Cooling on the sheet prevents the pieces from sticking together, and spreading them apart helps them set uniformly. A mistake to avoid is piling them while hot, which traps steam and leads to soft spots. Let them cool completely before transferring to storage.
- Store in an airtight container.: Once fully cooled, the nuts will keep their crunch for days in a sealed container, and the aroma will remain vivid. Store at room temperature away from direct heat or light; refrigeration can introduce moisture and soften the glaze. A common error is sealing them while still warm, which causes condensation and loss of crispness. For gifting, choose small jars that protect the texture and showcase the glossy finish.
Notes
- Adjust sweetness: If you prefer a less sugary coating, reduce the maple syrup slightly and cook a touch longer to concentrate the flavor, tasting carefully to avoid burning.
- Boost aroma: Increase the vanilla extract by a small fraction for a more perfumed glaze, adding it early enough to infuse but not so long that the aroma dissipates.
- Increase saltiness: Add a few extra grains of sea salt if your syrup is very sweet, sprinkling them at the end so the crystals remain lively against the toasted pecans.
- Toast first for extra crunch: Lightly toast the pecans alone for a few minutes before glazing to deepen the nuttiness, but watch closely to avoid turning them bitter.
- Make ahead storage: Cool completely and store in an airtight container at room temperature to retain crunch for several days; avoid refrigeration which can introduce moisture.