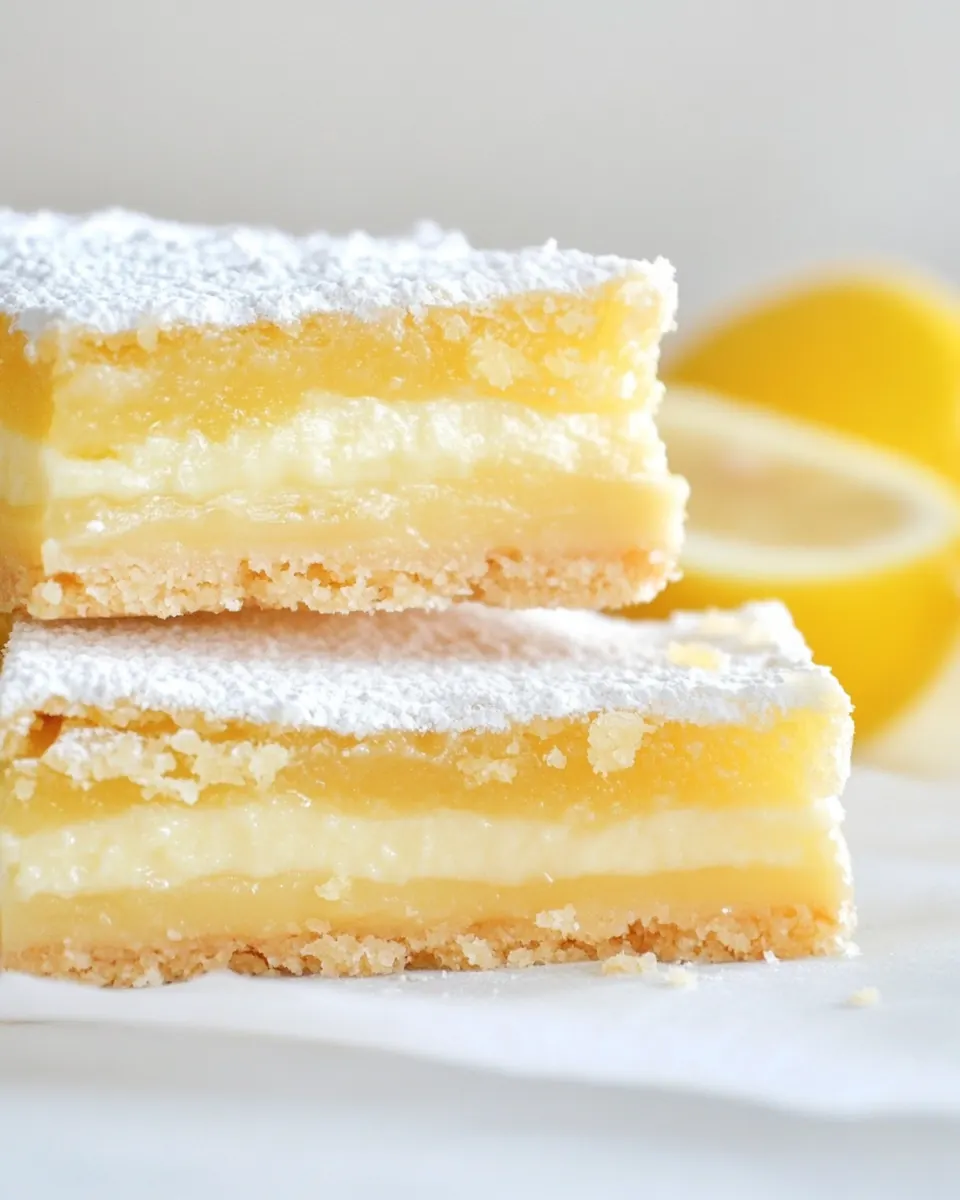
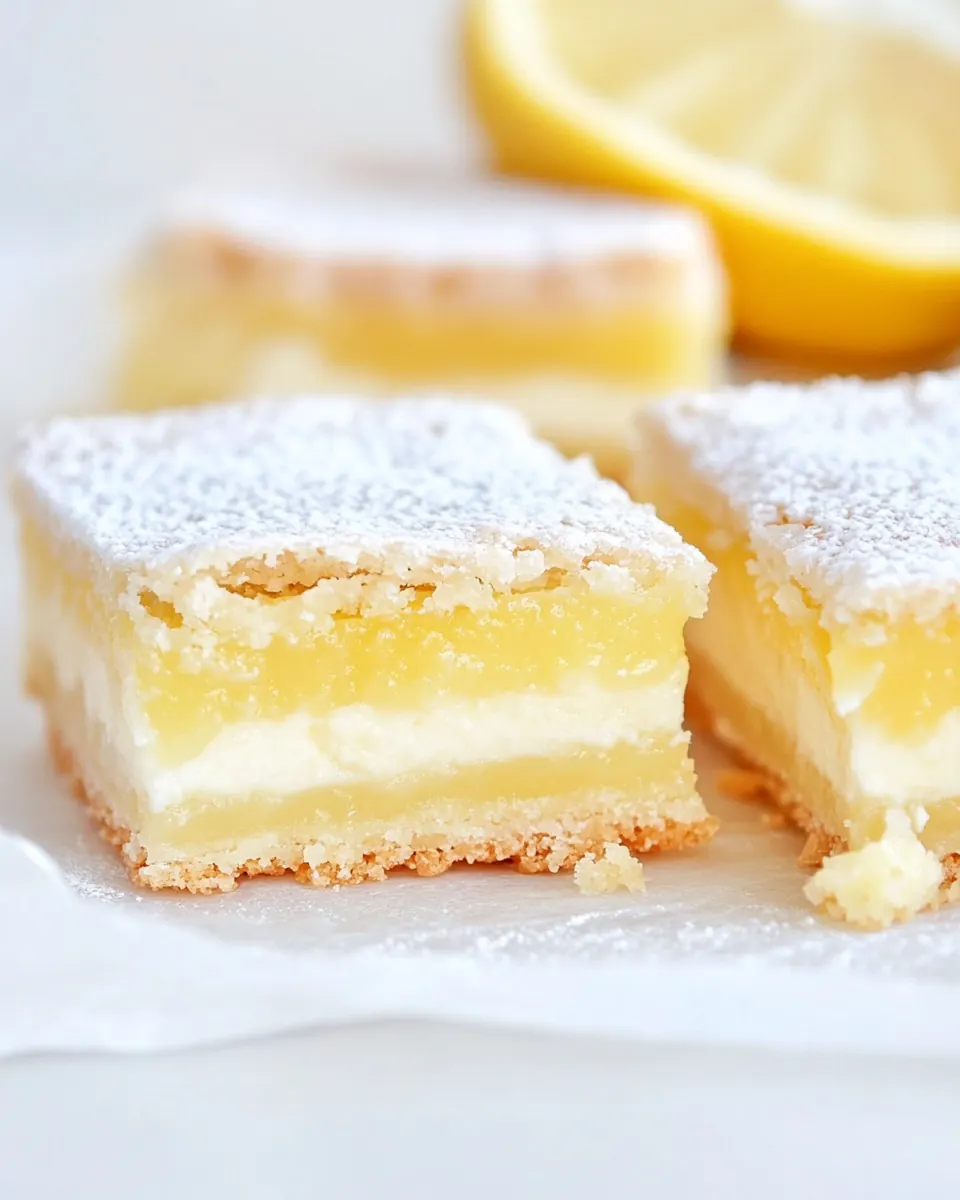
Lemon Bars
Lemon Bars are one of those sweets I reach for when I want something bright, buttery, and impossibly simple.
My earliest memory of Lemon Bars is of a picnic table sticky with summer sun, where my neighbor handed me a square dusted with sugar and promised it would change my life. She was not exaggerating. The first bite was an immediate contrast between a tender, sandy crust and a tangy, silky filling, and I kept going back for more even though I told myself I would only have one.
Years later I still make Lemon Bars whenever I need a quick but impressive dessert. I love how the recipe scales easily, and how the scent of lemon juice and zest fills the kitchen while the crust browns. Friends always ask for the recipe, partly because the texture is so reliable and partly because it presents beautifully, dusted with a veil of confectioner’s sugar.
Recipe Snapshot
55 mins
10 mins
45 mins
Medium
200 kcal
American
Gluten-Free, Low FODMAP
Desserts
9×13 inch baking pan, Mixing bowl, Measuring cup, Oven, Wire rack, Knife
What Sets This Lemon Bars Apart
Bright, balanced flavor
I adore the way lemon cuts through sweetness, giving these bars a lively lift. The combination of tart lemon juice and fragrant lemon zest keeps each bite fresh, so you never feel overwhelmed by sugar. I find this brightness makes the bars feel lighter than many other desserts, which is why I often serve them after rich meals.
Buttery, sturdy crust
The shortbread style base made with butter and flour provides a satisfying textural counterpoint to the silky filling. When I press the crust firmly into the pan, I know it will hold clean squares, which matters at gatherings. A good crust provides the right chew and just enough crumble.
Simple, accessible technique
One reason I keep this recipe in heavy rotation is how straightforward it is. You mix the crust, bake, whisk the filling, and bake again. No special equipment is required, and the steps are forgiving, which is perfect for cooks who like to improvise. I appreciate recipes that let me chat with guests while still producing excellent results.
Make ahead and travel well
I often prepare Lemon Bars a day before serving because chilling helps them set and slice neatly. They travel beautifully to potlucks and picnics, and they stay fresh for several days if kept covered. For this reason, they are one of my go to recipes for holidays or spring gatherings.
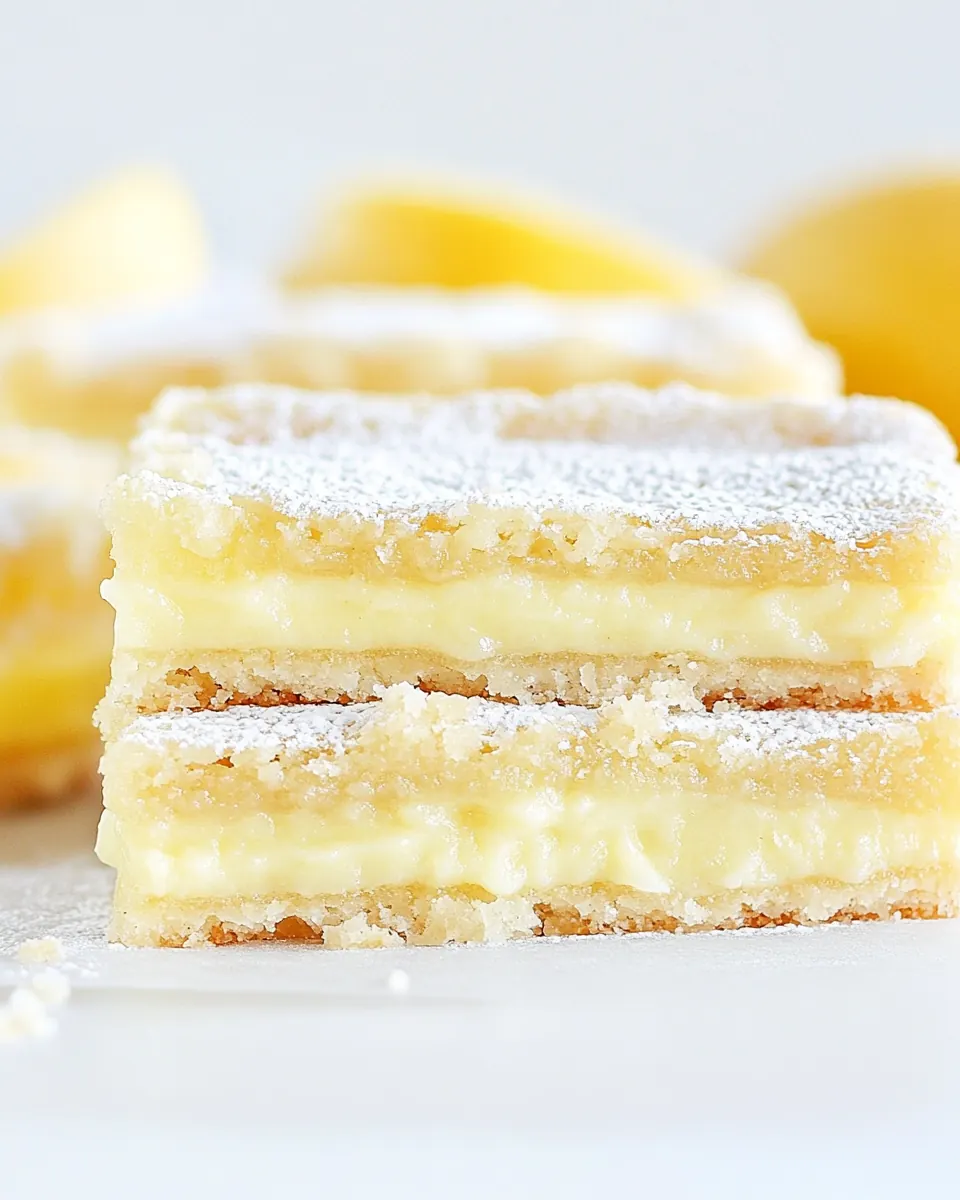
Visually appealing and versatile
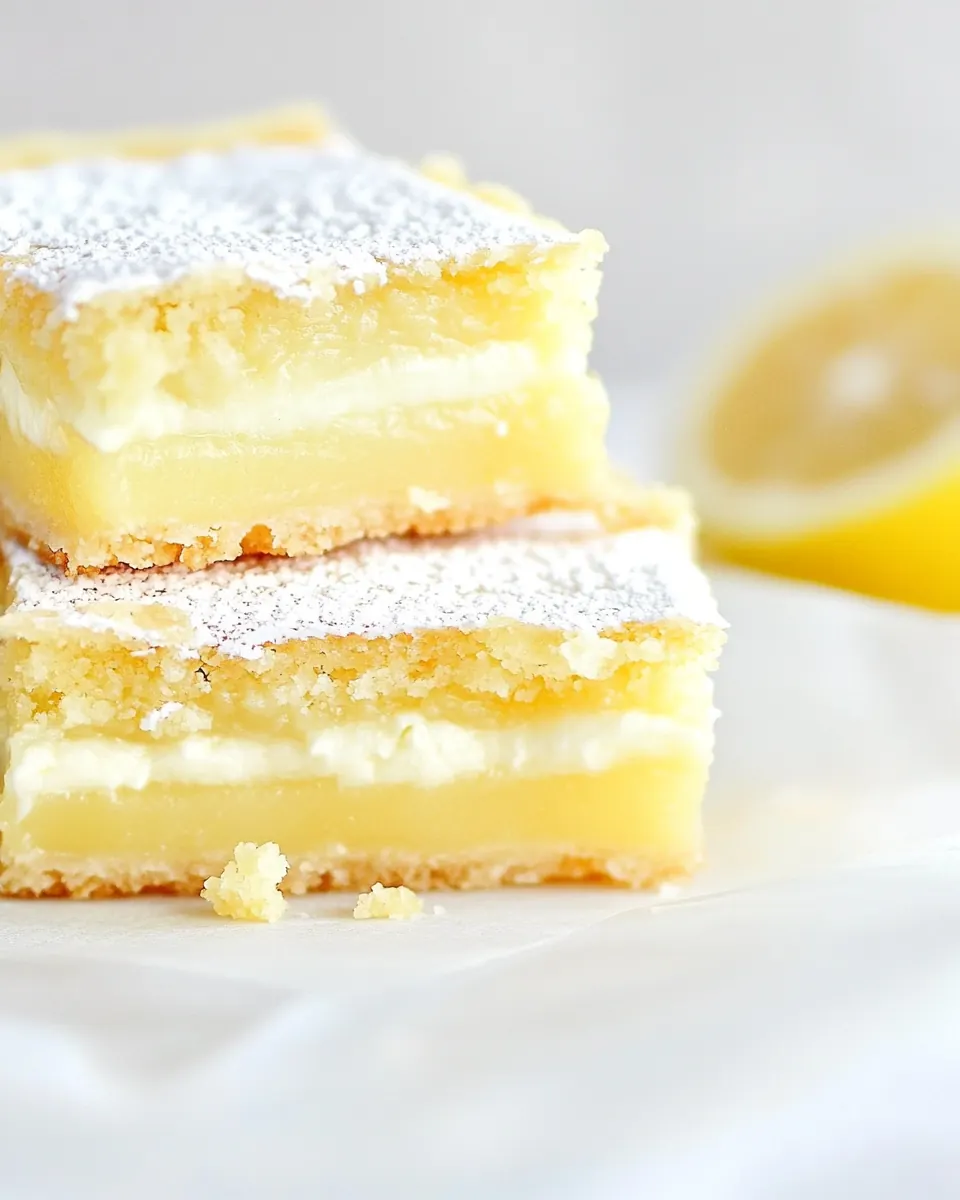
Finally, the look of these bars is part of their charm. A dusting of confectioner’s sugar turns the glossy filling into something almost elegant, and the simple square format makes them easy to plate. I find they pair well with a daytime tea or an after dinner coffee, so they’re useful across occasions.
Essential Ingredients for Lemon Bars
These elements work together like a small orchestra. The crust provides a buttery, slightly sweet foundation, while the filling offers zesty acidity and a custard like texture. Each player is essential: without enough flour the structure fails, without good butter the mouthfeel is flat, and without bright lemon the bars lose their character. I treat the ingredients as partners, balancing richness and brightness for a dependable result.
- 1 cup salted butter, softened: Cream together to create a rich, tender crust by combining softened salted butter with flour and confectioner’s sugar; the butter provides moisture and flavor while the mixing develops a cohesive dough. Chill or press immediately into a pan to ensure a flaky, sturdy base that will hold the lemon filling during baking.
- 2 cups all-purpose flour: Provide structure and body to both the crust and filling, contributing gluten and helping the bars set; measure accurately and handle gently to avoid toughening. Sift or whisk before mixing to ensure even distribution and a smooth texture in the final bars.
- 1/2 cup confectioner’s sugar: Sweeten and slightly tenderize the crust by cutting into the butter and flour; confectioner’s sugar dissolves quickly and helps achieve a delicate, melt-in-your-mouth shortbread. Dusting amounts also add a subtle surface sweetness that contrasts the tart filling.
- 4 eggs: Emulsify and set the lemon filling by adding richness, body, and stability; beaten eggs create a custard-like texture when combined with sugar and lemon. Temper eggs if necessary and bake until just set to avoid curdling or a rubbery texture.
- 2 cups granulated sugar: Provide bulk sweetness and structure to the lemon filling while helping to draw out flavor from the lemon zest and juice; sugar also aids in the custard’s texture and browning. Dissolve fully with eggs and lemon to ensure a smooth, glossy filling without graininess.
- 2 tablespoons lemon zest: Deliver intense citrus aroma and concentrated lemon oils that brighten the filling’s flavor; zest adds an aromatic complexity that juice alone cannot provide. Use finely grated zest and avoid the bitter white pith to keep the flavor clean and vibrant.
- 3/4 cup lemon juice: Add bright acidity and primary lemon flavor that balances the sweetness of the filling; juice helps to set the custard by interacting with the eggs and sugar. Strain if desired to remove seeds and pulp for a smoother texture.
- 1 cup all-purpose flour: Bind and mildly thicken the lemon filling while contributing to its overall structure; additional flour helps stabilize the custard so it slices cleanly after baking. Whisk in fully to prevent lumps and ensure an even bake.
- 1 tablespoon confectioner’s sugar, for dusting: Finish and enhance presentation by dusting the cooled bars with a light layer of confectioner’s sugar for a sweet, delicate appearance. Sprinkle just before serving to maintain a fresh, snowy look and subtle extra sweetness.
Preparation Steps for Lemon Bars
These steps move from creating a sturdy crust to building a silky, lemon forward filling. Follow the sequence for best texture and neat slices, and be patient as the bars cool so they set properly. I recommend reading all steps before you begin so you have a smooth workflow.
- Preheat oven to 350º F.: The moment you feel the oven begin to warm, you will notice a faint hum and a small rise in kitchen heat, signaling that the environment for baking is ready. Preheating ensures the crust begins to set immediately on contact with heat, producing a tender but structured base. If you skip preheating, the crust will take longer to firm and may absorb more fat, leaving it dense. A common pitfall is setting the oven incorrectly, so confirm the dial reads 350º F before you slide the pan in.
- Mix together the butter, flour, and confectioner’s sugar. Press into the bottom of a 9×13-inch baking pan. Bake until lightly golden brown, approximately 15 minutes.: As you combine softened butter with flour and confectioner’s sugar , the mixture will transform from separate elements into a cohesive, sandy dough that smells faintly of butter and sweetness. This texture helps the crust compress evenly when pressed into the pan, creating a uniform layer that browns reliably. If you overmix, gluten will develop and the crust can become tough, so stir just until the components come together. A sign you have mixed correctly is a crumbly look that holds when squeezed.
- Mix together the eggs, sugar, lemon zest, lemon juice, and flour. Pour the lemon mixture over the baked crust. Bake 35 minutes until the lemon filling is completely set.: Pressing the dough into the pan produces a compact, even base that provides support for the filling. I press firmly with the bottom of a measuring cup to create an even thickness and neat edges, which makes slicing easier later. If the crust is too thin in spots, the filling can seep through during baking, creating uneven texture. Avoid leaving gaps by checking corners and smoothing edges before baking.
- Remove from oven and allow to cool completely. Cut into squares or rectangles and dust with confectioner’s sugar.: During this time the kitchen fills with a warm, buttery aroma and the crust takes on a pale golden color and a slightly crisp top. This initial bake develops flavor and creates the barrier that keeps the filling from soaking into the dough. Underbaking will yield a soggy base, while overbaking can make it overly hard. Look for a subtle golden hue and a set texture to know it is ready.
- Mix together the eggs, sugar, lemon zest, lemon juice, and flour.: As you whisk eggs with granulated sugar , the mixture lightens and becomes glossy, and the citrus oils from the lemon zest lift the aroma. Incorporating lemon juice will scent the mix and slightly thin it, while the additional flour stabilizes the liquid so the final filling sets into a smooth custard. If the eggs are not fully combined or the sugar remains grainy, the texture can suffer, so whisk until glossy.
- Pour the lemon mixture over the baked crust.: Pouring the filling should be done evenly so it spreads to the edges and produces a uniform layer. You will hear a soft settling sound as the filling levels itself and you will notice a glossy sheen that promises a smooth set. Pour slowly to avoid disturbing the crust too much. A typical mistake is pouring into a still warm crust too aggressively, which can create a seam or uneven surface.
- Bake 35 minutes until the lemon filling is completely set.: As the bars bake again, the filling will firm, losing most of its jiggle and becoming opaque. The aroma intensifies to a bright, citrusy note with a warm sugar undertone. Baking until fully set is critical for slices that hold their shape; underbaked filling will wobble and weep when cut. If the top shows slight browning at the edges, it is normal, but avoid overbaking which can cause a dry, cracked surface.
- Remove from oven and allow to cool completely.: Cooling is where the bars finish their transformation from a warm custard to a sliceable confection; as they cool the filling contracts slightly and firms. I leave the pan on a wire rack to speed even air circulation and resist the temptation to cut while warm. Cutting too early is a frequent error that leads to messy slices and a wet cutting board.
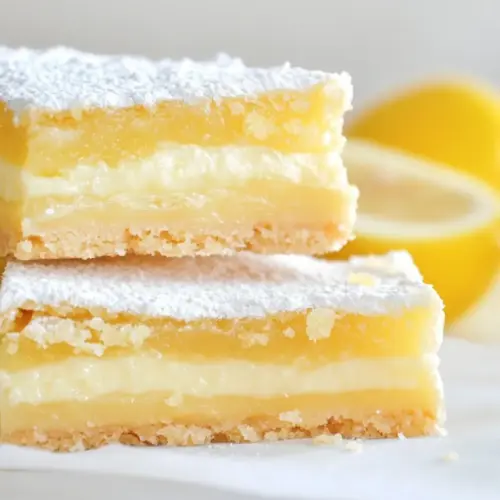
- Cut into squares or rectangles and dust with confectioner’s sugar.: When the bars are fully cool, use a sharp knife to slice cleanly, wiping the blade between cuts if needed. The act of dusting with confectioner’s sugar adds a soft visual finish and a delicate sweetness on the first bite. If your slices crumble, it usually means they were cut too soon or the crust was not compressed enough during pressing.
Customization Ideas
These ideas help you tailor the bars to your tastes or to the occasion while keeping the core technique intact. Small tweaks to texture, presentation, and intensity can make a familiar recipe feel new.
- Boost the lemon scent by adding an extra half teaspoon of fresh lemon zest for more aromatic zip without altering the set.
- Make the crust crisper by chilling the pressed crust for 10 minutes before the first bake, which helps it hold shape and bake more evenly.
- Adjust sweetness by reducing the granulated sugar in the filling by up to two tablespoons if you prefer a more tart finish.
- Slice cleanly by using a hot, dry knife wiped between cuts, which prevents drag and keeps edges sharp.
- Travel friendly by cutting the bars and placing parchment between layers for easy transport to potlucks or picnic spreads.
Pairing Suggestions for Lemon Bars
Lemon Bars pair beautifully with light beverages and simple accompaniments that do not compete with their bright flavor. They work well for casual gatherings, springtime brunches, and as a refreshing finish to heavier meals. Present them on a platter dusted with confectioner’s sugar or alongside warm drinks for contrast.
- Serve with tea, like a light green or herbal infusion, which complements the citrus without overwhelming it, ideal for afternoon gatherings.
- Offer with coffee for a morning or brunch setting, where the bars provide a sweet, tangy counterpoint to roasted flavors.
- Include on dessert boards alongside fresh fruit and simple cookies for a spring party, giving guests a bright option among richer bites.
- Pack for picnics by stacking the cooled squares with parchment between layers so they stay neat and easy to serve outdoors.
- Store properly by covering tightly and refrigerating for up to four days, which keeps the filling stable and the crust from softening too much.
- Seasonal appeal makes these ideal for spring events when citrus feels appropriate; they also work well year round as a crowd pleasing traybake.
FAQ
Conclusion
These Lemon Bars stand out for their bright, balanced lemon flavor and the contrast between a tender, buttery crust and a silky, zesty filling. I encourage you to give them a try because they deliver big flavor with minimal fuss and are perfect for spring gatherings or any time you want a cheerful dessert. They are forgiving, travel well, and look lovely dusted with confectioner’s sugar, so they are a reliable recipe to keep in your baking repertoire.
Lemon Bars
Equipment
- 9x13-inch Baking Pan
- Mixing Bowl
- Measuring Cup
- Oven
- Wire Rack
- Knife
Ingredients
- 1 cup salted butter, softened Cream together to create a rich, tender crust by combining softened salted butter with flour and confectioner’s sugar; the butter provides moisture and flavor while the mixing develops a cohesive dough. Chill or press immediately into a pan to ensure a flaky, sturdy base that will hold the lemon filling during baking.
- 2 cups all-purpose flour Provide structure and body to both the crust and filling, contributing gluten and helping the bars set; measure accurately and handle gently to avoid toughening. Sift or whisk before mixing to ensure even distribution and a smooth texture in the final bars.
- 1/2 cup confectioner’s sugar Sweeten and slightly tenderize the crust by cutting into the butter and flour; confectioner’s sugar dissolves quickly and helps achieve a delicate, melt-in-your-mouth shortbread. Dusting amounts also add a subtle surface sweetness that contrasts the tart filling.
- 4 eggs Emulsify and set the lemon filling by adding richness, body, and stability; beaten eggs create a custard-like texture when combined with sugar and lemon. Temper eggs if necessary and bake until just set to avoid curdling or a rubbery texture.
- 2 cups granulated sugar Provide bulk sweetness and structure to the lemon filling while helping to draw out flavor from the lemon zest and juice; sugar also aids in the custard’s texture and browning. Dissolve fully with eggs and lemon to ensure a smooth, glossy filling without graininess.
- 2 tablespoons lemon zest Deliver intense citrus aroma and concentrated lemon oils that brighten the filling’s flavor; zest adds an aromatic complexity that juice alone cannot provide. Use finely grated zest and avoid the bitter white pith to keep the flavor clean and vibrant.
- 3/4 cup lemon juice Add bright acidity and primary lemon flavor that balances the sweetness of the filling; juice helps to set the custard by interacting with the eggs and sugar. Strain if desired to remove seeds and pulp for a smoother texture.
- 1 cup all-purpose flour Bind and mildly thicken the lemon filling while contributing to its overall structure; additional flour helps stabilize the custard so it slices cleanly after baking. Whisk in fully to prevent lumps and ensure an even bake.
- 1 tablespoon confectioner’s sugar, for dusting Finish and enhance presentation by dusting the cooled bars with a light layer of confectioner’s sugar for a sweet, delicate appearance. Sprinkle just before serving to maintain a fresh, snowy look and subtle extra sweetness.
Instructions
- Preheat oven to 350º F.: The moment you feel the oven begin to warm, you will notice a faint hum and a small rise in kitchen heat, signaling that the environment for baking is ready. Preheating ensures the crust begins to set immediately on contact with heat, producing a tender but structured base. If you skip preheating, the crust will take longer to firm and may absorb more fat, leaving it dense. A common pitfall is setting the oven incorrectly, so confirm the dial reads 350º F before you slide the pan in.
- Mix together the butter, flour, and confectioner’s sugar. Press into the bottom of a 9×13-inch baking pan. Bake until lightly golden brown, approximately 15 minutes.: As you combine softened butter with flour and confectioner’s sugar , the mixture will transform from separate elements into a cohesive, sandy dough that smells faintly of butter and sweetness. This texture helps the crust compress evenly when pressed into the pan, creating a uniform layer that browns reliably. If you overmix, gluten will develop and the crust can become tough, so stir just until the components come together. A sign you have mixed correctly is a crumbly look that holds when squeezed.
- Mix together the eggs, sugar, lemon zest, lemon juice, and flour. Pour the lemon mixture over the baked crust. Bake 35 minutes until the lemon filling is completely set.: Pressing the dough into the pan produces a compact, even base that provides support for the filling. I press firmly with the bottom of a measuring cup to create an even thickness and neat edges, which makes slicing easier later. If the crust is too thin in spots, the filling can seep through during baking, creating uneven texture. Avoid leaving gaps by checking corners and smoothing edges before baking.
- Remove from oven and allow to cool completely. Cut into squares or rectangles and dust with confectioner’s sugar.: During this time the kitchen fills with a warm, buttery aroma and the crust takes on a pale golden color and a slightly crisp top. This initial bake develops flavor and creates the barrier that keeps the filling from soaking into the dough. Underbaking will yield a soggy base, while overbaking can make it overly hard. Look for a subtle golden hue and a set texture to know it is ready.
- Mix together the eggs, sugar, lemon zest, lemon juice, and flour.: As you whisk eggs with granulated sugar , the mixture lightens and becomes glossy, and the citrus oils from the lemon zest lift the aroma. Incorporating lemon juice will scent the mix and slightly thin it, while the additional flour stabilizes the liquid so the final filling sets into a smooth custard. If the eggs are not fully combined or the sugar remains grainy, the texture can suffer, so whisk until glossy.
- Pour the lemon mixture over the baked crust.: Pouring the filling should be done evenly so it spreads to the edges and produces a uniform layer. You will hear a soft settling sound as the filling levels itself and you will notice a glossy sheen that promises a smooth set. Pour slowly to avoid disturbing the crust too much. A typical mistake is pouring into a still warm crust too aggressively, which can create a seam or uneven surface.
- Bake 35 minutes until the lemon filling is completely set.: As the bars bake again, the filling will firm, losing most of its jiggle and becoming opaque. The aroma intensifies to a bright, citrusy note with a warm sugar undertone. Baking until fully set is critical for slices that hold their shape; underbaked filling will wobble and weep when cut. If the top shows slight browning at the edges, it is normal, but avoid overbaking which can cause a dry, cracked surface.
- Remove from oven and allow to cool completely.: Cooling is where the bars finish their transformation from a warm custard to a sliceable confection; as they cool the filling contracts slightly and firms. I leave the pan on a wire rack to speed even air circulation and resist the temptation to cut while warm. Cutting too early is a frequent error that leads to messy slices and a wet cutting board.
- Cut into squares or rectangles and dust with confectioner’s sugar.: When the bars are fully cool, use a sharp knife to slice cleanly, wiping the blade between cuts if needed. The act of dusting with confectioner’s sugar adds a soft visual finish and a delicate sweetness on the first bite. If your slices crumble, it usually means they were cut too soon or the crust was not compressed enough during pressing.
Notes
- Boost the lemon scent by adding an extra half teaspoon of fresh lemon zest for more aromatic zip without altering the set.
- Make the crust crisper by chilling the pressed crust for 10 minutes before the first bake, which helps it hold shape and bake more evenly.
- Adjust sweetness by reducing the granulated sugar in the filling by up to two tablespoons if you prefer a more tart finish.
- Slice cleanly by using a hot, dry knife wiped between cuts, which prevents drag and keeps edges sharp.
- Travel friendly by cutting the bars and placing parchment between layers for easy transport to potlucks or picnic spreads.