Keto Pumpkin Mug Cake
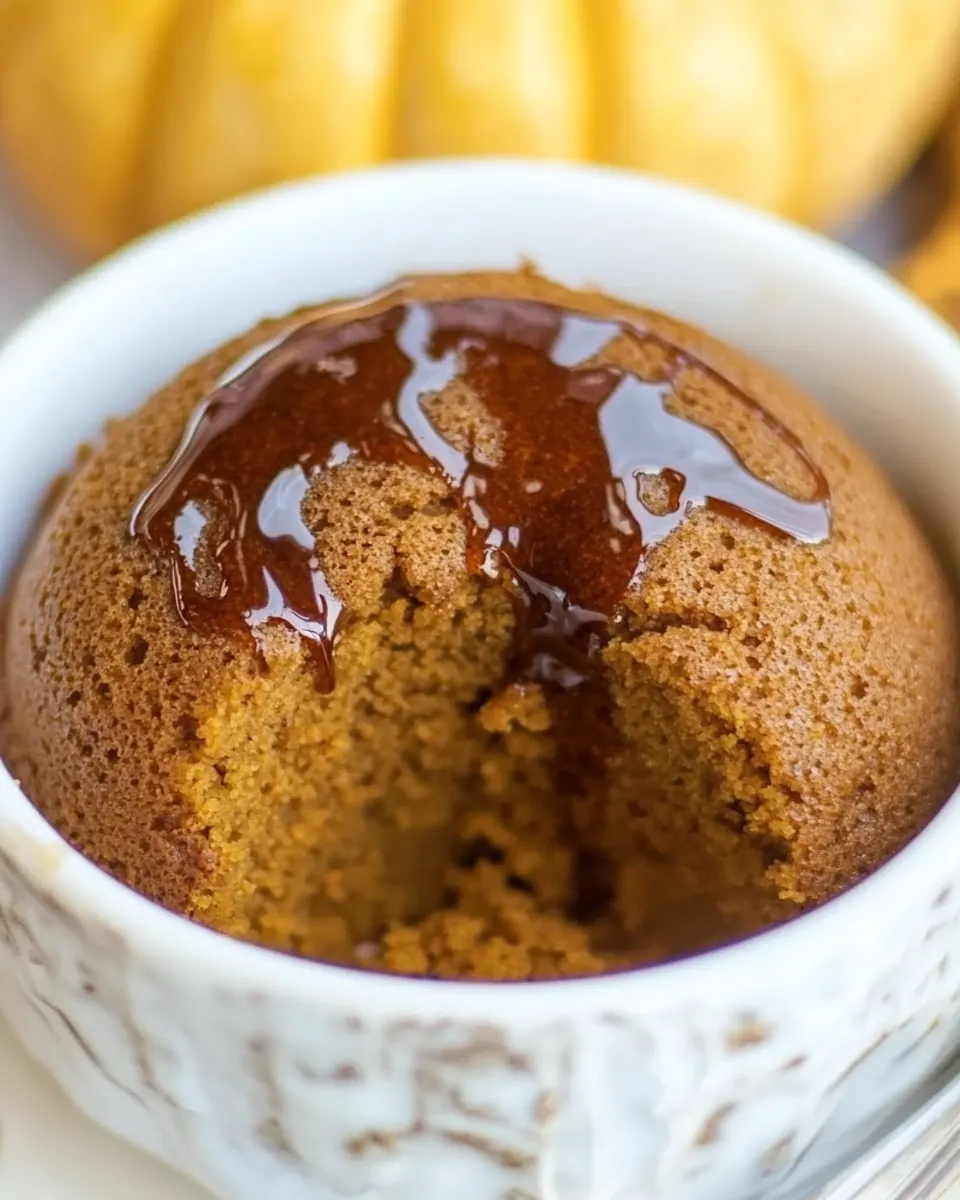
Keto Pumpkin Mug Cake is one of those cozy, small recipes I turn to when I want something comforting but quick. The first time I made this, I was craving a warm, spiced treat after a damp fall walk, and the tiny cake felt like a homemade hug in a mug. From that moment on, this little dessert became my go to when I wanted something that felt indulgent but still fit my low carb routine.
I remember mixing a few simple things while the kettle hissed, stirring until the batter smelled faintly of cocoa and pumpkin spice. The microwave did the heavy lifting, and in minutes I had a tender, slightly springy cake that gave a soft crumb when I tapped the top. I like to eat mine straight from the mug, spooning out warm bites, though flipping it onto a plate gives a nicer presentation if guests are around.
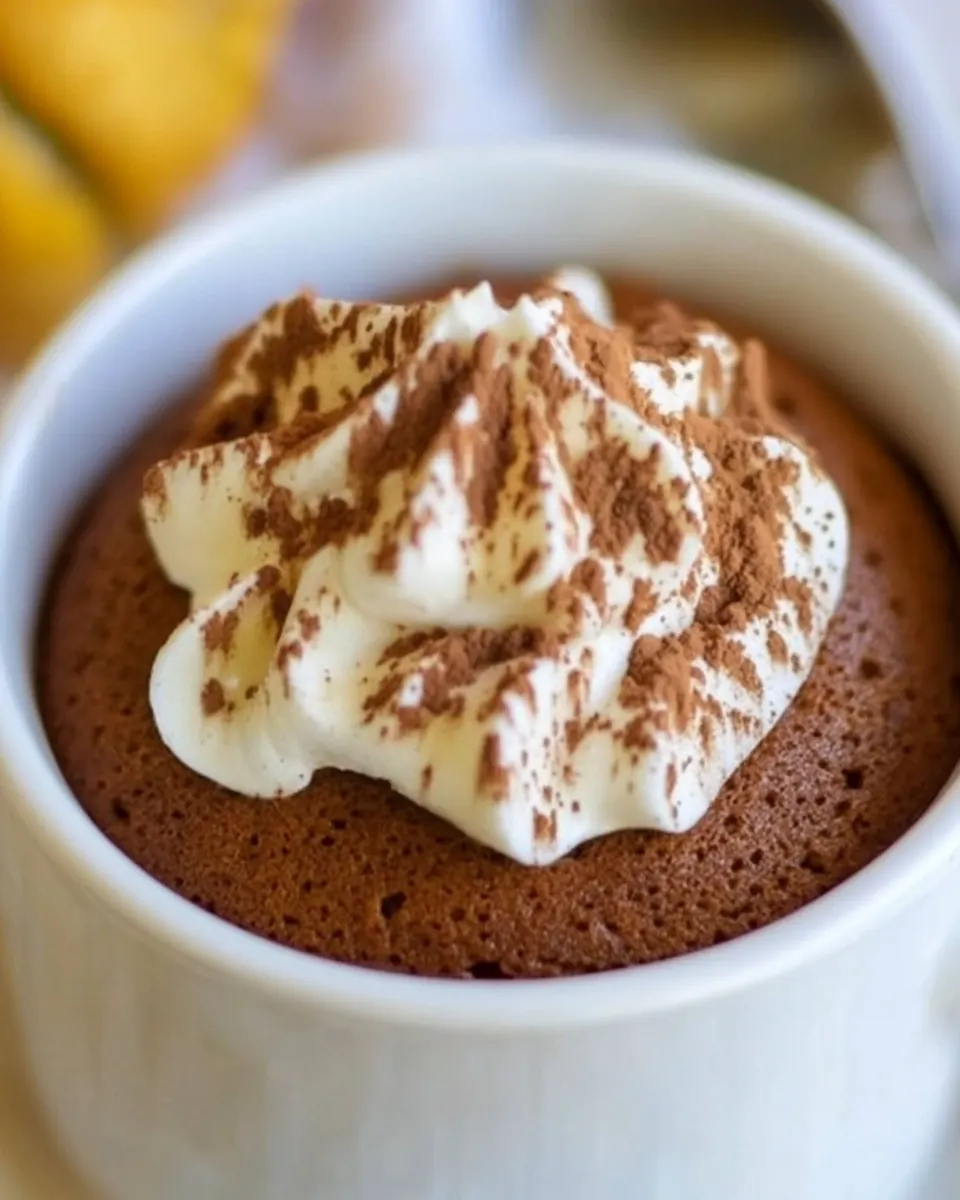
What keeps bringing me back to this recipe is how forgiving it is. I have taken it to last minute brunches and made it for unexpected visitors; it always delivers a concentrated hit of pumpkin flavor without needing a long list of ingredients or equipment. The texture is surprisingly satisfying, somewhere between a souffle and a dense sponge, and it pairs wonderfully with a small drizzle of warmed chocolate glaze or a spoonful of unsweetened whipped cream for those special moments.
Recipe Snapshot
5 mins
3 mins
2 mins
Easy
200 kcal
American
Keto, Gluten-Free
Desserts
bowl, fork, microwave safe mug or ramekin
Why This Keto Pumpkin Mug Cake Stands Out
Small batch perfection
I love that Keto Pumpkin Mug Cake makes just enough for two, so there is minimal waste and no temptation to overindulge. The portion size is ideal for cozy nights in, and because it cooks quickly, I rarely hesitate to make it on a busy evening.
Speed without compromise
Because it uses the microwave, this recipe transforms pantry staples into a warm treat in about five minutes. I appreciate that speed does not mean a bland result here, each bite still offers a layered spice and cocoa profile that feels thoughtful.
Low carb comfort
The focus on alternatives like almond meal and a granulated sweetener keeps the carbs down while preserving a pleasant cake texture. I find this balance makes it friendly for low carb days and helpful when I want dessert that fits my plan.
Versatile and forgiving
Whether you split the batter into two mugs or use one larger ramekin, the cake responds well. I often tweak the garnish or add a few sugar free chips from the notes, and the batter still behaves. That predictability is why I recommend this for cooks of all skill levels.
Comfort with minimal fuss
This recipe is essentially a tiny celebration of pantry ingredients, bringing together pumpkin puree, cocoa powder, and a touch of leavening for lift. It’s cozy, simple, and reliably satisfying, which is why I reach for it on chilly afternoons.
What to Gather for Keto Pumpkin Mug Cake
This ingredient list follows a simple philosophy: keep things pantry friendly and focused on texture. The star players are almond meal for body, pumpkin puree for moisture and flavor, and cocoa powder to add depth. Each item plays a supporting role so the final mug cake is tender, spiced, and satisfying without being heavy.
- 1/4 cup 25 g almond meal or ground almonds. If using extra-fine almond flour, reduce to 3 tablespoons: Provide a moist, nutty base and structure while supplying low-carb texture; almond meal contributes bulk and tender crumb. Offer healthy fats and mild flavor that complement pumpkin and help retain moisture during microwaving.
- 1/3 cup 90 g pumpkin puree: Add a smooth, earthy sweetness and dense moisture that defines the cake's pumpkin character. Pumpkin puree also contributes color, fiber, and moisture, keeping the mug cake soft without adding extra liquid ingredients.
- 1 1/2 tablespoon granulated sweetener: Sweeten without adding sugar and help balance flavors while contributing slight bulk to the batter. Granulated sweetener dissolves into the wet mixture, creating sweetness and aiding in light caramelization when heated.
- 1 large egg: Bind ingredients together and add lift and richness through protein and fat, creating structure for the mug cake. The egg also helps trap steam during cooking, producing a tender, cake-like crumb.
- 2 tablespoon cocoa powder: Provide deep chocolate flavor and slight dryness that intensifies taste; cocoa powder also absorbs some moisture, helping to thicken the batter. Cocoa contributes color and a rich, bittersweet counterpoint to the pumpkin and sweetener.
- 1/4 teaspoon baking powder: Lighten the texture by producing air bubbles and providing a small lift to prevent a dense outcome. Baking powder reacts with the batter's moisture and heat to create a more tender, cake-like result in the microwave.
- 1/4 tsp vanilla extract (optional): Enhance overall flavor with warm, sweet aromatic notes and round out the taste profile when used sparingly. Vanilla extract, while optional, brightens and complements both chocolate and pumpkin flavors in the mug cake.
Recipe Steps for Keto Pumpkin Mug Cake
This recipe is straightforward, but I find that a relaxed, mindful approach improves the result. Below I expand each original direction into richly described, sensory driven steps to help you hit the texture and flavor you want. Read each one slowly, and don’t rush the little cues like aroma and surface texture.
- Combine all ingredients in a bowl and mix with a fork.: The bowl will warm slightly from your hands and you will notice the batter starting to thicken into a glossy, speckled mixture, smelling faintly of cocoa and pumpkin. I like to press the tines of the fork against the sides to fully combine the almond meal and cocoa powder so there are no dry pockets. Mixing by hand keeps the batter from over aerating, which is important for a stable mug cake texture. If you rush and overmix vigorously, you risk incorporating too much air that collapses in the microwave, creating a gummy center. A common mistake is leaving clumps of cocoa powder ; scrape the bottom of the bowl to ensure everything is evenly distributed. As you stir, note the batter's sheen and slightly thick consistency, which tells you the proportions are right.
- Fill batter into 2 small mugs or ramekins or into 1 microwavable dessert bowl.: Transfer the batter and watch how it settles into the vessel, spreading to the edges and creating a smooth top. Using two small mugs yields a higher rising profile, while one larger bowl results in a shallower cake that cooks a touch faster. I prefer porcelain ramekins for even heat distribution, but a microwave safe mug works fine. Avoid filling more than three quarters full, as the batter will expand slightly; overfilling can cause spillage and a denser texture. If the batter appears too thick to pour smoothly, a quick scrape and gentle press with the fork will coax it into the ramekin.
- Microwave for 1 1/2 – 2 minutes.: As the cake cooks, the aroma of warm pumpkin and chocolate will intensify and the surface will set and spring back when touched. Microwaves vary, so start with 90 seconds and check. Look for a top that is matte rather than wet, and a gentle bounce when tapped. Too little time yields a raw, floppy center, while too long will dry out the cake and create a rubbery texture. If your microwave is very powerful, check at intervals to avoid overcooking. Expect a faint popping sound and a rise that peaks then settles slightly, indicating perfect doneness.
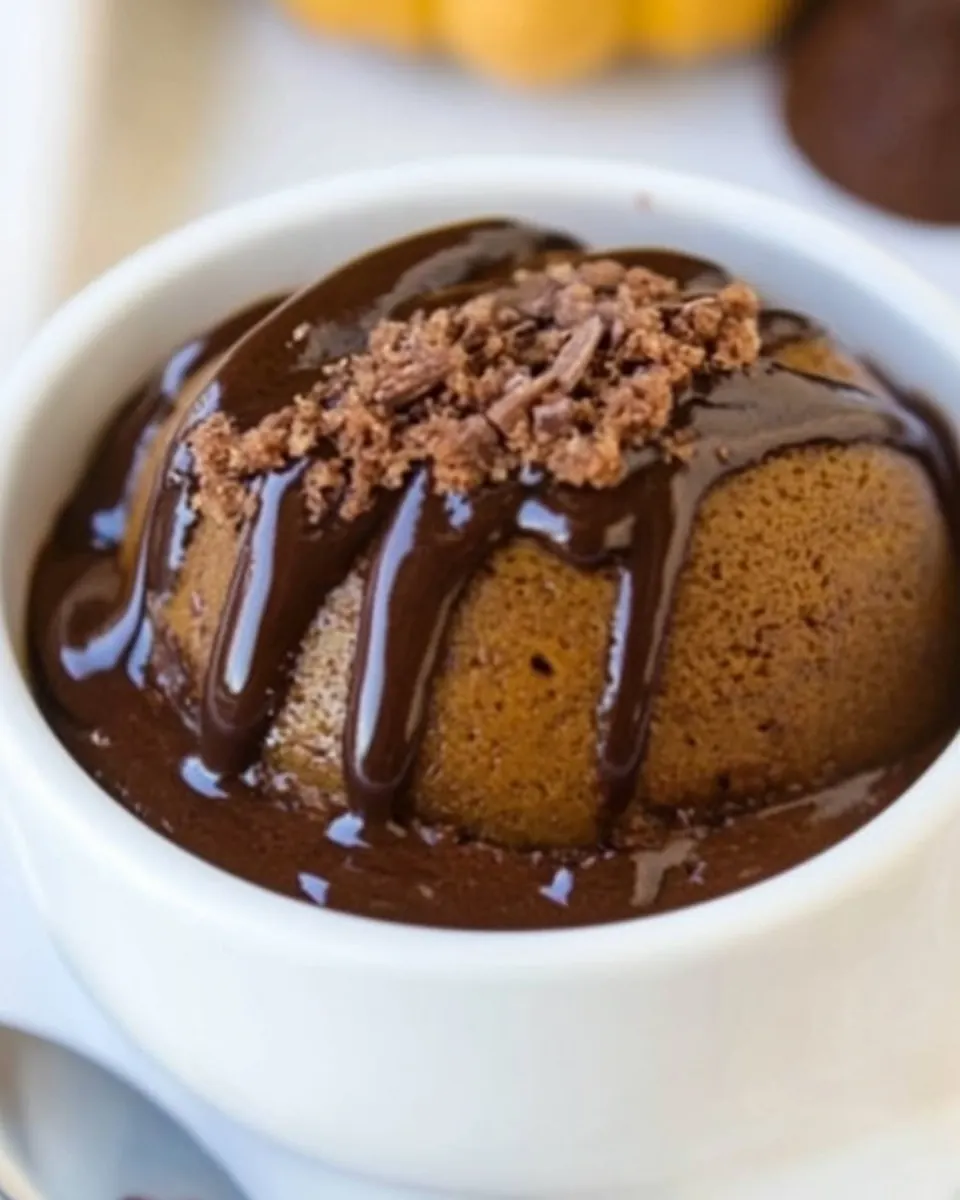
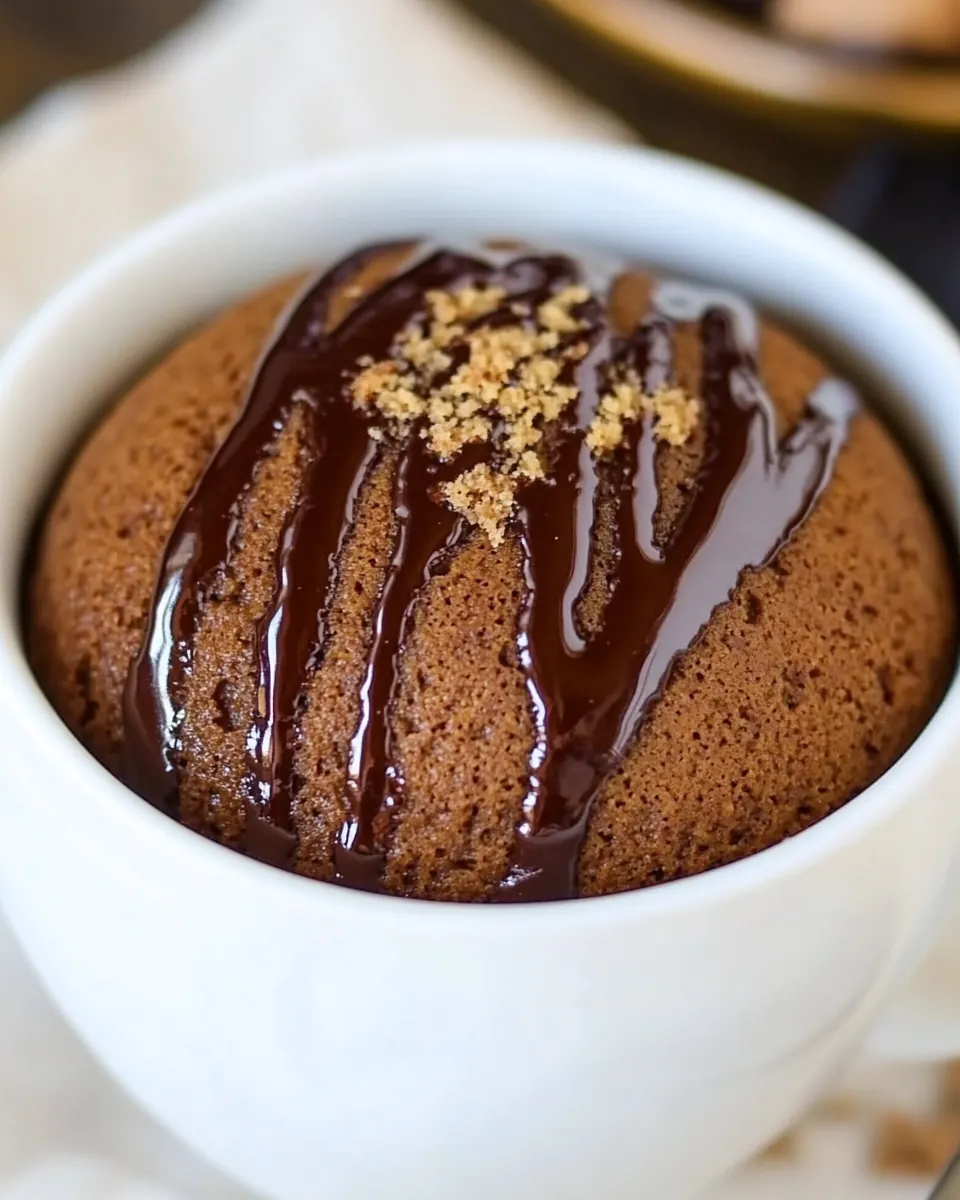
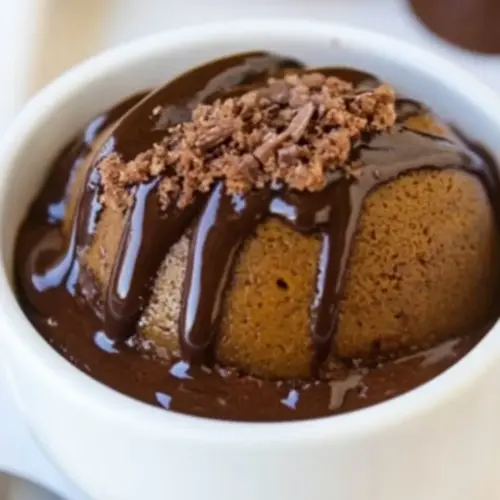
- Enjoy straight out of the cup/ramekin/bowl or turn over onto a plate. Drizzle with optional chocolate glaze (recipe in the notes): When you dig the first spoonful, the interior should be soft, warm, and slightly steam infused with pumpkin scent. Eating from the mug emphasizes comfort and warmth, while turning it out makes for a prettier presentation if serving to company. If you add the glaze, wait until the cake cools to lukewarm so the glaze does not run off, giving a glossy ribbon instead. A common error is cutting into it immediately, which can cause the crumb to collapse and seem dense. The ideal bite will combine moist crumb and a faintly toasted cocoa note, with the glaze adding a silkier mouthfeel if used.
Ways to Customize
This section offers practical adjustments and ideas to make Keto Pumpkin Mug Cake your own. I include both simple swaps and finishing touches, each expanded into a clear tip you can follow in the moment.
- Swap almond texture: If you only have extra fine almond flour, reduce the amount slightly to maintain moisture balance, as finer flour absorbs less liquid and can make the cake denser.
- Adjust sweetness: Taste your batter before cooking and tweak the granulated sweetener by small increments, remembering that some sweeteners taste stronger when warmed.
- Add mix ins: Fold in a small handful of sugar free chocolate chips for pockets of melted chocolate, distributing them gently to avoid sinking.
- Make it single serve: Use one larger ramekin and monitor the microwave time closely, the center will take a touch longer than the smaller portions.
- Use a glaze: Try the notes chocolate glaze, melting gently and waiting until it is lukewarm before drizzling to control the pour and texture.
How to Serve Keto Pumpkin Mug Cake
Serving this cake can be casual or slightly dressed up depending on the occasion. The portions are ideal for a cozy dessert for two, a quick brunch treat, or a late night snack after a chilly day. Below are several ways I like to present and store the cake, along with occasion suggestions.
- Serve warm in the mug: Perfect for a relaxed night at home, spoon straight from the mug for comfort and warmth.
- Turn out onto a plate: For a small dinner party, invert onto a plate, drizzle with cooled chocolate glaze, and garnish with a tiny sprinkle of extra cinnamon for a polished look.
- Pairing suggestion: Offer a small cup of black coffee or herbal tea to accompany the cake, balancing the sweetness and enhancing the cozy vibe.
- Occasion: Great for fall gatherings, quiet breakfasts, or iftar during Ramadan as a small, sweet treat after breaking the fast.
- Storage: Keep leftovers refrigerated in an airtight container for up to two days, reheat briefly to regain the soft texture, being mindful not to overheat in the microwave.
- Portion notes: The recipe yields two generous portions, which makes it handy when you want to share without leftovers piling up.
FAQ
Conclusion
This recipe stands out for its quick preparation and comforting, concentrated pumpkin chocolate flavor. Try the Keto Pumpkin Mug Cake when you want a warm, low carb treat that comes together in minutes, whether you are winding down after a long day or treating a friend. I hope you enjoy the cozy texture and simple ritual of mixing and microwaving this small cake, and that it becomes one of your dependable pantry recipes for autumn and beyond.
Keto Pumpkin Mug Cake
Equipment
- Bowl
- Fork
- microwave safe mug or ramekin
Ingredients
- 1/4 cup 25 g almond meal or ground almonds. If using extra-fine almond flour, reduce to 3 tablespoons Provide a moist, nutty base and structure while supplying low-carb texture; almond meal contributes bulk and tender crumb. Offer healthy fats and mild flavor that complement pumpkin and help retain moisture during microwaving.
- 1/3 cup 90 g pumpkin puree Add a smooth, earthy sweetness and dense moisture that defines the cake's pumpkin character. Pumpkin puree also contributes color, fiber, and moisture, keeping the mug cake soft without adding extra liquid ingredients.
- 1 1/2 tablespoon granulated sweetener Sweeten without adding sugar and help balance flavors while contributing slight bulk to the batter. Granulated sweetener dissolves into the wet mixture, creating sweetness and aiding in light caramelization when heated.
- 1 large egg Bind ingredients together and add lift and richness through protein and fat, creating structure for the mug cake. The egg also helps trap steam during cooking, producing a tender, cake-like crumb.
- 2 tablespoon cocoa powder Provide deep chocolate flavor and slight dryness that intensifies taste; cocoa powder also absorbs some moisture, helping to thicken the batter. Cocoa contributes color and a rich, bittersweet counterpoint to the pumpkin and sweetener.
- 1/4 teaspoon baking powder Lighten the texture by producing air bubbles and providing a small lift to prevent a dense outcome. Baking powder reacts with the batter's moisture and heat to create a more tender, cake-like result in the microwave.
- 1/4 tsp vanilla extract optional Enhance overall flavor with warm, sweet aromatic notes and round out the taste profile when used sparingly. Vanilla extract, while optional, brightens and complements both chocolate and pumpkin flavors in the mug cake.
Instructions
- Combine all ingredients in a bowl and mix with a fork.: The bowl will warm slightly from your hands and you will notice the batter starting to thicken into a glossy, speckled mixture, smelling faintly of cocoa and pumpkin. I like to press the tines of the fork against the sides to fully combine the almond meal and cocoa powder so there are no dry pockets. Mixing by hand keeps the batter from over aerating, which is important for a stable mug cake texture. If you rush and overmix vigorously, you risk incorporating too much air that collapses in the microwave, creating a gummy center. A common mistake is leaving clumps of cocoa powder ; scrape the bottom of the bowl to ensure everything is evenly distributed. As you stir, note the batter's sheen and slightly thick consistency, which tells you the proportions are right.
- Fill batter into 2 small mugs or ramekins or into 1 microwavable dessert bowl.: Transfer the batter and watch how it settles into the vessel, spreading to the edges and creating a smooth top. Using two small mugs yields a higher rising profile, while one larger bowl results in a shallower cake that cooks a touch faster. I prefer porcelain ramekins for even heat distribution, but a microwave safe mug works fine. Avoid filling more than three quarters full, as the batter will expand slightly; overfilling can cause spillage and a denser texture. If the batter appears too thick to pour smoothly, a quick scrape and gentle press with the fork will coax it into the ramekin.
- Microwave for 1 1/2 - 2 minutes.: As the cake cooks, the aroma of warm pumpkin and chocolate will intensify and the surface will set and spring back when touched. Microwaves vary, so start with 90 seconds and check. Look for a top that is matte rather than wet, and a gentle bounce when tapped. Too little time yields a raw, floppy center, while too long will dry out the cake and create a rubbery texture. If your microwave is very powerful, check at intervals to avoid overcooking. Expect a faint popping sound and a rise that peaks then settles slightly, indicating perfect doneness.
- Enjoy straight out of the cup/ramekin/bowl or turn over onto a plate. Drizzle with optional chocolate glaze (recipe in the notes): When you dig the first spoonful, the interior should be soft, warm, and slightly steam infused with pumpkin scent. Eating from the mug emphasizes comfort and warmth, while turning it out makes for a prettier presentation if serving to company. If you add the glaze, wait until the cake cools to lukewarm so the glaze does not run off, giving a glossy ribbon instead. A common error is cutting into it immediately, which can cause the crumb to collapse and seem dense. The ideal bite will combine moist crumb and a faintly toasted cocoa note, with the glaze adding a silkier mouthfeel if used.
Notes
- Swap almond texture: If you only have extra fine almond flour, reduce the amount slightly to maintain moisture balance, as finer flour absorbs less liquid and can make the cake denser.
- Adjust sweetness: Taste your batter before cooking and tweak the granulated sweetener by small increments, remembering that some sweeteners taste stronger when warmed.
- Add mix ins: Fold in a small handful of sugar free chocolate chips for pockets of melted chocolate, distributing them gently to avoid sinking.
- Make it single serve: Use one larger ramekin and monitor the microwave time closely, the center will take a touch longer than the smaller portions.
- Use a glaze: Try the notes chocolate glaze, melting gently and waiting until it is lukewarm before drizzling to control the pour and texture.