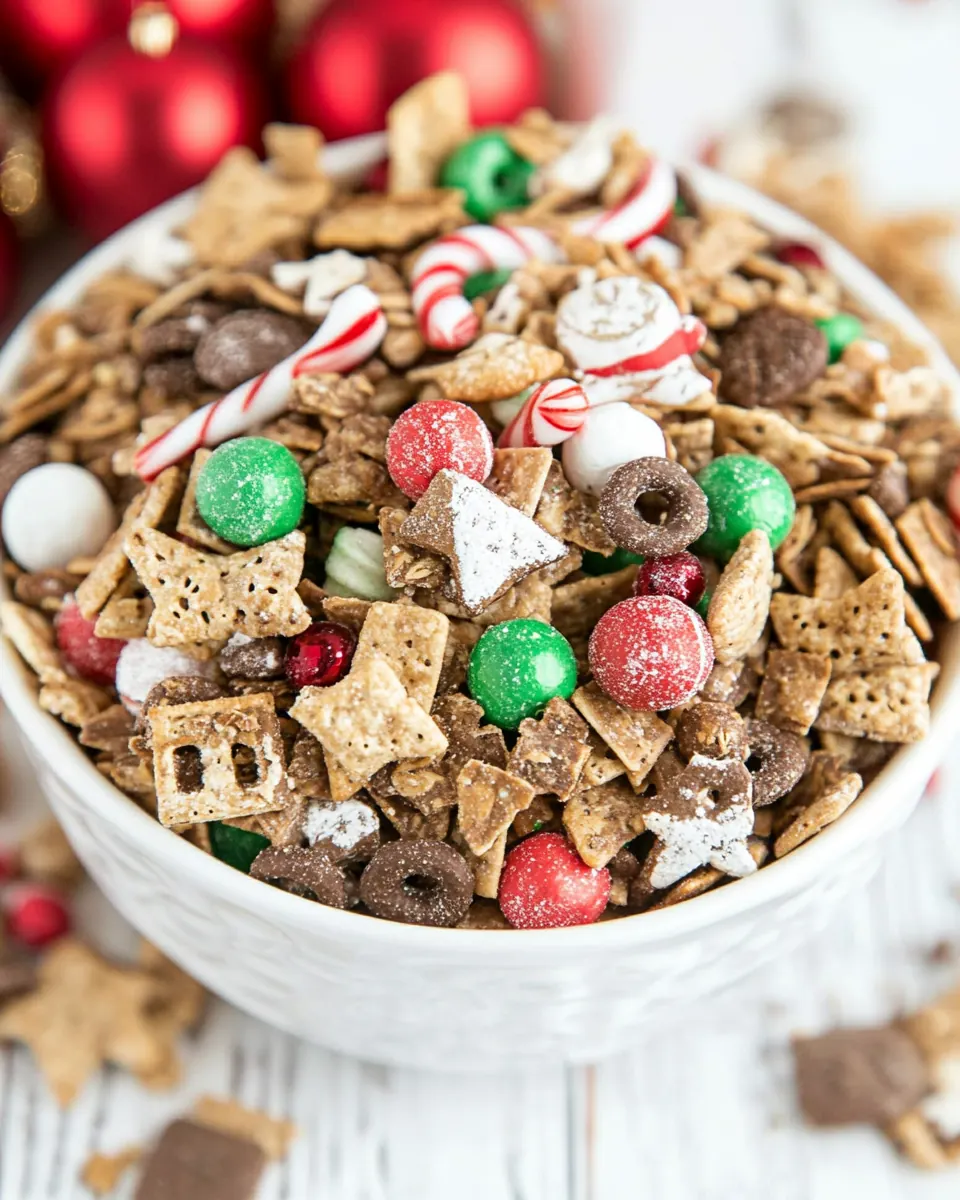
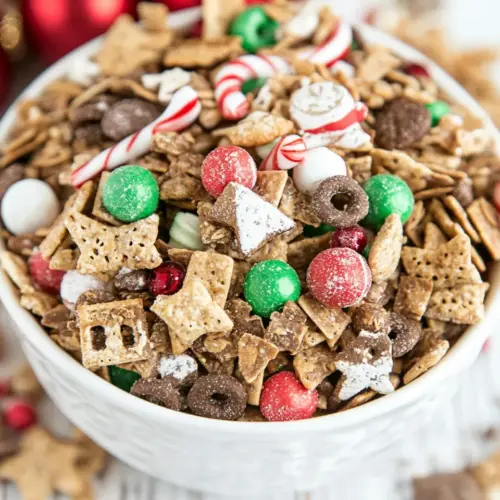
Elf Munch Christmas Snack Mix
Elf Munch Christmas Snack Mix is the kind of recipe I reach for when the house smells like cinnamon and everyone is gathering in the living room swapping stories. The first time I made this, I remember juggling melted chocolate and a chorus of tiny voices asking if they could sample the M&Ms, which of course they could. The mix felt like a festive permission slip to be playful, and it disappeared faster than I expected.
Over the years I have tweaked the ratios until the balance felt right to me, a crunch here, a sweet pop there, and just enough chocolate to make each handful special without being cloying. I love that Elf Munch Christmas Snack Mix travels well, so I often portion it into little bags for neighbors and last minute host gifts. When I assemble it, I think about texture first, then flavor, and finally presentation, because a homemade treat should look as joyful as it tastes.
Recipe Snapshot
21 mins
20 mins
1 mins
Easy
200 kcal
American
Gluten-Free, Vegan
Desserts
Microwave safe bowl, Large bowls, Cookie sheets, Wax paper, Fold top sandwich bags
Why This Elf Munch Christmas Snack Mix Stands Out
One bowl, huge payoff
I really appreciate how simple Elf Munch Christmas Snack Mix is to pull together, yet how celebratory it feels. Using a few pantry staples you get a snack that serves a crowd without complicated prep. I like recipes that let me focus on the people, not the process.
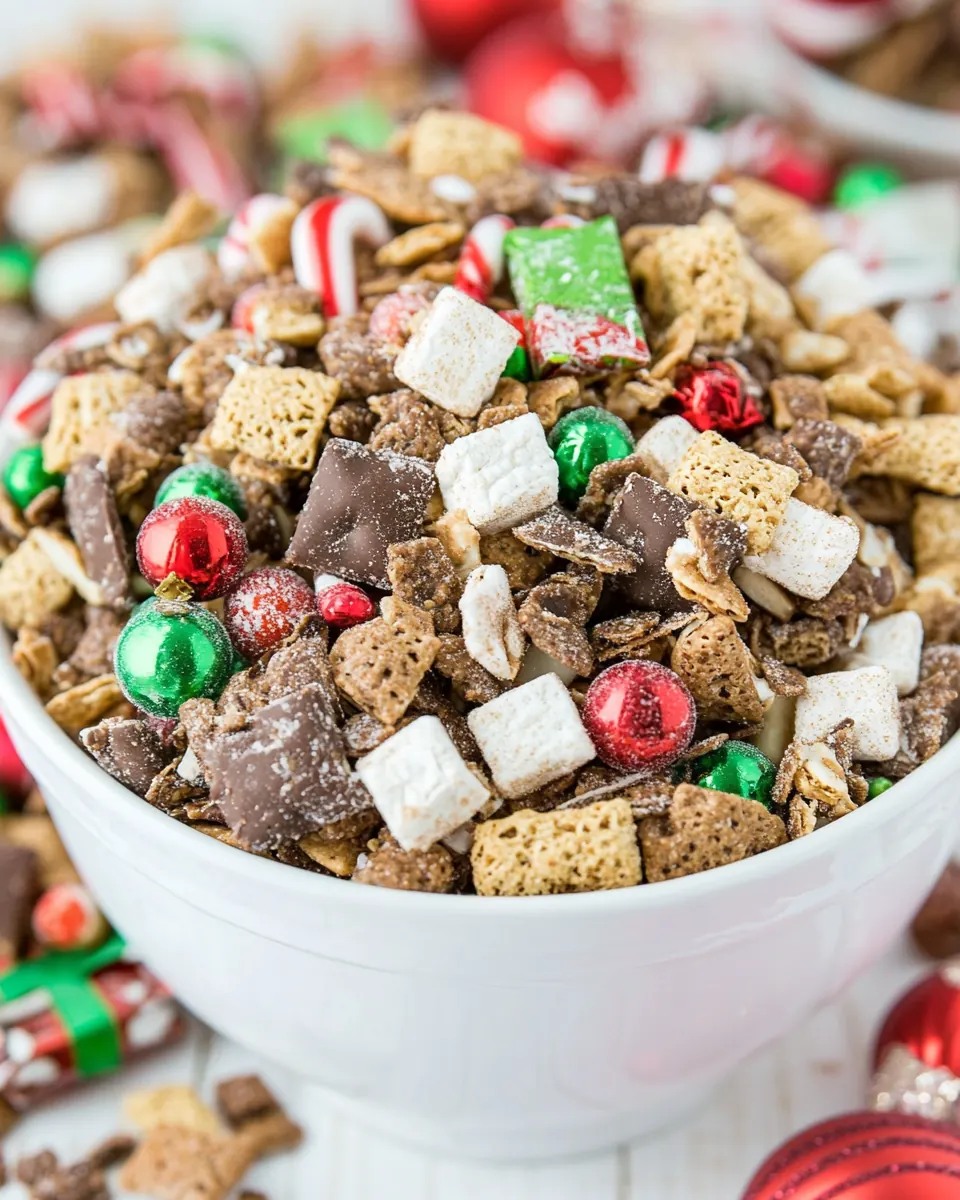
Perfect sweet and salty contrast
What makes this mix sing is the interplay between the crunchy pretzels, the airy rice Chex, and the sweet bursts from the M&Ms and chocolate coatings. I find that contrast keeps everyone reaching back for more, and it makes each bite interesting.
Kid friendly and customizable
I trust this as a go to when kids are involved because it is forgiving and fun. I often involve little helpers to stir or sprinkle toppings, and they feel proud handing out the finished bags. It’s a recipe where even small tweaks still lead to success, which I really value.
Great make ahead snack
I make big batches because it stores well in an airtight container, so you can prepare it a day or two in advance. That flexibility means I’m not stuck in the kitchen on party day, and I can enjoy the gathering instead of fretting about last minute prep.
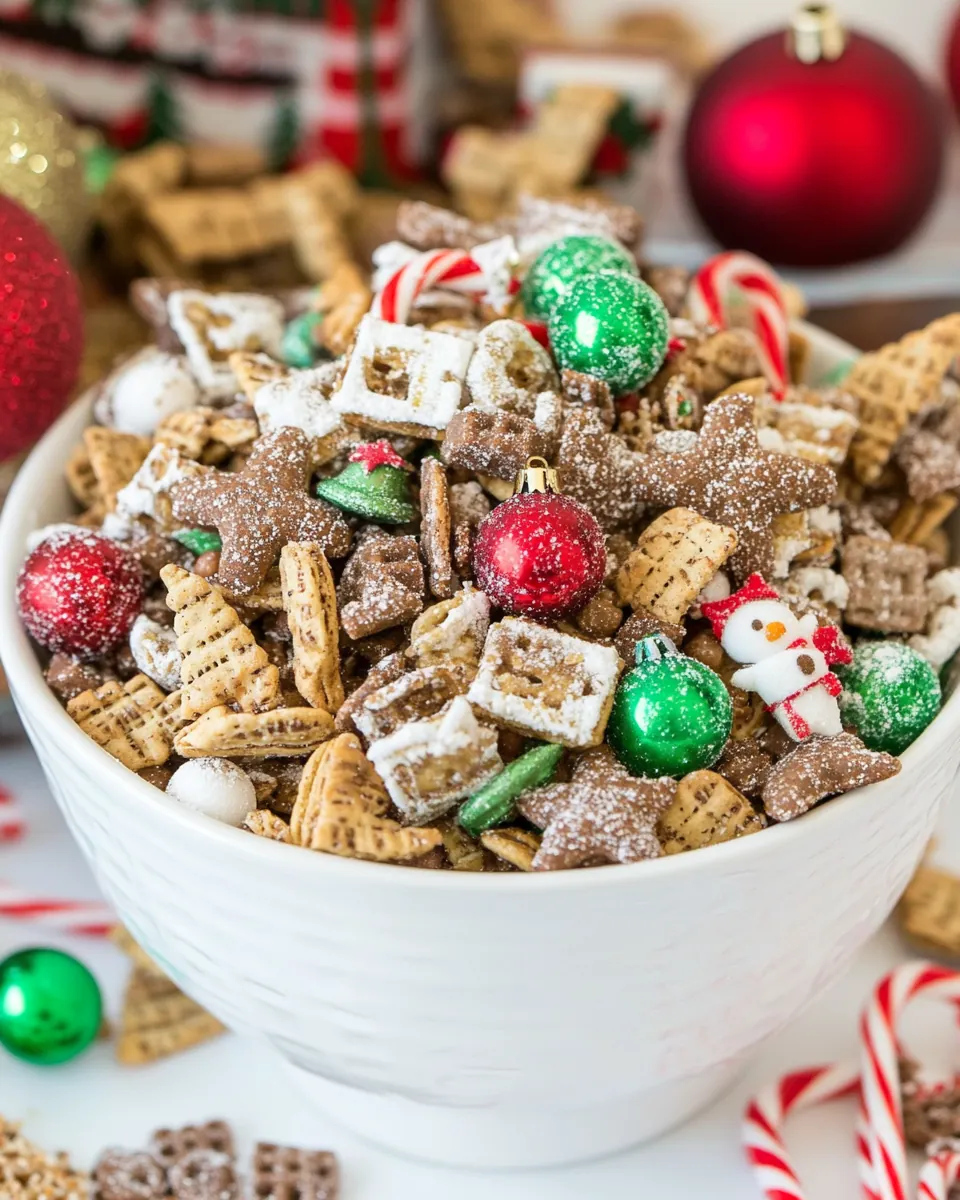
Beautiful for gifting
The mix dresses up nicely in clear bags with a simple topper. I enjoy packaging it for neighbors because it communicates thoughtfulness without a big time commitment. It’s one of those gifts that says you cared enough to make something homemade.
Shopping List for Elf Munch Christmas Snack Mix
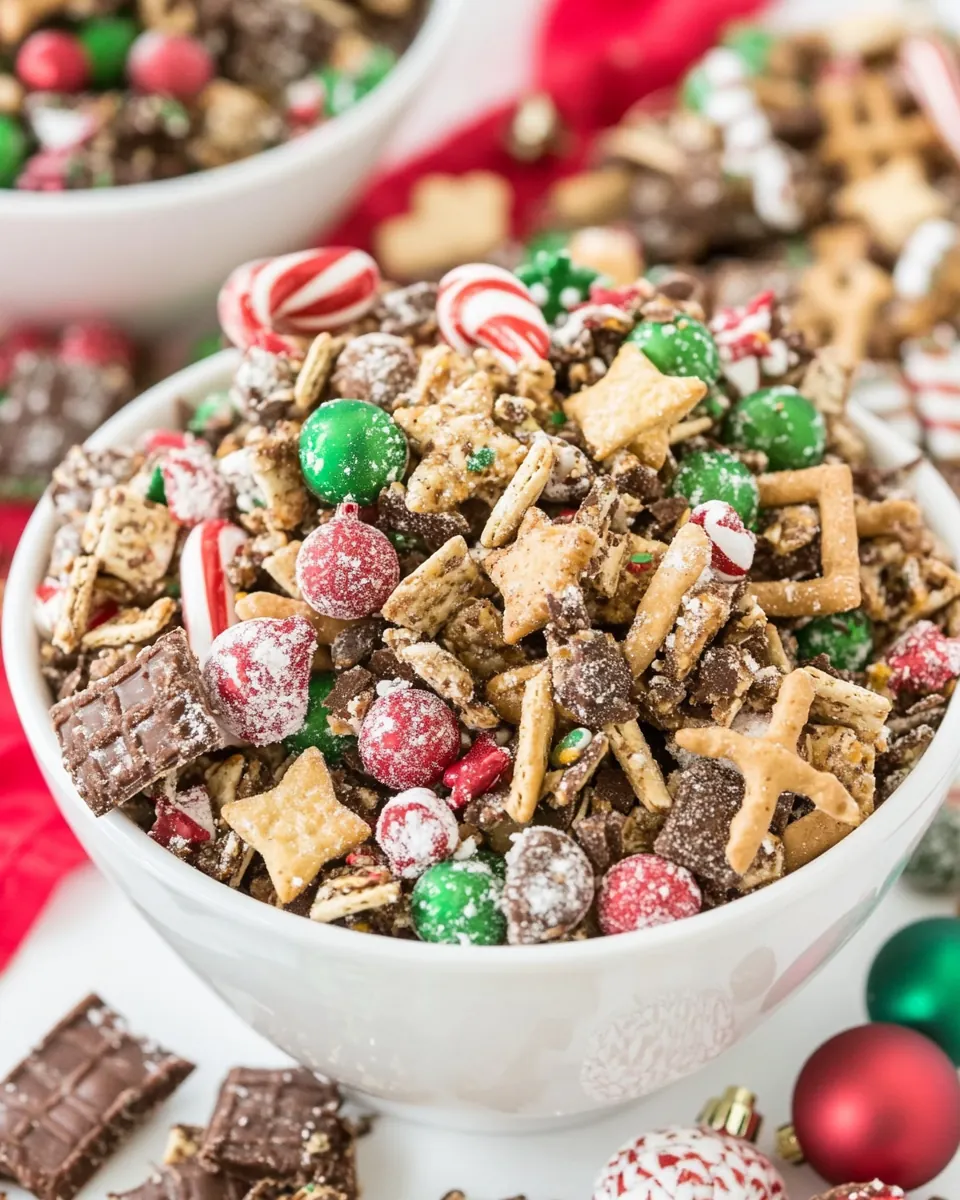
These ingredients are all about texture and joyful pops of color. The keys are sturdy crunchy components that hold up to the chocolate coatings, and sweet elements that create balance. Together they form a snack that is playful, portable, and crowd pleasing.
- 6 cups (210 g) rice Chex cereal: Provide a light, crispy base that soaks up coatings and adds bulk to the mix; essential for structure and volume in the snack mix. Contributes a neutral to slightly toasty flavor that balances sweeter components and gives a pleasant crunch in each bite.
- 1 cup (170 g) white chocolate chips: Add creamy sweetness and help bind coatings when melted, creating clusters that hold other components together. Melt smoothly to coat pieces and lend a rich, vanilla-forward sweetness that complements chocolate and salty elements.
- 1 cup (170 g) milk or semi-sweet chocolate chips: Contribute deeper chocolate flavor and additional sweetness, melting to form a cohesive coating that contrasts with any white chocolate used. Offer a slightly more intense cocoa note and help create varied texture and flavor layers in the mix.
- 1 cup Christmas M&Ms any flavor: Provide colorful candy-coated chocolate pieces that add bursts of sweetness, texture, and visual appeal to the snack mix. Offer small pockets of chocolate that contrast with salty components and make the mix festive and fun.
- 3 cups pretzels: Supply crunchy, salty elements that balance the sweetness from the chocolates and candies and add a sturdy, savory counterpoint. Come in varied shapes that trap coatings and create textural interest throughout the mix.
Recipe Steps for Elf Munch Christmas Snack Mix
This recipe is approachable and moves quickly once the chocolate is melted. I like to set everything out first so the rhythm of melting, coating, chilling, and combining flows without interruption. Expect a fun hands on process that rewards attention to timing and texture.
- Place 3 cups of rice Chex in two separate large bowls. Line two cookie sheets with wax paper.: When you separate the rice Chex into two bowls you will notice the cereal’s dry, toasty scent, which tells you it is ready to accept a chocolate coating without clumping. Lining cookie sheets with wax paper creates a nonstick surface so coated pieces cool cleanly, and it protects textures from tearing. A common mistake is skipping the wax paper, which makes removing coated Chex fiddly and messy; take the two minutes to line the sheets, and you will save time later.
- Melt white chocolate chips in a microwave safe bowl for one minute on HIGH. Stir and continue heating for 30 second intervals until melted. If you're like me and can never get it to melt right, add a teaspoon or two of vegetable oil, stir, and continue melting. It should melt smooth. Immediately pour over one bowl of rice Chex and stir to coat. Spread on one of the wax-paper lined cookie sheets. Chill until hardened; about 5 minutes.: Right away you will smell the rich, sweet aroma of melting white chocolate chips , and the texture will transform from grainy to glossy as you stir. The intermittent 30 second bursts help avoid scorching, which can cause grainy chocolate. When you pour the chocolate over the cereal, move quickly to fold pieces so each one gets a thin, even coat; this helps them set into crisp clusters rather than heavy clumps. The chill firms the coating and gives a satisfying snap when broken. One common pitfall is overheating, which can cause the chocolate to seize into a thick paste, so pause and stir often for smooth results.
- Repeat step 2 with the milk or semi-sweet chocolate chips and the second bowl of rice Chex.: As the second batch melts, you will notice the aroma is deeper and slightly less sweet than the white chocolate, and that contrast will be important in the final mix. Coat the second bowl with this milk or semi sweet chocolate so you have visual and flavor variety. Again, keep stirring and heat in short bursts to prevent burning. If the chocolate becomes too thick, a tiny teaspoon of neutral oil smooths it out, but only use a little to keep the coating crisp. Avoid rushing this step because uneven coating makes clumps that are either too dry or soggy when set.
- While chocolate Chex is chilling, stir M&Ms and pretzels in a large bowl. Once chocolate and white chocolate covered Chex is hardened, break into pieces and add to the M&M pretzel mixture, then stir to combine.: At this stage the crunchy pretzels and colorful M&Ms create a lively scent of salted baked dough and candy, which contrasts with the cooling chocolate. Breaking the coated Chex into bite sized pieces makes distribution even so every scoop has cereal, candy, and pretzel. When folding everything together, use gentle movements to preserve the integrity of the coated pieces; aggressive stirring can shatter clusters and create crumbs. A typical mistake is adding the chocolate coated pieces before they are fully set, which melts the M&Ms or makes the mix sticky; wait until the chocolate is firm.
- You can serve this in a big bowl or in individual bags. For individual bags: place 1 cup of mix into a fold-top sandwich bag. Fold closed and secure with a staple. Cut out the printable and fold in half. Secure to top of bag with double-sided tape.: place 1 cup of mix into a fold-top sandwich bag. Fold closed and secure with a staple. Cut out the printable and fold in half. Secure to top of bag with double-sided tape. : The final presentation step invites creativity, and the tactile act of filling bags feels festive. When you portion into individual bags notice how the mix settles differently than in a bowl; take care not to overpack so the candy remains visible and the pretzels stay whole. Using a staple and tape is quick, but ensure any adhesive does not touch the snack. One common issue is overfilling bags which leads to spills; use the one cup guideline for neat packages.
Ways to Adapt This Recipe
This section highlights flexible ideas to make Elf Munch Christmas Snack Mix suit your taste and the occasion. I give practical, hands on tweaks that keep the spirit of the recipe while letting you personalize color, sweetness, and gifting style.
- Adjust chocolate ratio: Swap the amounts of white and milk chocolate to make the mix lighter or richer, which changes both flavor and appearance without altering the core method.
- Change M&M flavor: Use seasonal or flavored candies to match a theme, but keep the same cup measurement to preserve texture balance and avoid making the mix overly sweet.
- Bag for gifting: Portion into 1 cup bags for neighbor gifts, and add a folded printable topper to make a thoughtful presentation that travels well.
- Make ahead storage: Store in an airtight container in a cool place for up to one week to keep the chocolate set and the pretzels crisp, avoiding humid environments.
- Double the recipe for parties: Multiply all components proportionally and use larger mixing bowls to make assembly efficient and reduce spills when serving a crowd.
- Texture control: If you prefer larger clusters, use less stirring when coating so the chocolate binds groups of Chex together, creating chunkier bites.
Serving This Elf Munch Christmas Snack Mix
This mix is versatile for holiday entertaining and casual snacking. Below I outline serving ideas, storage guidance, and occasions where this treat shines. Use these suggestions to plan presentation and pairing without changing ingredients.
- Large bowl party service: Present the mix in a big festive bowl on the dessert table so guests can graze while mingling, placing small scoops nearby for easy portion control.
- Individual gifts: Fill fold top sandwich bags with 1 cup portions, seal, and attach a decorative topper for neighbor gifts, classroom treats, or stocking stuffers that look polished and travel well.
- Snack bowls for movie night: Use small ramekins or paper cones filled with the mix for cozy movie nights, making it easy to pass around without utensils.
- Storage tips: Keep the mix in an airtight container at room temperature away from direct heat to prevent melting; for best texture consume within one week or as long as the candies remain firm.
- Occasion pairings: This is ideal for holiday gatherings like cookie swaps, casual get togethers, or as classroom party treats, because it appeals to both kids and adults.
- Seasonal styling: Use themed M&Ms or tie ribbon in seasonal colors to match the event, which makes the same recipe feel fresh for different celebrations.
FAQ
Conclusion
This recipe shines because it combines simple pantry ingredients into a festive treat that feels homemade and special. Try making Elf Munch Christmas Snack Mix for your next gathering or to send as a thoughtful neighbor gift, and you will see how quickly it becomes a seasonal favorite. It is easy to scale, forgiving to prepare, and comforting in its combination of sweet and salty flavors. I hope you enjoy the process of assembling and sharing it as much as I do during the holidays.
Elf Munch Christmas Snack Mix
Equipment
- Microwave-safe Bowl
- Large bowls
- Cookie Sheets
- Wax paper
- Fold top sandwich bags
Ingredients
- 6 cups (210 g) rice Chex cereal Provide a light, crispy base that soaks up coatings and adds bulk to the mix; essential for structure and volume in the snack mix. Contributes a neutral to slightly toasty flavor that balances sweeter components and gives a pleasant crunch in each bite.
- 1 cup (170 g) white chocolate chips Add creamy sweetness and help bind coatings when melted, creating clusters that hold other components together. Melt smoothly to coat pieces and lend a rich, vanilla-forward sweetness that complements chocolate and salty elements.
- 1 cup (170 g) milk or semi-sweet chocolate chips Contribute deeper chocolate flavor and additional sweetness, melting to form a cohesive coating that contrasts with any white chocolate used. Offer a slightly more intense cocoa note and help create varied texture and flavor layers in the mix.
- 1 cup Christmas M&Ms any flavor Provide colorful candy-coated chocolate pieces that add bursts of sweetness, texture, and visual appeal to the snack mix. Offer small pockets of chocolate that contrast with salty components and make the mix festive and fun.
- 3 cups pretzels Supply crunchy, salty elements that balance the sweetness from the chocolates and candies and add a sturdy, savory counterpoint. Come in varied shapes that trap coatings and create textural interest throughout the mix.
Instructions
- Place 3 cups of rice Chex in two separate large bowls. Line two cookie sheets with wax paper.: When you separate the rice Chex into two bowls you will notice the cereal’s dry, toasty scent, which tells you it is ready to accept a chocolate coating without clumping. Lining cookie sheets with wax paper creates a nonstick surface so coated pieces cool cleanly, and it protects textures from tearing. A common mistake is skipping the wax paper, which makes removing coated Chex fiddly and messy; take the two minutes to line the sheets, and you will save time later.
- Melt white chocolate chips in a microwave safe bowl for one minute on HIGH. Stir and continue heating for 30 second intervals until melted. If you're like me and can never get it to melt right, add a teaspoon or two of vegetable oil, stir, and continue melting. It should melt smooth. Immediately pour over one bowl of rice Chex and stir to coat. Spread on one of the wax-paper lined cookie sheets. Chill until hardened; about 5 minutes.: Right away you will smell the rich, sweet aroma of melting white chocolate chips , and the texture will transform from grainy to glossy as you stir. The intermittent 30 second bursts help avoid scorching, which can cause grainy chocolate. When you pour the chocolate over the cereal, move quickly to fold pieces so each one gets a thin, even coat; this helps them set into crisp clusters rather than heavy clumps. The chill firms the coating and gives a satisfying snap when broken. One common pitfall is overheating, which can cause the chocolate to seize into a thick paste, so pause and stir often for smooth results.
- Repeat step 2 with the milk or semi-sweet chocolate chips and the second bowl of rice Chex.: As the second batch melts, you will notice the aroma is deeper and slightly less sweet than the white chocolate, and that contrast will be important in the final mix. Coat the second bowl with this milk or semi sweet chocolate so you have visual and flavor variety. Again, keep stirring and heat in short bursts to prevent burning. If the chocolate becomes too thick, a tiny teaspoon of neutral oil smooths it out, but only use a little to keep the coating crisp. Avoid rushing this step because uneven coating makes clumps that are either too dry or soggy when set.
- While chocolate Chex is chilling, stir M&Ms and pretzels in a large bowl. Once chocolate and white chocolate covered Chex is hardened, break into pieces and add to the M&M pretzel mixture, then stir to combine.: At this stage the crunchy pretzels and colorful M&Ms create a lively scent of salted baked dough and candy, which contrasts with the cooling chocolate. Breaking the coated Chex into bite sized pieces makes distribution even so every scoop has cereal, candy, and pretzel. When folding everything together, use gentle movements to preserve the integrity of the coated pieces; aggressive stirring can shatter clusters and create crumbs. A typical mistake is adding the chocolate coated pieces before they are fully set, which melts the M&Ms or makes the mix sticky; wait until the chocolate is firm.
- You can serve this in a big bowl or in individual bags. For individual bags: place 1 cup of mix into a fold-top sandwich bag. Fold closed and secure with a staple. Cut out the printable and fold in half. Secure to top of bag with double-sided tape.: place 1 cup of mix into a fold-top sandwich bag. Fold closed and secure with a staple. Cut out the printable and fold in half. Secure to top of bag with double-sided tape. : The final presentation step invites creativity, and the tactile act of filling bags feels festive. When you portion into individual bags notice how the mix settles differently than in a bowl; take care not to overpack so the candy remains visible and the pretzels stay whole. Using a staple and tape is quick, but ensure any adhesive does not touch the snack. One common issue is overfilling bags which leads to spills; use the one cup guideline for neat packages.
Notes
- Adjust chocolate ratio: Swap the amounts of white and milk chocolate to make the mix lighter or richer, which changes both flavor and appearance without altering the core method.
- Change M&M flavor: Use seasonal or flavored candies to match a theme, but keep the same cup measurement to preserve texture balance and avoid making the mix overly sweet.
- Bag for gifting: Portion into 1 cup bags for neighbor gifts, and add a folded printable topper to make a thoughtful presentation that travels well.
- Make ahead storage: Store in an airtight container in a cool place for up to one week to keep the chocolate set and the pretzels crisp, avoiding humid environments.
- Double the recipe for parties: Multiply all components proportionally and use larger mixing bowls to make assembly efficient and reduce spills when serving a crowd.
- Texture control: If you prefer larger clusters, use less stirring when coating so the chocolate binds groups of Chex together, creating chunkier bites.