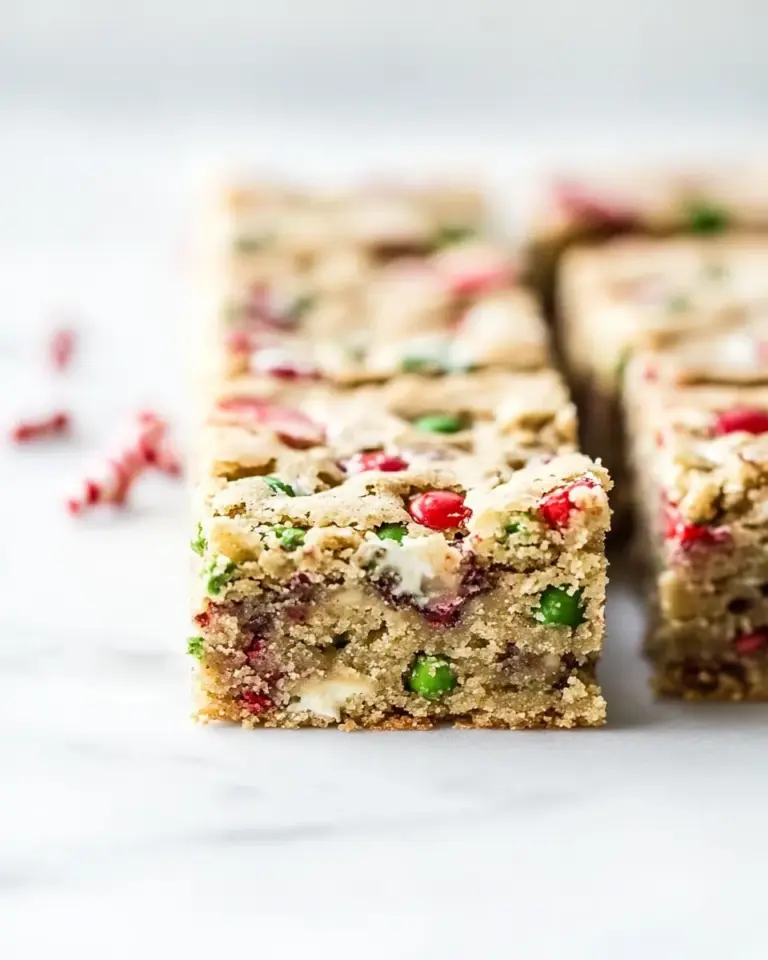
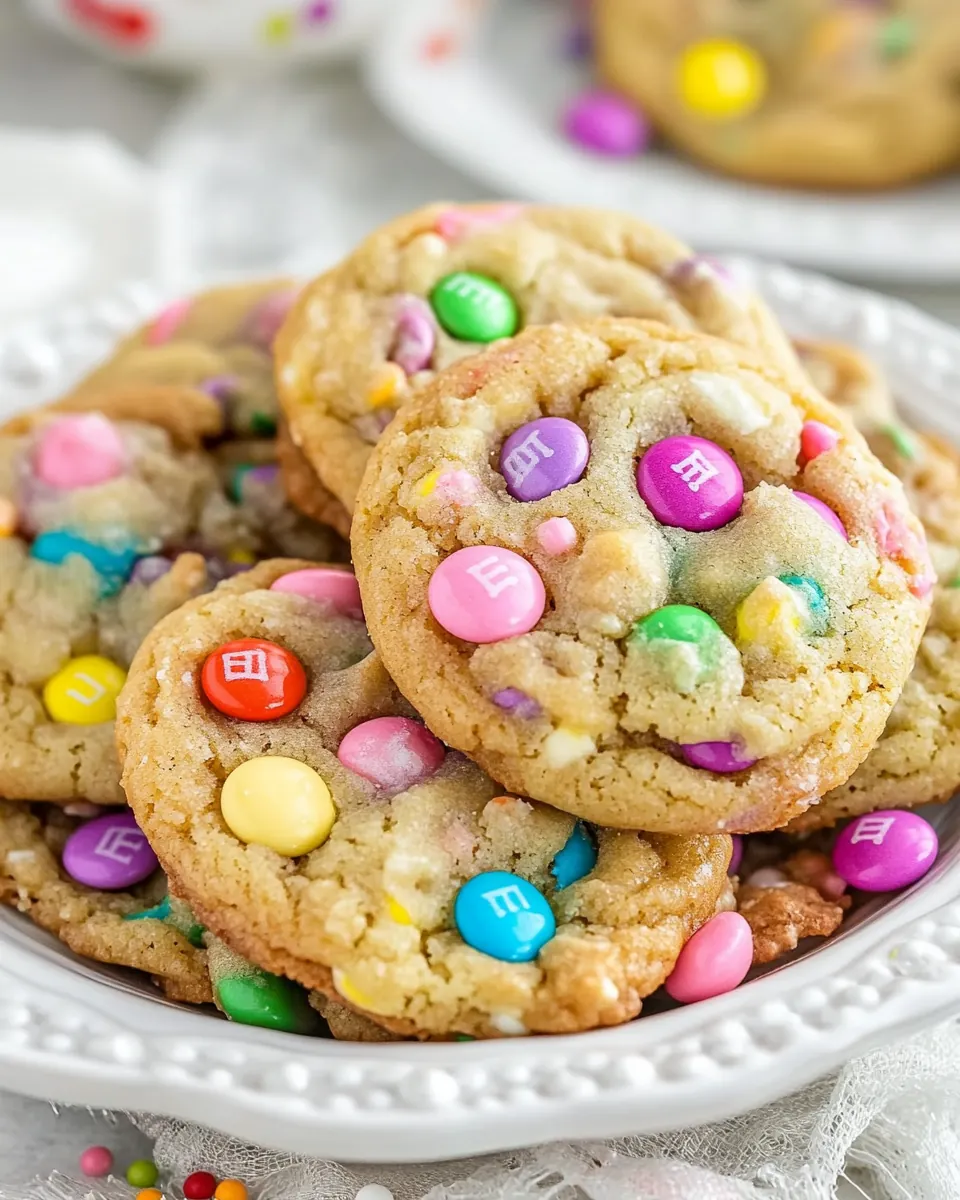
Easter M&M Cookies
Easter M&M Cookies have always been the centerpiece of my spring baking rituals, a joyful treat that makes my kitchen feel like a little candy shop.
I remember the first time I made these, a rainy afternoon turned sunny by the bright pastels of M&Ms peeking through warm dough. I was juggling a toddler, a phone call, and a timer, yet the moment the cookies came out looking lumpy and perfect, everything else faded. I keep coming back to this version because the texture is reliably soft, the crumb tender, and the pops of candy bring a childish grin to everyone at the table. Over the years I refined small details, like chilling the dough longer when my oven runs hot, and swapping sprinkles to match holidays. Each batch now carries little memories, from birthday breakfasts to last minute classroom donations.
What I love most is how approachable these cookies are. You do not need fancy tools, and the steps are forgiving enough that even an anxious baker can succeed. The pudding mix in the dough is a secret weapon for staying soft, and the combination of unsalted butter, brown sugar, and pastel M&Ms creates a buttery, slightly chewy cookie that feels celebratory. When friends ask for the recipe, I tell them it is equal parts technique and heart, and that a short chill will reward you with thicker, happier cookies. Make a double batch next time, you will thank me later.
Recipe Snapshot
1 hr 10 mins
60 mins
10 mins
Medium
150 kcal
American
Gluten-Free, Low FODMAP
Desserts
Stand mixer, Paddle attachment, Hand mixer, Cookie scoop, Baking sheet, Parchment paper, Cooling rack
Why This Easter M&M Cookies Works
They stay soft for days
I have tried dozens of cookie formulas, and the inclusion of instant pudding mix here is a game changer. The pudding powder helps retain moisture, which means these Easter M&M Cookies remain tender for days instead of going rock hard overnight. I always appreciate recipes that reduce the stress of last minute baking, and this one delivers.
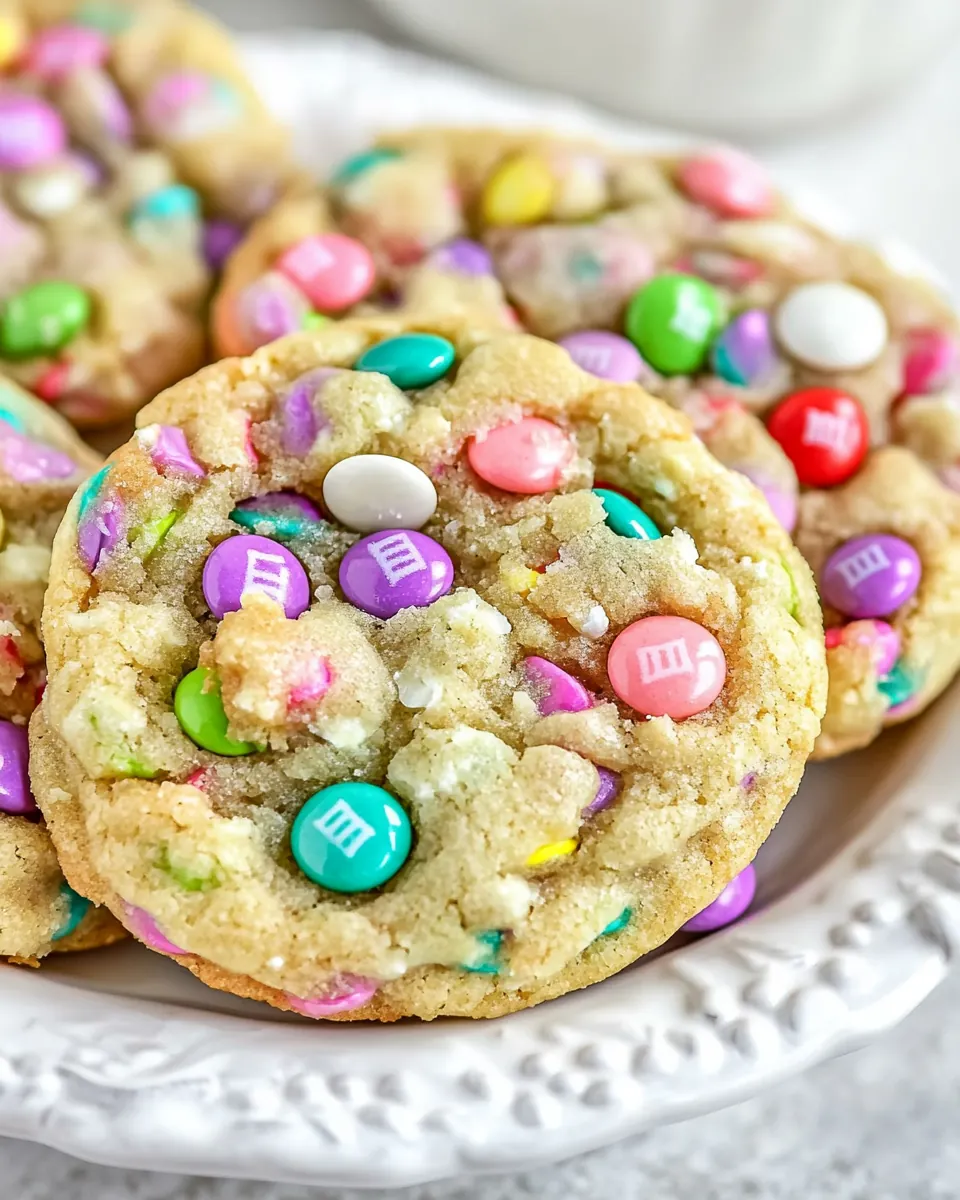
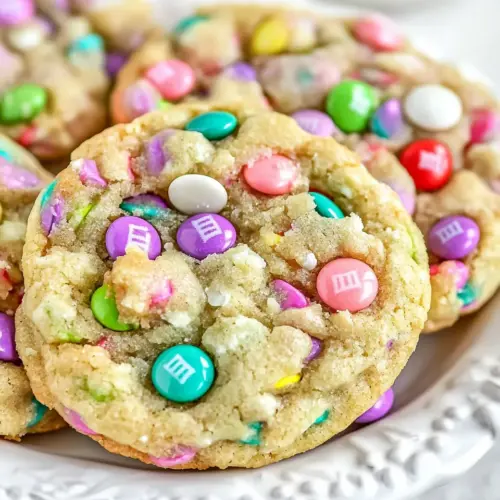
Playful color and nostalgia
When I bring a tray of Easter M&M Cookies to a gathering, people gravitate toward them first. The pastel M&Ms and sprinkles give a festive burst that evokes childhood parties. I love recipes that are as much about memory as they are about flavor, and these cookies do both with ease.
Simple techniques, big payoff
There is nothing intimidating here. I mix in a stand mixer most days, but I often make these with a hand mixer when I am traveling. Chilling the dough is the only slightly time consuming step, yet it is what keeps the cookies from spreading and produces perfectly thick, chewy centers. If you are busy, you can make the dough the night before and pop it in the oven the next day.
Flexible and forgiving
I have swapped the candy and sprinkles to match holidays, and the dough handles substitutions well. While I prefer M&Ms and classic jimmies, you can adapt colors for seasonal events. The flavor profile stays consistent because the base uses plain pantry ingredients like all purpose flour and unsalted butter, so results are reliable.
Great for sharing
These cookies are ideal when you need a crowd pleaser. They are easy to transport, they look festive on a platter, and they appeal to kids and adults alike. I always bring extras because people inevitably ask for seconds.
Shopping List for Easter M&M Cookies
These ingredients are intentionally straightforward, built around a few key players that create texture, tenderness, and color. The unsalted butter provides richness and structure, brown sugar adds moisture and a hint of caramel, and the instant pudding mix ensures a soft crumb that lasts. The candies and sprinkles bring the visual charm, making these cookies perfect for seasonal celebrations or any time you want a smile on someone s face.
- 1/2 cup (113 g) unsalted butter, softened: Cream together to provide structure and richness while incorporating air for a tender cookie crumb; softened texture ensures even mixing with sugars and prevents graininess in the dough.
- 3/4 cup (150 g) packed brown sugar: Add deep, caramel-like sweetness and moisture while contributing to chewiness; packed brown sugar also helps create a slightly denser, flavorful cookie base.
- 1 teaspoon vanilla extract: Impart warm, aromatic flavor and enhance other sweet elements; vanilla helps round out the overall taste and balances the pudding mix’s vanilla notes.
- 1 large egg: Bind wet and dry ingredients while adding lift and moisture; the egg contributes to structure, emulsification, and tender crumb in the cookies.
- 13.4 ounces (96 g) Instant Vanilla Pudding Mix: Contribute concentrated vanilla flavor and moisture-retaining starches that yield extra softness; instant vanilla pudding mix also boosts flavor complexity and chewiness.
- 1/2 teaspoon baking soda: React with acidic components to create carbon dioxide for leavening and gentle rise; baking soda helps spread and browns the cookies' edges.
- 1/4 teaspoon salt: Balance sweetness and enhance flavor while controlling protein interactions for proper gluten development; a pinch of salt also heightens overall taste.
- 1 1/4 cups (155 g) all purpose flour: Provide bulk, structure, and gluten-forming proteins that determine texture; all-purpose flour creates the foundational matrix for the cookie dough.
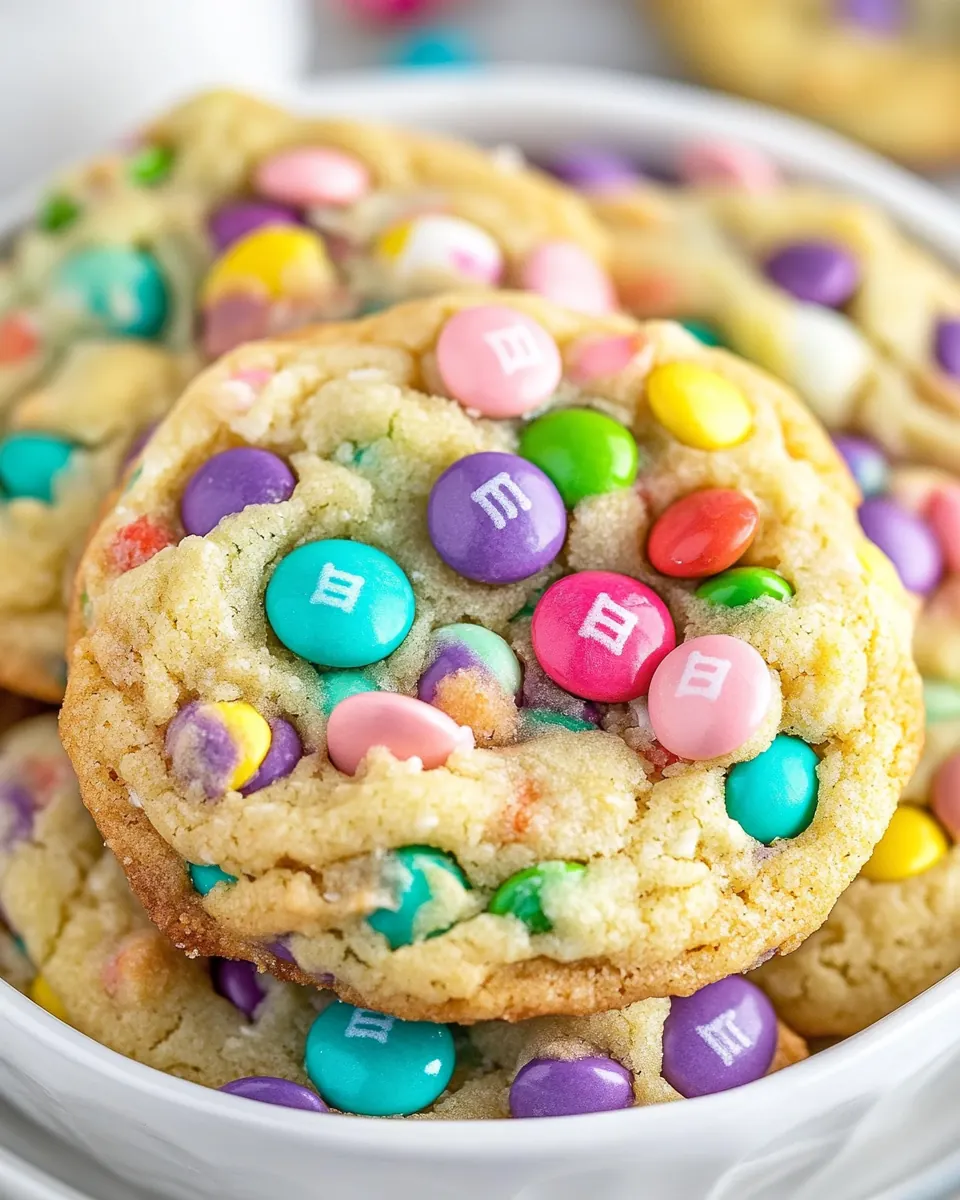
- 1 cup (195 g) pastel colored M&Ms: Add colorful crunch, chocolate flavor, and visual appeal while contributing small pockets of sweetness; pastel M&Ms create festive texture contrasts in each bite.
- 1/2 cup (76 g) pastel sprinkles: Supply decorative color and a subtle sugary crunch to finish the cookies; pastel sprinkles enhance visual appeal and contribute a playful texture.
Making This Easter M&M Cookies
These instructions take you from creaming to cooling, with a crucial chill step that makes all the difference. I like to work in stages, cleaning as I go so the baking process feels calm and manageable. Get a cookie sheet ready and line it in advance; once the dough is chilled, the bake moves quickly.
- Note: This dough requires chilling.: The dough will firm up and the fats will solidify in the chill, which prevents excessive spreading during baking and produces thicker cookies with chewy centers. You should feel the dough become cooler to the touch after chilling. A common mistake is skipping this step, which leads to thin, flat cookies that lack structure.
- Cream butter and brown sugar in the bowl of a stand mixer fitted with the paddle attachment. (You can also use a hand mixer.) Mix in egg and vanilla until smooth. Add pudding mix, baking soda, and salt. Mix until combined. Mix in flour, then stir in sprinkles and M&Ms.: Expect a soft, rhythmic sound as the paddle aerates the unsalted butter and brown sugar , transforming them into a pale, pillowy mixture. The smell will turn buttery and sweet, almost caramel like. This aeration traps tiny air pockets that contribute to a lighter bite. Avoid under mixing which leaves gritty sugar, and over mixing which can over incorporate air and cause collapse later.
- Scoop 2 tablespoon balls of cookie dough onto a cookie sheet covered with parchment or a silpat baking mat. There’s no need to space them out, you’re going to chill them. Cover and chill for at least 30 minutes.: As you add the egg and vanilla, the mixture will lose some of its fluff and become glossy and cohesive. The aroma will shift as the vanilla blooms, adding warmth to the batter. If your egg is cold, the butter may seize up momentarily; let the mixture come back together on low speed. A common pitfall is adding cold egg directly which can create lumps.
- Preheat oven to 350°F. Line cookie sheets with parchment paper or silpat baking mats. Place chilled cookie dough balls 2 inches apart on cookie sheet. Bake 9-11 minutes or until the edges just start to turn brown. Cool 5 minutes on cookie sheet before transferring to a rack to cool completely. Store in an airtight container for up to 4 days or freeze for up to one month.: The dry pudding powder will absorb moisture and thicken the batter slightly, and you may notice a faint vanilla scent intensify. The baking soda will start working once hydrated, so mixing evenly is important for consistent rise. Ensure you scrape down the bowl so no pockets of dry mix remain, otherwise you might get chalky bites.
- Mix until combined: At this stage the batter should look uniform and slightly denser than a typical cookie batter because of the pudding mix. The texture will be supple and hold gentle peaks when lifted with a spatula. Over mixing after adding the dry components can develop gluten and yield tougher cookies, so stop when combined.
- Mix in flour then stir in sprinkles and M&Ms: Adding the all purpose flour builds structure, and you will see the dough transition from glossy to a more matte, pliable mass. Fold in the sprinkles and M&Ms by hand to preserve their shape, and watch the colorful bits dot the dough like confetti. If you mix too vigorously here, the candies will chip and bleed color into the dough.
- Scoop 2 tablespoon balls of cookie dough onto a cookie sheet covered with parchment or a silpat baking mat: The dough will feel slightly tacky and springy as you portion it. Use a cookie scoop for uniform sizes so baking is consistent, and if the dough sticks, wet your hands lightly. An error I see often is uneven scoops which cause varying bake times and some cookies to overbake while others remain underdone.
- There is no need to space them out you are going to chill them: When you place the dough balls close together for chilling, they will not spread into each other because the chill solidifies the fats. The surface might look tacky but will firm up in the refrigerator. If you try to bake unchilled dough placed closely, the cookies can fuse into a single large mass.
- Cover and chill for at least 30 minutes: During the chill you will notice the dough become noticeably firmer, making it easier to transfer later. The flavors also meld, offering a more rounded taste after resting. If you have more time, chilling for several hours or overnight improves texture even more. The most common mistake is not chilling long enough when ovens run hot, which results in excessive spreading.
- Preheat oven to 350°F: The oven should be fully up to temperature so the cookies begin setting immediately, encouraging a soft interior and slightly crisp edge. You will hear a faint hum as the oven stabilizes and later a subtle crackle as the cookies brown. Not preheating can cause uneven texture, with underbaked centers and overbrowned bottoms.
- Place chilled cookie dough balls 2 inches apart on cookie sheet: Arranging the chilled dough with about 2 inches between ensures they have room to spread slightly without touching. The cold dough will maintain its mound shape when it hits the hot pan, encouraging a domed top. If the spacing is too tight, adjacent cookies may merge, creating unevenly baked clusters.
- Bake 9 to 11 minutes or until the edges just start to turn brown: You will notice a gentle aroma of baked sugar and butter as the cookies approach doneness, and the edges will take on a faint golden hue while the centers remain pale and soft. This timing yields cookies that set around the edges but stay tender inside. Overbaking will dry them out, so pull them at the first hint of browning.
- Cool 5 minutes on cookie sheet before transferring to a rack to cool completely: The cookies will continue to set as they rest, and transferring too soon can cause them to break. After five minutes they will have stabilized enough to move without losing shape. A frequent error is leaving cookies on the hot sheet too long which can brown the bottoms further and change the texture.
- Store in an airtight container for up to 4 days or freeze for up to one month: Once fully cooled, the cookies maintain their texture in a sealed container at room temperature. For longer storage, freeze the baked cookies in a single layer and then transfer to a freezer safe bag. Thaw at room temperature when ready to enjoy. Moisture or improper sealing will lead to stale cookies, so use airtight packaging.
Expert Tips about Easter M&M Cookies
These tips come from repeated batches and small adjustments that made the cookies reliably excellent. I wrote each tip to help you avoid common pitfalls and to steal a few of my favorite tricks so your results sparkle visually and texturally.
- Chill is non negotiable — Always chill the dough for at least 30 minutes, and if you have time, overnight chilling yields even better flavor and texture.
- Use instant pudding mix — The instant vanilla powder keeps the cookies soft and adds subtle flavor, do not substitute with the cook and serve type.
- Measure flour carefully — Spoon and level the all purpose flour to avoid packing too much, which causes dense cookies.
- Prefer jimmies for sprinkles — For oven durability and better visual results, choose elongated jimmies rather than tiny nonpareils.
- Scoop consistently — Use a two tablespoon scoop for uniform cookies that bake evenly across a sheet.
- Cool briefly before moving — Let cookies sit on the baking sheet five minutes to finish setting, then transfer to a rack to cool completely.
Great Combinations for Easter M&M Cookies
These cookies pair well with simple accompaniments and fit many casual occasions. Below I outline serving ideas, storage recommendations, and occasions where these cookies shine. Use the list to plan gatherings or pack thoughtful treats.
- Casual snack plates — Serve the cookies on a platter with fresh fruit and simple bars for a colorful snack spread that works for school events or picnics.
- Kid friendly parties — These Easter M&M Cookies are perfect at birthday parties or holiday gatherings where colorful treats add cheer and are easy for kids to grab.
- Holiday cookie exchanges — Pack them in cellophane bags or small boxes for neighbor gifts, they store well for a few days when wrapped airtight.
- Classroom treats — Because they are sturdy and individually sized, they make great classroom donations, just confirm any school allergy rules first.
- Storage tips — Keep the cookies in an airtight container at room temperature for up to four days, or freeze for up to one month in a sealed bag.
- Seasonal variations — Swap the M&Ms and sprinkles colors to match any holiday or theme for a tailored presentation.
FAQ
Conclusion
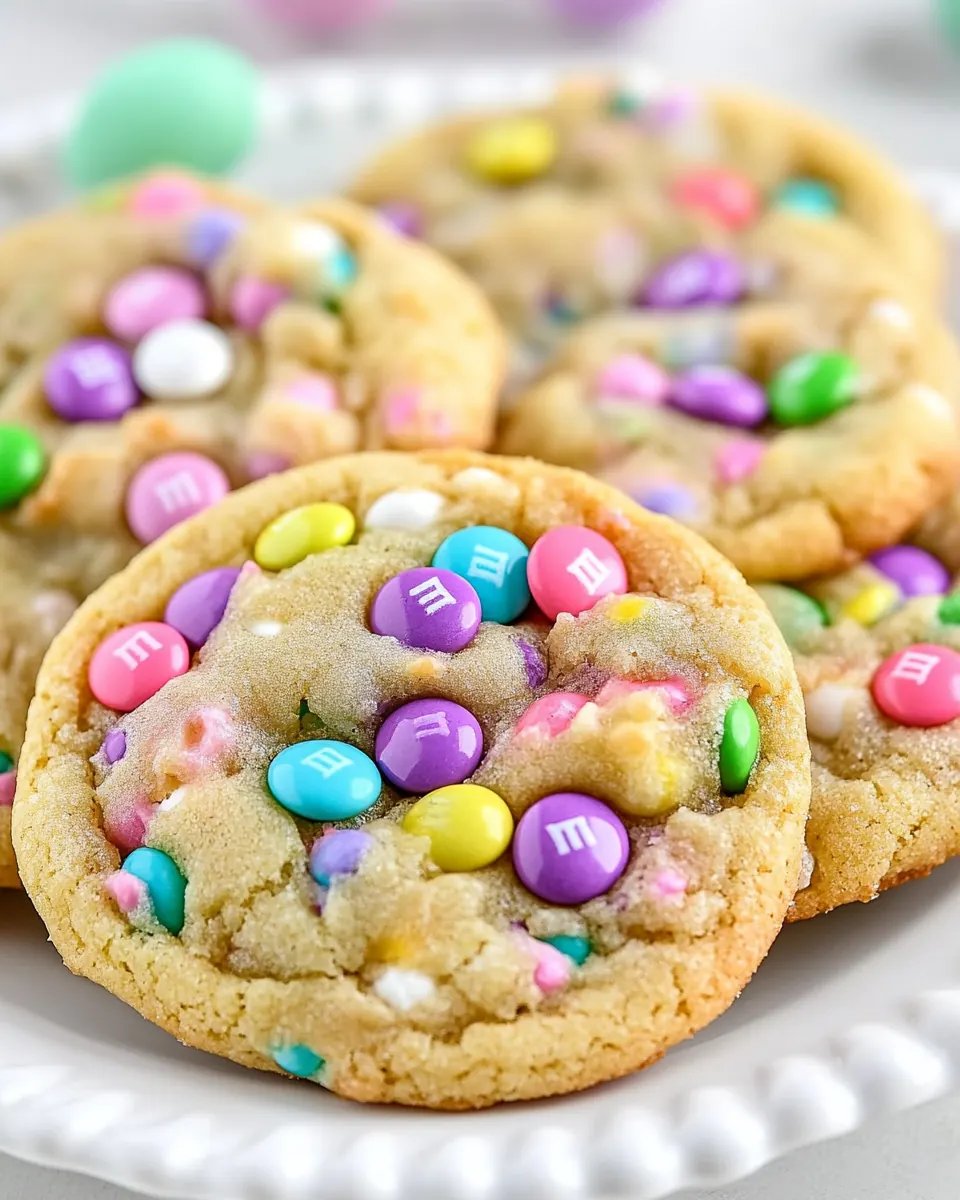
What makes these cookies special is the combination of instant pudding for lasting softness, a buttery brown sugar base, and festive pastel candies that bring cheer with every bite. I encourage you to try this recipe because it s forgiving, adaptable, and consistently yields crowd pleasing cookies. Bake a batch, play with the colors, and share them at your next gathering — you ll likely find a new go to for holidays and casual treats alike.
Easter M&M Cookies
Equipment
- Stand mixer
- Paddle attachment
- Hand Mixer
- Cookie Scoop
- Baking Sheet
- Parchment Paper
- Cooling rack
Ingredients
- 1/2 cup (113 g) unsalted butter, softened Cream together to provide structure and richness while incorporating air for a tender cookie crumb; softened texture ensures even mixing with sugars and prevents graininess in the dough.
- 3/4 cup (150 g) packed brown sugar Add deep, caramel-like sweetness and moisture while contributing to chewiness; packed brown sugar also helps create a slightly denser, flavorful cookie base.
- 1 teaspoon vanilla extract Impart warm, aromatic flavor and enhance other sweet elements; vanilla helps round out the overall taste and balances the pudding mix’s vanilla notes.
- 1 large egg Bind wet and dry ingredients while adding lift and moisture; the egg contributes to structure, emulsification, and tender crumb in the cookies.
- 13.4 ounces (96 g) Instant Vanilla Pudding Mix Contribute concentrated vanilla flavor and moisture-retaining starches that yield extra softness; instant vanilla pudding mix also boosts flavor complexity and chewiness.
- 1/2 teaspoon baking soda React with acidic components to create carbon dioxide for leavening and gentle rise; baking soda helps spread and browns the cookies' edges.
- 1/4 teaspoon salt Balance sweetness and enhance flavor while controlling protein interactions for proper gluten development; a pinch of salt also heightens overall taste.
- 1 1/4 cups (155 g) all purpose flour Provide bulk, structure, and gluten-forming proteins that determine texture; all-purpose flour creates the foundational matrix for the cookie dough.
- 1 cup (195 g) pastel colored M&Ms Add colorful crunch, chocolate flavor, and visual appeal while contributing small pockets of sweetness; pastel M&Ms create festive texture contrasts in each bite.
- 1/2 cup (76 g) pastel sprinkles Supply decorative color and a subtle sugary crunch to finish the cookies; pastel sprinkles enhance visual appeal and contribute a playful texture.
Instructions
- Note: This dough requires chilling.: The dough will firm up and the fats will solidify in the chill, which prevents excessive spreading during baking and produces thicker cookies with chewy centers. You should feel the dough become cooler to the touch after chilling. A common mistake is skipping this step, which leads to thin, flat cookies that lack structure.
- Cream butter and brown sugar in the bowl of a stand mixer fitted with the paddle attachment. (You can also use a hand mixer.) Mix in egg and vanilla until smooth. Add pudding mix, baking soda, and salt. Mix until combined. Mix in flour, then stir in sprinkles and M&Ms.: Expect a soft, rhythmic sound as the paddle aerates the unsalted butter and brown sugar , transforming them into a pale, pillowy mixture. The smell will turn buttery and sweet, almost caramel like. This aeration traps tiny air pockets that contribute to a lighter bite. Avoid under mixing which leaves gritty sugar, and over mixing which can over incorporate air and cause collapse later.
- Scoop 2 tablespoon balls of cookie dough onto a cookie sheet covered with parchment or a silpat baking mat. There’s no need to space them out, you’re going to chill them. Cover and chill for at least 30 minutes.: As you add the egg and vanilla, the mixture will lose some of its fluff and become glossy and cohesive. The aroma will shift as the vanilla blooms, adding warmth to the batter. If your egg is cold, the butter may seize up momentarily; let the mixture come back together on low speed. A common pitfall is adding cold egg directly which can create lumps.
- Preheat oven to 350°F. Line cookie sheets with parchment paper or silpat baking mats. Place chilled cookie dough balls 2 inches apart on cookie sheet. Bake 9-11 minutes or until the edges just start to turn brown. Cool 5 minutes on cookie sheet before transferring to a rack to cool completely. Store in an airtight container for up to 4 days or freeze for up to one month.: The dry pudding powder will absorb moisture and thicken the batter slightly, and you may notice a faint vanilla scent intensify. The baking soda will start working once hydrated, so mixing evenly is important for consistent rise. Ensure you scrape down the bowl so no pockets of dry mix remain, otherwise you might get chalky bites.
- Mix until combined: At this stage the batter should look uniform and slightly denser than a typical cookie batter because of the pudding mix. The texture will be supple and hold gentle peaks when lifted with a spatula. Over mixing after adding the dry components can develop gluten and yield tougher cookies, so stop when combined.
- Mix in flour then stir in sprinkles and M&Ms: Adding the all purpose flour builds structure, and you will see the dough transition from glossy to a more matte, pliable mass. Fold in the sprinkles and M&Ms by hand to preserve their shape, and watch the colorful bits dot the dough like confetti. If you mix too vigorously here, the candies will chip and bleed color into the dough.
- Scoop 2 tablespoon balls of cookie dough onto a cookie sheet covered with parchment or a silpat baking mat: The dough will feel slightly tacky and springy as you portion it. Use a cookie scoop for uniform sizes so baking is consistent, and if the dough sticks, wet your hands lightly. An error I see often is uneven scoops which cause varying bake times and some cookies to overbake while others remain underdone.
- There is no need to space them out you are going to chill them: When you place the dough balls close together for chilling, they will not spread into each other because the chill solidifies the fats. The surface might look tacky but will firm up in the refrigerator. If you try to bake unchilled dough placed closely, the cookies can fuse into a single large mass.
- Cover and chill for at least 30 minutes: During the chill you will notice the dough become noticeably firmer, making it easier to transfer later. The flavors also meld, offering a more rounded taste after resting. If you have more time, chilling for several hours or overnight improves texture even more. The most common mistake is not chilling long enough when ovens run hot, which results in excessive spreading.
- Preheat oven to 350°F: The oven should be fully up to temperature so the cookies begin setting immediately, encouraging a soft interior and slightly crisp edge. You will hear a faint hum as the oven stabilizes and later a subtle crackle as the cookies brown. Not preheating can cause uneven texture, with underbaked centers and overbrowned bottoms.
- Place chilled cookie dough balls 2 inches apart on cookie sheet: Arranging the chilled dough with about 2 inches between ensures they have room to spread slightly without touching. The cold dough will maintain its mound shape when it hits the hot pan, encouraging a domed top. If the spacing is too tight, adjacent cookies may merge, creating unevenly baked clusters.
- Bake 9 to 11 minutes or until the edges just start to turn brown: You will notice a gentle aroma of baked sugar and butter as the cookies approach doneness, and the edges will take on a faint golden hue while the centers remain pale and soft. This timing yields cookies that set around the edges but stay tender inside. Overbaking will dry them out, so pull them at the first hint of browning.
- Cool 5 minutes on cookie sheet before transferring to a rack to cool completely: The cookies will continue to set as they rest, and transferring too soon can cause them to break. After five minutes they will have stabilized enough to move without losing shape. A frequent error is leaving cookies on the hot sheet too long which can brown the bottoms further and change the texture.
- Store in an airtight container for up to 4 days or freeze for up to one month: Once fully cooled, the cookies maintain their texture in a sealed container at room temperature. For longer storage, freeze the baked cookies in a single layer and then transfer to a freezer safe bag. Thaw at room temperature when ready to enjoy. Moisture or improper sealing will lead to stale cookies, so use airtight packaging.
Notes
- Chill is non negotiable — Always chill the dough for at least 30 minutes, and if you have time, overnight chilling yields even better flavor and texture.
- Use instant pudding mix — The instant vanilla powder keeps the cookies soft and adds subtle flavor, do not substitute with the cook and serve type.
- Measure flour carefully — Spoon and level the all purpose flour to avoid packing too much, which causes dense cookies.
- Prefer jimmies for sprinkles — For oven durability and better visual results, choose elongated jimmies rather than tiny nonpareils.
- Scoop consistently — Use a two tablespoon scoop for uniform cookies that bake evenly across a sheet.
- Cool briefly before moving — Let cookies sit on the baking sheet five minutes to finish setting, then transfer to a rack to cool completely.