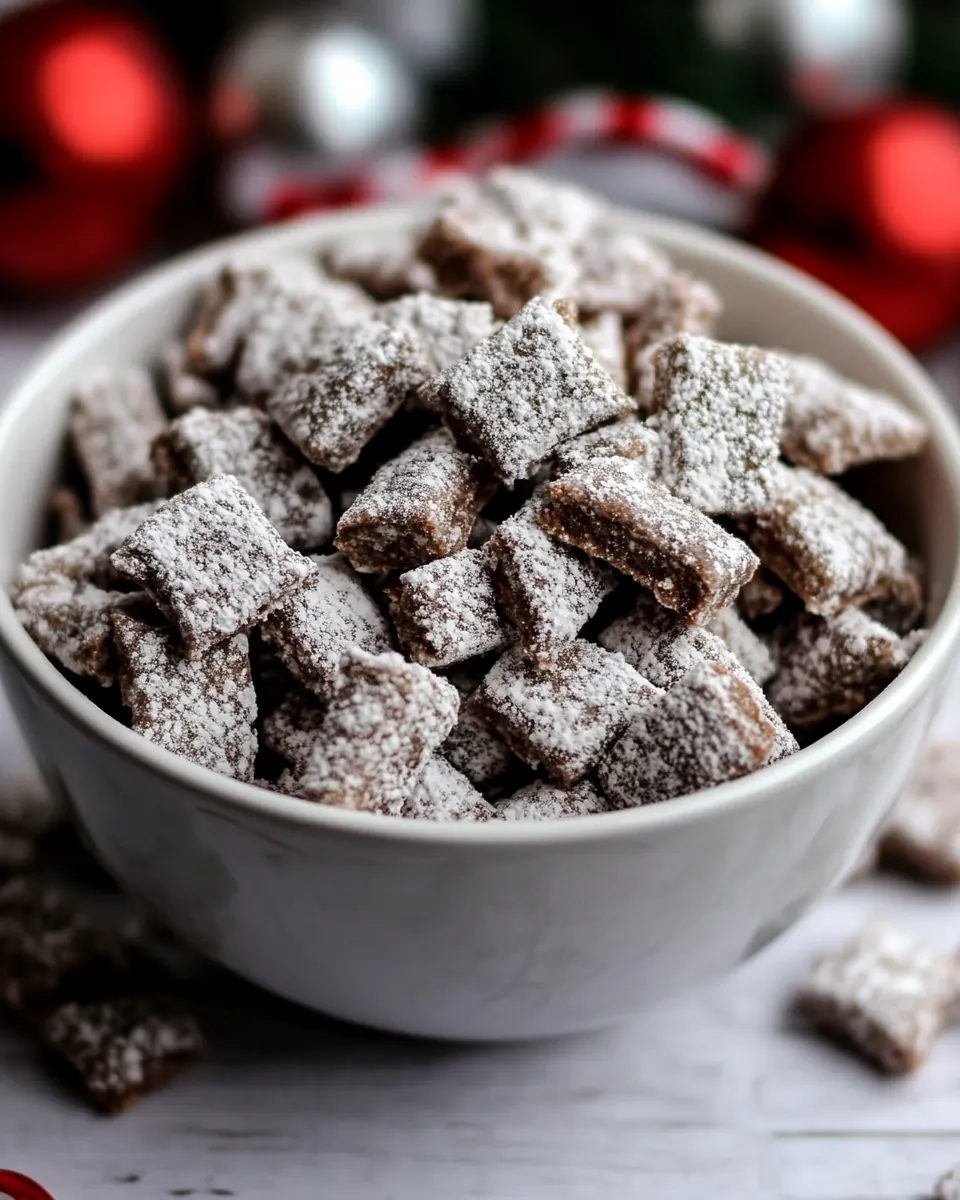
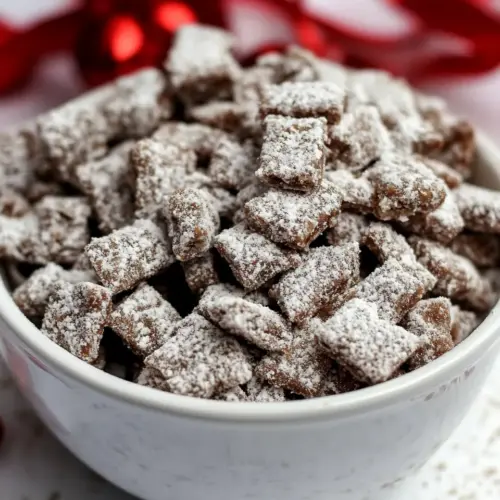
Reindeer Chow
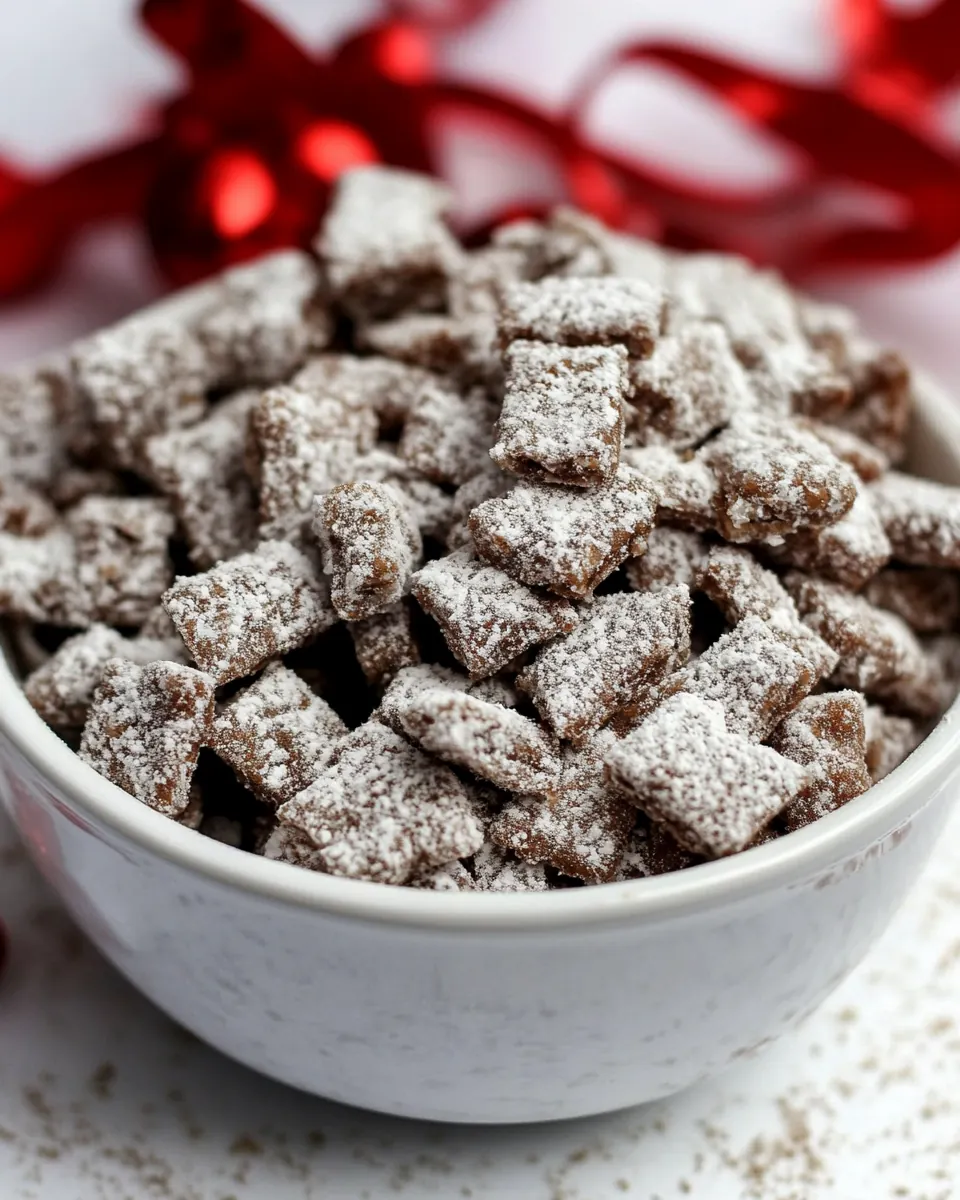
Reindeer Chow is the kind of treat I reach for when the house smells like cocoa and holiday playlists are humming in the background.
Years ago I first learned this recipe at a friend s holiday exchange, and it instantly earned a spot in my winter snack rotation. I remember mixing a bowl while laughter bubbled from the next room, the chocolate melting into glossy ribbons as the peanut butter loosened into it. That first batch vanished by sundown, convincing me that crunchy cereal and a dusting of confectioners sugar create the exact cozy contrast we want in a snack.
Since then I ve adapted tiny habits that make the process smoother, like prepping the parchment and measuring the sugar beforehand so the final shake in a bag feels almost ceremonial. I love how flexible the recipe is, letting you make a big sheet for guests or a smaller bowl for movie night. Kids always want to help coat the cereal, which turns this into a shared ritual more than a simple recipe. When I serve it, I tuck small paper cones into a basket and let people scoop their own share, which always sparks conversation.
Recipe Snapshot
17 mins
15 mins
2 mins
Easy
200 kcal
American
Gluten-Free, Low FODMAP
Desserts
Microwave safe bowl, Large mixing bowl, Large baking sheet, Parchment paper, 2 gallon zip top bag, Spatula
Why You’ll Love This Reindeer Chow
Comforting crunch with a hint of nostalgia
I adore Reindeer Chow because it balances textures so well. The crisp Rice Chex Cereal keeps each bite light while the melted chocolate chips and peanut butter knit everything together, producing that addictive crisp and chew combo I crave during winter months.
Fast assembly, big payoff
One of the reasons I keep this recipe in heavy rotation is the speed. You can be stirring melted chocolate in under five minutes, which makes Reindeer Chow perfect for last minute hostessing. The quick microwave step saves time without compromising on glossy, evenly coated cereal.
Kid friendly and interactive
I find this treat irresistible to little helpers. Tossing the coated cereal into a bag of confectioners sugar and shaking is an activity that sparks giggles and a sense of ownership. That simple motion creates a perfectly powdered exterior, and watching the transformation is part of the fun.
Scales effortlessly for gatherings
Whether I m making a few cups for a cozy night in or a full sheet to bring to a party, Reindeer Chow scales without drama. The ingredient ratios are forgiving, so you can tweak quantities while preserving the crunchy chocolate profile people love.
Great make ahead snack
I often prepare a batch a day ahead. Left in an airtight container the textures hold up, and the flavors actually deepen. That makes Reindeer Chow a reliable choice for holiday trays or care packages.
Ingredients You’ll Need for Reindeer Chow
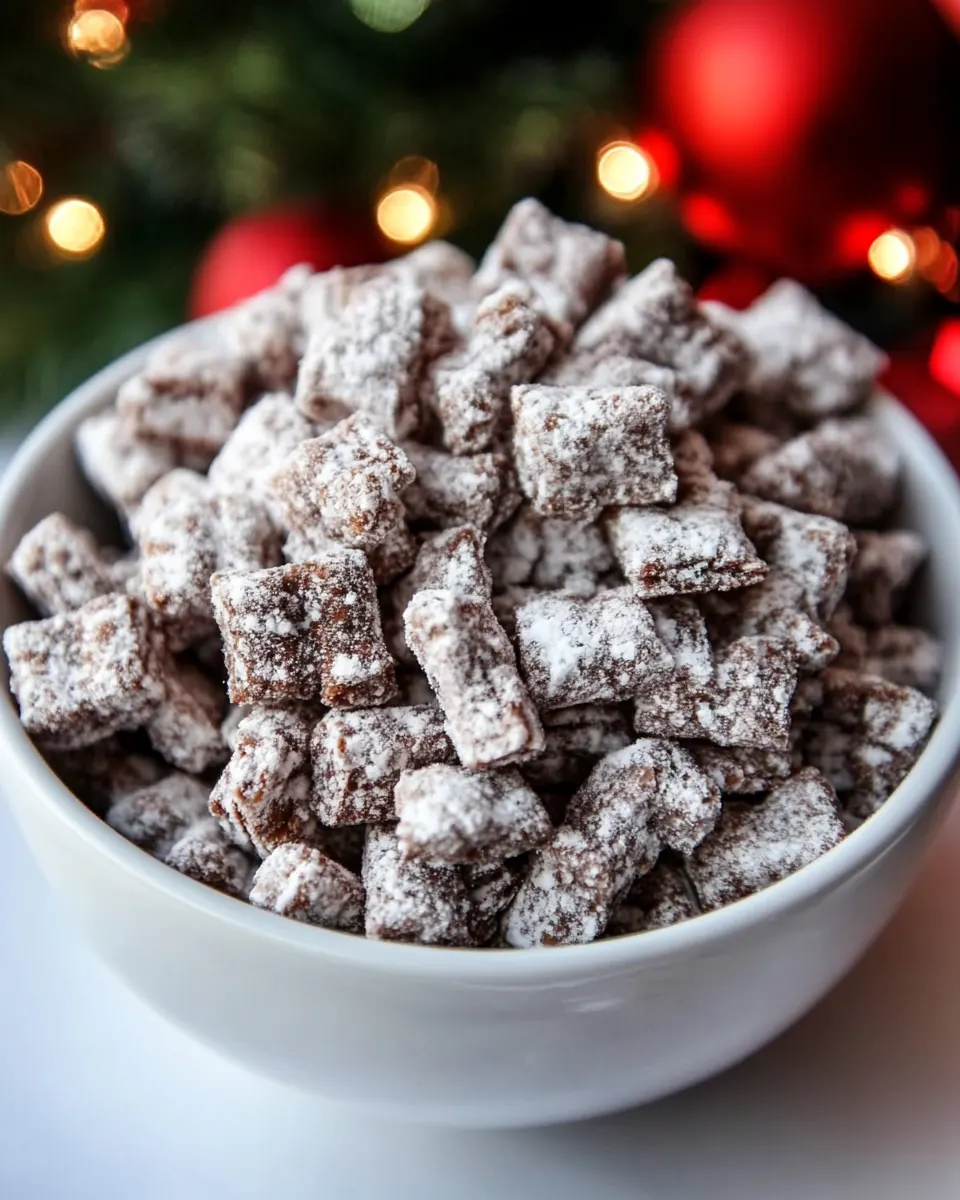
These ingredients are deliberately simple, letting a few quality players shine. The cereal provides the light, crunchy base while the chocolate and peanut butter form a glossy coating that adheres when warm. The confectioners sugar finishes each morsel with a snowy dusting, creating a sweet contrast to the slightly salty peanut butter.
- 9 cups Rice Chex Cereal, 1 cup semi-sweet chocolate chips, 1/2 cup peanut butter, 1/4 cup butter, 1 teaspoon pure vanilla extract, 1 1/2 cups confectioners' sugar: Creates the crunchy base that soaks up the sweet chocolate–peanut butter coating, providing bulk and texture for every bite; the neutral, toasted flavor balances sweet and salty notes while allowing other ingredients to shine. Melting chips with butter and peanut butter forms a glossy, cohesive coating that adheres to the cereal, and a final dusting of confectioners' sugar gives a snowy finish and pleasant melt-in-your-mouth sweetness. Vanilla lifts the overall aroma and adds a subtle floral-vanilla complexity that brightens the rich chocolate and nutty peanut butter, ensuring a well-rounded snack.
Reindeer Chow Instructions
I like to keep the rhythm simple when I make this treat: set up, melt, coat, and chill. The directions are forgiving, but small details make a big difference in texture and appearance. Below I expand each original direction into thorough guidance so you know what to look for and how to rescue the batch if something goes slightly off.
- Pour cereal into a large bowl, set aside. Line a large baking sheet with parchment paper, set aside.: The first sensory cue is the rustle of the Rice Chex Cereal as you pour it into the bowl, a dry, airy sound that tells you the pieces are intact and ready. Visually, you want an even layer of squares so the coating will distribute uniformly when added. This step matters because overcrowding or using too small a bowl leads to clumps when you stir later. If your bowl is too small, the cereal will be crushed during stirring, producing broken bits instead of light crunchy pieces. A common mistake is starting with a bowl that cannot accommodate mixing, so choose a bowl with several inches of headroom to prevent spills and to allow gentle folding.
- In a large microwave-safe bowl, combine the chocolate chips, peanut butter and butter. Microwave uncovered on high for 1 minute; stir. Microwave about 30 seconds longer or until mixture can be stirred smooth. Stir in vanilla. Pour mixture over cereal, stirring until evenly coated. Pour into 2-gallon zip-top food-storage plastic bag.: Hear the soft crinkle as you lay the parchment, and notice how it creates a clean surface for the coated pieces to cool without sticking. The parchment also reflects a little heat, helping the chocolate set more evenly. This matters when you spread the final mix, because direct contact with a warm metal pan can make the chocolate firm too quickly in spots. Avoid skipping parchment, as direct contact may cause sticking and make cleanup harder; if you do not have parchment, a silicone mat will do, but paper is easiest for quick release.
- Add confectioners' sugar. Seal bag; shake until well coated. Spread onto prepared baking sheet to cool. Store in airtight container in refrigerator.: As you add the semi–sweet chocolate chips , peanut butter , and butter to the bowl, you will notice contrasting textures, from the glossy chips to the creamy peanut butter. Combining them cold is fine because the microwave will harmonize them. This technique is about controlled melting, ensuring a shiny emulsion rather than a grainy mess. A typical error is overheating; chocolate can seize into a clumpy mass if microwaved too long. To prevent this, use short bursts of heat and stir between intervals so the residual warmth finishes the melt.
- Microwave uncovered on high for 1 minute; stir: At the end of the first minute, you should see softened, puffed chips with glossy edges, and stirring will already begin to bring them together. The smell of warm chocolate will fill the kitchen, and you ll notice the peanut butter loosening into the mixture. Stirring early is important because it uses the retained heat to finish melting the chips, preserving a smooth texture. Avoid assuming the mixture is ready without stirring, because unmelted pockets can scorch if microwaved again. If you see any stubborn bits, give another short burst rather than one long interval.
- Microwave about 30 seconds longer or until mixture can be stirred smooth: This short additional burst should yield a glossy, velvety liquid that pours slowly when lifted with a spoon. The aroma gets richer, and the surface should reflect light. The reason for short increments is control, so you do not overheat and lose the emulsion. If you overcook, the chocolate may become grainy and separate; to troubleshoot, remove from heat and stir vigorously, or add a small knob of butter to help re-emulsify. Patience here keeps the final coating silky rather than dull and clumpy.
- Stir in vanilla: Once the mixture is smooth, adding the teaspoon of vanilla releases a warm, fragrant note that rounds the chocolate s edge. Stirring in off heat preserves the extract s aroma, making the final product smell inviting. This step matters because the vanilla enhances complexity without adding sweetness. A mistake is adding vanilla while the mixture is still very hot, which can dissipate its fragrance; add it when the bowl is just warm to the touch for the strongest scent.
- Pour mixture over cereal, stirring until evenly coated: Pouring is the tactile moment where glossy chocolate cascades over the cereal, turning dry squares into glossy clusters. Use a gentle folding motion so each piece gets an even veil of coating without being crushed. The right visual cue is each square showing a light glaze rather than being clumped into one mass. If you stir too vigorously, pieces will break; if you stir too little, pockets of uncooked cereal will remain. Avoid overmixing by folding until most pieces look uniformly glossy.
- Pour into 2-gallon zip-top food-storage plastic bag: Transferring the coated cereal into a large bag should be effortless, with the sound of cereal shifting inside a roomy container. This bag is your shaking and coating vessel, so pick one sturdy enough to hold the full volume without tearing. The bag method makes the sugar coating uniform and tidy. Mistakes include choosing a small bag that will burst or shaking before the mixture cools slightly, which can cause runaway steam and condensation that ruins the powdered finish.
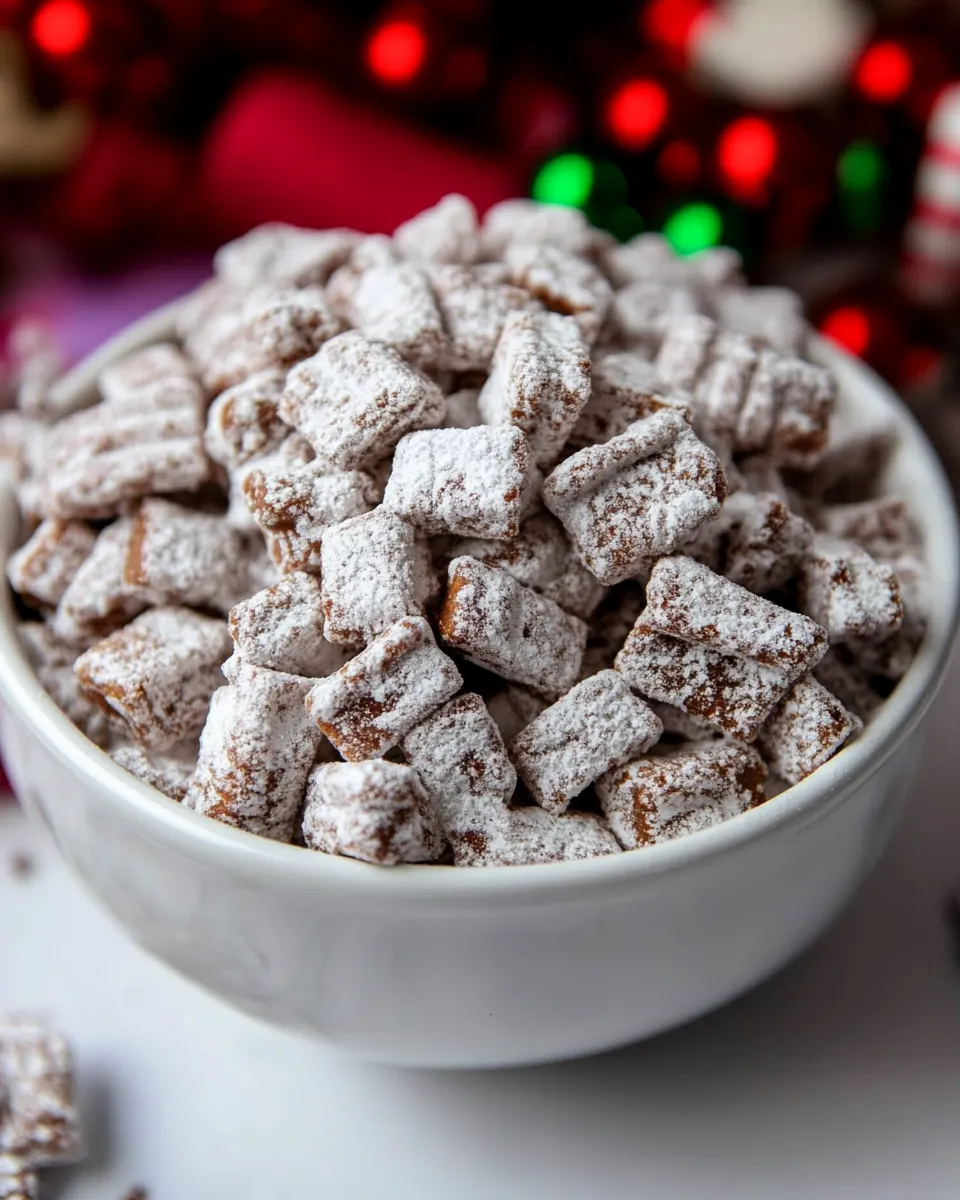
- Add confectioners' sugar: Sprinkle the confectioners' sugar into the bag, and you ll notice it settle over the glossy pieces like winter dust. The sugar acts as both flavor and texture, absorbing any surface oils and giving a powdery finish. This matters because it prevents the snack from feeling slick and enhances the visual appeal. If the sugar clumps, knead the bag gently to break lumps, and always ensure the sugar is sifted if it appears compacted prior to adding.
- Seal bag; shake until well coated: Seal the bag tightly and begin shaking; you ll hear a soft swish as the sugar tumbles over each piece. The motion polishes the coating into an even matte finish. This technique is critical because it delivers the characteristic appearance and mouthfeel of Reindeer Chow . Over shaking can crush the cereal, so use brisk, short motions and check the texture after a minute. If pieces seem crushed, stop and fold gently instead of shaking more aggressively.
- Spread onto prepared baking sheet to cool: Spread the finished cereal evenly across the parchment so pieces cool singly rather than in a dense pile. The cooling process ensures the chocolate sets in place and the sugar adheres. You ll notice the surface firming and the aroma settling into a warm chocolate note. Cooling on a flat surface prevents clumping and helps the pieces separate once set. Avoid piling them while warm, as trapped heat can cause the chocolate to remain tacky and the sugar to dissolve into lumps.
- Store in airtight container in refrigerator: Once cool, transfer the snack to an airtight container and refrigerate if you prefer a firmer bite, or keep at room temperature for a slightly softer feel. The airtight environment preserves crispness and keeps humidity out. This storage step matters for longevity; exposed pieces will soften and lose their crunch. A common storage mistake is using a loose lid that allows moisture in, so choose a truly airtight container to maintain texture for days.
Helpful Hints
I keep these hints focused on practical adjustments and common pitfalls I ve learned from many batches. They help the recipe come out consistent every time. Read them before you begin so you can make tiny decisions that yield the best texture and flavor.
- Choose the right bowl Use a bowl with plenty of room so you can fold the coated cereal without crushing it. The extra space protects the crisp structure of the Rice Chex Cereal.
- Short microwave bursts Heat the chocolate mixture in 20 to 30 second intervals, stirring each time to avoid scorching and to help the mixture become glossy.
- Warm thick peanut butter If your peanut butter is dense, microwave it for a few seconds to loosen before mixing so the sauce becomes homogeneous faster.
- Gentle folding Fold the cereal with a spatula rather than vigorous stirring to keep pieces intact and evenly coated.
- Even spread to cool Spread the coated cereal in a single layer on the parchment to cool so the pieces set independently and do not clump.
- Airtight storage Keep the finished product in a sealed container to preserve crunch, and place a paper towel in the container if condensation appears.
Perfect Matches for Reindeer Chow
Reindeer Chow is versatile and pairs well with casual gatherings, holiday trays, and cozy snack times. Think about the texture and sweetness, and choose accompaniments that provide contrast or complement its nutty chocolate profile.
- Serve it in small paper cones for parties so guests can scoop a generous handful without needing bowls; this presentation is playful and reduces cleanup.
- Pair with hot beverages like warm cocoa or spiced cider for a comforting combo; the crisp texture of the snack contrasts nicely with a creamy drink.
- Package as gifts in clear bags tied with ribbon for neighbor gifts or holiday treat exchanges; it stores well and travels easily when sealed.
- Use as a trail mix topper for dessert boards at casual gatherings, combining it with dried fruits and nuts elsewhere on the board while keeping the Reindeer Chow separate to maintain its powdery coating.
- Occasion fit Great for winter gatherings, holiday cookie swaps, or family movie nights when you want something sweet and shareable that s easy to produce in quantity.
- Storage tips Keep in an airtight container at room temperature for up to a week, or refrigerate to extend crispness; if humidity is high, refrigeration helps prevent the sugar from becoming tacky.
FAQ
Conclusion
Reindeer Chow stands out for its simple ingredients and the joyful ritual of mixing and shaking that turns pantry staples into a festive treat. Give it a try this season to enjoy a crunchy, chocolate peanut butter snack that is quick to prepare and excellent for sharing. Whether you re making a small batch for movie night or a large sheet for a holiday gathering, this recipe rewards small attentions with big flavor and warm memories.
Reindeer Chow
Equipment
- Microwave-safe Bowl
- Large Mixing Bowl
- Large Baking Sheet
- Parchment Paper
- 2 gallon zip top bag
- Spatula
Ingredients
- 9 cups Rice Chex Cereal, 1 cup semi-sweet chocolate chips, 1/2 cup peanut butter, 1/4 cup butter, 1 teaspoon pure vanilla extract, 1 1/2 cups confectioners' sugar Creates the crunchy base that soaks up the sweet chocolate-peanut butter coating, providing bulk and texture for every bite; the neutral, toasted flavor balances sweet and salty notes while allowing other ingredients to shine. Melting chips with butter and peanut butter forms a glossy, cohesive coating that adheres to the cereal, and a final dusting of confectioners' sugar gives a snowy finish and pleasant melt-in-your-mouth sweetness. Vanilla lifts the overall aroma and adds a subtle floral-vanilla complexity that brightens the rich chocolate and nutty peanut butter, ensuring a well-rounded snack.
Instructions
- Pour cereal into a large bowl, set aside. Line a large baking sheet with parchment paper, set aside.: The first sensory cue is the rustle of the Rice Chex Cereal as you pour it into the bowl, a dry, airy sound that tells you the pieces are intact and ready. Visually, you want an even layer of squares so the coating will distribute uniformly when added. This step matters because overcrowding or using too small a bowl leads to clumps when you stir later. If your bowl is too small, the cereal will be crushed during stirring, producing broken bits instead of light crunchy pieces. A common mistake is starting with a bowl that cannot accommodate mixing, so choose a bowl with several inches of headroom to prevent spills and to allow gentle folding.
- In a large microwave-safe bowl, combine the chocolate chips, peanut butter and butter. Microwave uncovered on high for 1 minute; stir. Microwave about 30 seconds longer or until mixture can be stirred smooth. Stir in vanilla. Pour mixture over cereal, stirring until evenly coated. Pour into 2-gallon zip-top food-storage plastic bag.: Hear the soft crinkle as you lay the parchment, and notice how it creates a clean surface for the coated pieces to cool without sticking. The parchment also reflects a little heat, helping the chocolate set more evenly. This matters when you spread the final mix, because direct contact with a warm metal pan can make the chocolate firm too quickly in spots. Avoid skipping parchment, as direct contact may cause sticking and make cleanup harder; if you do not have parchment, a silicone mat will do, but paper is easiest for quick release.
- Add confectioners' sugar. Seal bag; shake until well coated. Spread onto prepared baking sheet to cool. Store in airtight container in refrigerator.: As you add the semi-sweet chocolate chips , peanut butter , and butter to the bowl, you will notice contrasting textures, from the glossy chips to the creamy peanut butter. Combining them cold is fine because the microwave will harmonize them. This technique is about controlled melting, ensuring a shiny emulsion rather than a grainy mess. A typical error is overheating; chocolate can seize into a clumpy mass if microwaved too long. To prevent this, use short bursts of heat and stir between intervals so the residual warmth finishes the melt.
- Microwave uncovered on high for 1 minute; stir: At the end of the first minute, you should see softened, puffed chips with glossy edges, and stirring will already begin to bring them together. The smell of warm chocolate will fill the kitchen, and you ll notice the peanut butter loosening into the mixture. Stirring early is important because it uses the retained heat to finish melting the chips, preserving a smooth texture. Avoid assuming the mixture is ready without stirring, because unmelted pockets can scorch if microwaved again. If you see any stubborn bits, give another short burst rather than one long interval.
- Microwave about 30 seconds longer or until mixture can be stirred smooth: This short additional burst should yield a glossy, velvety liquid that pours slowly when lifted with a spoon. The aroma gets richer, and the surface should reflect light. The reason for short increments is control, so you do not overheat and lose the emulsion. If you overcook, the chocolate may become grainy and separate; to troubleshoot, remove from heat and stir vigorously, or add a small knob of butter to help re-emulsify. Patience here keeps the final coating silky rather than dull and clumpy.
- Stir in vanilla: Once the mixture is smooth, adding the teaspoon of vanilla releases a warm, fragrant note that rounds the chocolate s edge. Stirring in off heat preserves the extract s aroma, making the final product smell inviting. This step matters because the vanilla enhances complexity without adding sweetness. A mistake is adding vanilla while the mixture is still very hot, which can dissipate its fragrance; add it when the bowl is just warm to the touch for the strongest scent.
- Pour mixture over cereal, stirring until evenly coated: Pouring is the tactile moment where glossy chocolate cascades over the cereal, turning dry squares into glossy clusters. Use a gentle folding motion so each piece gets an even veil of coating without being crushed. The right visual cue is each square showing a light glaze rather than being clumped into one mass. If you stir too vigorously, pieces will break; if you stir too little, pockets of uncooked cereal will remain. Avoid overmixing by folding until most pieces look uniformly glossy.
- Pour into 2-gallon zip-top food-storage plastic bag: Transferring the coated cereal into a large bag should be effortless, with the sound of cereal shifting inside a roomy container. This bag is your shaking and coating vessel, so pick one sturdy enough to hold the full volume without tearing. The bag method makes the sugar coating uniform and tidy. Mistakes include choosing a small bag that will burst or shaking before the mixture cools slightly, which can cause runaway steam and condensation that ruins the powdered finish.
- Add confectioners' sugar: Sprinkle the confectioners' sugar into the bag, and you ll notice it settle over the glossy pieces like winter dust. The sugar acts as both flavor and texture, absorbing any surface oils and giving a powdery finish. This matters because it prevents the snack from feeling slick and enhances the visual appeal. If the sugar clumps, knead the bag gently to break lumps, and always ensure the sugar is sifted if it appears compacted prior to adding.
- Seal bag; shake until well coated: Seal the bag tightly and begin shaking; you ll hear a soft swish as the sugar tumbles over each piece. The motion polishes the coating into an even matte finish. This technique is critical because it delivers the characteristic appearance and mouthfeel of Reindeer Chow . Over shaking can crush the cereal, so use brisk, short motions and check the texture after a minute. If pieces seem crushed, stop and fold gently instead of shaking more aggressively.
- Spread onto prepared baking sheet to cool: Spread the finished cereal evenly across the parchment so pieces cool singly rather than in a dense pile. The cooling process ensures the chocolate sets in place and the sugar adheres. You ll notice the surface firming and the aroma settling into a warm chocolate note. Cooling on a flat surface prevents clumping and helps the pieces separate once set. Avoid piling them while warm, as trapped heat can cause the chocolate to remain tacky and the sugar to dissolve into lumps.
- Store in airtight container in refrigerator: Once cool, transfer the snack to an airtight container and refrigerate if you prefer a firmer bite, or keep at room temperature for a slightly softer feel. The airtight environment preserves crispness and keeps humidity out. This storage step matters for longevity; exposed pieces will soften and lose their crunch. A common storage mistake is using a loose lid that allows moisture in, so choose a truly airtight container to maintain texture for days.
Notes
- Choose the right bowl Use a bowl with plenty of room so you can fold the coated cereal without crushing it. The extra space protects the crisp structure of the Rice Chex Cereal.
- Short microwave bursts Heat the chocolate mixture in 20 to 30 second intervals, stirring each time to avoid scorching and to help the mixture become glossy.
- Warm thick peanut butter If your peanut butter is dense, microwave it for a few seconds to loosen before mixing so the sauce becomes homogeneous faster.
- Gentle folding Fold the cereal with a spatula rather than vigorous stirring to keep pieces intact and evenly coated.
- Even spread to cool Spread the coated cereal in a single layer on the parchment to cool so the pieces set independently and do not clump.
- Airtight storage Keep the finished product in a sealed container to preserve crunch, and place a paper towel in the container if condensation appears.