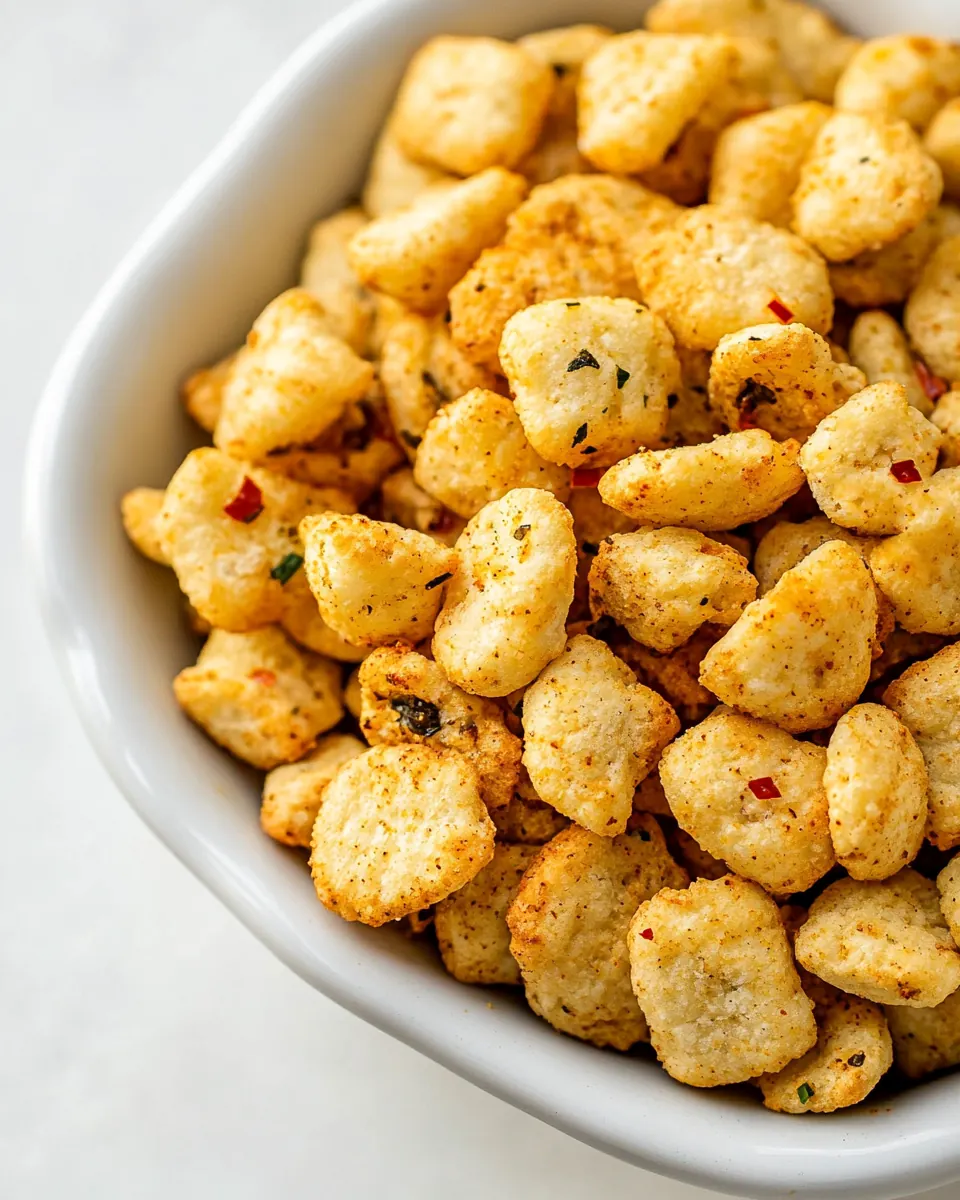
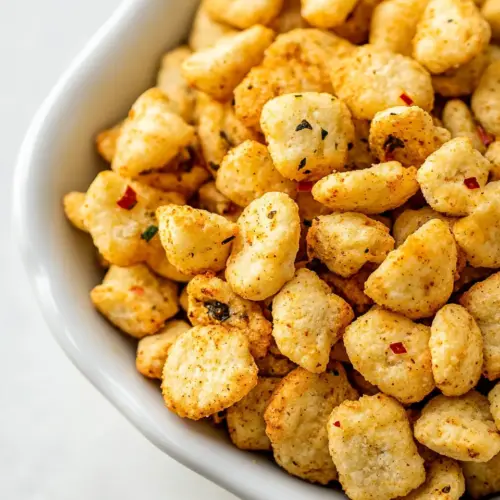
Spicy Oyster Crackers
Spicy Oyster Crackers are one of those snacks I turn to when I want something crunchy, spicy, and impossible to stop nibbling on. The first time I made them was for a small game night, and I remember juggling bowls and measuring spoons while friends debated the next playlist. The scent of garlic and crushed red pepper filled my kitchen, and by the time the crackers had cooled, everyone had their hands in the bowl. I left the bowl out, and it disappeared faster than any dip I had on the table.
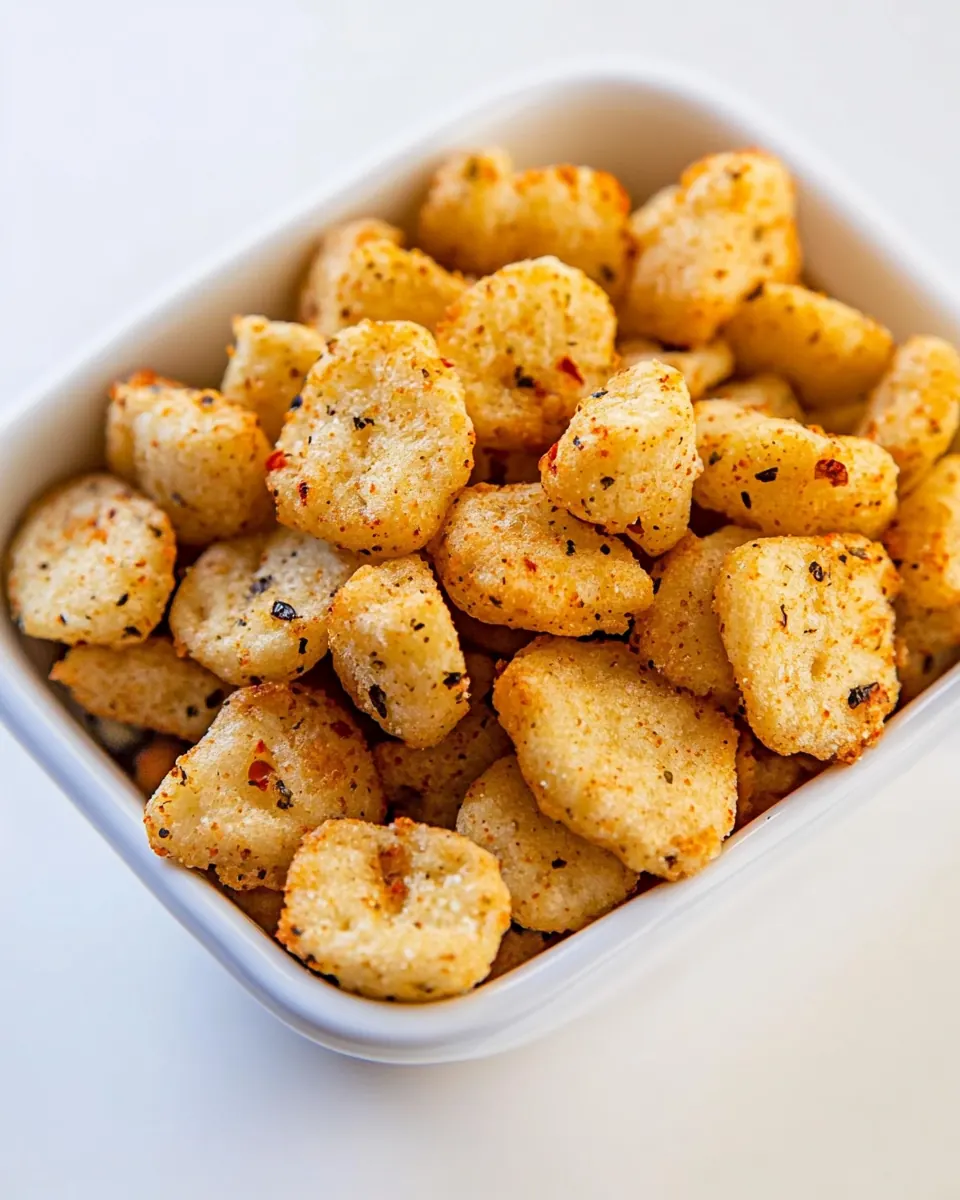
Since then, I keep the components for Spicy Oyster Crackers on hand for last minute gatherings and for afternoons when I need something to munch on while working. I like the way the simple shelf stable ingredients come together to make something that tastes crafted, not assembled. The trick I learned early on is to let the crackers rest in the oil and seasoning so each bite carries that bold flavor. Once cooled, the crackers hold up well in an airtight container, so they make a perfect make ahead snack for a party or to gift in a jar to a neighbor.
Recipe Snapshot
25 mins
5 mins
20 mins
Easy
150 kcal
American
Whole30, Gluten-Free
Appetizers
Gallon zip bag, Rimmed baking sheet, Oven
Why You’ll Love This Spicy Oyster Crackers
Bold flavor from pantry staples
I love how Spicy Oyster Crackers transform humble pantry items into a snack with serious character. With just a few powders and oil, you get spicy, savory, and garlicky hits in every crunchy bite. It feels indulgent without fuss, and that is a big part of the appeal for me.
Fast to assemble, huge payoff
One reason I reach for this recipe is how quickly it comes together. I can toss everything in a bag and let time do the work. That hands off moment is freeing, especially when I have other party prep to handle. The payoff is huge, guests always ask how they can get the recipe.
Flexible with crackers
What I adore is the flexibility. Use oyster crackers for the classic nibble or swap in saltines if you prefer a larger bite. Each option has a slightly different texture and oil absorption, and I enjoy switching depending on the mood or what’s in my pantry.
Great make ahead snack
These crackers are perfect for prepping in advance. I often make a big batch the day before a gathering so the flavors have time to meld. They store well at room temperature, and that convenience makes them a weekly staple when I want an easy snack to reach for.
Kid friendly heat control
I find that the spice level is easy to control, so everyone at the table can enjoy them. I’ll cut the crushed red pepper in half when kids are around, or step it up for grown up game nights. That simple tweak has saved more than one snack time in my house.
Essential Ingredients for Spicy Oyster Crackers
These ingredients are all about contrast and balance. The crackers provide the canvas, while the ranch mix brings a savory backbone, the crushed red pepper adds a lively heat, and the garlic powder rounds everything with a warm, aromatic note. The oil helps the seasonings cling and toasting in the oven amplifies the crispness and deepens the flavor.
- 1 pound oyster crackers or saltines: Provide a crunchy base that soaks up flavors and delivers a salty, familiar snack texture; ideal for party platters and easy to portion. Works well with either oyster crackers or saltines, with saltines requiring a bit more oil to coat evenly.
- 2 packets ranch dip mix: Add a tangy, herby seasoning that infuses the crackers with classic ranch flavor; contributes savory depth and a bit of powdered saltiness. Blended into the oil, it adheres well and helps distribute other spices evenly across the crackers.
- 2 tablespoons crushed red pepper: Impart a sharp, warming heat that defines the snack’s spicy character while adding visual flecks and texture; adjust quantity to taste. Crushed red pepper blends into the oil to deliver consistent heat throughout the batch.
- 2 teaspoons garlic powder: Introduce a warm, aromatic garlic note that enhances overall savoriness and complements both ranch seasoning and crushed red pepper. Garlic powder dissolves readily in the oil, ensuring even coverage without changing texture.
- 2/3 cup vegetable oil or light olive oil (1 1/4 cups for saltines): Bind and carry the dry seasonings onto the crackers while adding a slight richness and sheen; choice of vegetable or light olive oil affects flavor subtly. Use a larger amount when coating saltines to ensure full, even coverage without sogginess.
The Process for Making Spicy Oyster Crackers
Working through this recipe is simple, but I like to approach each step with intention to maximize flavor and texture. These instructions explain sensory cues and common pitfalls so you can recreate the same crunchy, seasoned crackers I do at home. Take your time with the resting and the low oven to develop the best results.
- Place the crackers in a large gallon zip bag. Add in the ranch mix powder, crushed red pepper, and garlic powder. Shake the bag a little to distribute the seasoning.: As you pour in the crackers, listen for the soft cascade as they fill the bag, and notice how their dry, slightly salty aroma rises. Using a large gallon zip bag makes it easy to mix without spilling, and it lets you massage the seasoning into every nook. One common mistake is overfilling the bag which prevents even coating, so use a roomy bag so each cracker can move freely.
- Pour the oil into the bag. Zip and gently shake the crackers around to coat them evenly in seasoning. Allow the oyster crackers to rest for 30 minutes in the seasoning. (For saltines, it’s best to let them rest in the oil and seasoning for at least 3 hours, or even overnight!): When you add the powdered seasonings, take a moment to inhale the concentrated savory scent that hits you, a preview of the final snack. Sprinkle them evenly across the crackers so the flavors distribute as you shake. A frequent error is dumping all the seasoning in one spot which leads to clumps; try to scatter the powders and then close the bag to shake and diffuse the spices.
- Preheat the oven to 250 degrees F. Set out 2 large rimmed baking sheets. Spread the oyster crackers over the surface of the baking sheets.: The sound of the crackers rattling signals movement and mixing, and the light dusting on each piece should become visible. Gentle shaking ensures the powders contact the cracker surfaces so that when oil is added, the mixtures stick uniformly. Avoid aggressive shaking which can break fragile crackers and create crumbs that lead to uneven baking.
- Bake for 18-20 minutes. Cool completely before placing in an airtight storage container.: As you pour in the oil, watch how it glistens and coats the powders, turning them from dusty specks into glossy specks that will cling. The oil helps distribute the seasoning and penetrates tiny pores in the crackers. A common mistake is using too much oil at once which can make crackers soggy; measure carefully and add the recommended amount.
- Zip and gently shake the crackers around to coat them evenly in seasoning: Feel the bag as you gently tumble the crackers, and you will notice the mix begin to coat each piece with an even sheen. The goal is uniformity, so slow, controlled motion works best. If you skip this step or shake too roughly, some crackers will remain under seasoned and others over coated, affecting the balance of flavors.
- Allow the oyster crackers to rest for 30 minutes in the seasoning: During this pause, the oil and powders meld into the crackers, and you may catch a faint aroma of the spices deepening. Resting allows proper absorption, which prevents pockets of raw seasoning after baking. A mistake to avoid is shortening the rest period, because under rested crackers will have patchy flavor and a less integrated taste.
- For saltines, let them rest in the oil and seasoning for at least 3 hours or overnight: If you choose saltines , notice how they slowly darken as they absorb oil, a sign they are taking on the flavor. The extra rest time compensates for their density and helps achieve the same seasoned depth as oyster crackers. Rushing this step is the most common misstep with saltines , leading to a less flavorful end result.
- Preheat the oven to 250 degrees F: The oven should be set low so the crackers dry and toast evenly rather than browning too quickly. That warm, steady heat draws moisture out and crisps them uniformly. A frequent mistake is using a higher temperature which can scorch the seasonings and make the crackers bitter instead of toasty.
- Set out 2 large rimmed baking sheets and spread the oyster crackers over the surface: Arrange the crackers in a single layer so air circulates around each one, and listen for the quiet that comes with even spacing. Rimmed sheets keep any stray crumbs contained. Overcrowding the pan traps steam and leads to soggy crackers, so spread them out to maintain crispness.
- Bake for 18 to 20 minutes: During baking, breathe in faint toasty, nutty notes as the crackers warm and the seasonings bloom. Watch for a light golden hue developing, which signals they are ready. A common issue is underbaking which leaves them soft; if they still feel pliable at the edge of the time window, give them a few extra minutes but monitor closely to avoid over browning.
- Cool completely before placing in an airtight storage container: As the crackers cool, they firm up and reach their final crispness, and you will notice their aroma settle into a balanced savory heat. Cooling also prevents trapped steam from making them limp when stored. Placing them warm in a container is a typical mistake that causes condensation and ruins the crunch, so always wait until they are room temperature.
Substitutions and Tips
These tips expand on the small tricks that make the recipe dependable. Each suggestion highlights a practical change or precaution I use in my kitchen so you get consistent results. I always start with measuring carefully and adjusting spice to taste.
- Adjust the heat by reducing the crushed red pepper to 1 tablespoon for a milder snack, or increase to 3 tablespoons for a bolder kick. Taste as you go when you season to match your comfort level.
- Oil choices matter stick with neutral oils like vegetable oil or a mild light olive oil to keep the seasoning front and center. Strong flavored oils will compete with the ranch and garlic notes.
- Saltine swap if using saltines increase oil to 1 1/4 cups and rest for several hours so they absorb the seasoning fully and reach the same depth of flavor as oyster crackers.
- Make ahead you can season and bake crackers a day ahead, then store in an airtight container at room temperature to keep them crisp for up to 5 days, making them perfect for parties.
- Even coating ensure even distribution by shaking the bag gently and in stages rather than dumping everything at once, which prevents clumping and under seasoned pieces.
- Avoid overbaking check at 18 minutes and test a few crackers for crispness. If they are still slightly soft, add small increments of time, monitoring to prevent browning of the spices.
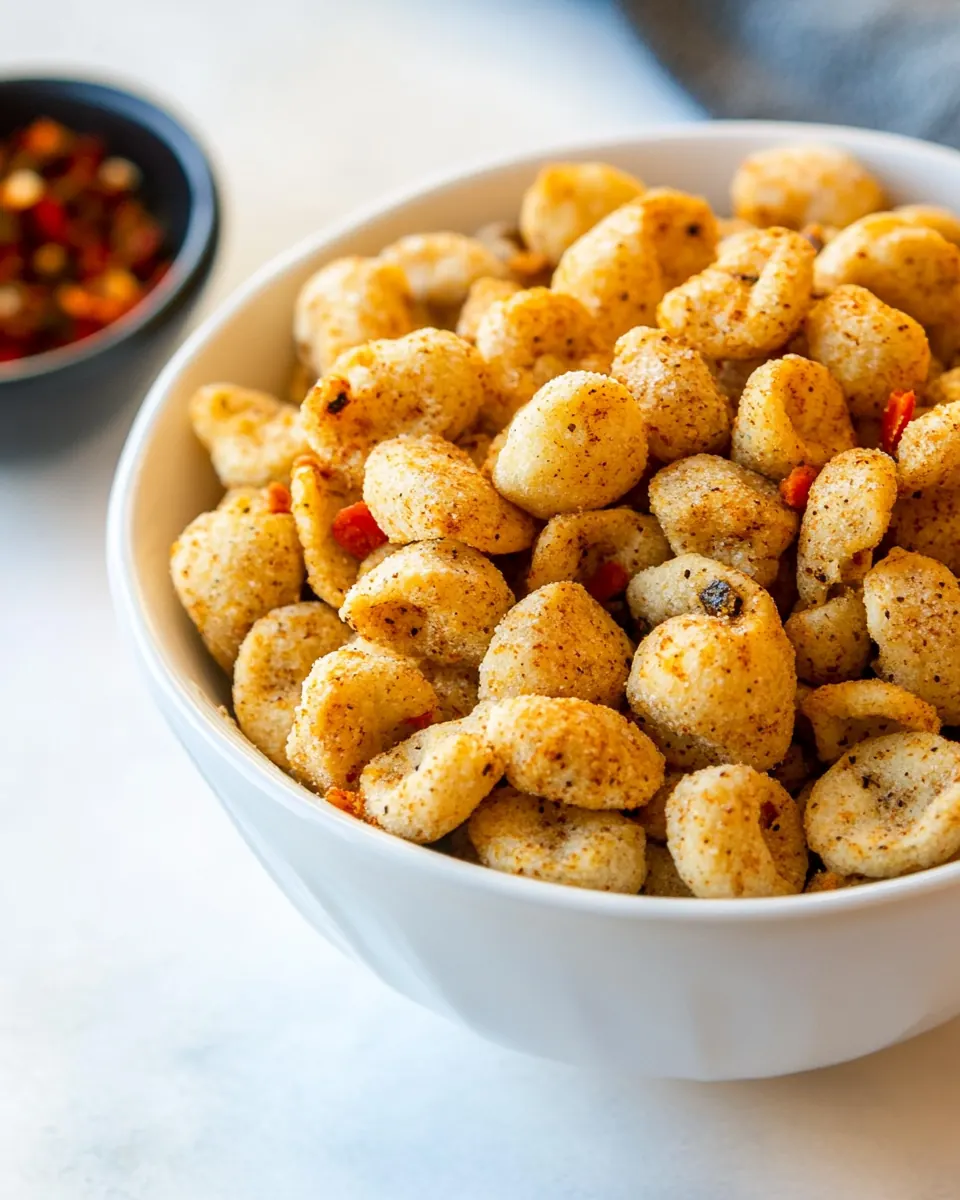
How to Serve Spicy Oyster Crackers
These crackers are versatile and crowd pleasing, ideal for casual gatherings or as an everyday nibble. I like to offer them in a bowl or a small jar for guests to help themselves. Pairings can be as simple or thoughtful as you like.
- Snack bowls serve a generous bowl of Spicy Oyster Crackers alongside other finger foods at parties so guests can graze throughout the event.
- Game night they are perfect for game nights because they are low fuss, not messy, and provide continuous crunch without utensils, keeping players focused on the fun.
- Lunchbox addition pack a small portion in a sealed container to add texture to a midday meal, just keep them separate from moist items to preserve crispness.
- Occasion-friendly bring them to casual gatherings, picnic baskets, or potlucks where easy transport and crowd approval matter most, they travel well and ship in jars as a homemade gift.
- Storage tips store cooled crackers in an airtight container at room temperature for up to 5 days, keeping them away from humidity to maintain the best crunch.
- Seasonal pairing these savory snacks work well year round, especially during cooler months when bold flavors feel comforting, and they also brighten up summer casual get togethers.
FAQ
Conclusion
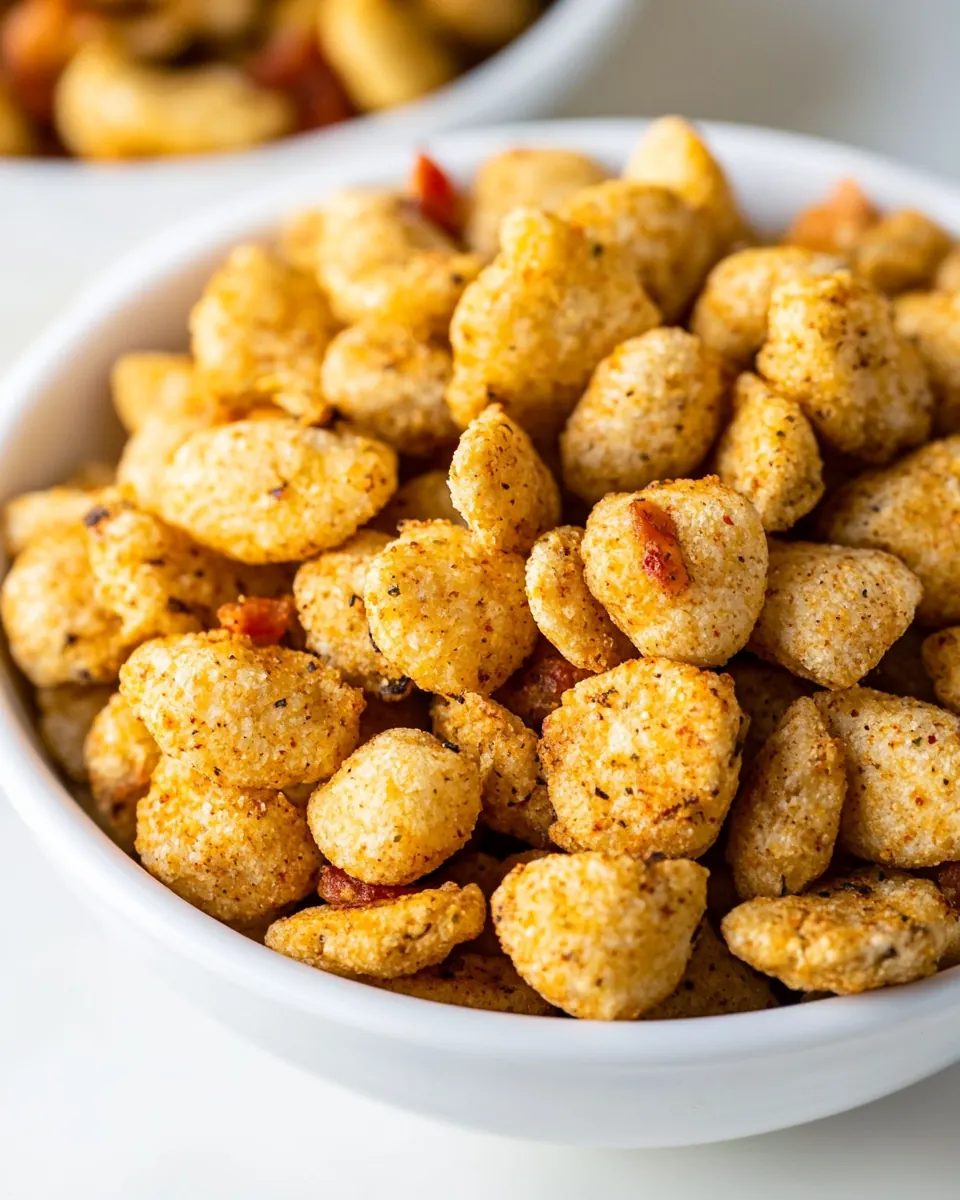
Spicy Oyster Crackers stand out because they turn simple pantry staples into a crunchy, flavorful snack that is both easy to make and crowd pleasing. The combination of ranch mix, crushed red pepper, garlic powder, and oil creates layers of savory and spicy taste that stick to every cracker. I encourage you to try this recipe when you need a fast, make ahead snack for a gathering or an everyday nibble. It’s forgiving, adaptable, and quick to prepare, so you can have a bowl ready with minimal effort and maximum enjoyment.
Spicy Oyster Crackers
Equipment
- Gallon zip bag
- Rimmed Baking Sheet
- Oven
Ingredients
- 1 pound oyster crackers or saltines Provide a crunchy base that soaks up flavors and delivers a salty, familiar snack texture; ideal for party platters and easy to portion. Works well with either oyster crackers or saltines, with saltines requiring a bit more oil to coat evenly.
- 2 packets ranch dip mix Add a tangy, herby seasoning that infuses the crackers with classic ranch flavor; contributes savory depth and a bit of powdered saltiness. Blended into the oil, it adheres well and helps distribute other spices evenly across the crackers.
- 2 tablespoons crushed red pepper Impart a sharp, warming heat that defines the snack’s spicy character while adding visual flecks and texture; adjust quantity to taste. Crushed red pepper blends into the oil to deliver consistent heat throughout the batch.
- 2 teaspoons garlic powder Introduce a warm, aromatic garlic note that enhances overall savoriness and complements both ranch seasoning and crushed red pepper. Garlic powder dissolves readily in the oil, ensuring even coverage without changing texture.
- 2/3 cup vegetable oil or light olive oil (1 1/4 cups for saltines) Bind and carry the dry seasonings onto the crackers while adding a slight richness and sheen; choice of vegetable or light olive oil affects flavor subtly. Use a larger amount when coating saltines to ensure full, even coverage without sogginess.
Instructions
- Place the crackers in a large gallon zip bag. Add in the ranch mix powder, crushed red pepper, and garlic powder. Shake the bag a little to distribute the seasoning.: As you pour in the crackers, listen for the soft cascade as they fill the bag, and notice how their dry, slightly salty aroma rises. Using a large gallon zip bag makes it easy to mix without spilling, and it lets you massage the seasoning into every nook. One common mistake is overfilling the bag which prevents even coating, so use a roomy bag so each cracker can move freely.
- Pour the oil into the bag. Zip and gently shake the crackers around to coat them evenly in seasoning. Allow the oyster crackers to rest for 30 minutes in the seasoning. (For saltines, it’s best to let them rest in the oil and seasoning for at least 3 hours, or even overnight!): When you add the powdered seasonings, take a moment to inhale the concentrated savory scent that hits you, a preview of the final snack. Sprinkle them evenly across the crackers so the flavors distribute as you shake. A frequent error is dumping all the seasoning in one spot which leads to clumps; try to scatter the powders and then close the bag to shake and diffuse the spices.
- Preheat the oven to 250 degrees F. Set out 2 large rimmed baking sheets. Spread the oyster crackers over the surface of the baking sheets.: The sound of the crackers rattling signals movement and mixing, and the light dusting on each piece should become visible. Gentle shaking ensures the powders contact the cracker surfaces so that when oil is added, the mixtures stick uniformly. Avoid aggressive shaking which can break fragile crackers and create crumbs that lead to uneven baking.
- Bake for 18-20 minutes. Cool completely before placing in an airtight storage container.: As you pour in the oil, watch how it glistens and coats the powders, turning them from dusty specks into glossy specks that will cling. The oil helps distribute the seasoning and penetrates tiny pores in the crackers. A common mistake is using too much oil at once which can make crackers soggy; measure carefully and add the recommended amount.
- Zip and gently shake the crackers around to coat them evenly in seasoning: Feel the bag as you gently tumble the crackers, and you will notice the mix begin to coat each piece with an even sheen. The goal is uniformity, so slow, controlled motion works best. If you skip this step or shake too roughly, some crackers will remain under seasoned and others over coated, affecting the balance of flavors.
- Allow the oyster crackers to rest for 30 minutes in the seasoning: During this pause, the oil and powders meld into the crackers, and you may catch a faint aroma of the spices deepening. Resting allows proper absorption, which prevents pockets of raw seasoning after baking. A mistake to avoid is shortening the rest period, because under rested crackers will have patchy flavor and a less integrated taste.
- For saltines, let them rest in the oil and seasoning for at least 3 hours or overnight: If you choose saltines , notice how they slowly darken as they absorb oil, a sign they are taking on the flavor. The extra rest time compensates for their density and helps achieve the same seasoned depth as oyster crackers. Rushing this step is the most common misstep with saltines , leading to a less flavorful end result.
- Preheat the oven to 250 degrees F: The oven should be set low so the crackers dry and toast evenly rather than browning too quickly. That warm, steady heat draws moisture out and crisps them uniformly. A frequent mistake is using a higher temperature which can scorch the seasonings and make the crackers bitter instead of toasty.
- Set out 2 large rimmed baking sheets and spread the oyster crackers over the surface: Arrange the crackers in a single layer so air circulates around each one, and listen for the quiet that comes with even spacing. Rimmed sheets keep any stray crumbs contained. Overcrowding the pan traps steam and leads to soggy crackers, so spread them out to maintain crispness.
- Bake for 18 to 20 minutes: During baking, breathe in faint toasty, nutty notes as the crackers warm and the seasonings bloom. Watch for a light golden hue developing, which signals they are ready. A common issue is underbaking which leaves them soft; if they still feel pliable at the edge of the time window, give them a few extra minutes but monitor closely to avoid over browning.
- Cool completely before placing in an airtight storage container: As the crackers cool, they firm up and reach their final crispness, and you will notice their aroma settle into a balanced savory heat. Cooling also prevents trapped steam from making them limp when stored. Placing them warm in a container is a typical mistake that causes condensation and ruins the crunch, so always wait until they are room temperature.
Notes
- Adjust the heat by reducing the crushed red pepper to 1 tablespoon for a milder snack, or increase to 3 tablespoons for a bolder kick. Taste as you go when you season to match your comfort level.
- Oil choices matter stick with neutral oils like vegetable oil or a mild light olive oil to keep the seasoning front and center. Strong flavored oils will compete with the ranch and garlic notes.
- Saltine swap if using saltines increase oil to 1 1/4 cups and rest for several hours so they absorb the seasoning fully and reach the same depth of flavor as oyster crackers.
- Make ahead you can season and bake crackers a day ahead, then store in an airtight container at room temperature to keep them crisp for up to 5 days, making them perfect for parties.
- Even coating ensure even distribution by shaking the bag gently and in stages rather than dumping everything at once, which prevents clumping and under seasoned pieces.
- Avoid overbaking check at 18 minutes and test a few crackers for crispness. If they are still slightly soft, add small increments of time, monitoring to prevent browning of the spices.