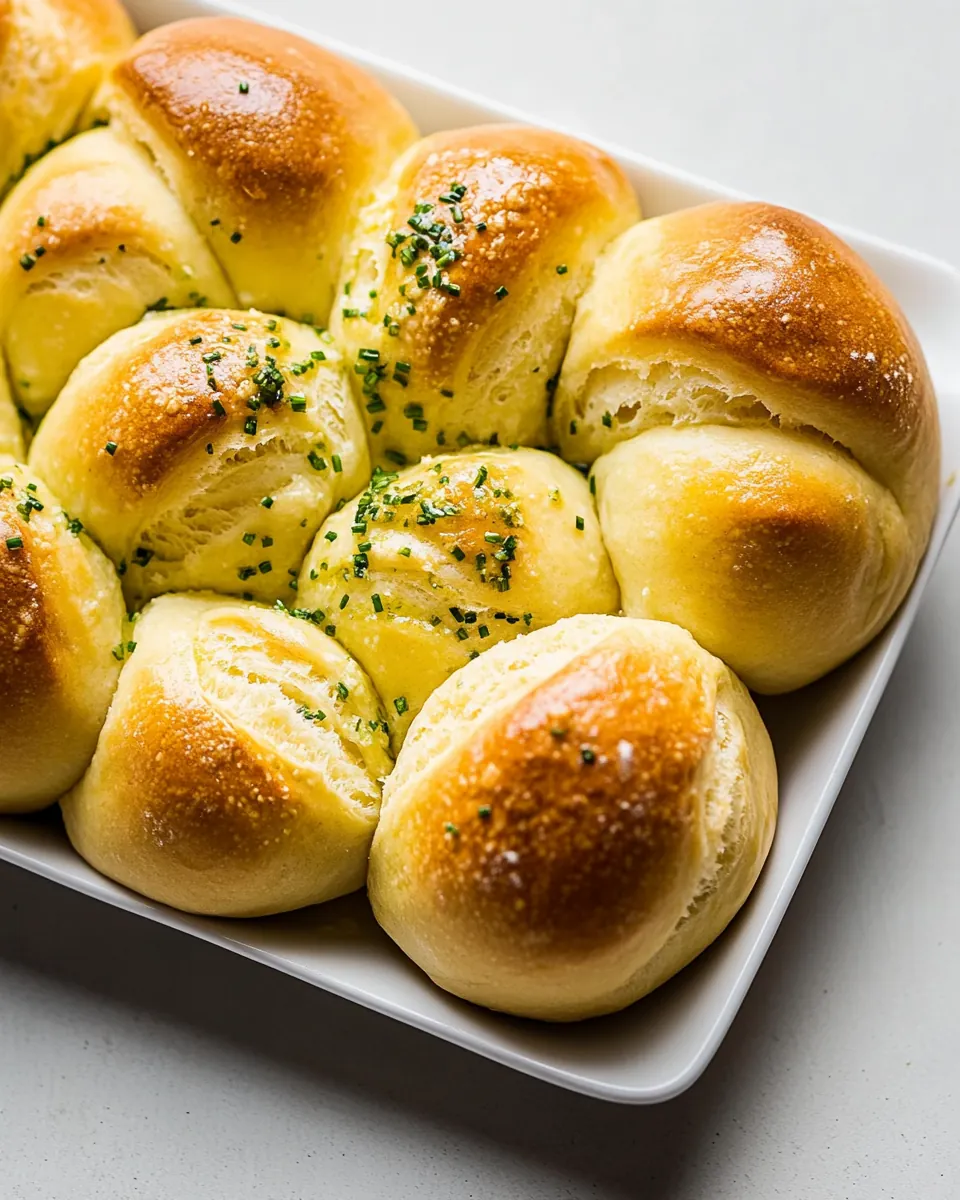
Sour Cream And Chive Clover Rolls
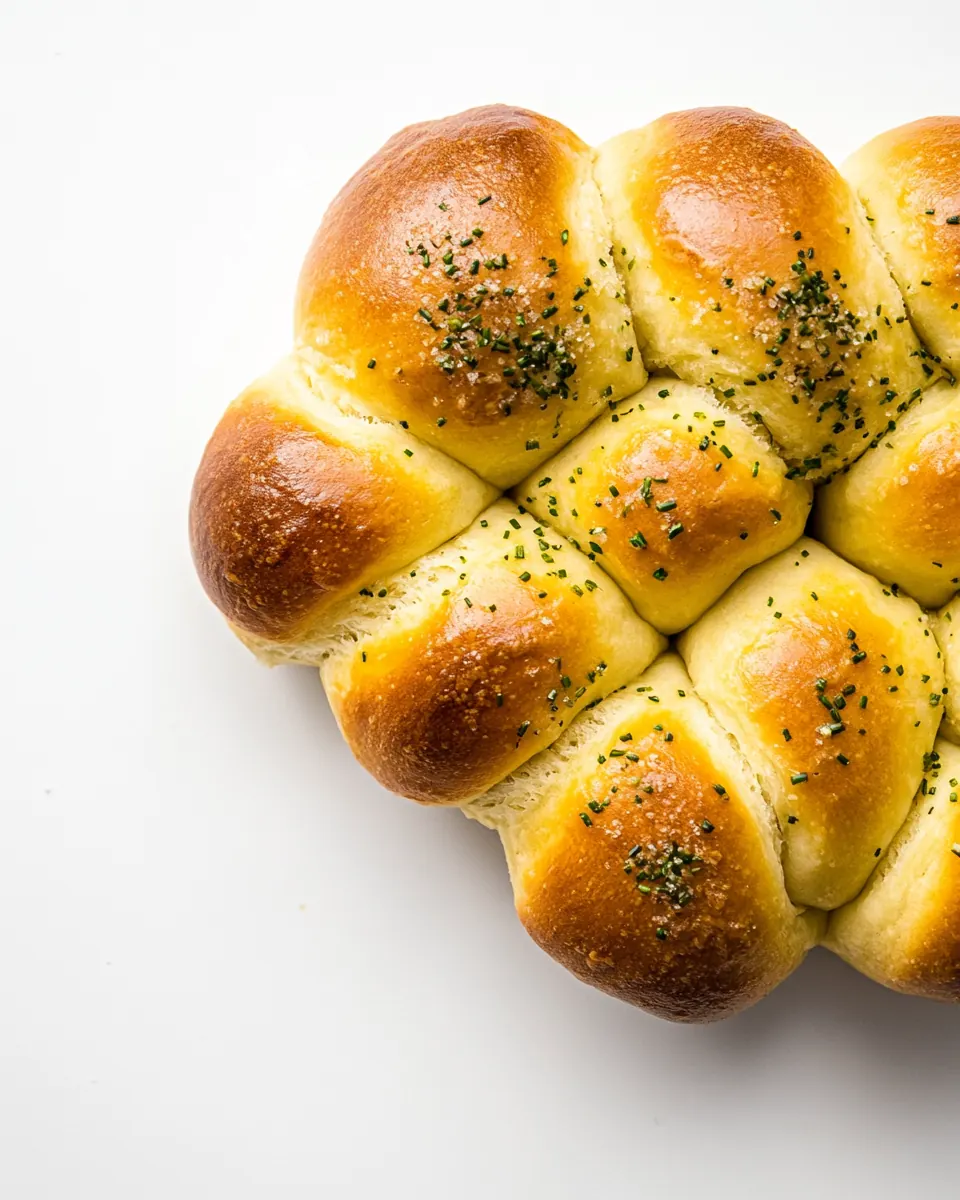
Sour Cream And Chive Clover Rolls are the kind of bread I reach for when I want something comfortingly soft, a little tangy, and crowned with fragrant herbs.
My earliest memory with these rolls involves a rainy Sunday when I was learning to bake with my grandmother. We worked in a warm kitchen, the radio playing quietly while I measured flour and she taught me how to tell when a dough had been kneaded enough. The first time I pulled a tray of these clover rolls from the oven, the buttery scent and the specks of chives made the whole house feel cozier. That batch stuck with me because the texture was pillowy, the crumb tender, and the outside had that glossy, golden finish that everyone reaches for first.
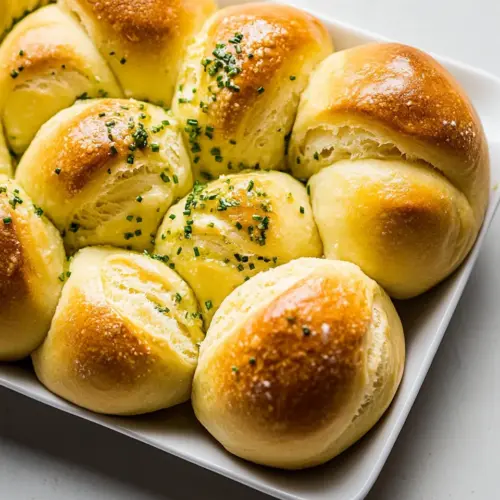
Over the years I adapted the process to be forgiving, swapping in a little extra sour cream for richness and adding a garlic chive butter to brush on while the rolls are still hot. When guests come over I often arrange these in a muffin tin, three little rolls per cup, and watch them disappear as plates are passed. They pair so well with simple soups and holiday spreads, and they’re joyful enough for celebratory tables yet humble enough for weekday dinners.
Recipe Snapshot
57 mins
45 mins
12 mins
Medium
200 kcal
American
Gluten-Free, Low FODMAP
Side Dishes
Mixer with dough hook, Medium saucepan, 12 cup muffin pan, Instant read thermometer
Why You Need This Sour Cream And Chive Clover Rolls
Buttery, Tangy Comfort
I love how the combination of sour cream and unsalted butter gives these rolls a tender crumb and a subtle tang that keeps each bite interesting. The dairy fat enriches the dough, resulting in rolls that feel indulgent without being heavy.
Herby Brightness
The addition of fresh chives punctuates every bite with a mild onion like brightness. I appreciate how a small amount of herbs lifts the overall profile, so the rolls never taste one dimensional.
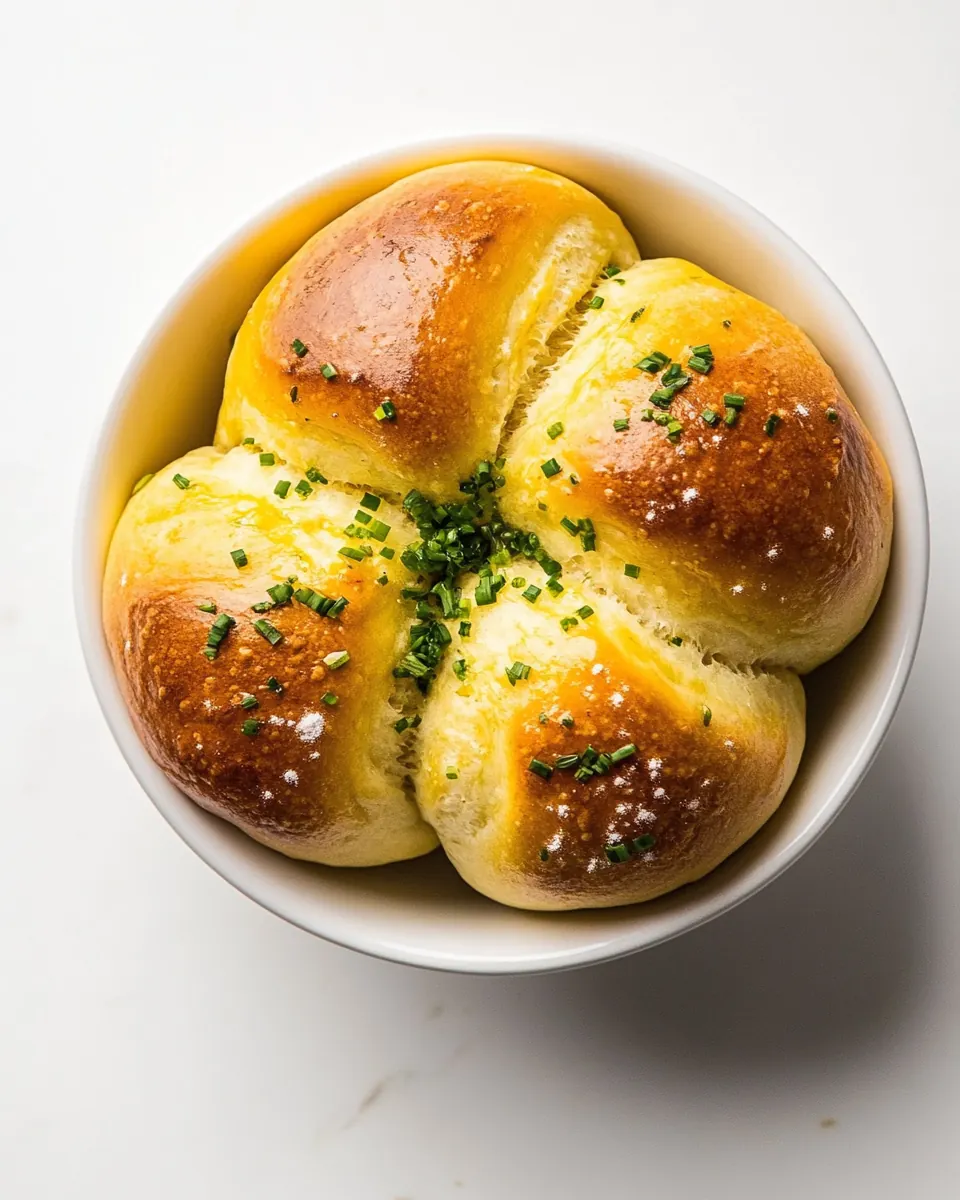
Fun Clover Presentation
Shaping these as clover rolls, three small balls per muffin cup, creates a charming pull apart effect. I enjoy the ritual of splitting a cluster, the soft interior revealing steam and that glossy, brushed top.
Make Ahead Friendly
These rolls are forgiving when it comes to timing, so you can prepare dough ahead or refrigerate the shaped rolls for a slow rise. I often prep the dough earlier in the day, then finish baking when guests arrive, which keeps things relaxed.
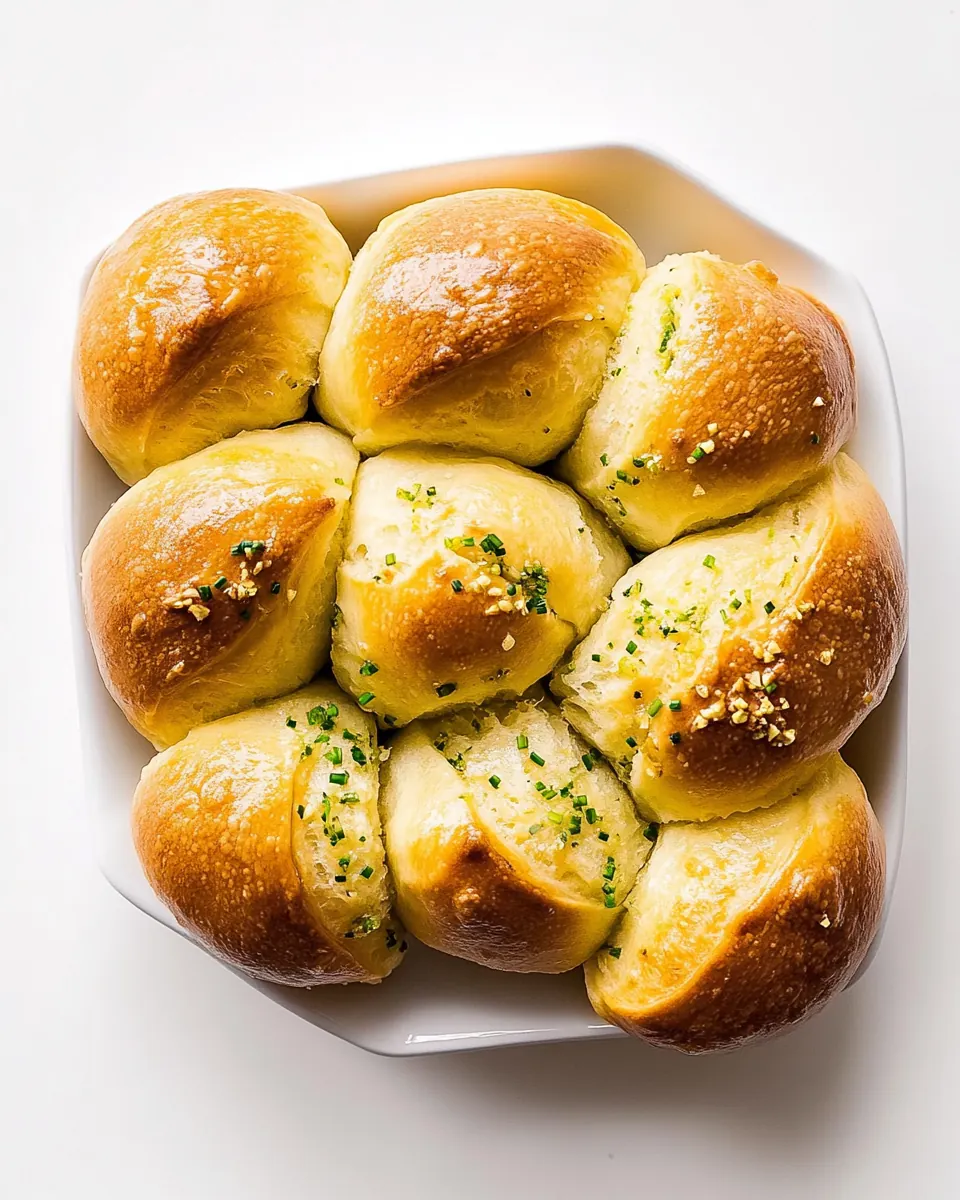
Garlic Chive Butter Finish
The final brush of Garlic Chive Butter adds a savory shine that transforms simple rolls into something memorable. I keep a jar chilled in the fridge, so it is ready to warm and spread when the rolls come out of the oven.
Main Ingredients for Sour Cream And Chive Clover Rolls
These ingredients are selected to build a dough that is tender, flavorful, and easy to shape. The balance of flour, fat, and dairy creates the structure and softness, while the yeast and a touch of sugar work together to give a reliable rise. The chives and garlic butter are the accents that make these rolls sing.
- 31/4 to 31/2 cups (406 to 438 grams) all-purpose flour, divided: Measure and sift to provide the dough's primary structure and bulk; contributes gluten for chew and determines final crumb when used in the specified amounts.
- 3 tablespoons (36 grams) granulated sugar: Add sweetness and help feed the yeast; balances savory flavors while contributing slight browning to the roll crust during baking.
- 1 tablespoon (9 grams) kosher salt: Season the dough and help control yeast activity; enhances overall flavor and strengthens gluten development when dissolved in the liquid.
- 21/4 teaspoons (7 grams) instant yeast: Leaven to create rise and lightness in the dough; activates quickly in warm liquid to produce gases that aerate the rolls.
- 1 teaspoon (2 grams) ground black pepper: Season and add subtle warmth and complexity; complements savory notes in the dough and in the finished rolls.
- 1/2 cup (120 grams) plus 1 tablespoon (15 grams) water, divided: Hydrate the flour and activate the yeast; precise division supports mixing and dough consistency for proper gluten development.
- 1/2 cup (120 grams) sour cream: Contribute fat and acidity for tender crumb and tang; enriches dough with moisture and a slight tart flavor that brightens the rolls.
- 1/4 cup (57 grams) unsalted butter, cubed: Provide richness and tenderizing fat; melts during baking to create a softer crumb and add buttery flavor throughout the rolls.
- 2 large eggs (100 grams), room temperature and divided: Enrich the dough with fat and structure; eggs add moisture, help with browning, and contribute to the roll's crumb and stability.
- 3 tablespoons (9 grams) finely chopped fresh chives: Add a fresh, onion-like herbal bite; dispersed through the dough these mild alliums brighten flavor and provide visual flecks.
- Garlic-Chive Butter (recipe follows): Prepare and use to brush or fill; a compound butter blend that layers savory, garlicky, and herbal flavors into the rolls.
- 1 cup (227 grams) unsalted butter, room temperature: Soften and blend thoroughly to form a smooth compound butter; delivers rich, creamy mouthfeel and carries chive and garlic flavors.
- 2 tablespoons (6 grams) finely chopped fresh chives: Provide a bright herbal note when mixed into butter; finely chopped chives add color and a mild oniony taste to the spread.
- 2 cloves garlic (6 grams), grated: Impart pungent, aromatic depth to the compound butter; grated garlic releases oils that infuse the butter with savory character.
- 1 teaspoon (3 grams) kosher salt: Season the compound butter for balanced taste; kosher salt enhances and rounds the garlic–chive mixture without overpowering it.
- 1/2 teaspoon (1 gram) ground black pepper: Add a mild spicy note to the compound butter; ground black pepper rounds flavors and provides a gentle heat contrast.
Preparation Steps for Sour Cream And Chive Clover Rolls
I like to approach the preparation with calm and focus because the dough responds best to consistent handling. Follow the sequence and trust the sensory cues, like how the dough feels and how the aromas develop. Below I expand on each direction so you know precisely what to look for.
- In the bowl of the Ooni Halo Pro Spiral Mixer, whisk together 11/2 cups (188 grams) flour, sugar, salt, yeast, and pepper by hand until combined. Attach dough hook and breaker bar.: The aroma of dry ingredients is subtle but you can sense the salt and pepper when you bring them close. Whisking evenly distributes yeast and seasonings, which prevents pockets of salt or yeast that could affect the rise. Attaching the dough hook and breaker bar sets you up for consistent mixing later. A common mistake is adding yeast directly to very warm liquids later, which can kill it, so pre mixing keeps things balanced.
- In a medium saucepan, heat 1/2 cup (120 grams) water, sour cream, and butter over medium-low heat, stirring frequently, until butter is melted and an instant-read thermometer registers 120°F (49°C) to 130°F (54°C). Add sour cream mixture and 1 egg (50 grams) to flour mixture; beat at medium-low speed, 30%, until combined, 1 to 2 minutes, stopping to scrape sides of bowl. With mixer on medium-low speed, 30%, gradually add 13/4 cups (219 grams) flour and chives, beating just until combined and stopping to scrape sides of bowl. Slowly increase mixer speed to medium, 50%. Beat until a soft, elastic dough forms, 6 to 10 minutes. Dough will pull away from sides of bowl and gather around the dough hook, and a small piece of dough will stretch until thin and translucent without tearing. Add up to remaining 1/4 cup (31 grams) flour, 1 tablespoon (8 grams) at a time, if dough is too sticky.: You will see the butter fully melt and the mixture steam gently without simmering. Aim for that warm temperature range because it ensures the mixture is comfortable to the touch and safe for the yeast and eggs you will add. This step adds richness and allows the sour cream to integrate without curdling. Avoid overheating, because too hot a mixture will cook the egg or kill the yeast.
- Lightly spray a large bowl with cooking spray. Place dough in bowl, turning to grease top. Cover and let rise in a warm, draft-free place (75°F/24°C) until doubled in size, 30 to 45 minutes.: Once the wet mix hits the dry, the bowl will give off a faint dairy scent, and the batter will begin to come together. Beating at a low speed helps hydrate the flour gradually, avoiding a dry outer ring. Scraping the bowl is important so no dry pockets of flour remain. If you skip scraping, you risk uneven texture and under developed gluten.
- Spray a 12-cup muffin pan with cooking spray.: As you bring in more flour and the chives , the dough will become thicker and flecked with green. The dough should still be tacky but not overly wet. Gradual addition allows you to feel when the dough reaches the right consistency. A frequent error is adding all the flour at once, which can lead to a dense dough or over mixing.
- Turn out dough onto a clean surface, and divide into 36 portions (about 21 grams each). Shape each portion into a ball; place 3 dough balls in each prepared muffin cup. Cover and let rise in a warm, draft-free place (75°F/24°C) until puffed, about 30 minutes.: During this period the dough will change noticeably, becoming smoother and slightly glossy as gluten develops. You can do the windowpane test by stretching a small piece of dough to see if it becomes thin and translucent. The sound from the mixer will soften and the dough will gather around the hook. Over kneading will make the dough tight and tough, so watch the texture more than the clock.
- Preheat oven to 375°F (190°C).: That translucent stretch is the best indicator that gluten is developed. If the dough is sticking excessively to your fingers, add small increments of flour and observe the feel. Adding too much flour can dry the dough, so take it slow. A common trap is assuming stickiness means under kneaded when it could simply mean slightly higher humidity.
- In a small bowl, whisk together remaining 1 egg (50 grams) and remaining 1 tablespoon (15 grams) water; brush onto dough.: As the dough rests, yeast activity produces a sweet, yeasty smell and the dough will visibly expand and soften. Turning the dough in the greased bowl helps prevent a skin forming. If your kitchen is cooler, allow extra time or find a warm corner; if too warm, the dough can over proof and collapse. A mistake to avoid is rushing this step because under proofed dough will be dense after baking.
- Bake until golden brown and an instant-read thermometer inserted in center registers at least 190°F (88°C), 10 to 12 minutes. Brush Garlic-Chive Butter onto hot rolls; serve warm with remaining butter.: Greasing the pan ensures the clover rolls release easily after baking and helps develop slightly crisp edges where dough meets the metal. You should notice a sheen on the pan when it is properly prepared. Skipping greasing can result in tearing when removing the rolls, and it will affect presentation.
- In a small bowl, stir together all ingredients until smooth. Refrigerate in an airtight container for up to 2 weeks.: Dividing into uniform portions ensures even baking. As you roll the balls, the dough should feel smooth and slightly springy. Three small rolls per cup form the clover shape as they proof and expand. Uneven portions will bake at different rates, so weigh or estimate portions carefully to avoid some being under or over baked.
- Preheat oven to 375 F (190 C): The oven should reach temperature before you put the rolls in so they get an immediate lift and set their crust. You will notice a dry, warm smell when the oven is ready. Placing the rolls into a cold oven can make them bake unevenly and produce a dense crumb.
- In a small bowl, whisk together remaining 1 egg (50 grams) and remaining 1 tablespoon (15 grams) water; brush onto dough: The egg wash creates that glossy, golden exterior and helps the butter adhere after baking. Brush gently so you do not deflate the proofed rolls. Over brushing can weigh down the dough and affect final height.
- Bake until golden brown and an instant read thermometer inserted in center registers at least 190 F (88 C), 10 to 12 minutes. Brush Garlic Chive Butter onto hot rolls; serve warm with remaining butter: As the rolls bake you will see them rise and the tops turn a warm golden color, releasing a buttery, herb laden aroma. Using an instant read thermometer ensures the centers are fully cooked without over browning. Immediately brushing the hot rolls with the Garlic Chive Butter melts the spread into the crust, giving a shiny, savory finish. A typical mistake is removing them too soon, which leaves the centers gummy, or leaving them too long, which dries them out.
- In a small bowl, stir together all ingredients until smooth. Refrigerate in an airtight container for up to 2 weeks: The compound butter will smell vibrantly of garlic and chives when mixed. Chilling firms the butter so it is easy to spread or warm for brushing. Keep it sealed to preserve flavor and avoid absorbing other fridge odors. Failing to cool the butter properly can lead to separation or lost texture.
Making Adjustments
I often tailor simple elements to match the occasion or pantry. Small changes in handling or timing can shift texture and flavor while keeping the core character of these clover rolls intact. Below I share practical tweaks and variations I use in my own kitchen.
- Adjusting flour Add the flour gradually and stop when the dough feels tacky but manageable, because humidity and flour brand change absorption and you want a tender crumb without a dry texture.
- Sour cream swap tips If your sour cream is very thick, whisk it with the measured water first so it blends smoothly into the warmed mixture, preventing lumps and ensuring even hydration.
- Timing for busy days For a make ahead approach, shape the rolls into the muffin pan and refrigerate overnight; bring to room temperature and finish the final proof before baking to save active prep time.
- Herb intensity Increase the amount of chopped chives in the dough or in the compound butter if you want a brighter herb presence, remembering that fresh herbs are more potent than dried.
- Butter handling Keep the garlic chive butter chilled until just before brushing, then warm slightly so it spreads easily without becoming greasy or separating on the hot rolls.
Side Dish Ideas for Sour Cream And Chive Clover Rolls
These clover rolls are versatile companions, fitting into weeknight dinners, celebratory tables, and casual brunches. Below are serving ideas and pairings that highlight the rolls while offering storage and seasonal suggestions.
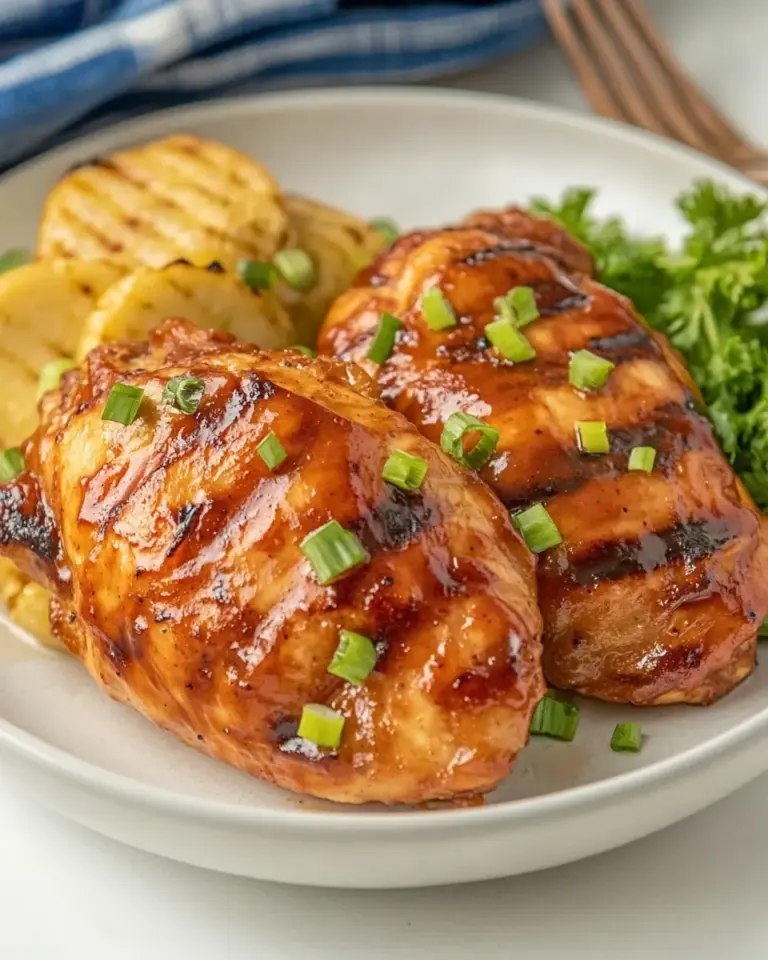
- Classic soup pairing Serve the rolls with a bowl of creamy soup for a comforting meal. The tender interior soaks up broth, making each bite satisfying and cozy for a family dinner.
- Holiday spread Add these rolls to a celebratory table as a soft, pull apart bread option. Their attractive clover shape and herby finish make them ideal alongside roasted vegetables and mains at festive gatherings.
- Brunch accompaniment Place a small dish of softened Garlic Chive Butter next to the rolls for a brunch where guests can spread or melt it into warm bread, creating a memorable morning offering.
- Storage basics Keep leftover rolls in an airtight container at room temperature for up to two days, or freeze cooled rolls in a sealed bag for up to one month; reheat gently so they regain warmth without drying.
- Seasonal notes In spring, highlight fresh herbs and lighter mains; in cooler months, pair with more robust, creamy soups or stews where the rolls provide a tender contrast.
- Serving for gatherings Arrange the muffin tin right on the table for a rustic presentation, and provide small knives so guests can spread chilled compound butter, encouraging communal sharing.
FAQ
Conclusion
What makes these rolls special is their tender, tangy crumb and the bright herb finish from the chives and garlic chive butter. They are approachable to make, yet feel elevated enough for gatherings and holidays. I encourage you to give them a try, whether you bake a tray for a weeknight dinner or a celebratory table. Enjoy the ritual of shaping and sharing, and take a moment to taste the butter melting into the warm rolls.
Sour Cream And Chive Clover Rolls
Equipment
- Mixer with dough hook
- Medium Saucepan
- 12-Cup Muffin Pan
- Instant read thermometer
Ingredients
- 31/4 to 31/2 cups (406 to 438 grams) all-purpose flour, divided Measure and sift to provide the dough's primary structure and bulk; contributes gluten for chew and determines final crumb when used in the specified amounts.
- 3 tablespoons (36 grams) granulated sugar Add sweetness and help feed the yeast; balances savory flavors while contributing slight browning to the roll crust during baking.
- 1 tablespoon (9 grams) kosher salt Season the dough and help control yeast activity; enhances overall flavor and strengthens gluten development when dissolved in the liquid.
- 21/4 teaspoons (7 grams) instant yeast Leaven to create rise and lightness in the dough; activates quickly in warm liquid to produce gases that aerate the rolls.
- 1 teaspoon (2 grams) ground black pepper Season and add subtle warmth and complexity; complements savory notes in the dough and in the finished rolls.
- 1/2 cup (120 grams) plus 1 tablespoon (15 grams) water, divided Hydrate the flour and activate the yeast; precise division supports mixing and dough consistency for proper gluten development.
- 1/2 cup (120 grams) sour cream Contribute fat and acidity for tender crumb and tang; enriches dough with moisture and a slight tart flavor that brightens the rolls.
- 1/4 cup (57 grams) unsalted butter, cubed Provide richness and tenderizing fat; melts during baking to create a softer crumb and add buttery flavor throughout the rolls.
- 2 large eggs (100 grams), room temperature and divided Enrich the dough with fat and structure; eggs add moisture, help with browning, and contribute to the roll's crumb and stability.
- 3 tablespoons (9 grams) finely chopped fresh chives Add a fresh, onion-like herbal bite; dispersed through the dough these mild alliums brighten flavor and provide visual flecks.
- Garlic-Chive Butter (recipe follows) Prepare and use to brush or fill; a compound butter blend that layers savory, garlicky, and herbal flavors into the rolls.
- 1 cup (227 grams) unsalted butter, room temperature Soften and blend thoroughly to form a smooth compound butter; delivers rich, creamy mouthfeel and carries chive and garlic flavors.
- 2 tablespoons (6 grams) finely chopped fresh chives Provide a bright herbal note when mixed into butter; finely chopped chives add color and a mild oniony taste to the spread.
- 2 cloves garlic (6 grams), grated Impart pungent, aromatic depth to the compound butter; grated garlic releases oils that infuse the butter with savory character.
- 1 teaspoon (3 grams) kosher salt Season the compound butter for balanced taste; kosher salt enhances and rounds the garlic-chive mixture without overpowering it.
- 1/2 teaspoon (1 gram) ground black pepper Add a mild spicy note to the compound butter; ground black pepper rounds flavors and provides a gentle heat contrast.
Instructions
- In the bowl of the Ooni Halo Pro Spiral Mixer, whisk together 11/2 cups (188 grams) flour, sugar, salt, yeast, and pepper by hand until combined. Attach dough hook and breaker bar.: The aroma of dry ingredients is subtle but you can sense the salt and pepper when you bring them close. Whisking evenly distributes yeast and seasonings, which prevents pockets of salt or yeast that could affect the rise. Attaching the dough hook and breaker bar sets you up for consistent mixing later. A common mistake is adding yeast directly to very warm liquids later, which can kill it, so pre mixing keeps things balanced.
- In a medium saucepan, heat 1/2 cup (120 grams) water, sour cream, and butter over medium-low heat, stirring frequently, until butter is melted and an instant-read thermometer registers 120°F (49°C) to 130°F (54°C). Add sour cream mixture and 1 egg (50 grams) to flour mixture; beat at medium-low speed, 30%, until combined, 1 to 2 minutes, stopping to scrape sides of bowl. With mixer on medium-low speed, 30%, gradually add 13/4 cups (219 grams) flour and chives, beating just until combined and stopping to scrape sides of bowl. Slowly increase mixer speed to medium, 50%. Beat until a soft, elastic dough forms, 6 to 10 minutes. Dough will pull away from sides of bowl and gather around the dough hook, and a small piece of dough will stretch until thin and translucent without tearing. Add up to remaining 1/4 cup (31 grams) flour, 1 tablespoon (8 grams) at a time, if dough is too sticky.: You will see the butter fully melt and the mixture steam gently without simmering. Aim for that warm temperature range because it ensures the mixture is comfortable to the touch and safe for the yeast and eggs you will add. This step adds richness and allows the sour cream to integrate without curdling. Avoid overheating, because too hot a mixture will cook the egg or kill the yeast.
- Lightly spray a large bowl with cooking spray. Place dough in bowl, turning to grease top. Cover and let rise in a warm, draft-free place (75°F/24°C) until doubled in size, 30 to 45 minutes.: Once the wet mix hits the dry, the bowl will give off a faint dairy scent, and the batter will begin to come together. Beating at a low speed helps hydrate the flour gradually, avoiding a dry outer ring. Scraping the bowl is important so no dry pockets of flour remain. If you skip scraping, you risk uneven texture and under developed gluten.
- Spray a 12-cup muffin pan with cooking spray.: As you bring in more flour and the chives , the dough will become thicker and flecked with green. The dough should still be tacky but not overly wet. Gradual addition allows you to feel when the dough reaches the right consistency. A frequent error is adding all the flour at once, which can lead to a dense dough or over mixing.
- Turn out dough onto a clean surface, and divide into 36 portions (about 21 grams each). Shape each portion into a ball; place 3 dough balls in each prepared muffin cup. Cover and let rise in a warm, draft-free place (75°F/24°C) until puffed, about 30 minutes.: During this period the dough will change noticeably, becoming smoother and slightly glossy as gluten develops. You can do the windowpane test by stretching a small piece of dough to see if it becomes thin and translucent. The sound from the mixer will soften and the dough will gather around the hook. Over kneading will make the dough tight and tough, so watch the texture more than the clock.
- Preheat oven to 375°F (190°C).: That translucent stretch is the best indicator that gluten is developed. If the dough is sticking excessively to your fingers, add small increments of flour and observe the feel. Adding too much flour can dry the dough, so take it slow. A common trap is assuming stickiness means under kneaded when it could simply mean slightly higher humidity.
- In a small bowl, whisk together remaining 1 egg (50 grams) and remaining 1 tablespoon (15 grams) water; brush onto dough.: As the dough rests, yeast activity produces a sweet, yeasty smell and the dough will visibly expand and soften. Turning the dough in the greased bowl helps prevent a skin forming. If your kitchen is cooler, allow extra time or find a warm corner; if too warm, the dough can over proof and collapse. A mistake to avoid is rushing this step because under proofed dough will be dense after baking.
- Bake until golden brown and an instant-read thermometer inserted in center registers at least 190°F (88°C), 10 to 12 minutes. Brush Garlic-Chive Butter onto hot rolls; serve warm with remaining butter.: Greasing the pan ensures the clover rolls release easily after baking and helps develop slightly crisp edges where dough meets the metal. You should notice a sheen on the pan when it is properly prepared. Skipping greasing can result in tearing when removing the rolls, and it will affect presentation.
- In a small bowl, stir together all ingredients until smooth. Refrigerate in an airtight container for up to 2 weeks.: Dividing into uniform portions ensures even baking. As you roll the balls, the dough should feel smooth and slightly springy. Three small rolls per cup form the clover shape as they proof and expand. Uneven portions will bake at different rates, so weigh or estimate portions carefully to avoid some being under or over baked.
- Preheat oven to 375 F (190 C): The oven should reach temperature before you put the rolls in so they get an immediate lift and set their crust. You will notice a dry, warm smell when the oven is ready. Placing the rolls into a cold oven can make them bake unevenly and produce a dense crumb.
- In a small bowl, whisk together remaining 1 egg (50 grams) and remaining 1 tablespoon (15 grams) water; brush onto dough: The egg wash creates that glossy, golden exterior and helps the butter adhere after baking. Brush gently so you do not deflate the proofed rolls. Over brushing can weigh down the dough and affect final height.
- Bake until golden brown and an instant read thermometer inserted in center registers at least 190 F (88 C), 10 to 12 minutes. Brush Garlic Chive Butter onto hot rolls; serve warm with remaining butter: As the rolls bake you will see them rise and the tops turn a warm golden color, releasing a buttery, herb laden aroma. Using an instant read thermometer ensures the centers are fully cooked without over browning. Immediately brushing the hot rolls with the Garlic Chive Butter melts the spread into the crust, giving a shiny, savory finish. A typical mistake is removing them too soon, which leaves the centers gummy, or leaving them too long, which dries them out.
- In a small bowl, stir together all ingredients until smooth. Refrigerate in an airtight container for up to 2 weeks: The compound butter will smell vibrantly of garlic and chives when mixed. Chilling firms the butter so it is easy to spread or warm for brushing. Keep it sealed to preserve flavor and avoid absorbing other fridge odors. Failing to cool the butter properly can lead to separation or lost texture.
Notes
- Adjusting flour Add the flour gradually and stop when the dough feels tacky but manageable, because humidity and flour brand change absorption and you want a tender crumb without a dry texture.
- Sour cream swap tips If your sour cream is very thick, whisk it with the measured water first so it blends smoothly into the warmed mixture, preventing lumps and ensuring even hydration.
- Timing for busy days For a make ahead approach, shape the rolls into the muffin pan and refrigerate overnight; bring to room temperature and finish the final proof before baking to save active prep time.
- Herb intensity Increase the amount of chopped chives in the dough or in the compound butter if you want a brighter herb presence, remembering that fresh herbs are more potent than dried.
- Butter handling Keep the garlic chive butter chilled until just before brushing, then warm slightly so it spreads easily without becoming greasy or separating on the hot rolls.