
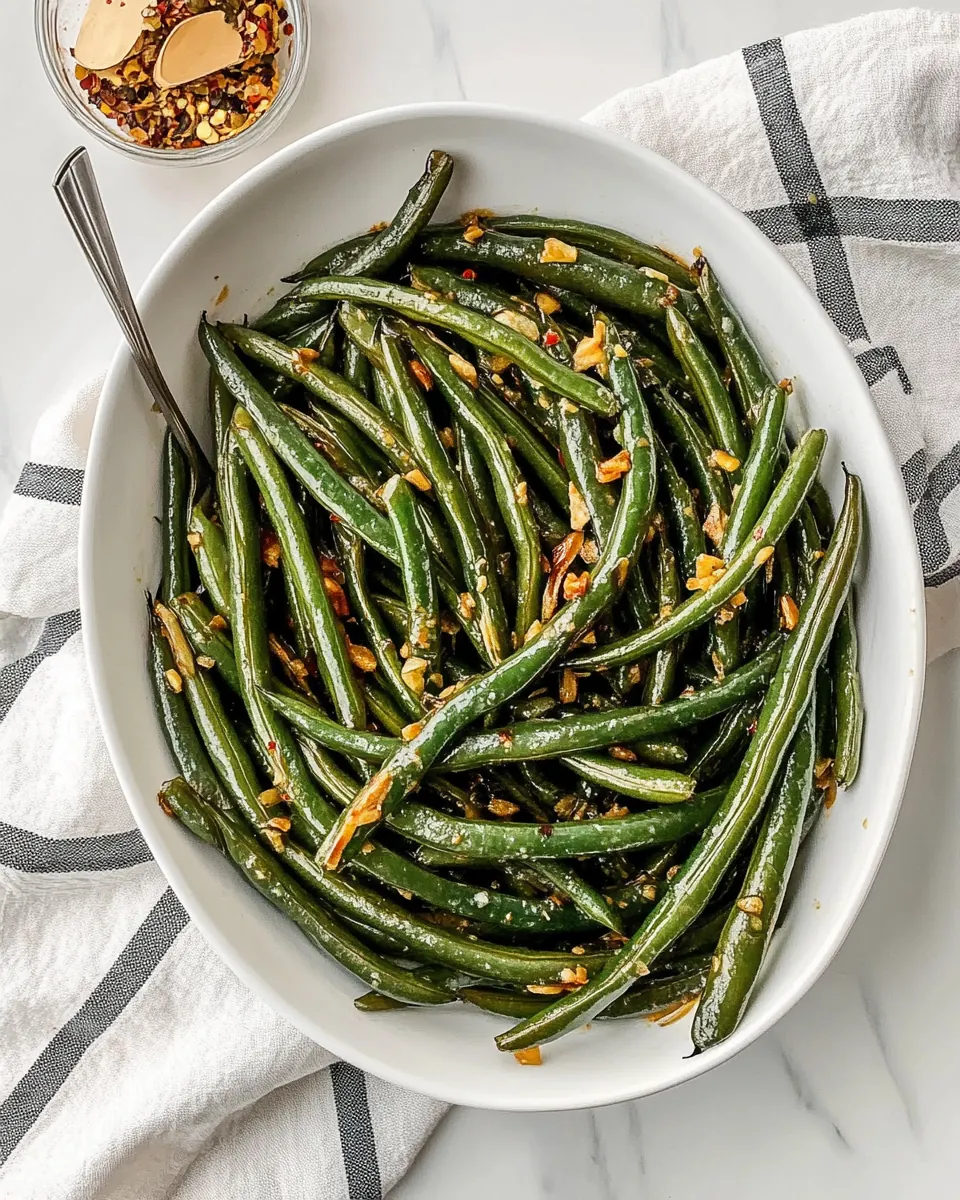
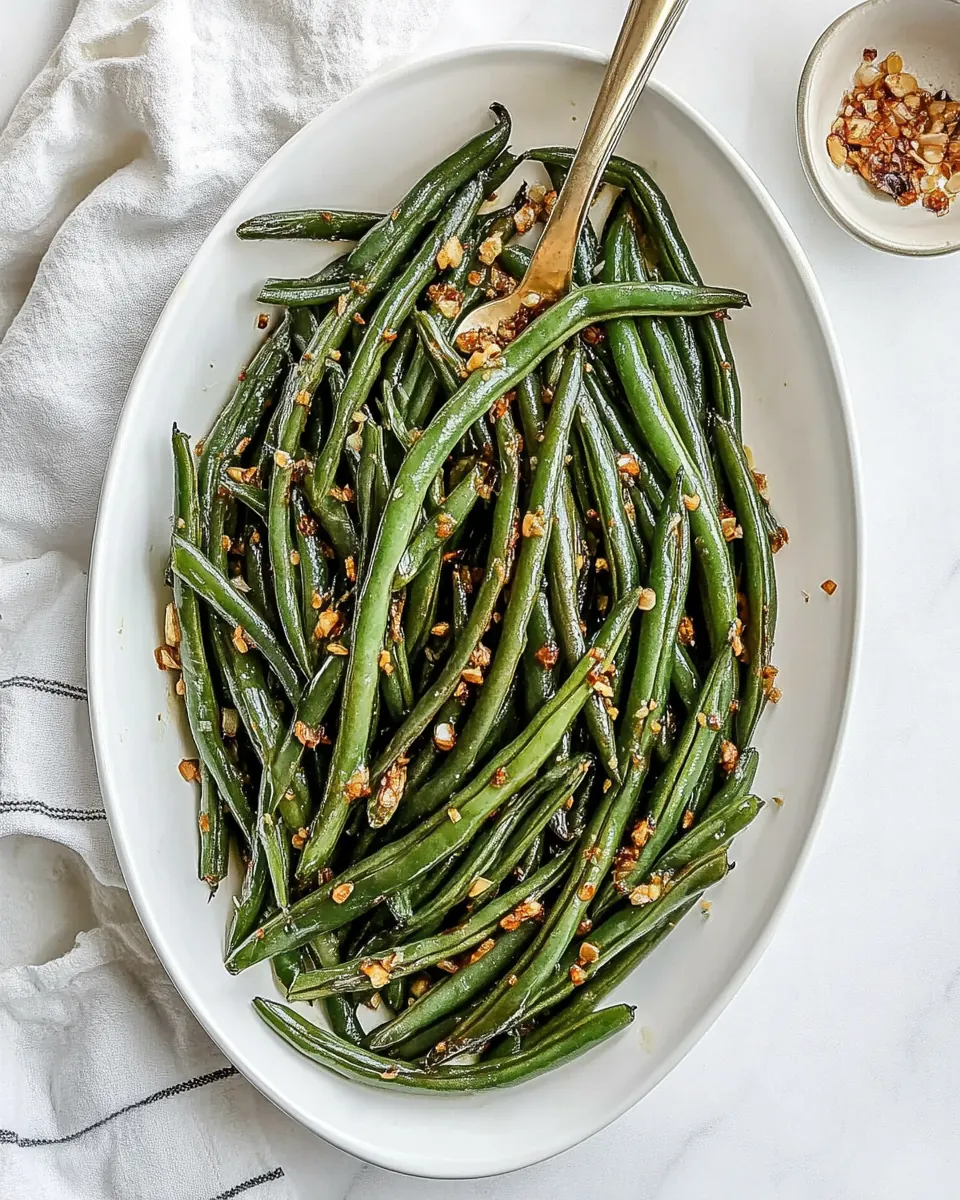
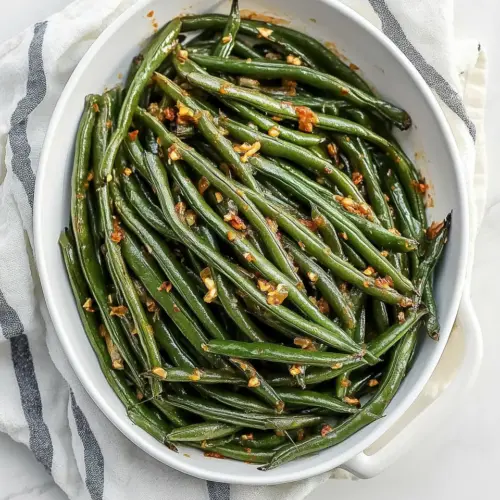
Garlicky Blistered Green Beans
Garlicky Blistered Green Beans is one of those simple side dishes I reach for when I want something that tastes special yet comes together in a flash. The first time I made it, I was rushing between errands and needed a vegetable that could stand up to bold flavors without much fuss, and these green beans delivered. The bite of crisp tender green beans brightened by toasty, sliced garlic felt like a little celebratory moment on the plate, even if the rest of the meal was humble.
I remember standing at the stove, stirring, inhaling that warm garlic aroma as it hit the hot fat. It reminded me that great food can be about small choices, like the fat you use, and the patience to let edges caramelize in the pan. A skillet plus a quick broil gives you that slightly charred, blistered texture I adore, with pops of crunchy, garlicky goodness. Since then, this has become my go to when guests arrive unexpectedly, or when I want a no drama vegetable that still gets compliments.
Recipe Snapshot
25 mins
5 mins
20 mins
Easy
120 kcal
American
Gluten-Free, Vegan
Side Dishes
Oven Safe Skillet, Broiler
What’s Great About This Garlicky Blistered Green Beans
Bold flavor from minimal ingredients
I love how Garlicky Blistered Green Beans proves you do not need a long ingredient list to make something memorable. With pantry staples like garlic, a cooking fat, and green beans, the flavors sing because each element has room to shine. I often tell friends that investing a moment in technique beats adding more ingredients.
Texture that’s irresistible
One reason I return to this recipe again and again is the contrast of tender inside and blistered outside. The quick sauté followed by a high broil creates little browned edges that provide a satisfying chew. When serving, I notice people reach for seconds because that texture feels elevated, not mushy or steamed to death.
Speed and versatility
This dish is a lifesaver for weeknight dinners because it comes together fast, yet it pairs beautifully with everything from roasted poultry to grain bowls. I love that it can slot into casual family meals or a pulled together holiday table without stealing the spotlight, while still earning compliments.
Customizable to taste and diet
I appreciate how easy it is to tailor. Use a butter for richness or an oil for dairy free and vegan options, and you still get great flavor. I often swap the cooking fat depending on what I have on hand, and the result is consistently satisfying.
Kitchen confidence booster
Because the method is straightforward, it’s a great recipe to build skills. Mastering the timing, listening for the sizzle, and learning when to broil instead of continuing on the stove are little wins that make me feel like a more confident home cook.
Key Ingredients for Garlicky Blistered Green Beans
These few ingredients come together with a clear philosophy: keep it focused and let heat do the work. The cast of players is small, but each has a role. The cooking fat carries and amplifies flavor, the garlic provides aromatic punch, and the green beans deliver fresh, seasonal crunch. Salt and pepper are simple but essential, coaxing out the natural sweetness and balancing the caramelized edges.
- 1/4 cup ghee or unsalted butter or extra-virgin olive oil for dairy-free and vegan options: Provides rich, silky fat that carries flavor and promotes a golden sear; choose ghee or unsalted butter for a nutty, creamy profile or extra–virgin olive oil for a lighter, dairy–free option. Helps blister the green beans quickly over high heat while coating them for even browning and aromatic infusion. Adds mouthfeel and helps garlic release its flavors without burning when used at the proper temperature.
- 8 cloves garlic sliced: Adds intense aromatic punch and mellow sweetness when sliced; garlic flavors infuse the fat and green beans as it cooks, creating a fragrant base for the dish. Slices brown and crisp slightly at the edges to provide textural contrast and a concentrated savory bite that complements the beans.
- 2 pounds green beans trimmed: Offers fresh, tender-crisp vegetable substance and vibrant color; trimming removes tough stem ends for a pleasant eating texture. Blistering the beans concentrates their natural sweetness and gives a slight char that enhances overall flavor while preserving a satisfying snap.
- 1 teaspoon fine sea salt: Seasons and enhances the natural flavors of the dish with a clean, balanced salinity; fine sea salt disperses quickly and dissolves into the bean surfaces. Helps draw out moisture for better blistering and rounds out both the buttery or olive oil richness and the garlic's pungency.
- 1/2 teaspoon freshly ground black pepper: Provides bright, warm spice and subtle bite that complements the garlic and balances the richness of the fat. Freshly ground pepper releases volatile aromatics that lift the dish and adds a mild heat that accentuates the beans' natural flavors.
Preparation Steps for Garlicky Blistered Green Beans
This recipe uses a short sequence of high impact techniques to build flavor: sauté to infuse and soften, then broil to blister and char. Below I expand each direction into step by step guidance so you can pay attention to sensory cues and avoid common slip ups.
- In a large oven-safe skillet, heat the ghee for 1 minute over medium heat.: You should notice the surface of the fat become glossy and thin ripples move across it, a subtle shimmer that signals it is ready. The scent will be faintly buttery or oily depending on your choice, and the pan should be hot enough that a drop of water would sizzle away. This warm fat is the flavor carrier, so heating it evenly matters; if the skillet is not hot enough the garlic will not brown properly. Common mistakes here include overheating until the fat smokes, which will impart bitterness, or not preheating which results in limp, stewed beans rather than blistered ones.
- Add the garlic and sauté for 2 minutes until fragrant, stirring to avoid burning.: As soon as the sliced garlic hits the hot fat you will hear a gentle sizzle and begin to smell a nutty, aromatic fragrance after about 30 seconds. Stirring keeps the slices moving so they color evenly, turning lightly golden at the edges. The reason this step matters is that toasted garlic becomes sweet and savory rather than sharp, building a deep foundation for the dish. If the garlic browns too quickly or blackens, remove the pan from heat briefly to cool and reduce the chance of bitterness; burnt garlic will ruin the overall flavor.
- Add the green beans and sauté, mixing often, for about 10 minutes, until fork tender. Sprinkle with salt and pepper.: When the green beans go into the skillet you will hear a louder sizzle as they hit the hot fat. Stirring or tossing frequently promotes even contact with the pan, so the beans soften while developing small brown spots. As they cook the aroma deepens, shifting from raw vegetal to green and slightly sweet, and the texture will transition from rigid to tender with a satisfying snap when pierced with a fork. Salting during cooking draws out moisture, concentrating flavor and aiding browning. A common error is overcrowding the pan, which traps steam and yields soggy beans, so use a roomy skillet and cook in batches if needed.
- Place an oven rack in the center of the oven and turn the broiler to high.: The broiler delivers intense radiant heat from above, which is essential for blistering and caramelizing surfaces quickly. Positioning the rack in the center lets the beans get an even finish without scorching too fast. Preheating the broiler ensures the moment you place the skillet under it the surface will begin to char and bubble, creating those desirable brown flecks. A frequent oversight is putting the skillet in before the broiler reaches full temperature, which lengthens the time needed and can overcook the beans; always let the broiler heat fully.
- Place the skillet into the oven and broil the green beans for 3 to 5 minutes, until slightly crispy and browned, watching to avoid burning.: Under the broiler you will see tiny bubbles form on the beans and hear brief pops as moisture escapes. Visually, the tips and exposed areas will turn golden to deep brown, and the aroma becomes more toasty and complex, almost nutty. This quick blast of heat adds textural contrast, producing crisped edges against tender interiors, and it enhances Maillard flavors for a savory depth. Stay with the oven and watch closely, because broilers vary in intensity and what is perfect for three minutes on one stove may need four or five on another. The common pitfall is walking away and letting the beans char too much, rendering them bitter rather than pleasantly caramelized.
Ways to Adapt This Recipe

This section explores ways to tweak the recipe while keeping the core technique intact. Below are practical, flavorful adaptations that respect the original method yet offer variety for different tastes and occasions.
- Swap the fat thoughtfully Use ghee for a nutty, high heat option that browns beautifully, or choose extra-virgin olive oil for a lighter, fruitier flavor if you are keeping things vegan. Each fat slightly shifts the final aroma and how quickly the pan heats, so adjust the sauté time accordingly.
- Adjust garlic intensity If you prefer a milder garlic presence, reduce the amount or use smashed rather than sliced cloves, which release flavor more gently. Conversely, for a stronger punch, add a clove of minced garlic at the end off heat to retain bright, pungent notes.
- Control the char Broiling time varies by oven, so start with three minutes and extend in 30 second increments until you see golden to deep brown flecks. This prevents crossing the line from caramelized to bitter, giving you better control over texture and taste.
- Make it ahead with caution You can cook the beans through and then broil right before serving to refresh their blistered edges. Leftovers do not freeze well, they soften on thawing, so refrigerate and eat within a day or two for best texture.
- Scale for crowds When cooking for more people, use multiple skillets or work in batches to avoid overcrowding the pan. Overcrowding causes steaming instead of blistering, changing the dish from crisp tender to limp.
Pairing Suggestions for Garlicky Blistered Green Beans
This dish is versatile and pairs well with a range of main courses and occasions. Below I outline thoughtful serving suggestions, seasonal ideas, and storage tips so you can present these beans with confidence at any meal.
- Serve alongside roasted chicken or fish The toasty, garlicky notes of the beans complement roasted proteins, providing a bright vegetable contrast that keeps the plate balanced.
- Complement rice or grain bowls Add the beans to a grain bowl for lunch or a casual dinner, their blistered texture adds interest and they hold up well when mixed with warm grains.
- Seasonal dinner parties In summer when fresh beans are at their peak, use this recipe as a simple, elegant side for alfresco gatherings where light, vibrant dishes shine.
- Holiday table note For festive meals, place the beans in a warmed serving dish and broil briefly before serving to revive their crisp edges, making them look and taste freshly finished.
- Storage tips Refrigerate leftovers in an airtight container for one to two days; reheat gently in a skillet to revive texture, though they will never be quite as blistered as freshly broiled.
- Serving style Present on a shallow platter with any residual toasted garlic spooned over the top, letting guests enjoy the glossy finish and contrasting textures.
FAQ
Conclusion
These Garlicky Blistered Green Beans stand out because they transform a humble vegetable into a bold, texturally exciting side with minimal effort. Try them because they bring big flavor from a short list of pantry ingredients and a couple of confident techniques. When you make them you will notice how the toasted garlic and blistered edges elevate the meal, giving you an easy, reliable dish to serve for casual dinners or summer gatherings. I hope this recipe becomes one of those dependable favorites you return to whenever you want a vegetable that tastes like you spent more time than you did.
Garlicky Blistered Green Beans
Equipment
- Oven-safe skillet
- Broiler
Ingredients
- 1/4 cup ghee or unsalted butter or extra-virgin olive oil for dairy-free and vegan options Provides rich, silky fat that carries flavor and promotes a golden sear; choose ghee or unsalted butter for a nutty, creamy profile or extra-virgin olive oil for a lighter, dairy-free option. Helps blister the green beans quickly over high heat while coating them for even browning and aromatic infusion. Adds mouthfeel and helps garlic release its flavors without burning when used at the proper temperature.
- 8 cloves garlic sliced Adds intense aromatic punch and mellow sweetness when sliced; garlic flavors infuse the fat and green beans as it cooks, creating a fragrant base for the dish. Slices brown and crisp slightly at the edges to provide textural contrast and a concentrated savory bite that complements the beans.
- 2 pounds green beans trimmed Offers fresh, tender-crisp vegetable substance and vibrant color; trimming removes tough stem ends for a pleasant eating texture. Blistering the beans concentrates their natural sweetness and gives a slight char that enhances overall flavor while preserving a satisfying snap.
- 1 teaspoon fine sea salt Seasons and enhances the natural flavors of the dish with a clean, balanced salinity; fine sea salt disperses quickly and dissolves into the bean surfaces. Helps draw out moisture for better blistering and rounds out both the buttery or olive oil richness and the garlic's pungency.
- 1/2 teaspoon freshly ground black pepper Provides bright, warm spice and subtle bite that complements the garlic and balances the richness of the fat. Freshly ground pepper releases volatile aromatics that lift the dish and adds a mild heat that accentuates the beans' natural flavors.
Instructions
- In a large oven-safe skillet, heat the ghee for 1 minute over medium heat.: You should notice the surface of the fat become glossy and thin ripples move across it, a subtle shimmer that signals it is ready. The scent will be faintly buttery or oily depending on your choice, and the pan should be hot enough that a drop of water would sizzle away. This warm fat is the flavor carrier, so heating it evenly matters; if the skillet is not hot enough the garlic will not brown properly. Common mistakes here include overheating until the fat smokes, which will impart bitterness, or not preheating which results in limp, stewed beans rather than blistered ones.
- Add the garlic and sauté for 2 minutes until fragrant, stirring to avoid burning.: As soon as the sliced garlic hits the hot fat you will hear a gentle sizzle and begin to smell a nutty, aromatic fragrance after about 30 seconds. Stirring keeps the slices moving so they color evenly, turning lightly golden at the edges. The reason this step matters is that toasted garlic becomes sweet and savory rather than sharp, building a deep foundation for the dish. If the garlic browns too quickly or blackens, remove the pan from heat briefly to cool and reduce the chance of bitterness; burnt garlic will ruin the overall flavor.
- Add the green beans and sauté, mixing often, for about 10 minutes, until fork tender. Sprinkle with salt and pepper.: When the green beans go into the skillet you will hear a louder sizzle as they hit the hot fat. Stirring or tossing frequently promotes even contact with the pan, so the beans soften while developing small brown spots. As they cook the aroma deepens, shifting from raw vegetal to green and slightly sweet, and the texture will transition from rigid to tender with a satisfying snap when pierced with a fork. Salting during cooking draws out moisture, concentrating flavor and aiding browning. A common error is overcrowding the pan, which traps steam and yields soggy beans, so use a roomy skillet and cook in batches if needed.
- Place an oven rack in the center of the oven and turn the broiler to high.: The broiler delivers intense radiant heat from above, which is essential for blistering and caramelizing surfaces quickly. Positioning the rack in the center lets the beans get an even finish without scorching too fast. Preheating the broiler ensures the moment you place the skillet under it the surface will begin to char and bubble, creating those desirable brown flecks. A frequent oversight is putting the skillet in before the broiler reaches full temperature, which lengthens the time needed and can overcook the beans; always let the broiler heat fully.
- Place the skillet into the oven and broil the green beans for 3 to 5 minutes, until slightly crispy and browned, watching to avoid burning.: Under the broiler you will see tiny bubbles form on the beans and hear brief pops as moisture escapes. Visually, the tips and exposed areas will turn golden to deep brown, and the aroma becomes more toasty and complex, almost nutty. This quick blast of heat adds textural contrast, producing crisped edges against tender interiors, and it enhances Maillard flavors for a savory depth. Stay with the oven and watch closely, because broilers vary in intensity and what is perfect for three minutes on one stove may need four or five on another. The common pitfall is walking away and letting the beans char too much, rendering them bitter rather than pleasantly caramelized.
Notes
- Swap the fat thoughtfully Use ghee for a nutty, high heat option that browns beautifully, or choose extra-virgin olive oil for a lighter, fruitier flavor if you are keeping things vegan. Each fat slightly shifts the final aroma and how quickly the pan heats, so adjust the sauté time accordingly.
- Adjust garlic intensity If you prefer a milder garlic presence, reduce the amount or use smashed rather than sliced cloves, which release flavor more gently. Conversely, for a stronger punch, add a clove of minced garlic at the end off heat to retain bright, pungent notes.
- Control the char Broiling time varies by oven, so start with three minutes and extend in 30 second increments until you see golden to deep brown flecks. This prevents crossing the line from caramelized to bitter, giving you better control over texture and taste.
- Make it ahead with caution You can cook the beans through and then broil right before serving to refresh their blistered edges. Leftovers do not freeze well, they soften on thawing, so refrigerate and eat within a day or two for best texture.
- Scale for crowds When cooking for more people, use multiple skillets or work in batches to avoid overcrowding the pan. Overcrowding causes steaming instead of blistering, changing the dish from crisp tender to limp.