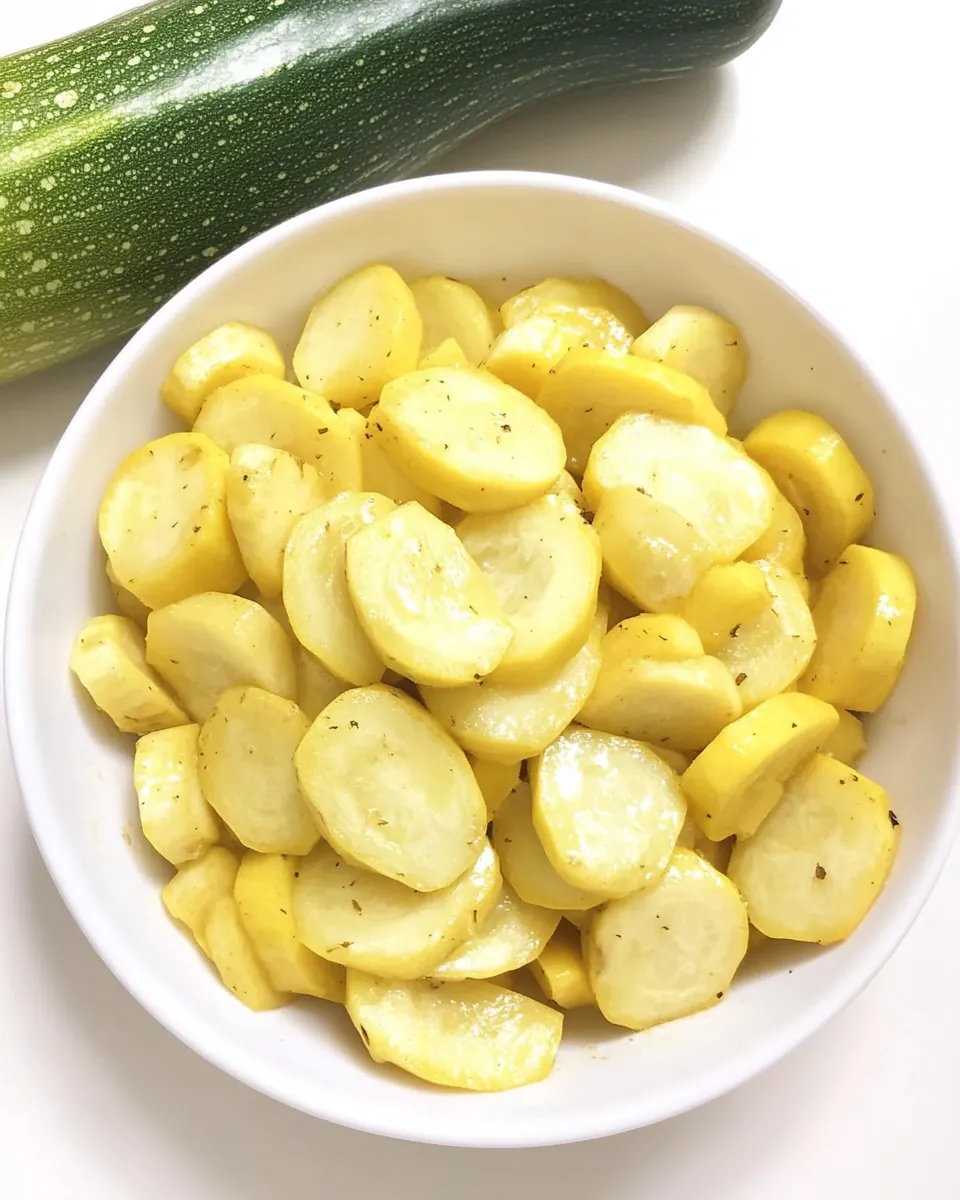
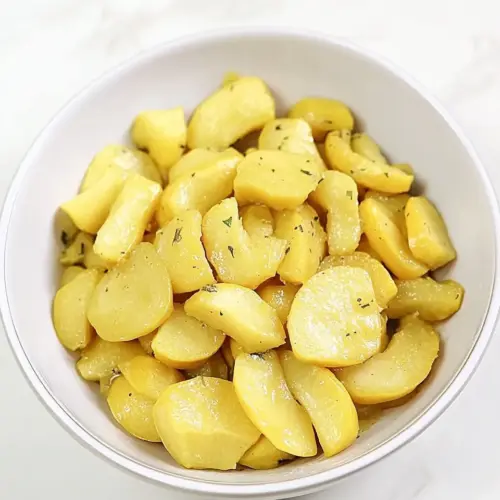
Sautéed Yellow Squash
Sautéed Yellow Squash is one of those simple, honest dishes I reach for when I want something bright and comforting without fuss. The first time I made it, I remember the little sizzle as the slices hit a warm skillet and how the kitchen filled with a gentle, garlicky perfume that made me pause and smile. I served it with curiosity more than ceremony, and everyone at the table kept coming back for another forkful.
I like to think of this as a weeknight champion, a side that feels thoughtful yet completely doable. The squash softens into tender, slightly sweet rounds that still show faint caramelization on the edges, while a hit of cracked pepper and a scattering of cheese or basil can lift each bite. I tend to slice mine a bit thicker when I want a bite that holds together, and thinner when I want the texture to melt into the rest of the plate. Friends often ask me for the method, but what they really want is permission to rely on a simple technique that always works.
Recipe Snapshot
15 mins
5 mins
10 mins
Easy
150 kcal
American
Keto, Gluten-Free
Side Dishes
Storage Containers, Cutting Board
Why This Sautéed Yellow Squash Hits Different
Bright, seasonal flavor that sings
I love how Sautéed Yellow Squash captures summer in a skillet. The natural sweetness of the yellow squash becomes more concentrated as it cooks, so you get bright vegetal notes without needing heavy seasoning. I often say that this recipe needs very little to shine, so it’s perfect when produce is at its peak.
Fast and forgiving
Because the technique is straightforward, this dish is forgiving for cooks at every level. I can throw it together between errands and still end up with something that tastes like I spent more time on it. The short cook time means you keep texture and color, and if you accidentally leave it a little longer, it still tastes great and becomes silkier.
Flexible toppings for every mood
I enjoy that Sautéed Yellow Squash plays well with many finishes. A sprinkle of Shredded Parmesan or cheddar cheese adds savory depth, while fresh basil brings a bright herbaceous lift. I’ll sometimes add a tiny pinch of crushed red pepper for warmth, or simply season with cracked black pepper for simplicity.
Kid friendly and baby led weaning ready
I make this when I want something everyone can eat, including little ones. Cut into sticks, the squash becomes easy for tiny hands to hold, and the mild, tender texture is an excellent early finger food. I often serve one piece at a time for babies, and the rest of us can add toppings as we like.
Minimal equipment, maximum impact
This recipe shows how a decent skillet and a little attention deliver big flavor. I value techniques that don’t require a lot of gadgets, and this one rewards good heat control and timely turning. The result is simple comfort food that feels like a small, reliable victory any night of the week.
Ingredients to Make Sautéed Yellow Squash
These ingredients are chosen to highlight the squash while keeping the dish light and adaptable. The yellow squash is the star, offering tender texture and mild sweetness, while the olive oil or unsalted butter carries flavor and helps create those toasty edges. A pinch of salt draws out moisture and enhances taste, and optional toppings let you customize every serving.
- 2 medium yellow squash: Sliced thinly and sautéed until tender, provides a mild, slightly sweet base and soft texture that soaks up seasonings and fat; cooks quickly so add toward the end to avoid becoming mushy.
- 1 tablespoon olive oil (or unsalted butter): Coats the pan to prevent sticking and adds richness and flavor; choose olive oil for a fruity note or unsalted butter for a creamier, more indulgent finish while controlling added salt.
- 1/4 teaspoon salt: Enhances and balances flavors by reducing bitterness and bringing out natural sweetness; sprinkle modestly during cooking to season evenly without overpowering the squash.
- Shredded Parmesan, cheddar cheese, fresh basil, crushed red pepper, cracked black pepper () (optional): Sprinkles or stirs in at the end for optional complexity and finishing touches: cheeses add savory creaminess, basil brings fresh herbal brightness, and crushed red pepper or black pepper contribute heat and aromatic bite.
Putting Together Sautéed Yellow Squash
These steps are conversational and meant to guide you through the sensory cues that show the dish is progressing. Keep your skillet at medium heat, watch for the garlic to perfume the pan, and tend the squash so it softens without turning mushy.
- Cut the ends off of the yellow squash and discard. Slice into 1/4-inch rounds or sticks about the size of your finger.: When you slice away the ends you’ll notice a clean, slightly sweet vegetal scent. Doing this trims any tough bits and helps you create even pieces. The texture at the edges can be firmer, so removing them assures tenderness. A common misstep is not stabilizing the squash while cutting, so it’s safer to set it flat on a cutting board and press gently with your palm to steady it.
- Peel and slice the garlic.: As you slice, watch the surface of the squash for a moist sheen, and feel how each piece holds together. Rounds will brown on potentially two faces while sticks offer a different mouthfeel for baby led weaning. Uniform thickness ensures even cooking; if pieces vary a lot, some will overcook while others remain underdone.
- Add the olive oil to a medium skillet over medium heat. When warm, add the garlic. Cook for 2 minutes, or until starting to become fragrant.: Fresh garlic sliced thin will release a sharper aroma than minced, and as it hits warm fat it softens and becomes nutty. You’ll smell a fragrant garlic perfume after about a minute, which is your cue to add the next ingredient. Avoid letting garlic turn dark brown as that signals bitterness, so reduce the heat if it begins to brown too quickly.
- Add the squash. Toss to coat with the oil. Cover and cook for 10-12 minutes, turning once or twice, or until the squash is very soft when poked with a fork. Sprinkle with salt.: Warmth on your hand near the pan will help you detect rising heat, and the oil should shimmer gently when ready. This shimmering indicates the oil is hot enough to produce a soft sizzle when ingredients are added. If the oil smokes you’ve gone too hot and should lower the heat and start over to avoid burnt flavors.
- Serve one piece at a time to your child if doing baby-led weaning or add toppings and serve.: The moment the garlic hits the oil you’ll hear a delicate sizzling and the scent will lift almost immediately. Gently stir so the garlic infuses the oil, and keep the heat steady so it softens without burning. Stirring too vigorously can bruise the garlic, which makes it cook unevenly, so a gentle motion is best.
- Cook for 2 minutes, or until starting to become fragrant: During these two minutes pay attention to the aroma and the small color change at the garlic edges. This fragrant window is brief, and it’s important because it releases the garlic flavor into the fat which then flavors the entire dish. Leaving garlic in oil past this fragrant stage can lead to bitterness, so time it carefully.
- Add the squash: When the squash goes into the pan you’ll hear a louder sizzle and see moisture bead from the pieces. Tossing them immediately helps coat each slice in the garlic infused oil so flavors distribute evenly. Crowd the pan too much and the squash steams rather than sautés, so keep pieces in a single layer when possible.
- Toss to coat with the oil: As you toss the pieces the cooking surface develops small golden contact marks, which is a visual confirmation of caramelization beginning. Proper coating means every bite will carry the garlic and oil flavors. Using too much force while tossing can break delicate slices, so be gentle and deliberate.
- Cover and cook for 10 to 12 minutes, turning once or twice, or until the squash is very soft when poked with a fork: With the lid on, steam helps the interior of the squash become tender while the occasional turn lets the edges caramelize. You want a fork to glide in easily yet still feel a subtle resistance if you prefer bite, or glide completely if you like it very soft. Lifting the lid too frequently releases heat and slows cooking, so open only to turn and check doneness.
- Sprinkle with salt: A final sprinkle should be timed so the salt dissolves into the warmed squash, enhancing natural sweetness. Salt late in the process avoids drawing out too much water early on which could prevent browning. Over-salting at this stage is easy because flavors concentrate as moisture evaporates, so taste before adding more.
- Serve one piece at a time to your child if doing baby led weaning or add toppings and serve: For little ones, serving single pieces ensures manageable bites and an opportunity to watch how they handle texture. When plating for adults, add your chosen toppings so each portion has contrast in texture and flavor. A mistake to watch for is letting toppings sit too long on hot squash, which will melt cheese completely and hide textural contrast.
Recipe Tips about Sautéed Yellow Squash
These tips are meant to help you get perfect texture and flavor every time. I expand on the small choices that make a big difference, from slicing to finishing touches.
- Choose medium squash: Picking medium sized yellow squash gives you a sweet flavor and small seeds, which makes the texture more pleasant when cooked. Large ones tend to hide large seed cavities that create watery pockets.
- Control your heat: Keep the skillet at medium so the olive oil warms and the garlic perfumes the pan without burning, this balance ensures a golden, not bitter, finish.
- Uniform slicing: Cut the squash into consistent 1/4 inch rounds or similar sticks to ensure even cooking so all pieces finish at the same time and you avoid mixed textures on the plate.
- Finish with bright herbs: Add chopped basil just before serving so it preserves aroma and color, herbs wilt quickly on hot squash and lose visual appeal if added too early.
- Use toppings sparingly: If you choose Shredded Parmesan or cheddar cheese, sprinkle a light amount so the salty, savory boost complements rather than overwhelms the delicate squash flavor.
- Serve immediately: This dish is best eaten right away, as the texture transitions from pleasantly tender to soft if left standing, so time it to finish while the rest of the meal is hot.
What to Pair With Sautéed Yellow Squash
This squash is versatile and pairs well across meals, from casual weeknights to gatherings. Below are ideas for side dishes, occasions, storage, and seasonal touches to help you serve it with confidence.
- Serve with grilled proteins: Pair warm Sautéed Yellow Squash with simply seasoned grilled meats or fish for a balanced plate where the squash adds a tender, vegetal counterpoint.
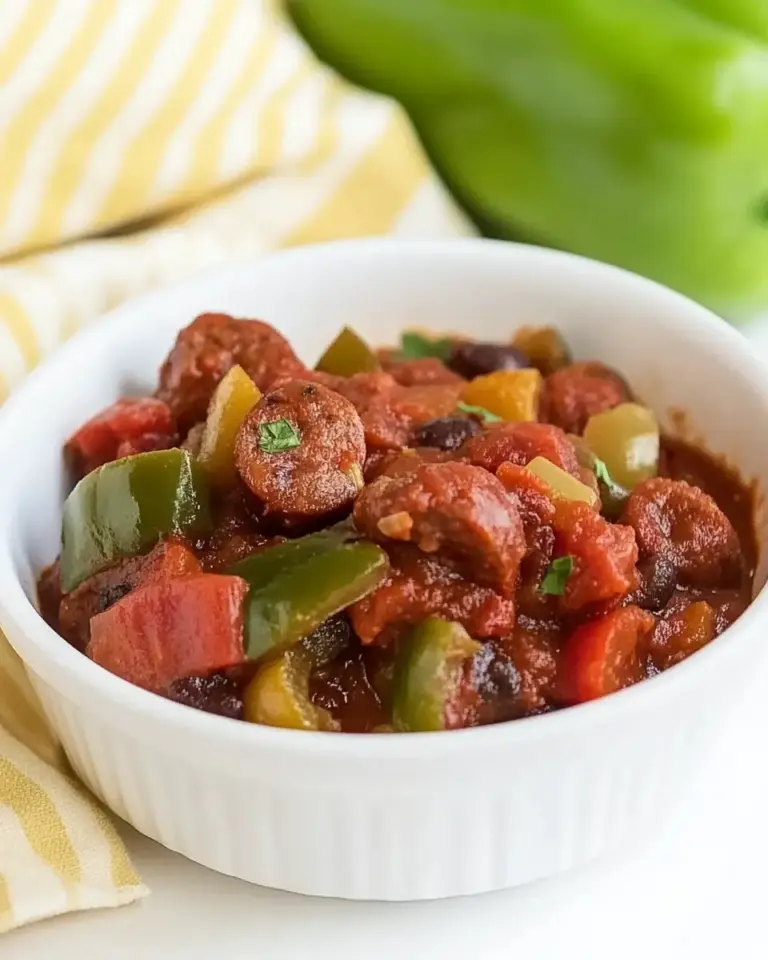
- Make it part of a vegetable medley: Combine with roasted peppers and zucchini for a colorful platter, the varied textures and colors make for a lively side at summer dinners.
- Perfect for baby led weaning: Slice into sticks sized for little hands, offering soft, tender bites that are easy to grasp and chew, ideal for introducing new textures.
- Occasions: This dish suits casual lunches, weeknight dinners, or as a light Ramadan iftar side, it’s unobtrusive and complements many mains.
- Storage tips: Cool to room temperature before storing in airtight Storage Containers, keep refrigerated up to three days and reheat gently to avoid turning the squash mushy.
- Seasonal pairing: In summer, highlight the squash with fresh basil and a squeeze of lemon, which keeps the flavors bright and timely.
FAQ
Conclusion
What makes this recipe special is its simplicity and the way a few straightforward techniques coax big flavor from humble squash. The gentle sauté with garlic and a finishing sprinkle of salt and optional toppings produces a side that feels both homey and thoughtful. Give it a try tonight, it’s quick to make and flexible enough to dress up or keep plain depending on what the rest of your meal needs. I hope you find this one to be a reliable, tasty addition to your weeknight repertoire.
Sautéed Yellow Squash
Equipment
- Storage Containers
- Cutting Board
Ingredients
- 2 medium yellow squash Sliced thinly and sautéed until tender, provides a mild, slightly sweet base and soft texture that soaks up seasonings and fat; cooks quickly so add toward the end to avoid becoming mushy.
- 1 tablespoon olive oil (or unsalted butter) Coats the pan to prevent sticking and adds richness and flavor; choose olive oil for a fruity note or unsalted butter for a creamier, more indulgent finish while controlling added salt.
- 1/4 teaspoon salt Enhances and balances flavors by reducing bitterness and bringing out natural sweetness; sprinkle modestly during cooking to season evenly without overpowering the squash.
- Shredded Parmesan, cheddar cheese, fresh basil, crushed red pepper, cracked black pepper (optional) Sprinkles or stirs in at the end for optional complexity and finishing touches: cheeses add savory creaminess, basil brings fresh herbal brightness, and crushed red pepper or black pepper contribute heat and aromatic bite.
Instructions
- Cut the ends off of the yellow squash and discard. Slice into 1/4-inch rounds or sticks about the size of your finger.: When you slice away the ends you’ll notice a clean, slightly sweet vegetal scent. Doing this trims any tough bits and helps you create even pieces. The texture at the edges can be firmer, so removing them assures tenderness. A common misstep is not stabilizing the squash while cutting, so it’s safer to set it flat on a cutting board and press gently with your palm to steady it.
- Peel and slice the garlic.: As you slice, watch the surface of the squash for a moist sheen, and feel how each piece holds together. Rounds will brown on potentially two faces while sticks offer a different mouthfeel for baby led weaning. Uniform thickness ensures even cooking; if pieces vary a lot, some will overcook while others remain underdone.
- Add the olive oil to a medium skillet over medium heat. When warm, add the garlic. Cook for 2 minutes, or until starting to become fragrant.: Fresh garlic sliced thin will release a sharper aroma than minced, and as it hits warm fat it softens and becomes nutty. You’ll smell a fragrant garlic perfume after about a minute, which is your cue to add the next ingredient. Avoid letting garlic turn dark brown as that signals bitterness, so reduce the heat if it begins to brown too quickly.
- Add the squash. Toss to coat with the oil. Cover and cook for 10-12 minutes, turning once or twice, or until the squash is very soft when poked with a fork. Sprinkle with salt.: Warmth on your hand near the pan will help you detect rising heat, and the oil should shimmer gently when ready. This shimmering indicates the oil is hot enough to produce a soft sizzle when ingredients are added. If the oil smokes you’ve gone too hot and should lower the heat and start over to avoid burnt flavors.
- Serve one piece at a time to your child if doing baby-led weaning or add toppings and serve.: The moment the garlic hits the oil you’ll hear a delicate sizzling and the scent will lift almost immediately. Gently stir so the garlic infuses the oil, and keep the heat steady so it softens without burning. Stirring too vigorously can bruise the garlic, which makes it cook unevenly, so a gentle motion is best.
- Cook for 2 minutes, or until starting to become fragrant: During these two minutes pay attention to the aroma and the small color change at the garlic edges. This fragrant window is brief, and it’s important because it releases the garlic flavor into the fat which then flavors the entire dish. Leaving garlic in oil past this fragrant stage can lead to bitterness, so time it carefully.
- Add the squash: When the squash goes into the pan you’ll hear a louder sizzle and see moisture bead from the pieces. Tossing them immediately helps coat each slice in the garlic infused oil so flavors distribute evenly. Crowd the pan too much and the squash steams rather than sautés, so keep pieces in a single layer when possible.
- Toss to coat with the oil: As you toss the pieces the cooking surface develops small golden contact marks, which is a visual confirmation of caramelization beginning. Proper coating means every bite will carry the garlic and oil flavors. Using too much force while tossing can break delicate slices, so be gentle and deliberate.
- Cover and cook for 10 to 12 minutes, turning once or twice, or until the squash is very soft when poked with a fork: With the lid on, steam helps the interior of the squash become tender while the occasional turn lets the edges caramelize. You want a fork to glide in easily yet still feel a subtle resistance if you prefer bite, or glide completely if you like it very soft. Lifting the lid too frequently releases heat and slows cooking, so open only to turn and check doneness.
- Sprinkle with salt: A final sprinkle should be timed so the salt dissolves into the warmed squash, enhancing natural sweetness. Salt late in the process avoids drawing out too much water early on which could prevent browning. Over-salting at this stage is easy because flavors concentrate as moisture evaporates, so taste before adding more.
- Serve one piece at a time to your child if doing baby led weaning or add toppings and serve: For little ones, serving single pieces ensures manageable bites and an opportunity to watch how they handle texture. When plating for adults, add your chosen toppings so each portion has contrast in texture and flavor. A mistake to watch for is letting toppings sit too long on hot squash, which will melt cheese completely and hide textural contrast.
Notes
- Choose medium squash: Picking medium sized yellow squash gives you a sweet flavor and small seeds, which makes the texture more pleasant when cooked. Large ones tend to hide large seed cavities that create watery pockets.
- Control your heat: Keep the skillet at medium so the olive oil warms and the garlic perfumes the pan without burning, this balance ensures a golden, not bitter, finish.
- Uniform slicing: Cut the squash into consistent 1/4 inch rounds or similar sticks to ensure even cooking so all pieces finish at the same time and you avoid mixed textures on the plate.
- Finish with bright herbs: Add chopped basil just before serving so it preserves aroma and color, herbs wilt quickly on hot squash and lose visual appeal if added too early.
- Use toppings sparingly: If you choose Shredded Parmesan or cheddar cheese, sprinkle a light amount so the salty, savory boost complements rather than overwhelms the delicate squash flavor.
- Serve immediately: This dish is best eaten right away, as the texture transitions from pleasantly tender to soft if left standing, so time it to finish while the rest of the meal is hot.