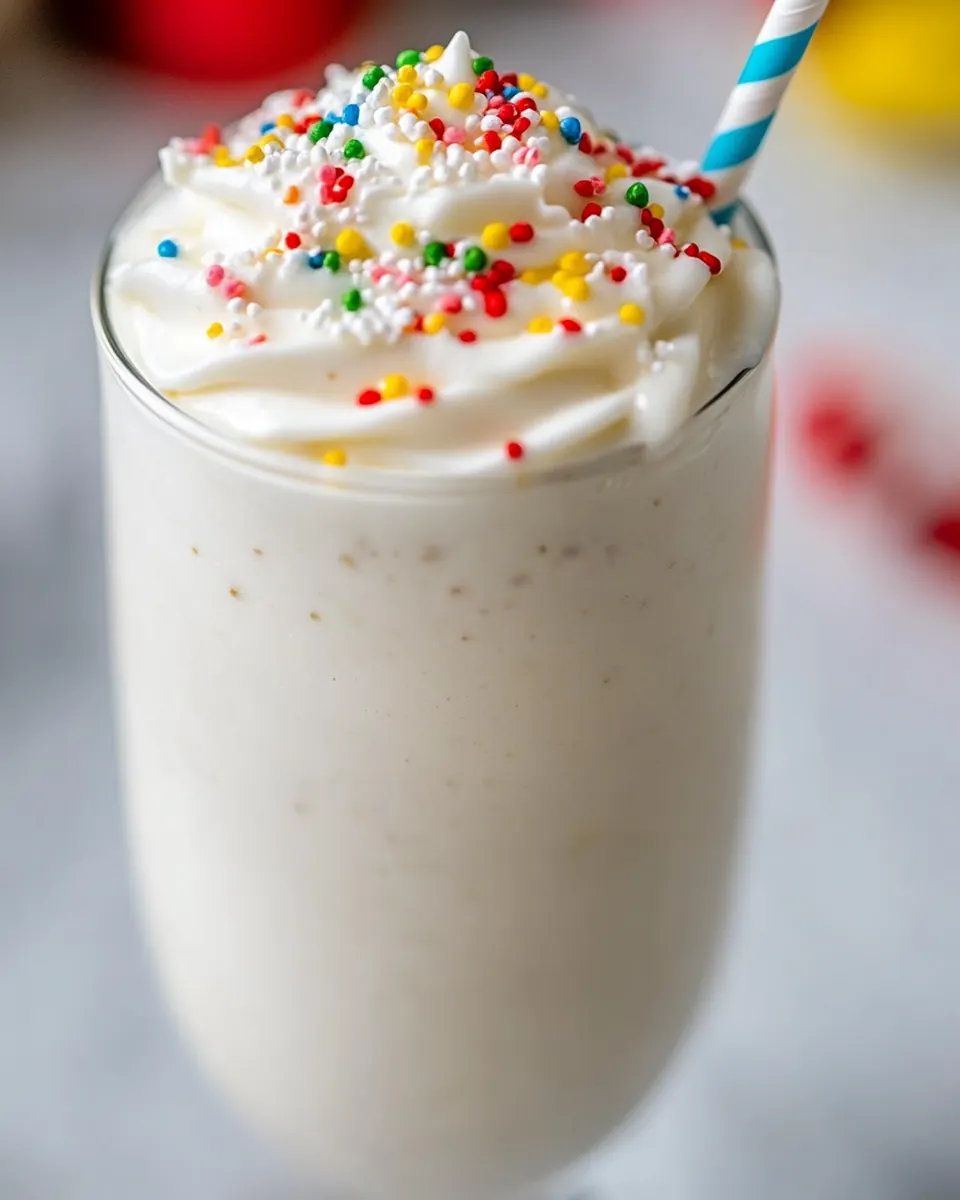
Milkshake
Milkshake stirred memories of sticky summer counters, the hum of a blender, and the small triumph of getting the texture just right on a hot afternoon.
I remember the first time I nailed the balance between thick and drinkable, leaning over the blender with my elbow on the counter, tasting with the back of a spoon, and smiling when the glass caught the sun. That simple habit of scooping, measuring, and tasting turned into a ritual I now reach for when I want comfort that feels indulgent but honest. Each time I make a Milkshake, I think about those sensory cues that tell me it is ready, and I take a moment to savor how the cold, creamy blend coats the roof of my mouth.
As a chef I love small projects that reward attention, and a Milkshake is one of them. There is a quiet pleasure in adjusting the milk to control thickness, in watching the ice cream melt into a silky ribbon that flows from the blender. My family has long debates about toppings, but the core is always the same, and when you get that right, you have something you can rely on for an afternoon treat or a simple celebration.
Recipe Snapshot
7 mins
7 mins
Easy
300 kcal
American
Keto, Gluten-Free
Desserts
Blender, Measuring cup, Spoon, Serving glass
What You’ll Enjoy About This Milkshake
Perfect texture every time
I adore how a Milkshake rewards tiny changes. Using slightly softened ice cream and the right amount of milk means you can push the texture from spoonable to sipable without losing creaminess. I tweak the ratios depending on whether I want it thicker for a straw or thinner to pour, and that control is what makes this recipe stand out.
Fast and satisfying
One of the best things about this recipe is how quickly it comes together. I can go from craving to finished glass in minutes using just a blender, which makes it my go to for an easy afternoon treat. When time is short, I love that a Milkshake still feels special even though it is straightforward to prepare.
Customizable flavor canvas
The base is a wonderful jumping off point. I often start with classic vanilla ice cream and then let small additions transform the experience. The simplicity of the foundation means the final result always tastes clean and focused, so extra touches never fight the base.
Child friendly and crowd pleasing
I keep this recipe in my back pocket for gatherings because it hits a wide range of tastes. Kids especially adore the creamy texture and optional toppings, and adults appreciate the nostalgia. Making a batch is a low stress way to bring smiles to a group.
Reliable sensory signals
Finally, I love that the recipe teaches you to trust your senses. You will learn to read the sound of the blender and the look of the pour to know when the Milkshake is at its prime. Those cues make you a better home cook, and they build confidence quickly.
Milkshake Shopping List
These simple players form the heart of the drink. I believe in a short list done well, where each item supports texture, flavor, or finish. The star is the ice cream, which provides body and creaminess, while the milk adjusts viscosity so the shake pours smoothly. The optional toppings offer contrast and whimsy without altering the base balance.
- 1 1/2 cups ice cream about 3 scoops, slightly softened: Provide rich creaminess and sweetness, forming the base and body of the milkshake; slightly softened texture allows for easier blending and a smooth, scoopable consistency. Contribute to flavor depth depending on variety chosen, and help suspend mix-ins for a thick, indulgent result.
- 1/2 to 3/4 cup milk any percentage: Adjust thickness and pourability of the shake, creating a smoother, more drinkable texture when blended with ice cream. Offer subtle additional richness and can be varied by fat content to make the shake lighter or creamier without altering flavor dramatically.
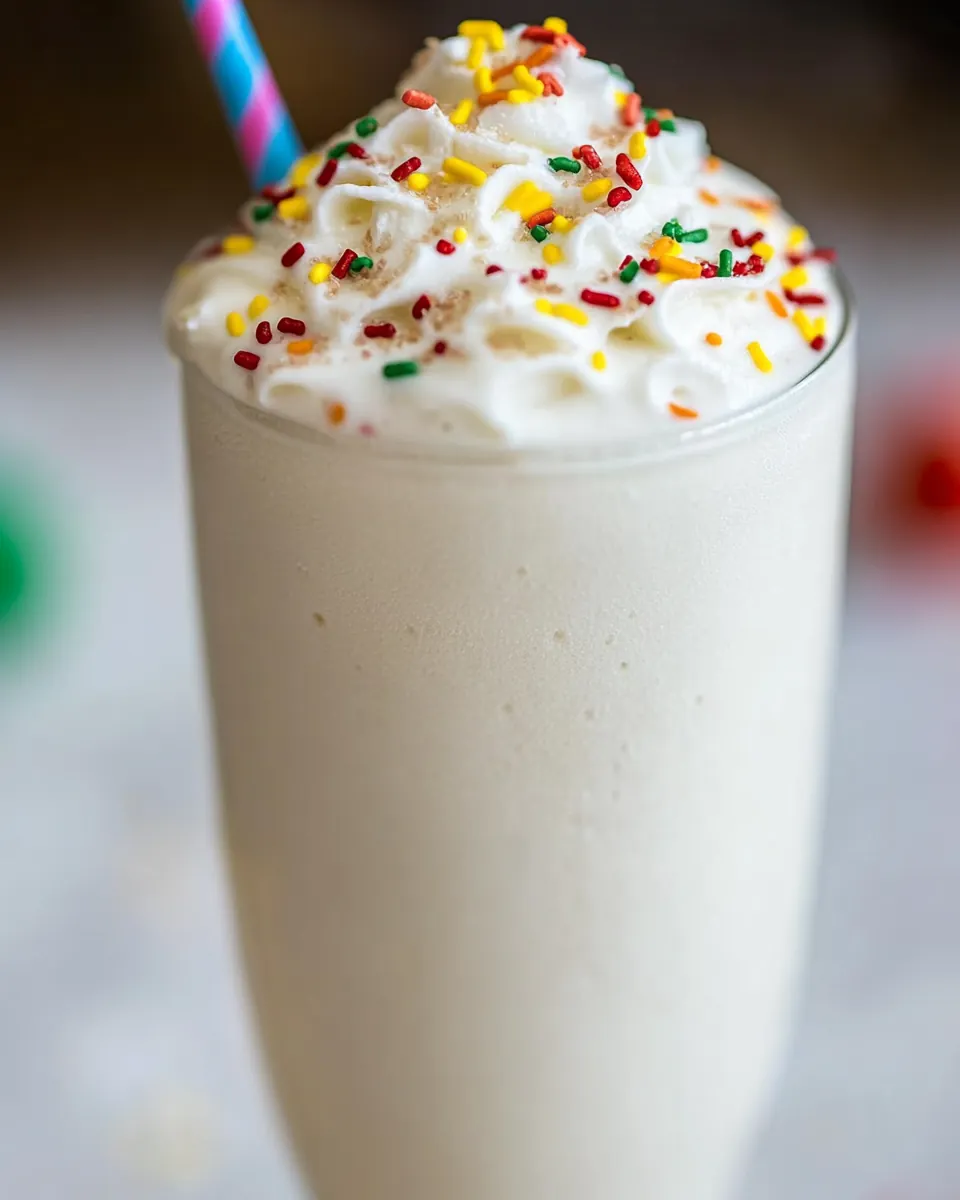
- Whipped cream for topping (optional): Add light, airy topping that enhances presentation and mouthfeel while contributing a delicate sweetness; optional use provides contrast to the dense shake body. Can be dolloped generously for visual appeal and a creamy finish that complements the ice cream base.
- Sprinkles for topping (optional): Provide colorful, crunchy decoration that brightens appearance and adds a playful textural contrast; optional sprinkling creates visual interest and slight sweetness on top. Useful for serving occasions or to personalize the shake with various colors and shapes.
Step by Step Guide for Milkshake
These directions turn the grocery list into an indulgent glass. I like to walk through the sensory cues so you can feel confident about each change. Keep your tools close and taste as you go for small adjustments.
- In a blender, combine ice cream and milk, and blend until pourable.: You will hear the blender move from a slow thud to a smoother whir as the ice cream softens and incorporates the milk , and the mixture will change from chunky to silky; the sound becomes even and the surface looks glossy. This transformation matters because overblending can melt too much air out of the shake, leaving it thin, while underblending leaves ice crystals that feel grainy on the tongue. Aim for a steady pour that forms a thick ribbon when lifted with a spoon, and stop to scrape the sides once if needed to beat stubborn pockets of frozen ice cream . A common mistake is cranking the blender on high for too long, which warms the mixture; pulse or blend in short bursts to keep it cold.
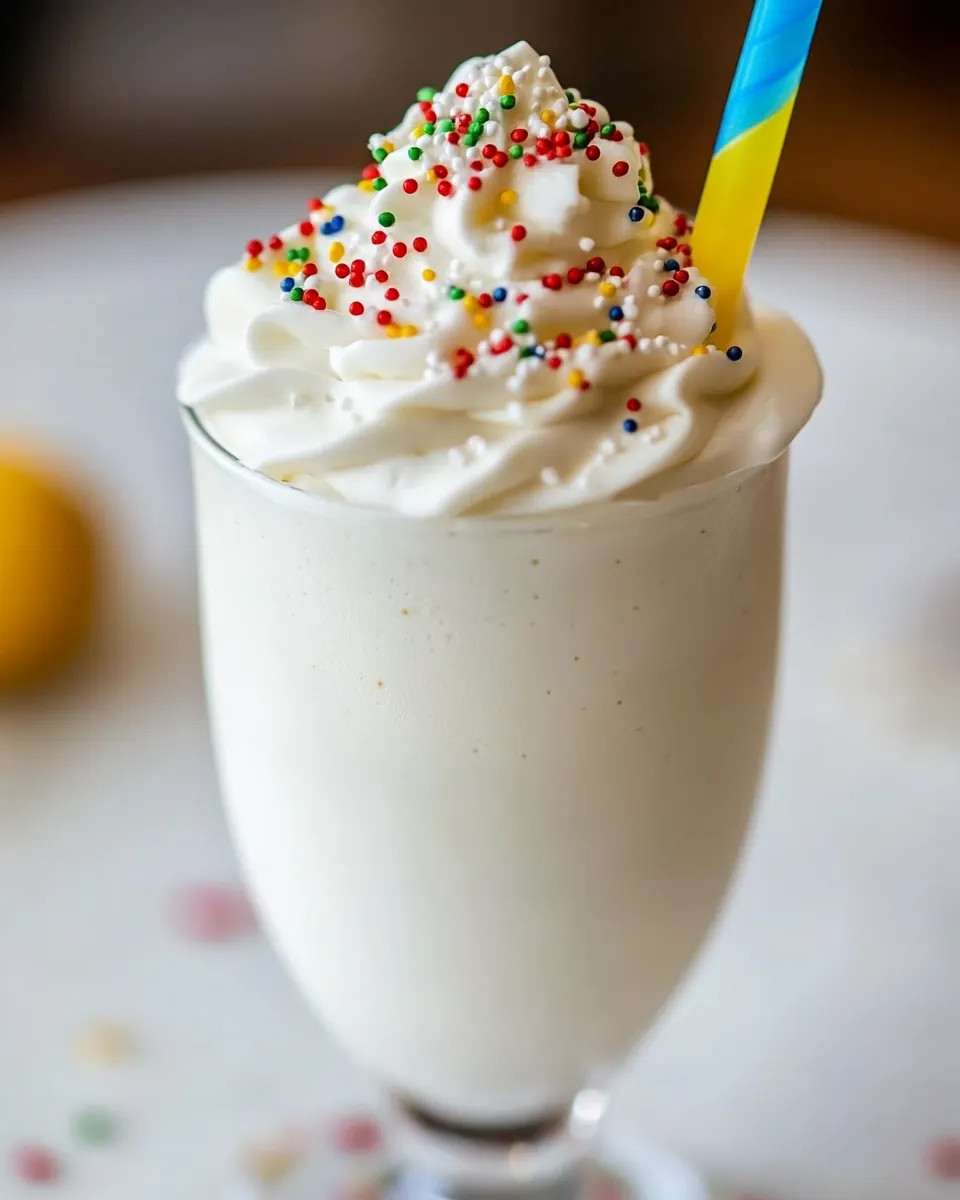
- Pour into a glass, top with whipped cream if desired, and enjoy!: As you pour, notice how the shake flows; it should sheet off the blender container in a cohesive stream and mound slightly above the rim before settling, which indicates a lush thickness. The aroma will be creamy and sweet, and a gentle condensation will form on the glass, signaling perfect temperature contrast between the cold drink and the air. Adding a spoonful of whipped cream creates a soft cushion that contrasts with the dense shake below, and sprinkling on top adds a burst of color and a tiny crisp bite. Avoid leaving the finished glass at room temperature for more than a few minutes, because the texture will quickly relax and the whipped cream will deflate; serve immediately for the best mouthfeel.
Change It Up
I like to think of tips as small experiments that elevate the basic drink. Below are practical tweaks you can try to tune texture, presentation, and convenience. Each tip begins with a bold lead to make it easy to scan.
- Control thickness with milk Start with 1/2 cup milk and add by tablespoons until you reach the desired pour. This keeps the shake rich without diluting the flavor.
- Soften ice cream briefly Let the ice cream sit at room temperature for five to ten minutes for easier blending and a smoother mouthfeel.
- Use chilled glassware Pop your serving glass in the freezer for a few minutes so the shake stays colder longer and looks frosty when served.
- Pulse to preserve texture Use pulse mode to combine quickly without generating too much heat from the blender, which keeps the shake denser and colder.
- Add whipped cream last Spoon or pipe whipped cream on top right before you serve to maintain height and contrast against the creamy base.
What to Serve Alongside Milkshake
A Milkshake is versatile, pairing easily with sweet treats or light bites. Think of it as a nostalgic companion to snacks, and choose pairings that either echo the creamy profile or introduce a crisp counterpoint. Below are serving ideas that fit casual afternoons, family treats, or small celebrations.
- Classic cookies A warm or room temperature cookie provides a chewy companion that contrasts the cold, creating a satisfying textural play.
- Mini sandwiches Small finger sandwiches or sliders make the shake feel like part of a fuller snack spread for casual gatherings, balancing richness with substance.
- Fresh fruit Light fruits complement the shake by adding natural acidity and brightness, helping cut through the creaminess for a balanced bite.
- Celebration sprinkles Use sprinkles or small candies to add color and fun to a party table, giving the shake a festive finishing touch.
- Storage advice Keep extra blended shake cold and consume within an hour for best texture, and store remaining ice cream tightly sealed to preserve flavor.
FAQ
Conclusion
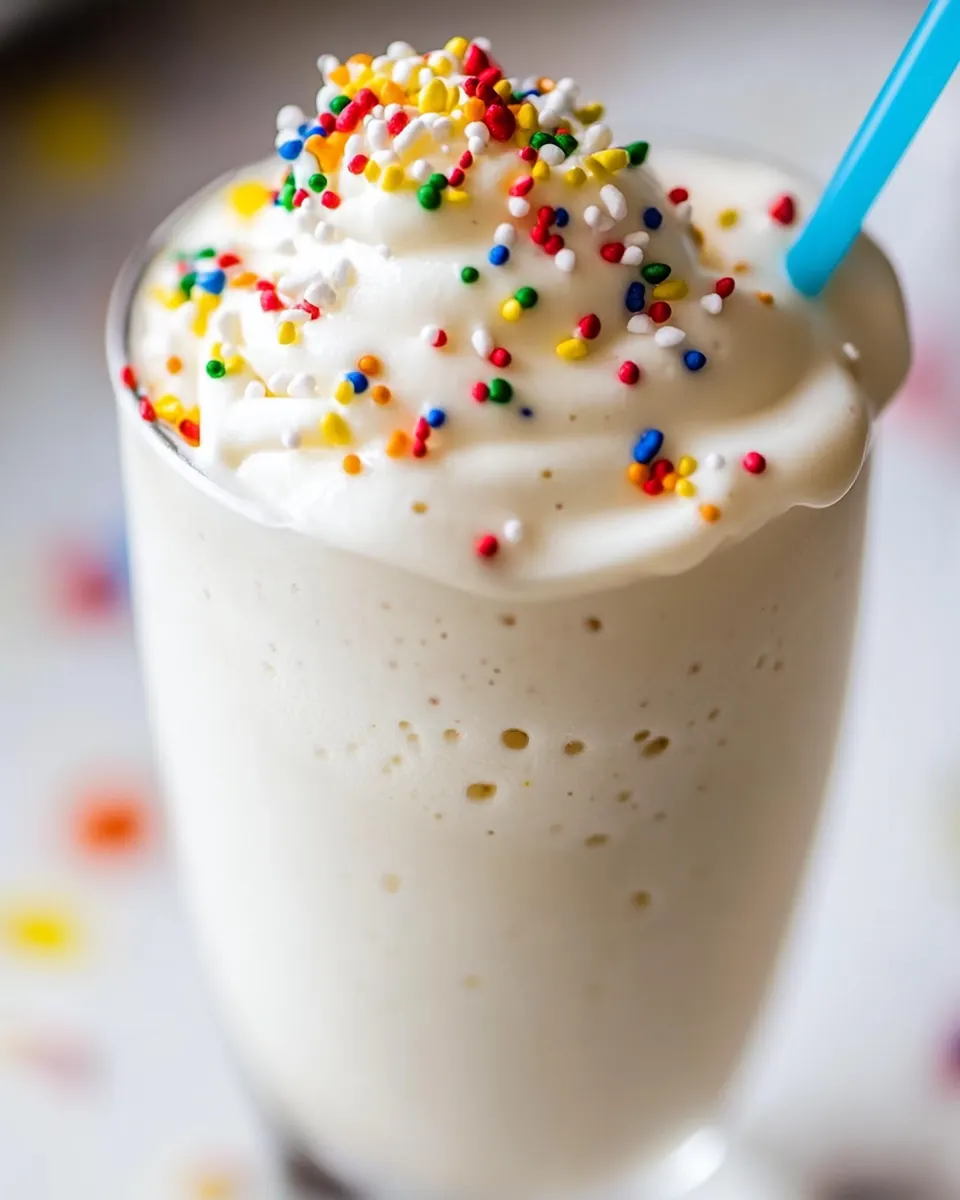
This Milkshake stands out because it turns a few quality ingredients into a deeply satisfying, creamy treat that you can make in minutes. Give it a try to enjoy a rich, nostalgic drink that is easy to customize and perfect for cooling off or celebrating small moments. I hope this guide helps you feel confident making a glass that looks as good as it tastes, and inspires you to experiment with your favorite flavors.
Milkshake
Equipment
- Blender
- Measuring Cup
- Spoon
- Serving glass
Ingredients
- 1 1/2 cups ice cream about 3 scoops, slightly softened Provide rich creaminess and sweetness, forming the base and body of the milkshake; slightly softened texture allows for easier blending and a smooth, scoopable consistency. Contribute to flavor depth depending on variety chosen, and help suspend mix-ins for a thick, indulgent result.
- 1/2 to 3/4 cup milk any percentage Adjust thickness and pourability of the shake, creating a smoother, more drinkable texture when blended with ice cream. Offer subtle additional richness and can be varied by fat content to make the shake lighter or creamier without altering flavor dramatically.
- Whipped cream optional for topping Add light, airy topping that enhances presentation and mouthfeel while contributing a delicate sweetness; optional use provides contrast to the dense shake body. Can be dolloped generously for visual appeal and a creamy finish that complements the ice cream base.
- Sprinkles optional for topping Provide colorful, crunchy decoration that brightens appearance and adds a playful textural contrast; optional sprinkling creates visual interest and slight sweetness on top. Useful for serving occasions or to personalize the shake with various colors and shapes.
Instructions
- In a blender, combine ice cream and milk, and blend until pourable.: You will hear the blender move from a slow thud to a smoother whir as the ice cream softens and incorporates the milk , and the mixture will change from chunky to silky; the sound becomes even and the surface looks glossy. This transformation matters because overblending can melt too much air out of the shake, leaving it thin, while underblending leaves ice crystals that feel grainy on the tongue. Aim for a steady pour that forms a thick ribbon when lifted with a spoon, and stop to scrape the sides once if needed to beat stubborn pockets of frozen ice cream . A common mistake is cranking the blender on high for too long, which warms the mixture; pulse or blend in short bursts to keep it cold.
- Pour into a glass, top with whipped cream if desired, and enjoy!: As you pour, notice how the shake flows; it should sheet off the blender container in a cohesive stream and mound slightly above the rim before settling, which indicates a lush thickness. The aroma will be creamy and sweet, and a gentle condensation will form on the glass, signaling perfect temperature contrast between the cold drink and the air. Adding a spoonful of whipped cream creates a soft cushion that contrasts with the dense shake below, and sprinkling on top adds a burst of color and a tiny crisp bite. Avoid leaving the finished glass at room temperature for more than a few minutes, because the texture will quickly relax and the whipped cream will deflate; serve immediately for the best mouthfeel.
Notes
- Control thickness with milk Start with 1/2 cup milk and add by tablespoons until you reach the desired pour. This keeps the shake rich without diluting the flavor.
- Soften ice cream briefly Let the ice cream sit at room temperature for five to ten minutes for easier blending and a smoother mouthfeel.
- Use chilled glassware Pop your serving glass in the freezer for a few minutes so the shake stays colder longer and looks frosty when served.
- Pulse to preserve texture Use pulse mode to combine quickly without generating too much heat from the blender, which keeps the shake denser and colder.
- Add whipped cream last Spoon or pipe whipped cream on top right before you serve to maintain height and contrast against the creamy base.