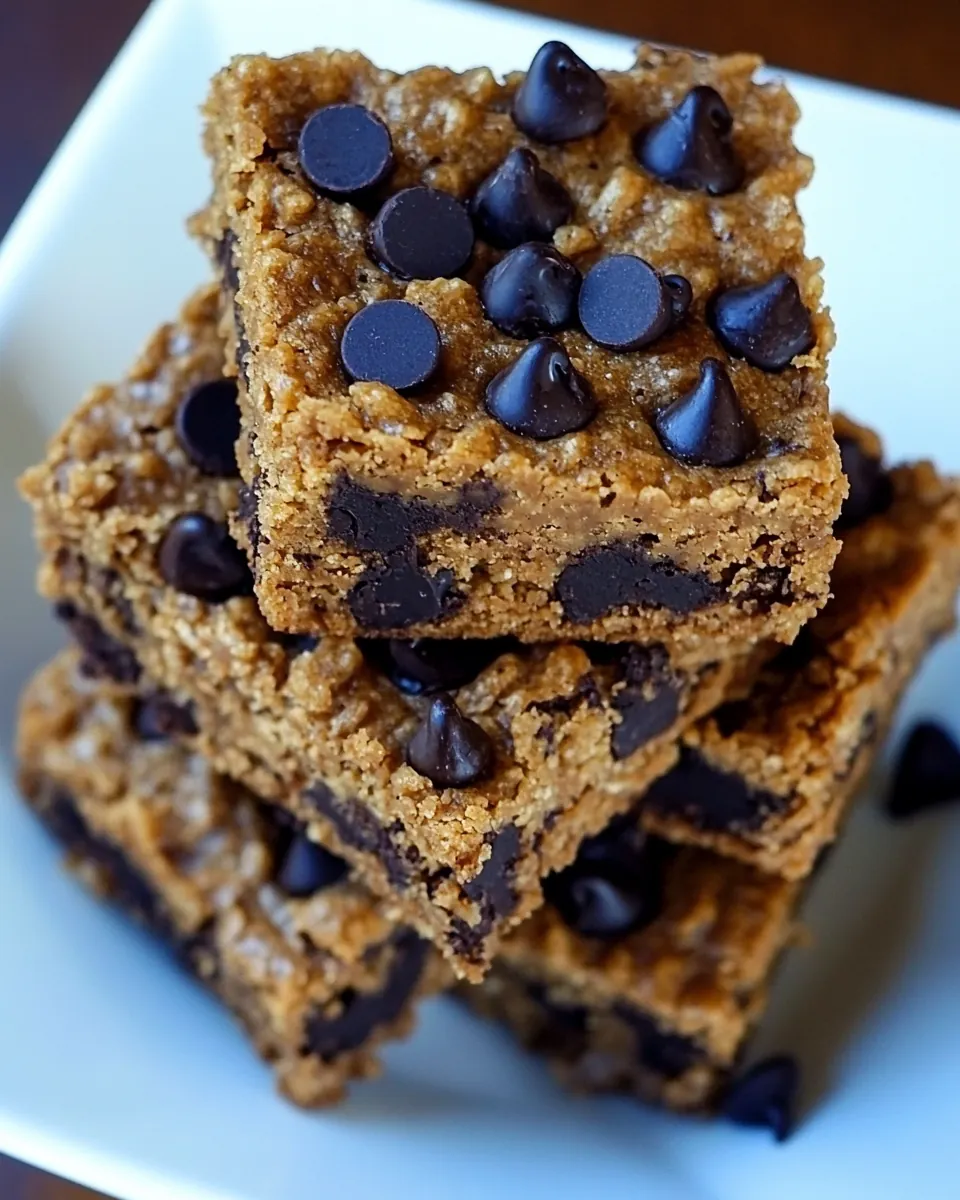
Chocolate Chip Lunchbox Bars
Chocolate Chip Lunchbox Bars have been my go to when I need something that feels homemade but travels well, and I still remember the first batch I made for a neighborhood picnic, nervously packing them into a tin and praying they would survive the car ride.
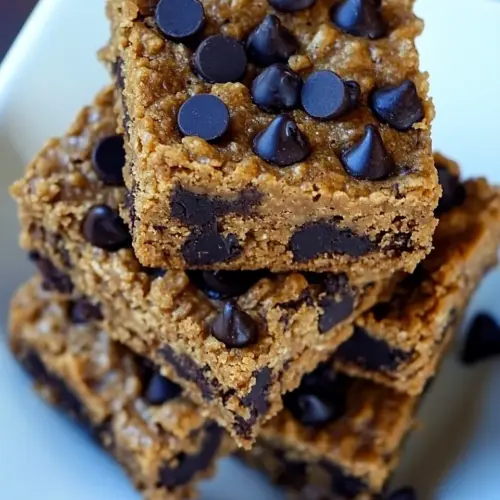
That day taught me a lot about balance between chew and crumble, and why a little patience after baking makes all the difference. I learned to warm the nut butter just enough so the batter flows, and how pressing extra chocolate chips on top gives a picture perfect finish. These bars became my quick gift, my lunchbox savior, and the recipe I turn to when I want to share something simple yet thoughtful.
Recipe Snapshot
23 mins
10 mins
13 mins
Easy
180 kcal
American
Vegan, Gluten-Free
Desserts
8-inch square pan, Parchment paper, Spatula, Mixing bowl
Why This Chocolate Chip Lunchbox Bars Stands Out
Reliable texture every time
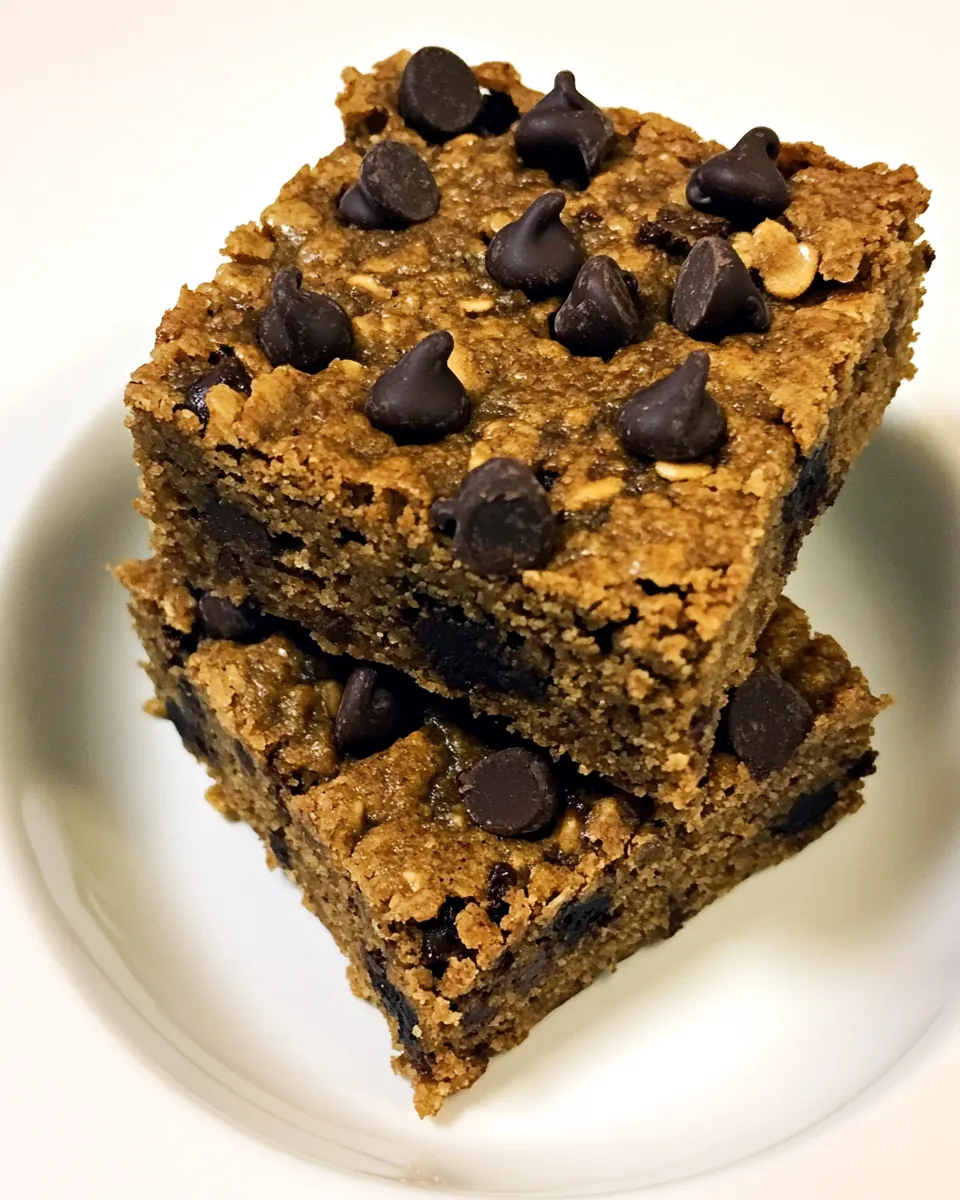
I love how Chocolate Chip Lunchbox Bars deliver that ideal soft center with slightly firm edges. Using the right amount of nut butter and flour creates a chew you can count on, and I always notice the aroma as they come out of the oven, a warm nutty note that makes the kitchen feel cozy.
Flexible for diets and tastes
One big reason I keep making these is the flexibility. The recipe lets you swap the maple syrup or the flour type without losing the core character. I often adjust for allergies or pantry limits, and the result still feels intentional, not like a compromise.
Perfect for on the go
These bars are built to travel. I love that they hold up in a lunchbox and slice cleanly when chilled a bit. They make packing lunches easy, and I’ve handed them out at potlucks knowing they will please both kids and adults.
Minimal fuss, maximum payoff
I appreciate recipes that respect my time. With just a few bowls and simple stirring, you get an indulgent snack that tastes like it took longer than it did. That efficiency is why I keep this in rotation when life gets busy.
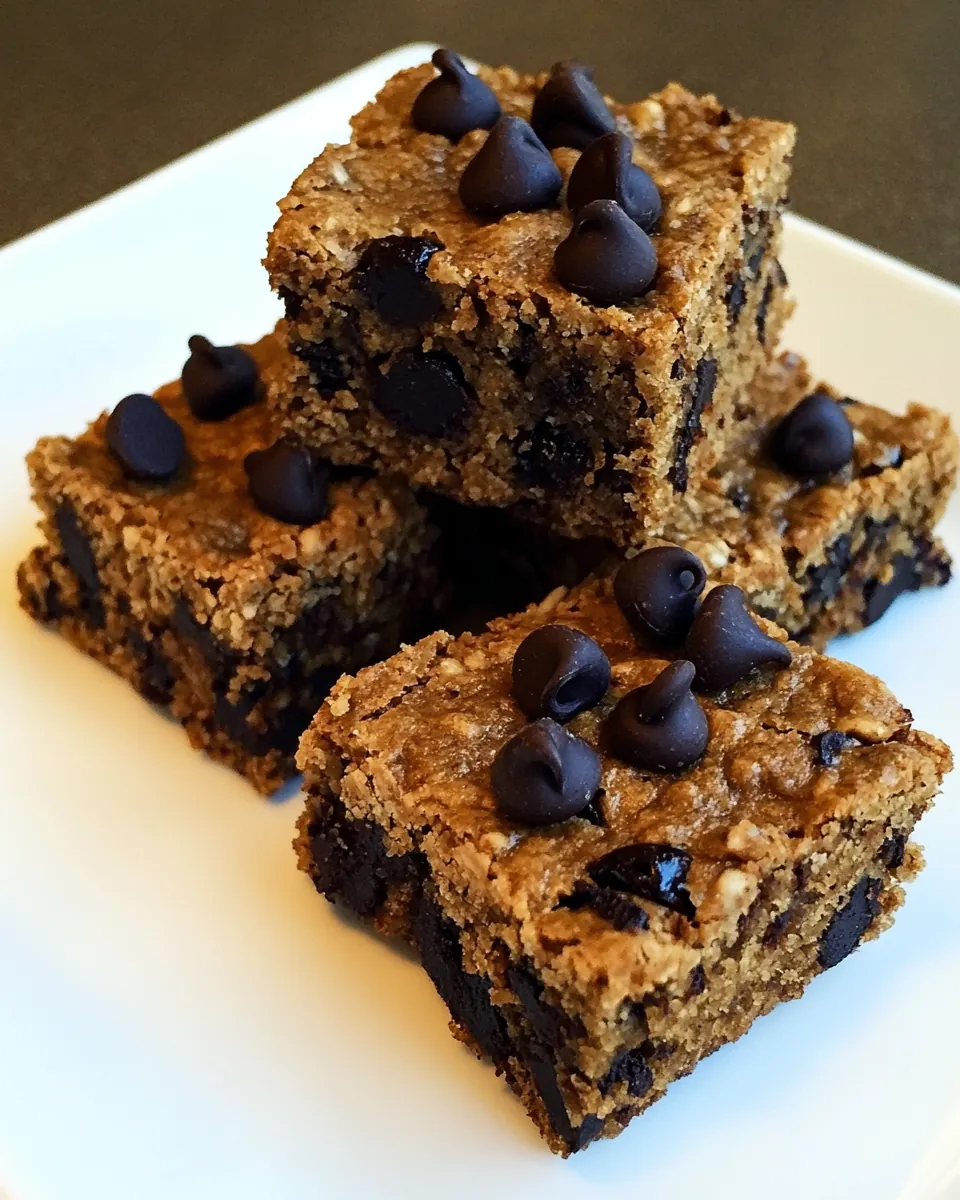
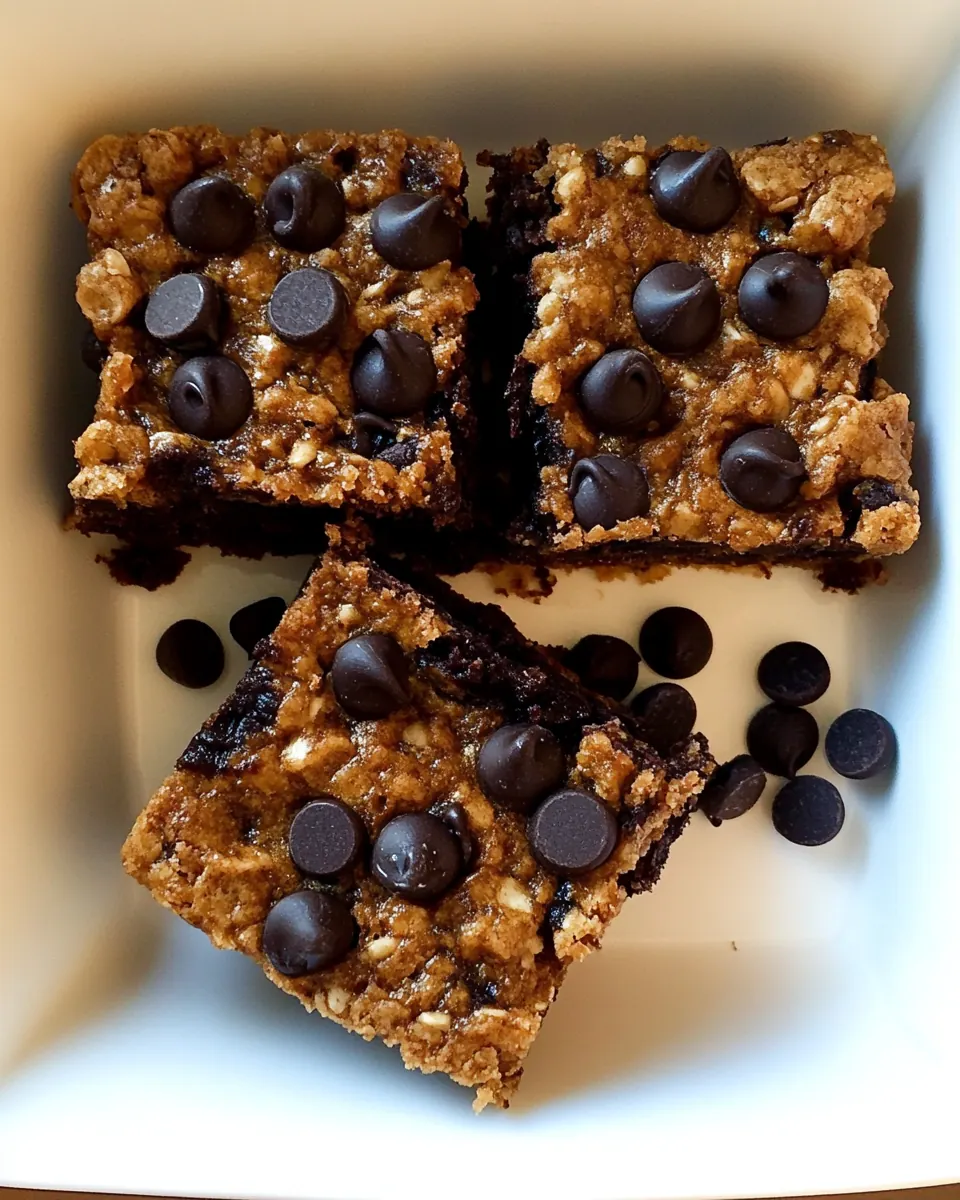
Customizable finishing touches
Finally, the mix ins let you personalize each batch. I like pressing extra chocolate chips or a few raisins on top for visual appeal and texture variation. Small tweaks make this recipe feel like mine each time I bake.
Chocolate Chip Lunchbox Bars Shopping List
These ingredients are straightforward, pantry friendly, and chosen to create a fudgy, portable bar that stays satisfying without fuss. The key players are the nut butter for richness and binding, the maple syrup for sweetness and moisture, and the flour which balances texture. Together they make a cohesive batter that bakes into bars with tender crumb and chewy center.
- 1 cup nut butter of choice, or allergy friendly sub: Provide creamy texture and act as the primary binder that holds the bar ingredients together while adding richness and healthy fats; choose a neutral or flavored nut butter based on preference or allergy–friendly alternatives to maintain structure and moisture.
- 2/3 cup pure maple syrup or keto syrup, or honey, or agave: Sweeten naturally and help dissolve dry ingredients while contributing to chewiness and moisture; select pure maple syrup, keto syrup, honey, or agave according to sweetness level and dietary needs to control texture and flavor.
- 1/2 cup flour (spelt, white, oat, sorghum, or almond work): Add bulk and structure by absorbing moisture and creating the bar's crumb; use the listed flours (spelt, white, oat, sorghum, or almond) to influence density and gluten content depending on dietary restrictions.
- 2 3 tbsp regular or mini chocolate chips: Provide melty pockets of chocolate and bursts of sweetness that contrast with the bar's chewiness; using regular or mini chips controls distribution and bite-sized chocolate amounts.
- 2 3 tbsp raisins, chopped dates, or additional mini chips: Contribute chewy texture and additional natural sweetness when using raisins or chopped dates, or extra chocolate flavor when using additional mini chips, enhancing mouthfeel and variety in each bite.
- 2 tbsp shredded coconut and/or crushed walnuts (optional): Enhance flavor complexity and offer optional texture contrast; shredded coconut adds a delicate chew and tropical note while crushed walnuts introduce crunch and nutty richness when included.
- 1 1/2 tsp baking soda: Act as a leavening agent to slightly lighten the texture and help the bars rise minimally during baking or setting; dissolve evenly to avoid pockets and ensure a balanced crumb.
- 1 tsp pure vanilla extract: Impart aromatic sweetness and depth of flavor that rounds out the overall profile; use pure vanilla extract to enhance other flavors without overpowering the bars.
- 1/8 tsp salt: Balance and enhance sweetness while emphasizing other flavors; adding a small amount of salt sharpens overall taste and rounds out the recipe's flavor profile.
Cooking Method for Chocolate Chip Lunchbox Bars
These directions are straightforward, but small choices along the way shape the final texture. I walk you through warming, mixing, pressing, and baking steps so you get consistent bars every time.
- Preheat the oven to 325 F. Line an 8-inch square pan with parchment, or grease well, and set aside. If not easily stir-able, gently warm the nut butter to soften. In a bowl, stir all ingredients very well so you won't get a clump of baking soda in the final results. Transfer the batter to the pan and smooth with a spatula or second sheet of parchment over top (then remove the second sheet). If desired, you can press some more chocolate or dried fruit into the top. Bake 13 minutes on the center rack (increase to 15 minutes if using almond flour). They should look underdone – let them sit a half hour for extra gooey bars, or overnight if you want perfect firm-yet-soft cookie bars.: When you open the oven and feel the warm air, you want it to be steady and even, because 325 F bakes the bars slowly enough to set without drying. The gentle heat encourages a tender interior while allowing edges to firm, and you will notice a faint nutty aroma as they bake. A common mistake is preheating too briefly, which can lead to uneven rising and underbaked centers; make sure the oven reaches temperature before you slide the pan in.
- Line an 8-inch square pan with parchment, or grease well, and set aside: A lined pan gives you clean edges and an easy lift, and parchment prevents sticking that can ruin the slice. If you prefer greasing, use a light coating so the crust does not fry. Press the parchment to the corners so the batter spreads evenly, and avoid using a pan that is warped, as that causes uneven baking.
- If not easily stir-able, gently warm the nut butter to soften: Warming the nut butter makes it glossy and fluid, which helps combine ingredients uniformly. I heat it briefly over low heat or in 10 second bursts in the microwave, stirring between bursts, until it pours slowly. Overheating will thin it too much and can change texture, so stop as soon as it loosens and stir to an even consistency.
- In a bowl, stir all ingredients very well so you won't get a clump of baking soda in the final results: As you stir, the mixture should look cohesive and slightly shiny, and you will smell the warmth from the maple syrup and vanilla . Mixing thoroughly ensures even lift and flavor; pockets of undissolved baking soda taste bitter, so scrape the sides and bottom while folding. Avoid overmixing, which can develop the flour and lead to a tougher bar.
- Transfer the batter to the pan and smooth with a spatula or second sheet of parchment over top (then remove the second sheet): Smoothing creates an even surface that bakes uniformly; when the batter is level you will see consistent browning. Press gently to compact air pockets but do not force out all texture, or you risk making them too dense. A common slip is leaving the batter lumpy, which yields uneven bites; take a moment to work the top smooth.
- If desired, you can press some more chocolate or dried fruit into the top: Pressing extra chocolate chips or raisins on top makes the bars look finished and adds concentrated flavor in each square. The visual contrast of chips on top also signals ripeness when the chocolate softens slightly from warmth. Be careful not to overload the surface, which can cause uneven melting and soggy spots.
- Bake 13 minutes on the center rack (increase to 15 minutes if using almond flour): In the oven you will hear a near silence while edges set and the middle remains a touch soft, and the kitchen will fill with warm, toasty notes. The center should still appear slightly underdone when you take them out, because residual heat finishes the set. Avoid opening the oven early, which can collapse the centers, and if you use heavier flours like almond flour, the extra two minutes helps set the structure.
- They should look underdone – let them sit a half hour for extra gooey bars, or overnight if you want perfect firm-yet-soft cookie bars: As the bars rest, steam redistributes moisture and the texture transitions from unset to sliceable. For gooey bars, a half hour is enough for flavors to meld and the center to remain soft, while an overnight chill gives a clean cut with balanced chew. Cutting too soon can cause crumbling, so be patient and let them cool to reach the consistency you prefer.
Helpful Notes about Chocolate Chip Lunchbox Bars
These notes expand on small but impactful choices that improve texture, slicing, and flavor. I include options for flours and sweeteners so you can tailor the bars without losing that classic chew.
- Warm the nut butter slightly if it is stiff, but stop as soon as it loosens to avoid thinning the batter too much.
- Choose flour with intent, oat for a denser chew, almond for tender crumb, and spelt for a slightly nutty flavor; adjust baking time slightly if you switch.
- Distribute baking soda thoroughly by stirring from the bottom up, which prevents bitter pockets and ensures even rise.
- Press toppings on top after smoothing the batter to create a polished look and guarantee visible chocolate in every square.
- Rest before slicing, half an hour for gooey bars, or overnight for firmer, neater slices that travel better.
How to Serve Chocolate Chip Lunchbox Bars
These bars suit a variety of serving contexts, from packed lunches to casual dessert plates. They pair well with simple beverages and are easy to transport for potlucks. Below are many ways I like to present them depending on occasion and audience.
- Simple lunchbox ready pack a square with a napkin or parchment, and it travels without mess, making it ideal for school or work.
- Snack platter arrange cut bars on a tray alongside fruit for a kid friendly snack during playdates or after school.
- Casual dessert serve a warmed bar with a drizzle of syrup or a side of yogurt for a cozy, no fuss dessert after dinner.
- Gift tin layer bars between parchment in a small tin for a homemade gift that keeps well for a few days.
- Seasonal offering these are great year round for picnic baskets in spring, lunchboxes in school months, and light dessert plates at gatherings.
- Storage tip keep at room temperature for a day, refrigerate for firmer slices up to a week, or freeze in portions for longer keeping.
FAQ
Conclusion
These Chocolate Chip Lunchbox Bars stand out for their balance of simplicity and satisfying texture, offering a chewy interior with just enough chocolate in every bite. They are forgiving, adaptable, and friendly to swaps, which makes them a recipe I reach for when I want homemade treats without fuss. Try them soon, and you may find they become a staple in your lunchbox rotation, perfect for sharing or keeping all to yourself.
Chocolate Chip Lunchbox Bars
Equipment
- 8 inch square pan
- Parchment Paper
- Spatula
- Mixing Bowl
Ingredients
- 1 cup nut butter of choice, or allergy friendly sub Provide creamy texture and act as the primary binder that holds the bar ingredients together while adding richness and healthy fats; choose a neutral or flavored nut butter based on preference or allergy-friendly alternatives to maintain structure and moisture.
- 2/3 cup pure maple syrup or keto syrup, or honey, or agave Sweeten naturally and help dissolve dry ingredients while contributing to chewiness and moisture; select pure maple syrup, keto syrup, honey, or agave according to sweetness level and dietary needs to control texture and flavor.
- 1/2 cup flour (spelt, white, oat, sorghum, or almond work) Add bulk and structure by absorbing moisture and creating the bar's crumb; use the listed flours (spelt, white, oat, sorghum, or almond) to influence density and gluten content depending on dietary restrictions.
- 2 -3 tbsp regular or mini chocolate chips Provide melty pockets of chocolate and bursts of sweetness that contrast with the bar's chewiness; using regular or mini chips controls distribution and bite-sized chocolate amounts.
- 2 -3 tbsp raisins, chopped dates, or additional mini chips Contribute chewy texture and additional natural sweetness when using raisins or chopped dates, or extra chocolate flavor when using additional mini chips, enhancing mouthfeel and variety in each bite.
- optional 2 tbsp shredded coconut and/or crushed walnuts Enhance flavor complexity and offer optional texture contrast; shredded coconut adds a delicate chew and tropical note while crushed walnuts introduce crunch and nutty richness when included.
- 1 1/2 tsp baking soda Act as a leavening agent to slightly lighten the texture and help the bars rise minimally during baking or setting; dissolve evenly to avoid pockets and ensure a balanced crumb.
- 1 tsp pure vanilla extract Impart aromatic sweetness and depth of flavor that rounds out the overall profile; use pure vanilla extract to enhance other flavors without overpowering the bars.
- 1/8 tsp salt Balance and enhance sweetness while emphasizing other flavors; adding a small amount of salt sharpens overall taste and rounds out the recipe's flavor profile.
Instructions
- Preheat the oven to 325 F. Line an 8-inch square pan with parchment, or grease well, and set aside. If not easily stir-able, gently warm the nut butter to soften. In a bowl, stir all ingredients very well so you won't get a clump of baking soda in the final results. Transfer the batter to the pan and smooth with a spatula or second sheet of parchment over top (then remove the second sheet). If desired, you can press some more chocolate or dried fruit into the top. Bake 13 minutes on the center rack (increase to 15 minutes if using almond flour). They should look underdone – let them sit a half hour for extra gooey bars, or overnight if you want perfect firm-yet-soft cookie bars.: When you open the oven and feel the warm air, you want it to be steady and even, because 325 F bakes the bars slowly enough to set without drying. The gentle heat encourages a tender interior while allowing edges to firm, and you will notice a faint nutty aroma as they bake. A common mistake is preheating too briefly, which can lead to uneven rising and underbaked centers; make sure the oven reaches temperature before you slide the pan in.
- Line an 8-inch square pan with parchment, or grease well, and set aside: A lined pan gives you clean edges and an easy lift, and parchment prevents sticking that can ruin the slice. If you prefer greasing, use a light coating so the crust does not fry. Press the parchment to the corners so the batter spreads evenly, and avoid using a pan that is warped, as that causes uneven baking.
- If not easily stir-able, gently warm the nut butter to soften: Warming the nut butter makes it glossy and fluid, which helps combine ingredients uniformly. I heat it briefly over low heat or in 10 second bursts in the microwave, stirring between bursts, until it pours slowly. Overheating will thin it too much and can change texture, so stop as soon as it loosens and stir to an even consistency.
- In a bowl, stir all ingredients very well so you won't get a clump of baking soda in the final results: As you stir, the mixture should look cohesive and slightly shiny, and you will smell the warmth from the maple syrup and vanilla . Mixing thoroughly ensures even lift and flavor; pockets of undissolved baking soda taste bitter, so scrape the sides and bottom while folding. Avoid overmixing, which can develop the flour and lead to a tougher bar.
- Transfer the batter to the pan and smooth with a spatula or second sheet of parchment over top (then remove the second sheet): Smoothing creates an even surface that bakes uniformly; when the batter is level you will see consistent browning. Press gently to compact air pockets but do not force out all texture, or you risk making them too dense. A common slip is leaving the batter lumpy, which yields uneven bites; take a moment to work the top smooth.
- If desired, you can press some more chocolate or dried fruit into the top: Pressing extra chocolate chips or raisins on top makes the bars look finished and adds concentrated flavor in each square. The visual contrast of chips on top also signals ripeness when the chocolate softens slightly from warmth. Be careful not to overload the surface, which can cause uneven melting and soggy spots.
- Bake 13 minutes on the center rack (increase to 15 minutes if using almond flour): In the oven you will hear a near silence while edges set and the middle remains a touch soft, and the kitchen will fill with warm, toasty notes. The center should still appear slightly underdone when you take them out, because residual heat finishes the set. Avoid opening the oven early, which can collapse the centers, and if you use heavier flours like almond flour, the extra two minutes helps set the structure.
- They should look underdone – let them sit a half hour for extra gooey bars, or overnight if you want perfect firm-yet-soft cookie bars: As the bars rest, steam redistributes moisture and the texture transitions from unset to sliceable. For gooey bars, a half hour is enough for flavors to meld and the center to remain soft, while an overnight chill gives a clean cut with balanced chew. Cutting too soon can cause crumbling, so be patient and let them cool to reach the consistency you prefer.
Notes
- Warm the nut butter slightly if it is stiff, but stop as soon as it loosens to avoid thinning the batter too much.
- Choose flour with intent, oat for a denser chew, almond for tender crumb, and spelt for a slightly nutty flavor; adjust baking time slightly if you switch.
- Distribute baking soda thoroughly by stirring from the bottom up, which prevents bitter pockets and ensures even rise.
- Press toppings on top after smoothing the batter to create a polished look and guarantee visible chocolate in every square.
- Rest before slicing, half an hour for gooey bars, or overnight for firmer, neater slices that travel better.