Roasted Strawberries
Roasted Strawberries have a way of turning an ordinary moment into something quietly memorable, and the first time I made them I remember the kitchen filling with a warm, caramel sweet scent that made me stop mid-task and smile.
I was testing ways to use a glut of local berries from the farmers market one breezy spring morning, and rather than reach for jam jars or the blender, I decided to roast them. I wanted a simple transformation that brought out the berries natural sweetness without drowning it in sugar. The result was a batch of strawberries that tasted deeper, richer, almost like a fruit compote made without fuss. We ate them spooned over yogurt for breakfast, then later folded into a bowl of creamy ricotta for a small, impromptu dessert.
What surprised me was how versatile they became in the fridge for the next few days. They lent themselves to toast, salads, and even a quick spoonful on top of pancakes when guests popped in. This humble technique made the berries feel indulgent, yet it was simple enough for a weeknight treat. Every time I roast a tray now, I think about that market haul and how an easy method can highlight the character of a single, excellent ingredient.
Recipe Snapshot
25 mins
5 mins
20 mins
Medium
150 kcal
American
Vegan, Gluten-Free
Desserts
Oven, Baking sheet, Parchment paper, Knife
The Beauty of This Roasted Strawberries
Intense natural sweetness
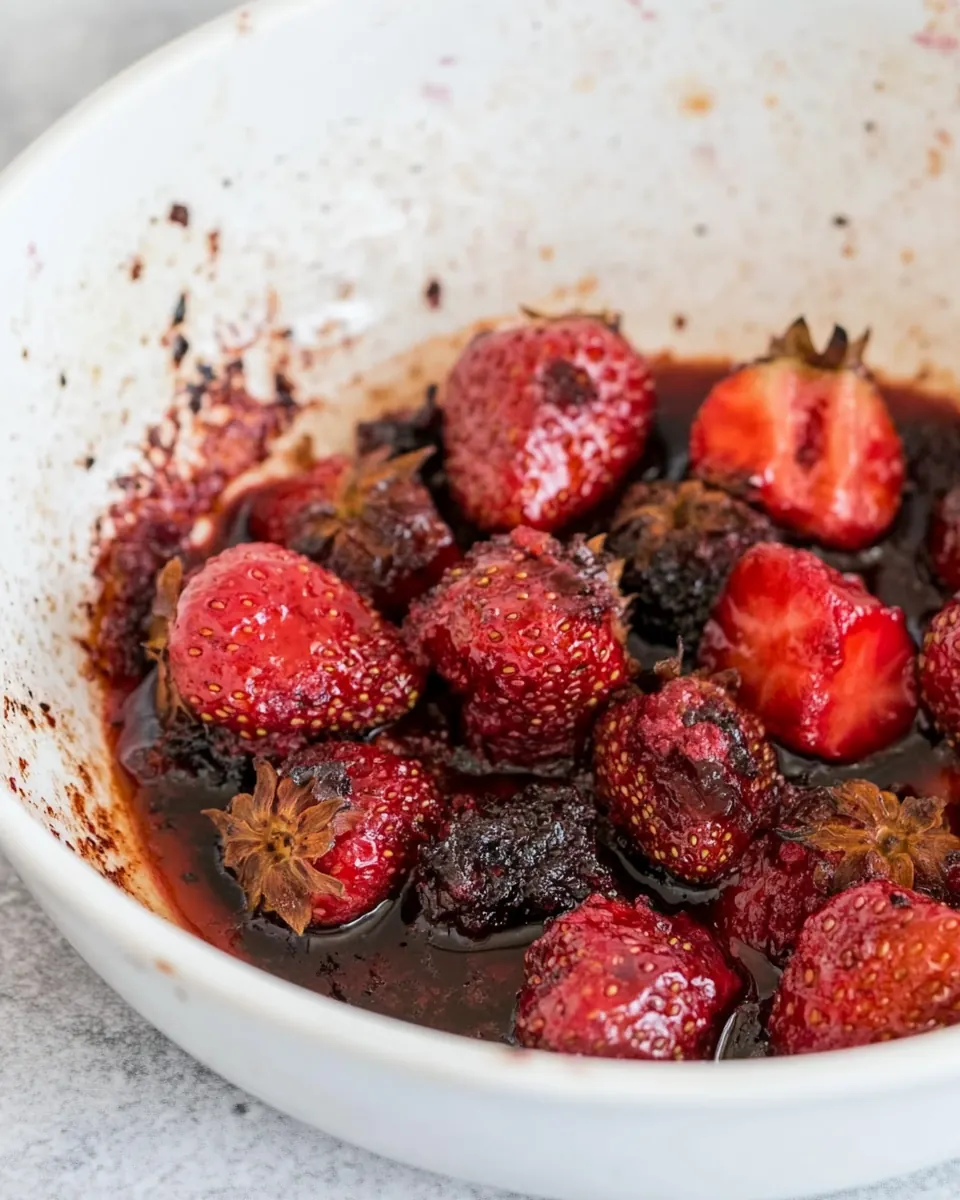
I love that Roasted Strawberries concentrate the fruit sugars without needing much added sugar. As the berries heat, they lose water and the sugars caramelize slightly, giving you a bold, jam like finish that still tastes like fresh strawberries. I find this especially useful when the fruit is slightly underripe, because roasting brings out the flavors that raw tasting hides.
Versatility across meals
We use these berries in so many ways. I’ll spoon them over morning yogurt, fold them into a light salad, or serve them with cheese for a casual snack. Their texture after roasting is luxurious, and they add a bright, sweet contrast to savory or creamy elements on the plate. I often keep a jar in the fridge for quick finishes.
Minimal ingredients, maximum payoff
The recipe is almost shockingly simple: strawberries, a touch of light brown sugar, a splash of oil, and a pinch of salt. That small list means there is nothing to compete with the fruit. I appreciate recipes that rely on technique rather than a long laundry list of flavors, and roasting is one of those techniques that does the heavy lifting.
Reliable and forgiving method
Roasting is gentle and forgiving, which I really value when I’m juggling other tasks. The Roasted Strawberries will tell you when they are ready: juices will bubble, edges will darken, and an aromatic sweetness will fill the kitchen. You can adapt time slightly for softer or firmer results without ruining the batch, so it’s a low stress way to upgrade fruit.
Seasonal and sustainable
I especially champion this recipe in spring when strawberries are at their brightest. It’s a sustainable way to use a full flat of berries and avoid waste, because roasting preserves flavor and stretches them across several uses. For me, that sense of resourcefulness is part of the pleasure.
What’s In This Roasted Strawberries
These few ingredients work in harmony to coax deep flavor from fresh fruit. The key players are the strawberries themselves, which provide acidity and natural sweetness. A small amount of light brown sugar amplifies caramel notes, while a touch of oil helps transfer heat and encourage gentle browning. The salt sharpens fruit flavor and balances sweetness. Together they create a concentrated, versatile fruit component that feels both simple and thoughtful.
- 1 lbs strawberries: Rinse and hull to remove dirt and stems, then halve or leave whole depending on size; provides the primary sweet-tart fruit base and juicy texture when roasted. Offers bright flavor and natural sugars that caramelize under heat, concentrating the strawberry essence in the finished dish.
- 1 teaspoon light brown sugar: Sprinkle lightly to enhance caramelization and amplify the berries' natural sweetness while balancing acidity; helps create a glossy, slightly syrupy finish as sugars melt during roasting. Adds subtle molasses notes that deepen overall flavor without overpowering the fruit.
- 1 teaspoon oil: Drizzle sparingly to prevent sticking and promote even roasting while contributing a hint of richness; assists heat transfer so fruit edges blister and brown attractively. Uses a neutral oil to avoid altering the delicate strawberry flavor while supporting caramelization.
- pinch salt: Add a pinch to heighten flavor complexity by balancing sweetness and enhancing overall taste perception; reduces any cloying quality and makes flavors more pronounced. Works subtly to bring out both aromatic and fruity notes during the roasting process.
Step by Step Instructions for Roasted Strawberries
These steps walk you through a gentle roasting process that transforms raw fruit into a concentrated, versatile component. Read the cues and trust your senses as you go, because the aroma and visual signals will guide you more than a strict timer. I find the method relaxing and reliably produces consistent results.
- Preheat oven to 375ºF/190ºC: Warm, fragrant air is the first sensory cue, and you will notice the oven humming as it comes to temperature. A properly preheated oven ensures even heat penetration so the berries roast rather than steam. The slight warmth around the oven door and the steady heating sound tell you it is ready. Common mistakes include skipping preheating, which can result in uneven cooking, or setting an incorrect temperature, which either chars the edges too fast or prevents caramelization.
- Hull the strawberries and cut them all in half: The texture becomes tactile and slightly sticky as you work, with the green caps coming away cleanly. Cutting the berries exposes their juices so they can caramelize on the cut surface, creating concentrated pockets of flavor. I use a small, sharp knife and steady pressure to keep halves uniform; uneven pieces will roast at different rates. Avoid tearing the fruit, because ragged edges can overcook and dry out.
- Line a large sheet pan with parchment paper, folding over the edges so any juices don't escape.: As you press the parchment into place there is a papery, dry sound, and the pan looks ready to contain bubbling juices. Parchment prevents sticking and makes cleanup effortless, while folded edges catch runaway syrup. If you skip this protection, juices can burn onto the pan and cause unpleasant smoke later. A common oversight is using too small a pan, which crowds the berries and leads to steaming rather than roasting.
- Toss strawberries with the sugar, oil and salt until thoroughly coated.: You'll feel the coatings slicking the fruit, and the sugar will start to melt slightly as it warms against your hands. This even coating is important for consistent browning and flavor distribution. I toss gently so the berries keep their shape while every surface gets a touch of seasoning. Overmixing can bruise them, creating mushy patches that release too much juice.
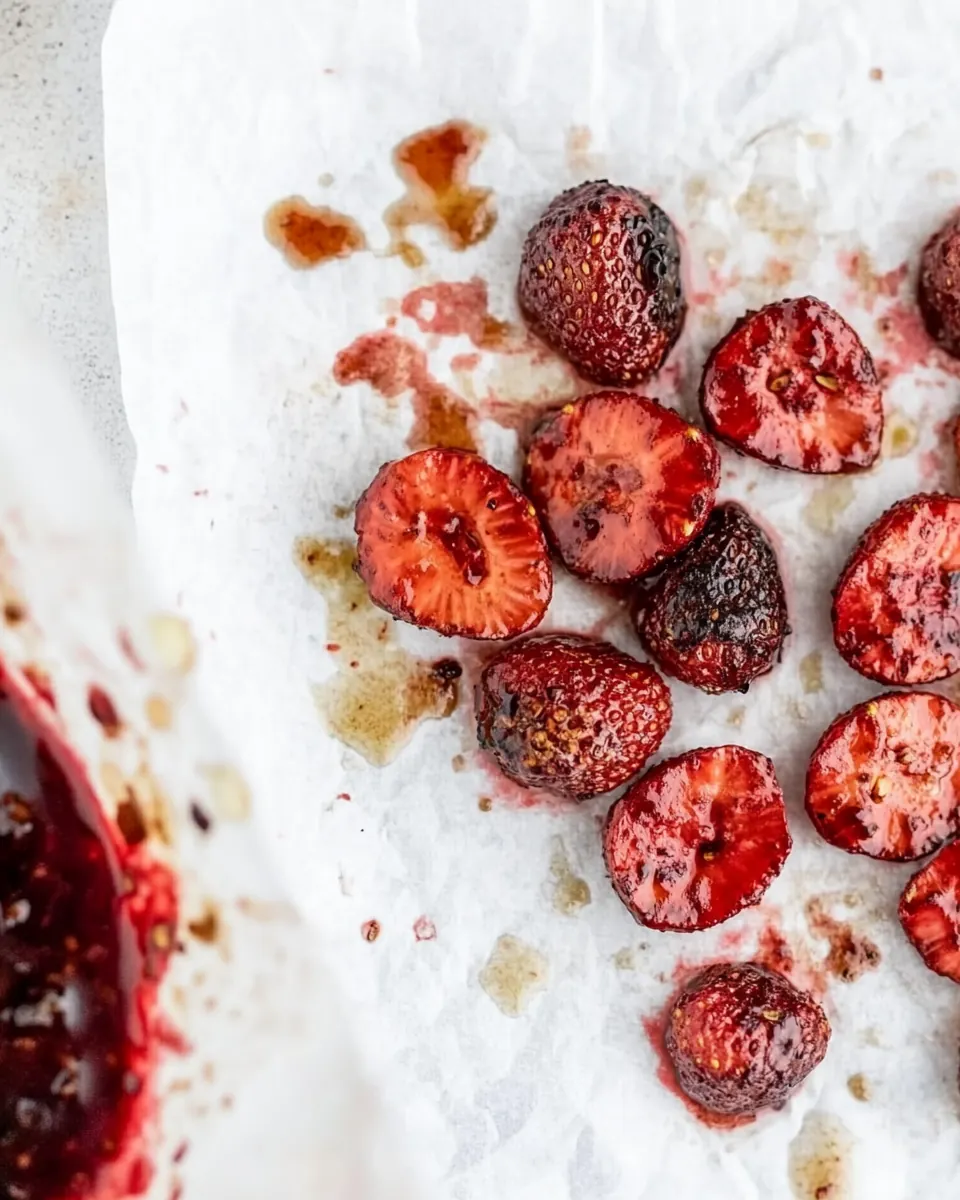
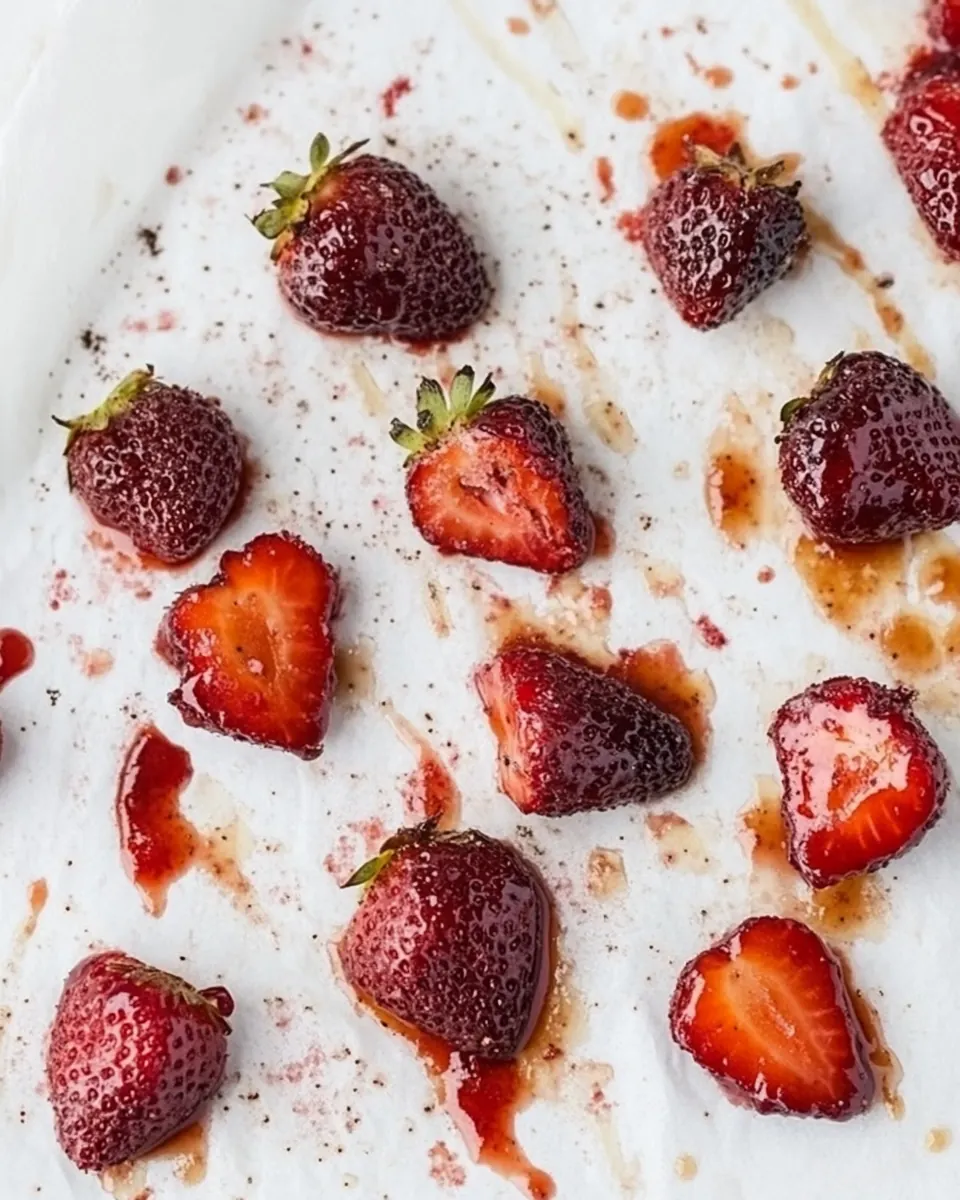
- Arrange the strawberries to the sheet pan cut side down.: Laying each half cut side down creates a glossy sear where juices concentrate and caramelize, and visually you can see neat rows of red domes. This orientation protects the delicate flesh and encourages even browning, giving the final fruit a pleasing texture. If you place them cut side up, juices spread across the pan and caramelization will be uneven. Crowding is another pitfall here, because touching berries will steam each other instead of roasting.
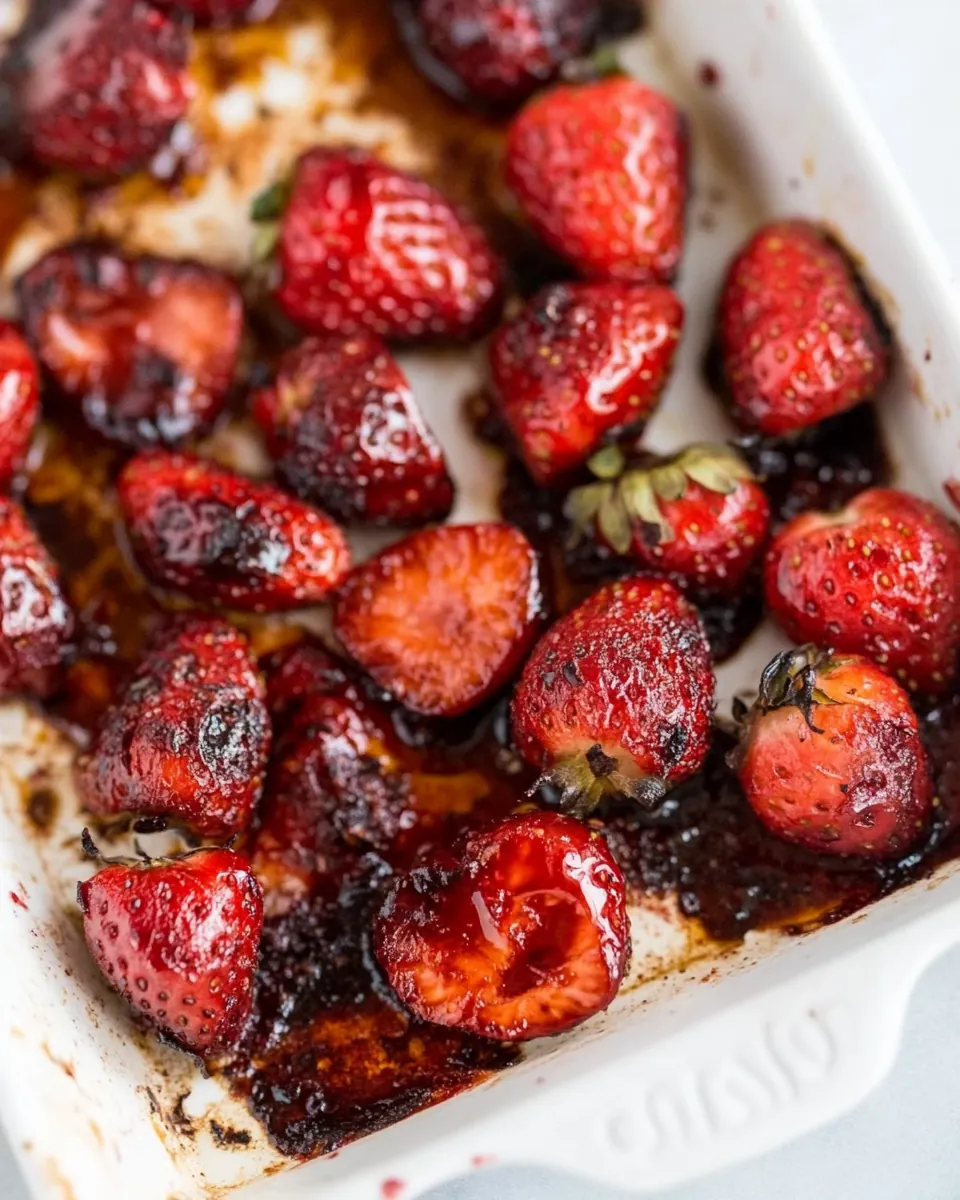
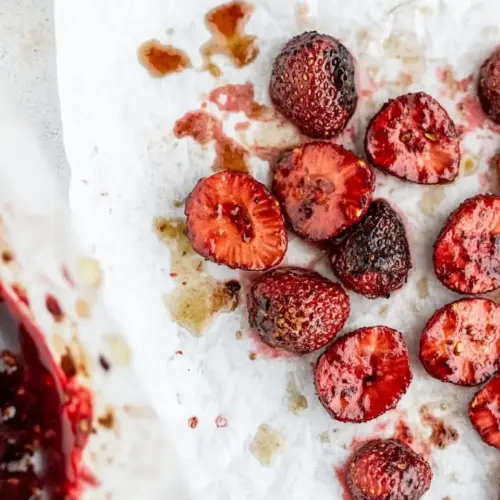
- Roast for 20 minutes, or until they start to caramelize.: During roasting the kitchen fills with a warm, sugary aroma and you may hear a faint bubbling as juices reduce. Look for edges to darken and for the surfaces to glisten with syrup, that is your cue they are approaching readiness. This stage concentrates flavors and alters texture to a tender yet slightly structured bite. Avoid walking away completely; if you leave them too long they can go beyond caramelization to char, which introduces bitterness.
- Remove from oven and allow to cool slightly before using them in your chosen way.: As the tray cools you will notice the syrup thicken and the aroma mellow into a rich, deep berry perfume. Cooling allows juices to set a little so the berries hold shape when stirred into other dishes. I often let them rest ten to fifteen minutes to make handling easier and to avoid burning when tasting. A common error is trying to use them piping hot, which can cause them to break down into a thin sauce rather than a spoonable compote.
Ways to Customize
There are a few small adjustments that change the personality of Roasted Strawberries without changing the core technique. Below are practical ideas you can try, each with a concise focus to guide experimentation.
- Vary the sweetener by using a touch more or less light brown sugar to shift from lightly sweet to jam like intensity, but be careful not to overwhelm the fruit.
- Adjust oil amount to influence browning, with a slightly higher amount encouraging more even heat transfer while too much will make the berries appear oily.
- Change roast time for texture: shorten it for firmer, juicier berries, or lengthen it for deeper caramelization, watching closely to avoid charring.
- Serve warm or chilled depending on use, warm for immediate spooning over dairy or chilled for folding into salads and breakfasts.
- Use as a base to fold into soft cheeses or yogurts, which adds a creamy contrast without adding extra cooking steps.
Best Served With
Roasted Strawberries are flexible companions on many plates and occasions. They work beautifully for casual breakfasts, light lunches, or relaxed dinner finishes. Below I outline pairing ideas and serving approaches so you can match them to the moment.
- Breakfast pairing: Spoon warm berries over plain yogurt or ricotta for a simple but elevated morning dish, the warm syrup cuts through the dairy for a balanced bite.
- Brunch idea: Serve alongside pancakes or waffles, the roasted fruit adds a concentrated sweetness that replaces heavy syrups, and it suits a laid back weekend table.
- Snack or cheese board: Pair chilled berries with mild cheeses for an easy appetizer, the sweet acidity complements creamy textures and cuts the richness of cheese.
- Salad addition: Toss a few cooled spoonfuls into a green salad with toasted nuts for a seasonal twist that brightens leaves and adds body.
- Storage tips: Keep in an airtight container in the refrigerator for up to four days, and spoon off excess syrup if you plan to add them to salads to avoid sogginess.
- Occasions: Great for spring gatherings when berries are abundant, and perfect for casual dinners where you want something simple yet refined.
FAQ
Conclusion
Roasted Strawberries shine because a small, simple method amplifies the fruit s natural sweetness and texture. The process is forgiving, quick, and yields a versatile component you can use across breakfasts, snacks, and light desserts. Give this technique a try the next time you have a bowl of seasonal berries; it s an easy way to elevate them into something special without fuss. Once you taste the concentrated, caramelized fruit, you may find yourself roasting berries on repeat.
Roasted Strawberries
Equipment
- Oven
- Baking Sheet
- Parchment Paper
- Knife
Ingredients
- 1 lbs strawberries Rinse and hull to remove dirt and stems, then halve or leave whole depending on size; provides the primary sweet-tart fruit base and juicy texture when roasted. Offers bright flavor and natural sugars that caramelize under heat, concentrating the strawberry essence in the finished dish.
- 1 teaspoon light brown sugar Sprinkle lightly to enhance caramelization and amplify the berries' natural sweetness while balancing acidity; helps create a glossy, slightly syrupy finish as sugars melt during roasting. Adds subtle molasses notes that deepen overall flavor without overpowering the fruit.
- 1 teaspoon oil Drizzle sparingly to prevent sticking and promote even roasting while contributing a hint of richness; assists heat transfer so fruit edges blister and brown attractively. Uses a neutral oil to avoid altering the delicate strawberry flavor while supporting caramelization.
- pinch salt Add a pinch to heighten flavor complexity by balancing sweetness and enhancing overall taste perception; reduces any cloying quality and makes flavors more pronounced. Works subtly to bring out both aromatic and fruity notes during the roasting process.
Instructions
- Preheat oven to 375ºF/190ºC: Warm, fragrant air is the first sensory cue, and you will notice the oven humming as it comes to temperature. A properly preheated oven ensures even heat penetration so the berries roast rather than steam. The slight warmth around the oven door and the steady heating sound tell you it is ready. Common mistakes include skipping preheating, which can result in uneven cooking, or setting an incorrect temperature, which either chars the edges too fast or prevents caramelization.
- Hull the strawberries and cut them all in half: The texture becomes tactile and slightly sticky as you work, with the green caps coming away cleanly. Cutting the berries exposes their juices so they can caramelize on the cut surface, creating concentrated pockets of flavor. I use a small, sharp knife and steady pressure to keep halves uniform; uneven pieces will roast at different rates. Avoid tearing the fruit, because ragged edges can overcook and dry out.
- Line a large sheet pan with parchment paper, folding over the edges so any juices don't escape.: As you press the parchment into place there is a papery, dry sound, and the pan looks ready to contain bubbling juices. Parchment prevents sticking and makes cleanup effortless, while folded edges catch runaway syrup. If you skip this protection, juices can burn onto the pan and cause unpleasant smoke later. A common oversight is using too small a pan, which crowds the berries and leads to steaming rather than roasting.
- Toss strawberries with the sugar, oil and salt until thoroughly coated.: You'll feel the coatings slicking the fruit, and the sugar will start to melt slightly as it warms against your hands. This even coating is important for consistent browning and flavor distribution. I toss gently so the berries keep their shape while every surface gets a touch of seasoning. Overmixing can bruise them, creating mushy patches that release too much juice.
- Arrange the strawberries to the sheet pan cut side down.: Laying each half cut side down creates a glossy sear where juices concentrate and caramelize, and visually you can see neat rows of red domes. This orientation protects the delicate flesh and encourages even browning, giving the final fruit a pleasing texture. If you place them cut side up, juices spread across the pan and caramelization will be uneven. Crowding is another pitfall here, because touching berries will steam each other instead of roasting.
- Roast for 20 minutes, or until they start to caramelize.: During roasting the kitchen fills with a warm, sugary aroma and you may hear a faint bubbling as juices reduce. Look for edges to darken and for the surfaces to glisten with syrup, that is your cue they are approaching readiness. This stage concentrates flavors and alters texture to a tender yet slightly structured bite. Avoid walking away completely; if you leave them too long they can go beyond caramelization to char, which introduces bitterness.
- Remove from oven and allow to cool slightly before using them in your chosen way.: As the tray cools you will notice the syrup thicken and the aroma mellow into a rich, deep berry perfume. Cooling allows juices to set a little so the berries hold shape when stirred into other dishes. I often let them rest ten to fifteen minutes to make handling easier and to avoid burning when tasting. A common error is trying to use them piping hot, which can cause them to break down into a thin sauce rather than a spoonable compote.
Notes
- Vary the sweetener by using a touch more or less light brown sugar to shift from lightly sweet to jam like intensity, but be careful not to overwhelm the fruit.
- Adjust oil amount to influence browning, with a slightly higher amount encouraging more even heat transfer while too much will make the berries appear oily.
- Change roast time for texture: shorten it for firmer, juicier berries, or lengthen it for deeper caramelization, watching closely to avoid charring.
- Serve warm or chilled depending on use, warm for immediate spooning over dairy or chilled for folding into salads and breakfasts.
- Use as a base to fold into soft cheeses or yogurts, which adds a creamy contrast without adding extra cooking steps.