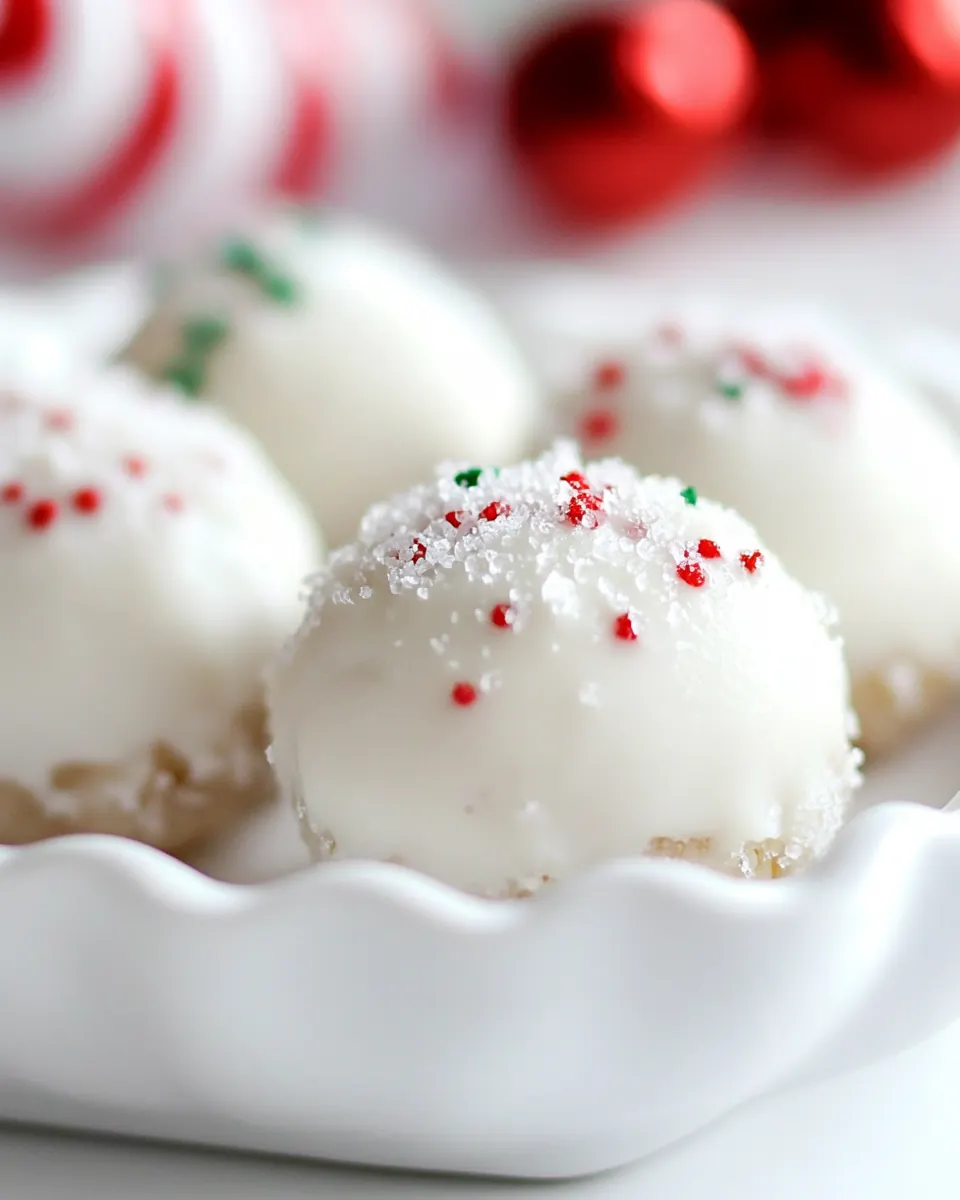
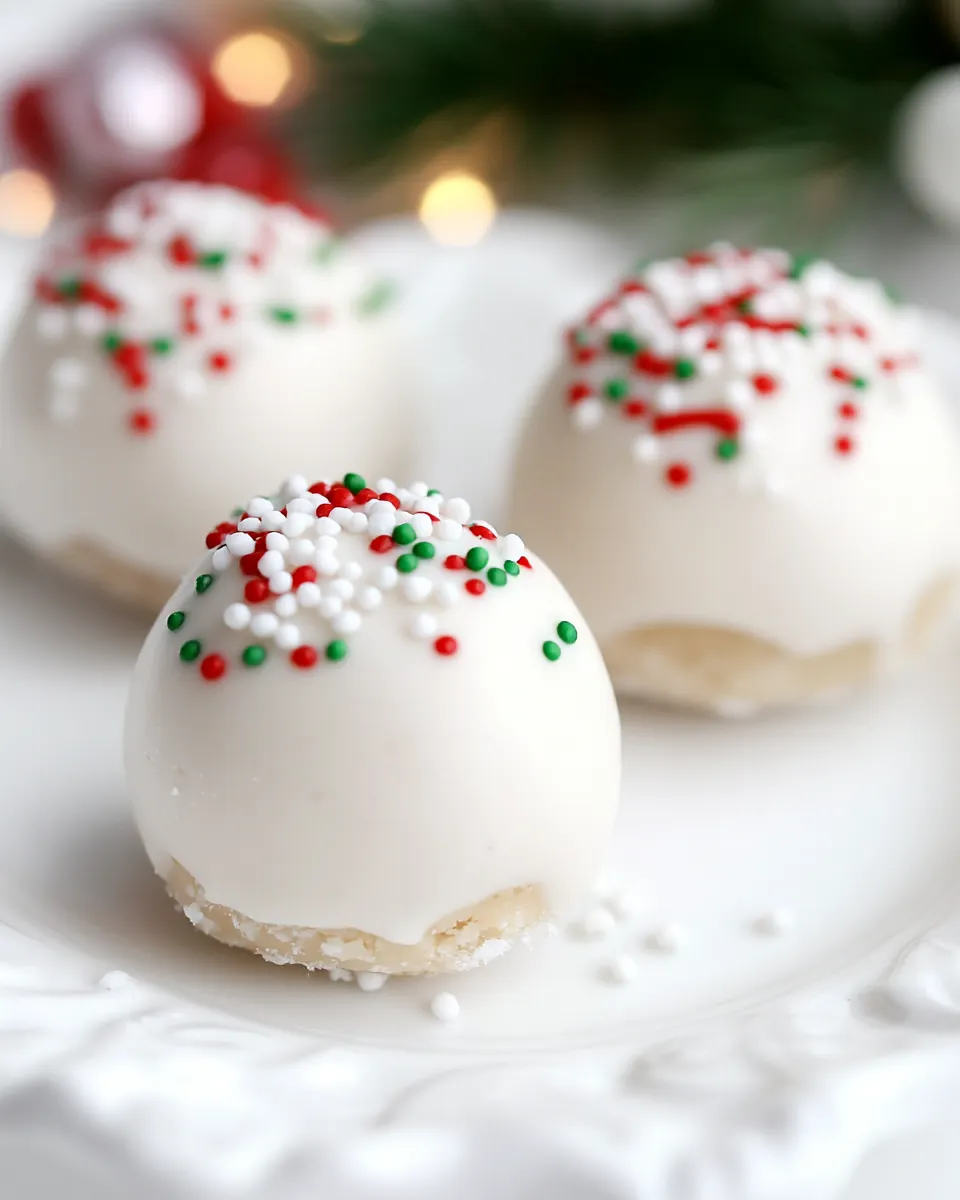
Peanut Butter Snowballs
Peanut Butter Snowballs are the kind of small, nostalgic treats I return to whenever I want something comforting and a little bit playful.
I remember the first time I rolled these with my niece at a holiday cookie exchange, flour on our sleeves though there was no flour in the recipe, laughter as one ball turned into a lopsided snowman, and the smell of creamy peanut butter drifting through the kitchen. These little rounds are whisper-light bites that snap with a thin candy shell then give way to a soft, sweet center that feels like a humble celebration for the palate. Over the years I’ve tuned the technique so the centers stay tender but firm, and the coating is glossy and smooth instead of clumpy.
What I love most is their simplicity, the way a handful of pantry staples become festive treats you can make with kids, or tuck into a cookie tin for neighbors. Every time I make a batch I switch up the sprinkles to match the season, thinking about how a tiny touch changes the mood. These are perfect for a snowy afternoon when you want to bake without a long list of steps, and they bring back a sense of small, shared joy every single time.
Recipe Snapshot
15 mins
10 mins
5 mins
Easy
150 kcal
American
Gluten-Free, Low FODMAP
Desserts
Mixing bowl, Baking sheet, Wax paper, Spoon or spatula, Small scoop or hands, Saucepan or microwave safe bowl for melting coating
Why This Peanut Butter Snowballs Shines
Perfectly Portable Treats
I adore how Peanut Butter Snowballs travel well, which makes them ideal for holiday parties or potlucks. The firm centers hold together, and the candy coating prevents them from getting sticky, so you can box them up and hand them out without fuss.
Kid Friendly and Hands On
These are a joy to make with little helpers. Rolling the dough into balls is tactile and satisfying, and children love dipping and decorating. I always find the process sparks conversation, and the finished cookies feel like a shared accomplishment.
Minimal Ingredients, Maximum Impact
The ingredient list is short, yet the contrast between the creamy peanut butter center and the sweet, crunchy coating delivers a multilayered experience. The powdered sugar keeps the texture tender while the candy coating adds a professional shine.
Customizable and Festive
Swapping sprinkles or using seasonal candy colors lets you match any celebration. For Christmas I like red and green sprinkles, while winter whites are lovely for a snowy theme. The ease of customization is one reason these keep showing up at my gatherings.
Quick to Make
From start to finish these come together fast, which is invaluable when time is tight. I often make a batch between other tasks, then chill them while I wrap gifts or prep other dishes, so they feel like an effortless win.
Ingredients Overview for Peanut Butter Snowballs
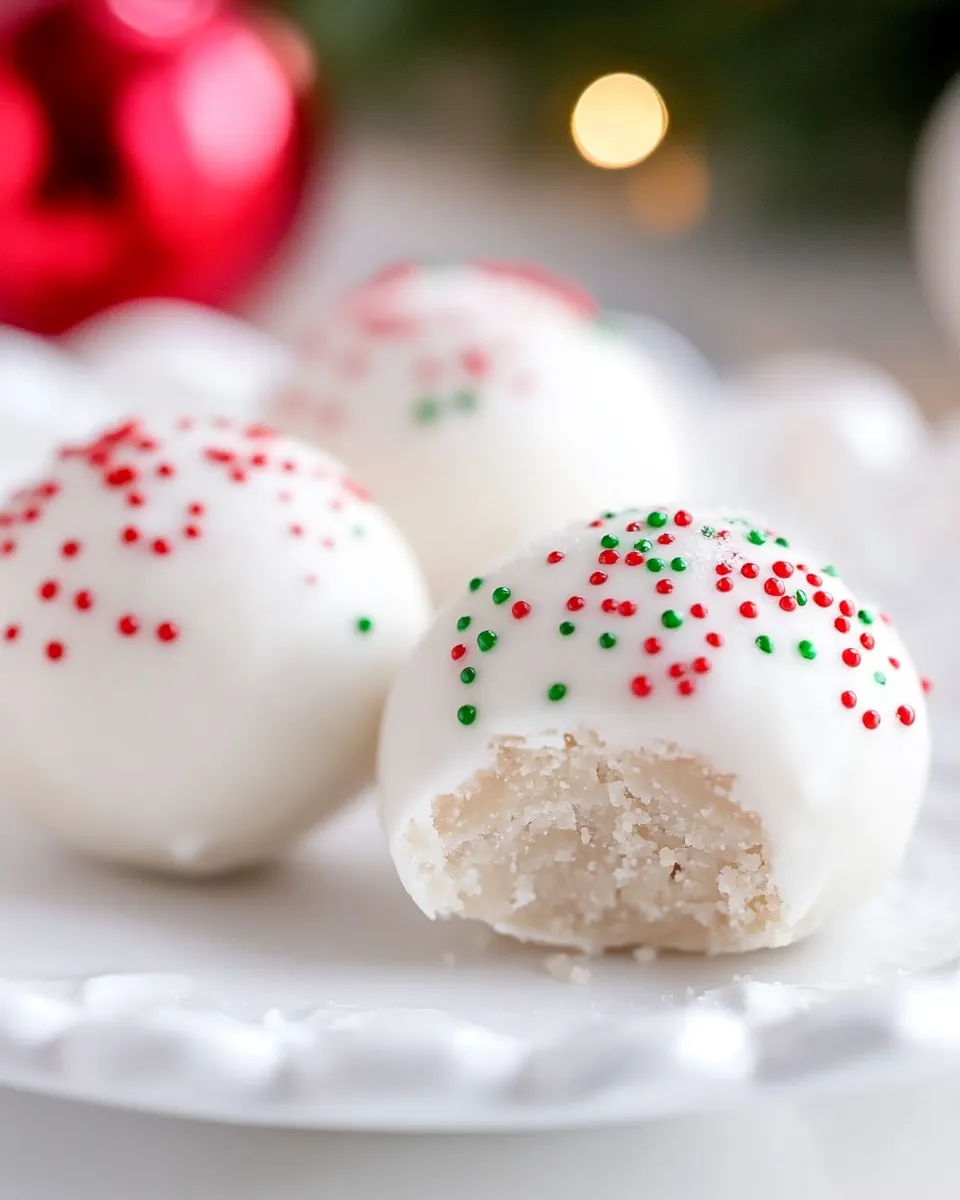
These ingredients are straightforward and intentionally complementary. The real hero is the creamy peanut butter which provides richness and binding power, while the powdered sugar adds sweetness and a tender crumb. The butter contributes silkiness, and the vanilla candy coating creates a protective, glossy shell that contrasts with the soft interior. Sprinkles finish the look and add a fun, crunchy note.
- 1/2 cup creamy peanut butter: Provide creaminess and nutty flavor while binding the dough; helps create soft, cohesive centers for the snowballs and adds richness to balance sweetness. Incorporate at room temperature for easier mixing and a smoother texture.
- 3 tablespoons butter, softened: Add creaminess and mild dairy fat to lighten the peanut butter; offers pliability for rolling and contributes subtle richness that improves mouthfeel. Soften before mixing to ensure even distribution throughout the dough.
- 1 cup powdered sugar: Sweeten and stabilize the mixture while absorbing excess oil; creates a powdered exterior that firms up the centers and helps achieve the signature sweet, smooth interior. Sift or add gradually to prevent lumps and reach desired consistency.
- 1 pound vanilla candy coating: Coat and set the assembled balls with a sweet, firm shell that provides structure and a glossy finish; melts for dipping then hardens to protect the centers and add visual appeal. Temper slightly if needed to avoid cracking and ensure an even, durable coating.
- Christmas sprinkles: Decorate with festive color and a crunchy contrast; sprinkle over the coating before it sets to add holiday flair and a slight textural bite. Use sparingly for an attractive finish without overwhelming sweetness.
Making This Peanut Butter Snowballs
These directions are straightforward but I like to take a relaxed approach as I work, paying attention to texture and timing. Follow each step, and focus on sensory cues like smell and feel to tell you when you are on track. The chilling and coating stages are crucial for the final texture and appearance.
- Combine sugar, peanut butter, and butter in a bowl mixing until dough forms.: The bowl will quickly become fragrant with nutty peanut butter , and you should feel the mixture turning from separate ingredients into a cohesive, slightly tacky dough. Mix until no dry streaks of powdered sugar remain and the surface looks smooth. You want a consistency that holds together when squeezed but is not greasy. If the dough seems crumbly, it indicates the butter may be too cold, or the peanut butter needs a stir; add a touch more peanut butter to bring it together. Avoid overmixing, as that can warm the fats and make the dough too soft.
- Shape into 1-inch balls and place on a baking sheet lined with wax paper. Chill for 30 minutes.: Rolling the dough into uniform balls ensures even chilling and a consistent bite. The smoothness of the ball's exterior matters because bumps can cause the coating to pool unevenly. As you roll, you will notice the dough becoming slightly firmer from the heat of your hands; if it gets too soft, briefly chill your palms or the mixture. A common mistake is making balls too large, which changes the bite and chilling time, so aim for roughly 1 inch in diameter.
- When done chilling, melt candy coating according to package directions until smooth and dip balls coating them completely. Allow excess to drip off and place back on waxed paper-lined baking sheet.: Chilling firms the centers so they hold their shape during dipping. You will feel the texture change from pliable to slightly firm, and the surface will stop sticking to your fingers. This step reduces the risk of the centers falling apart in the warm candy coating. If you skip or shorten chilling, the balls may absorb too much coating or become misshapen. Place them in a single layer to ensure uniform cooling, and resist the urge to crowd the pan.
- Top with sprinkles and chill for an additional 15-20 minutes. ENJOY!: The melted vanilla candy should be glossy and flow easily off a spoon. Dip each chilled ball and watch the coating wrap it like a thin shell, then lift and let excess drip off. The visual cue to stop dripping is when the coating forms a smooth surface without streaks or gaps. Overheating the coating can cause it to thicken or seize, so follow the package heat guidelines closely. If the coating becomes grainy, remove it from heat briefly and stir gently to restore smoothness.
- Allow excess to drip off and place back on waxed paper lined baking sheet: After dipping, set each snowball back onto the wax paper and listen for a faint settling sound as the coating calms. The underside should set without flattening; if you see puddles forming under the balls, it means too much coating was used or the center was too warm. Use a fork or dipping tool to gently lift and release any pools, ensuring an even base. Avoid touching them until the coating firms, because fingerprints will mar the finish.
- Top with sprinkles and chill for an additional 15 20 minutes: Sprinkles adhere best when the coating is still tacky, so apply them immediately after placing the dipped balls onto the sheet. The short final chill locks the coating into a crisp shell and helps sprinkles settle without sinking. Expect a subtle cracking sound when you bite in after chilling, signaling a set shell and soft interior. A typical pitfall is waiting too long to add sprinkles, which results in poor adhesion, or placing them on coating that is too hot, which causes colors to bleed.
Tips for Success
I like to keep a steady rhythm when making Peanut Butter Snowballs. A few small practices make a big difference, from consistent ball size to careful melting of the coating. Below are practical tips I use every time to achieve polished, delicious results.
- Use creamy peanut butter, not natural: Regular creamy peanut butter gives a smooth texture that blends predictably with powdered sugar, preventing oily or crumbly dough.
- Soften butter to room temperature for easy mixing: Room temperature butter combines smoothly without leaving lumps, giving a tender center.
- Measure powdered sugar by spooning into the cup: This avoids packing and keeps the sweetness balanced and the texture light.
- Melt candy coating gently following package timings: Low controlled heat keeps the coating glossy, avoiding a grainy finish that spoils the appearance.
- Chill on a single layer so air circulates evenly: Crowding the tray can cause uneven chilling and misshapen balls.
- Use a cookie scoop for uniformity: A small scoop ensures consistent size, which helps with even setting and appearance.
- Work near the fridge so you can quickly return trays to chill between batches: This keeps centers firm and prevents coating issues.
- Apply sprinkles immediately while coating is tacky: This ensures they adhere cleanly without falling off later.
- Store in a cool, dry place in an airtight container to maintain texture: This keeps the shell crisp and the center soft for days.
- Freeze for longer storage in a freezer safe container for up to two months: Thaw at room temperature before serving for best texture.
What to Serve Alongside Peanut Butter Snowballs
These bite sized treats are versatile and suit many occasions. Consider pairing them with contrasting textures and warm beverages for a pleasing spread. Below are serving ideas, storage notes, and occasion pairings organized for practical use.
- Festive cookie platters: Arrange Peanut Butter Snowballs alongside assorted cookies for a holiday dessert table, using coordinating colors of sprinkles to tie the display together.
- Hot beverage pairing: Serve them next to cups of hot cocoa or coffee, letting guests alternate between a warm sip and a cool, crunchy bite.
- Party favors: Package three to five per small box with tissue, making charming gifts for school events or neighbor gifts during Christmas.
- Kid friendly snack station: Set up a decorating station where children can dip and add sprinkles, creating an interactive activity that doubles as a treat.
- Storage tips: Keep in an airtight container at room temperature for five to seven days, refrigerate for up to ten days, or freeze for one to two months. Thaw at room temperature before serving to restore optimal texture.
- Seasonal variations: Change sprinkle colors to match holidays or seasons, turning the same recipe into a winter white, Valentine pink, or spring pastel presentation.
FAQ
Conclusion
What makes this recipe special is the delightful contrast between the smooth, nutty centers and the crisp, glossy candy shell. Try making these when you want a quick, festive bite that is easy to customize and share. I think you will find them satisfying to both make and eat, bringing a bright, playful note to any gathering while being simple enough to prepare on a busy day.
Peanut Butter Snowballs
Equipment
- Mixing Bowl
- Baking Sheet
- Wax paper
- Spoon or spatula
- Small scoop or hands
- Saucepan or microwave safe bowl for melting coating
Ingredients
- 1/2 cup creamy peanut butter Provide creaminess and nutty flavor while binding the dough; helps create soft, cohesive centers for the snowballs and adds richness to balance sweetness. Incorporate at room temperature for easier mixing and a smoother texture.
- 3 tablespoons butter, softened Add creaminess and mild dairy fat to lighten the peanut butter; offers pliability for rolling and contributes subtle richness that improves mouthfeel. Soften before mixing to ensure even distribution throughout the dough.
- 1 cup powdered sugar Sweeten and stabilize the mixture while absorbing excess oil; creates a powdered exterior that firms up the centers and helps achieve the signature sweet, smooth interior. Sift or add gradually to prevent lumps and reach desired consistency.
- 1 pound vanilla candy coating Coat and set the assembled balls with a sweet, firm shell that provides structure and a glossy finish; melts for dipping then hardens to protect the centers and add visual appeal. Temper slightly if needed to avoid cracking and ensure an even, durable coating.
- Christmas sprinkles Decorate with festive color and a crunchy contrast; sprinkle over the coating before it sets to add holiday flair and a slight textural bite. Use sparingly for an attractive finish without overwhelming sweetness.
Instructions
- Combine sugar, peanut butter, and butter in a bowl mixing until dough forms.: The bowl will quickly become fragrant with nutty peanut butter , and you should feel the mixture turning from separate ingredients into a cohesive, slightly tacky dough. Mix until no dry streaks of powdered sugar remain and the surface looks smooth. You want a consistency that holds together when squeezed but is not greasy. If the dough seems crumbly, it indicates the butter may be too cold, or the peanut butter needs a stir; add a touch more peanut butter to bring it together. Avoid overmixing, as that can warm the fats and make the dough too soft.
- Shape into 1-inch balls and place on a baking sheet lined with wax paper. Chill for 30 minutes.: Rolling the dough into uniform balls ensures even chilling and a consistent bite. The smoothness of the ball's exterior matters because bumps can cause the coating to pool unevenly. As you roll, you will notice the dough becoming slightly firmer from the heat of your hands; if it gets too soft, briefly chill your palms or the mixture. A common mistake is making balls too large, which changes the bite and chilling time, so aim for roughly 1 inch in diameter.
- When done chilling, melt candy coating according to package directions until smooth and dip balls coating them completely. Allow excess to drip off and place back on waxed paper-lined baking sheet.: Chilling firms the centers so they hold their shape during dipping. You will feel the texture change from pliable to slightly firm, and the surface will stop sticking to your fingers. This step reduces the risk of the centers falling apart in the warm candy coating. If you skip or shorten chilling, the balls may absorb too much coating or become misshapen. Place them in a single layer to ensure uniform cooling, and resist the urge to crowd the pan.
- Top with sprinkles and chill for an additional 15-20 minutes. ENJOY!: The melted vanilla candy should be glossy and flow easily off a spoon. Dip each chilled ball and watch the coating wrap it like a thin shell, then lift and let excess drip off. The visual cue to stop dripping is when the coating forms a smooth surface without streaks or gaps. Overheating the coating can cause it to thicken or seize, so follow the package heat guidelines closely. If the coating becomes grainy, remove it from heat briefly and stir gently to restore smoothness.
- Allow excess to drip off and place back on waxed paper lined baking sheet: After dipping, set each snowball back onto the wax paper and listen for a faint settling sound as the coating calms. The underside should set without flattening; if you see puddles forming under the balls, it means too much coating was used or the center was too warm. Use a fork or dipping tool to gently lift and release any pools, ensuring an even base. Avoid touching them until the coating firms, because fingerprints will mar the finish.
- Top with sprinkles and chill for an additional 15 20 minutes: Sprinkles adhere best when the coating is still tacky, so apply them immediately after placing the dipped balls onto the sheet. The short final chill locks the coating into a crisp shell and helps sprinkles settle without sinking. Expect a subtle cracking sound when you bite in after chilling, signaling a set shell and soft interior. A typical pitfall is waiting too long to add sprinkles, which results in poor adhesion, or placing them on coating that is too hot, which causes colors to bleed.
Notes
- Use creamy peanut butter, not natural: Regular creamy peanut butter gives a smooth texture that blends predictably with powdered sugar, preventing oily or crumbly dough.
- Soften butter to room temperature for easy mixing: Room temperature butter combines smoothly without leaving lumps, giving a tender center.
- Measure powdered sugar by spooning into the cup: This avoids packing and keeps the sweetness balanced and the texture light.
- Melt candy coating gently following package timings: Low controlled heat keeps the coating glossy, avoiding a grainy finish that spoils the appearance.
- Chill on a single layer so air circulates evenly: Crowding the tray can cause uneven chilling and misshapen balls.
- Use a cookie scoop for uniformity: A small scoop ensures consistent size, which helps with even setting and appearance.
- Work near the fridge so you can quickly return trays to chill between batches: This keeps centers firm and prevents coating issues.
- Apply sprinkles immediately while coating is tacky: This ensures they adhere cleanly without falling off later.
- Store in a cool, dry place in an airtight container to maintain texture: This keeps the shell crisp and the center soft for days.
- Freeze for longer storage in a freezer safe container for up to two months: Thaw at room temperature before serving for best texture.