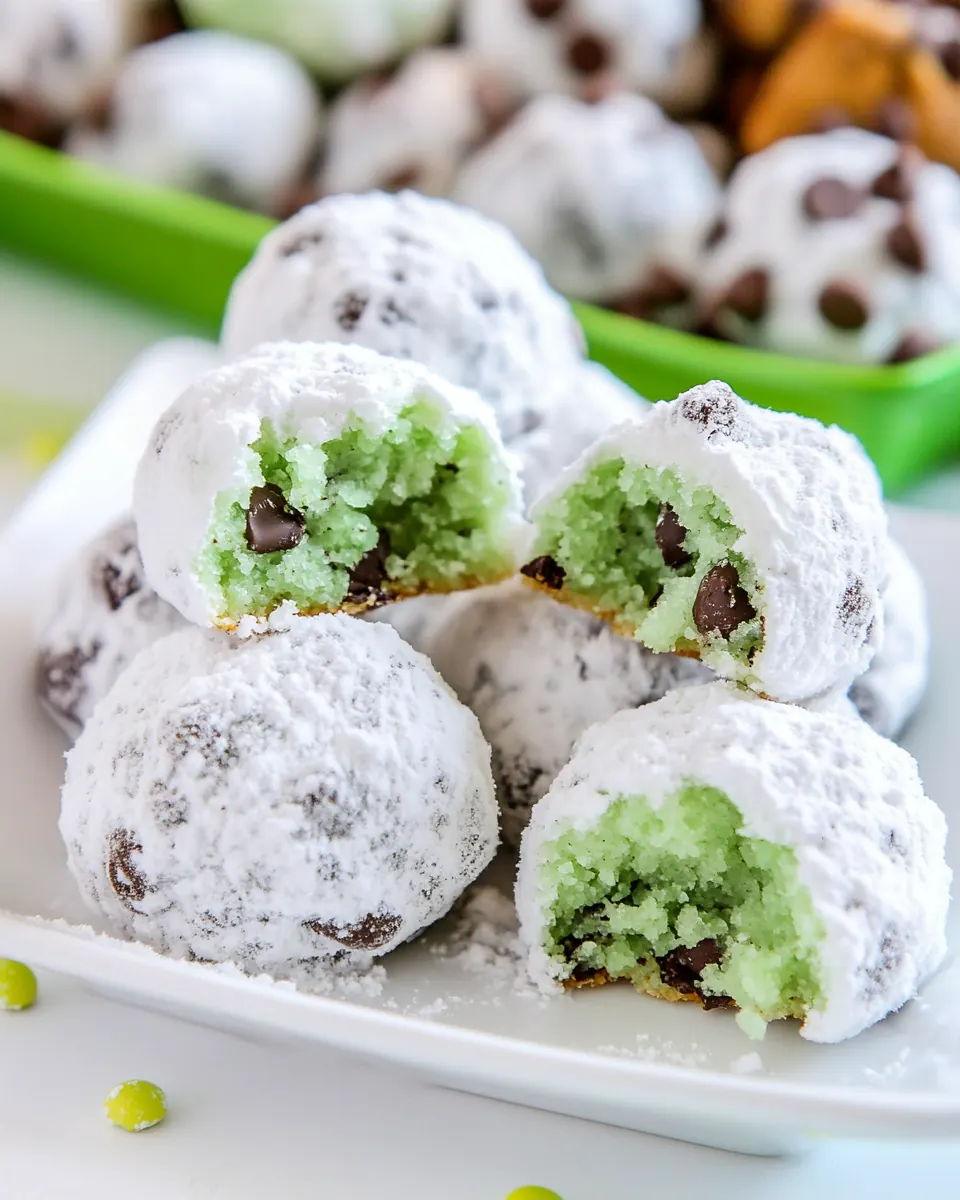
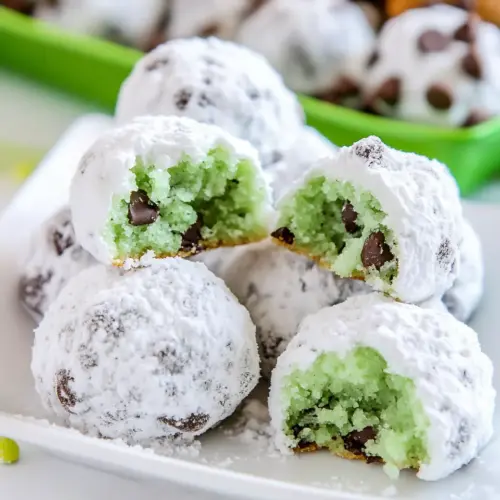
Mint Chocolate Chip Snowball Cookies
Mint Chocolate Chip Snowball Cookies are the kind of treat that sneaks into your holiday baking box and instantly becomes the one everyone asks for seconds of. I remember the first time I made these, juggling a tray in one hand and a cup of hot cocoa in the other, laughing because a bite of dough had somehow vanished before the oven even heated up. The cool hint of mint against bursts of chocolate feels festive and playful, and the snowball finish makes them irresistible at December gatherings.
I learned to make these cookies on a rainy afternoon when I wanted something bright and cheerful to balance out the grey outside. I experimented with the green tint until it looked like a soft winter mint and adjusted the amount of powdered sugar so the coating felt delicate rather than cloying. Friends who tasted them said they were like a familiar holiday classic with a modern twist, which delighted me.
Over the years I started bringing a batch to cookie swaps, and each time someone would ask for the recipe. That request turned into a ritual where I explain why chilling the dough matters, and why those mini chocolate chips are the perfect size. These cookies travel well, freeze beautifully, and keep their charm when plated beside a steaming drink, making them a go to for festive trays.
Recipe Snapshot
18 mins
10 mins
8 mins
Medium
120 kcal
American
Gluten-Free, Low FODMAP
Desserts
Mixing bowl, Mixer, Cookie sheet, Parchment paper, Spoon or scoop
Why We Love This Mint Chocolate Chip Snowball Cookies
Minty freshness that wakes the palate
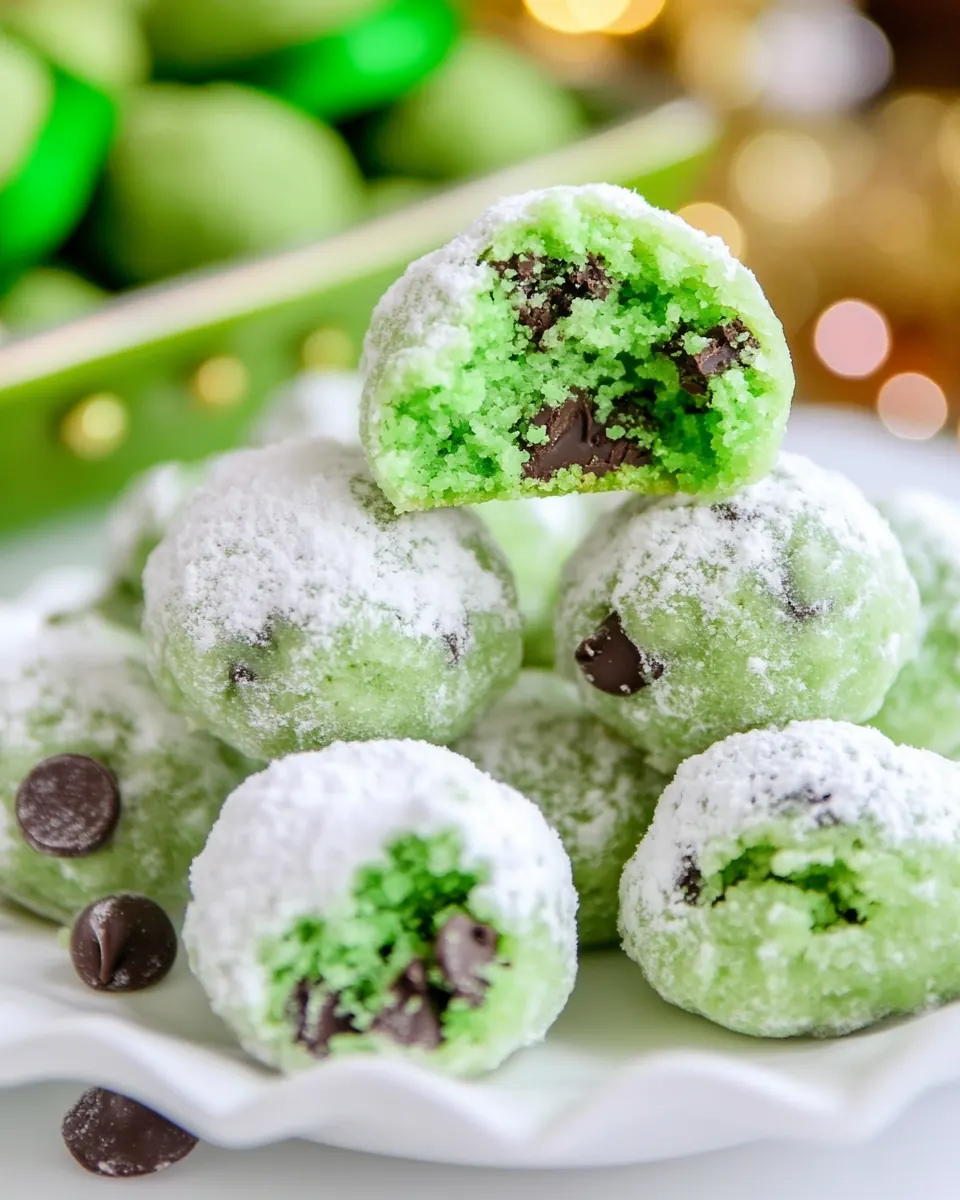
What hooks me first about Mint Chocolate Chip Snowball Cookies is the burst of mint that comes through without overpowering the cookie. I like when the peppermint note is clear but balanced, so every bite feels lively. That contrast makes them more interesting than a plain buttery cookie, and I often catch myself reaching for one to refresh between heavier bites.
Textural play, soft center and melt in your mouth coating
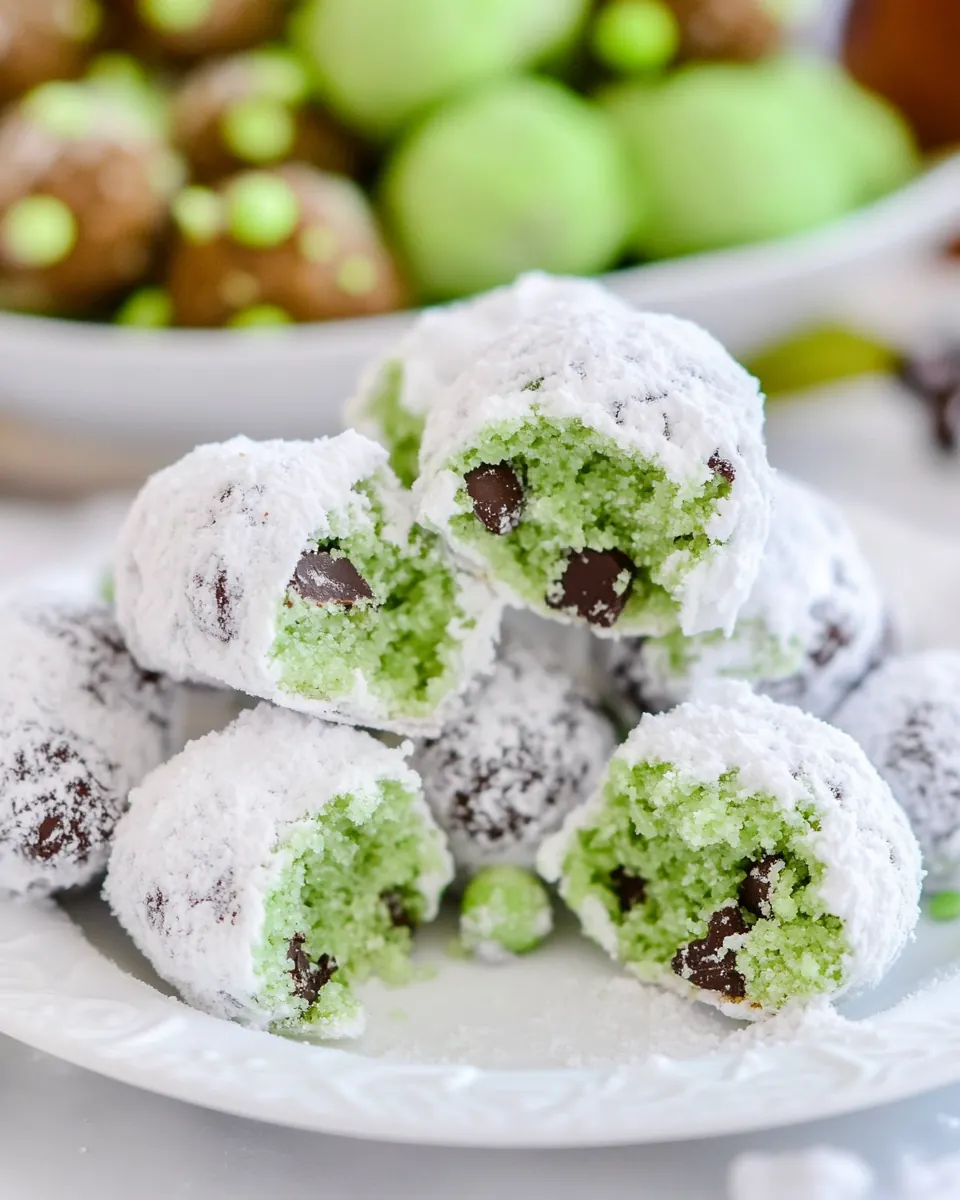
I adore the way the interior remains tender while the exterior powdery coat gives a delicate finish. The soft crumb of the cookie pairs with the light dusting of powdered sugar to deliver a nostalgic mouthfeel, but the mini chocolate chips add tiny pockets of chew and snap that keep the texture from becoming monotonous.
Flexible, forgiving dough
One of the reasons I return to this recipe is how forgiving the dough is. It handles a little over mixing or slight changes in humidity without collapsing, and chilling it improves shape and flavor. That makes these cookies perfect for spirited home bakers, because small mistakes rarely ruin the batch.
Visually festive yet homey
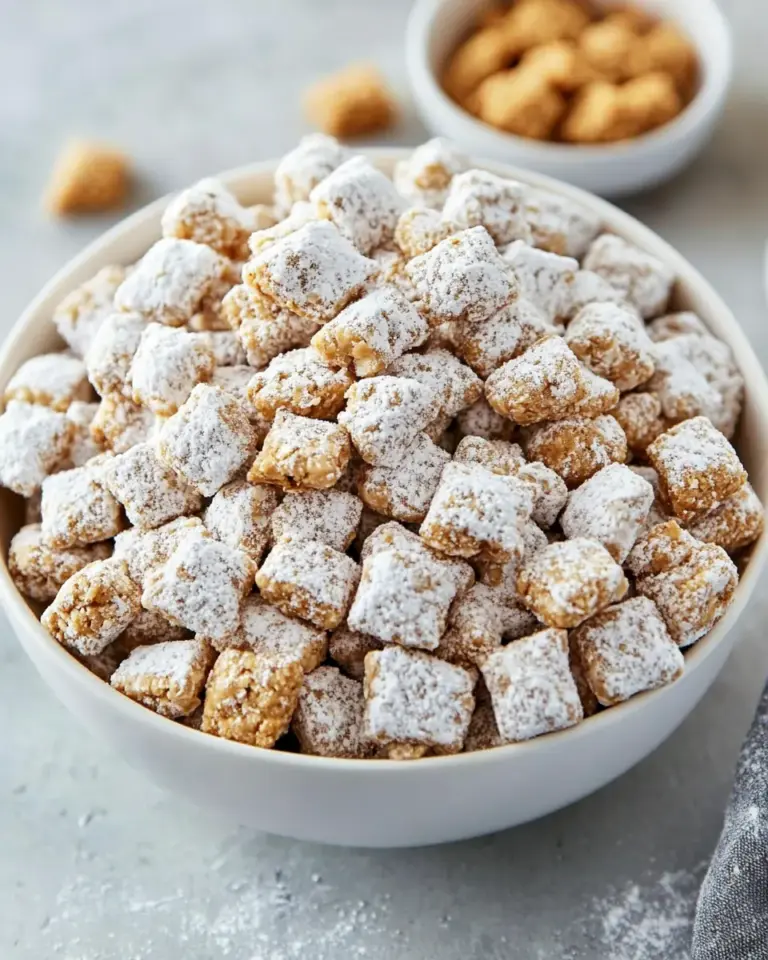
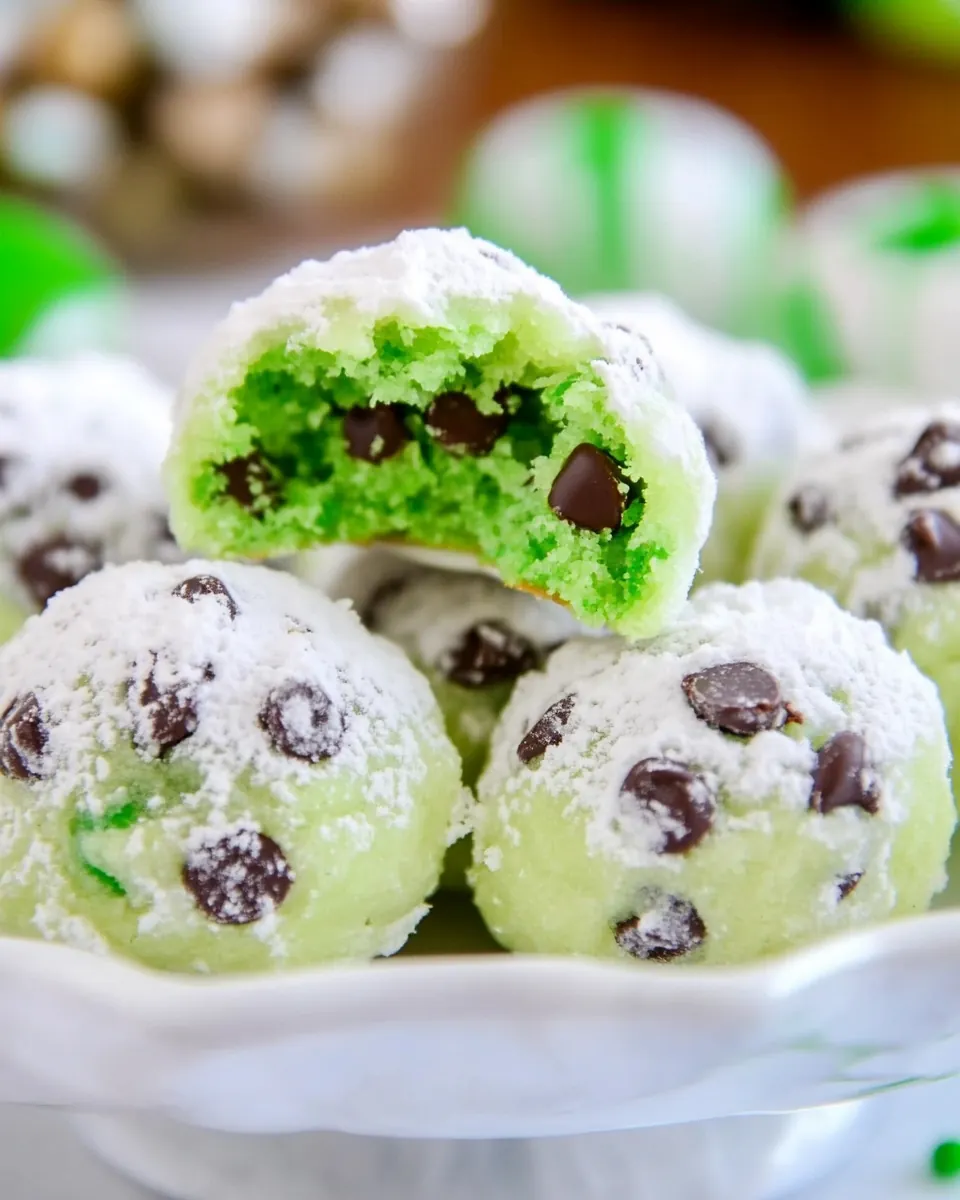
The gentle green tint and snowy powdered sugar coating make these cookies feel seasonal and special without being fussy. I love plating them on a simple white platter, letting the colors speak for themselves. They look like winter on a plate, which is why I always bring them to holiday gatherings.
Great for make ahead and gifting
I appreciate recipes that fit into a busy schedule, and these do just that. You can prepare the dough ahead, freeze the baked cookies, and wrap them up as sweet gifts. That flexibility means you can enjoy baking without stress, and still deliver something that tastes freshly made.
Ingredients Required for Mint Chocolate Chip Snowball Cookies
These ingredients are simple and intentional, working together to create the holiday nostalgia I aim for. The fat from the unsalted butter gives the cookies a rich, tender crumb while the all purpose flour builds structure. The sweet dusting of powdered sugar finishes the cookies with a wintry softness and the tiny mini chocolate chips deliver sweet pockets of chocolate. A touch of mint extract brightens the whole thing, and a hint of salt balances the sweetness.
- 1 cup unsalted butter softened: Creamed to provide richness and structure, softened unsalted butter contributes a tender crumb and helps bind dough while keeping flavors balanced without added salt.
- 2/3 cup powdered sugar sifted: Sifted powdered sugar sweetens and adds a fine, melt-in-your-mouth texture; sifting prevents lumps and helps create the classic cookie exterior and smooth dough consistency.
- 2 1/4 cup all-purpose flour spooned and leveled: Measured precisely and spooned then leveled, all-purpose flour supplies the cookie's body and gluten framework, determining chewiness and helping to hold the shape during baking.
- 1/2 teaspoons salt: Balanced to control flavor, salt enhances overall taste and offsets sweetness while strengthening gluten slightly, improving dough handling and depth of flavor.
- 1 teaspoon mint extract peppermint extract: Added for concentrated flavor, mint extract delivers the characteristic cool, aromatic mint profile; peppermint extract gives a strong, bright mint note that complements chocolate.
- green food coloring gel food color works best: Tinted sparingly, green food coloring gel provides vivid color without thinning the dough; gel works best to achieve a uniform hue with minimal impact on texture.
- 3/4 cup mini chocolate chips: Folded in as bursts of chocolate, mini chocolate chips provide pockets of sweet, melty chocolate throughout and a pleasant contrast in texture to the tender cookie.
- additional powdered sugar for coating: Used for finishing, additional powdered sugar for coating creates a snowy, sweet outer layer that adds visual appeal and a delicate, powdery first bite.
Recipe Directions for Mint Chocolate Chip Snowball Cookies
These directions guide you through shaping, chilling, and baking for the ideal soft center and powdered sugar finish. I like to take my time with the sensory checks so the cookies come out consistent and pretty. Follow the sequence and watch for the visual cues I describe below.
- Line a large cookie sheet with parchment paper and set aside.: The kitchen should feel a little calmer when the workspace is prepared, and parchment ensures the bottoms do not stick, preserving the delicate pale color I want for these cookies. You should hear the slight crinkle as you smooth the paper and feel the cool surface of the sheet under your palms. Lining the sheet prevents the heat from gripping the dough directly which could cause uneven browning, and it simplifies cleanup. A common slip is skipping this step and dealing with stuck cookies, so take the minute to prep your pan first.
- Beat the butter and powdered sugar together until light and fluffy.: As you beat the unsalted butter with the sifted powdered sugar , watch the mixture go from dull and dense to pale and aerated; this change is tactile and visible. You may hear the gentle hum of your mixer and smell the creamy butter coming forward. This creaming introduces tiny air pockets that translate to a tender crumb, so stop once it looks light and holds soft peaks. Overbeating can cause the butter to become too soft, and underbeating will yield a heavy dough, so aim for that perfect airy texture.
- Mix in the flour, salt, and extract just until combined.: When adding the all purpose flour , the measured spooned and leveled amount should be folded in gently so the dough stays tender. You will see streaks of flour disappear as you fold, and the scent of the mint extract will lift slightly as it disperses. Mixing until just combined preserves a soft structure; overworking the dough will develop gluten and create toughness, so stop when the mixture looks homogenous.
- Add the green food color a few drops at a time until your desired color is achieved. I like to use this gel food color.: With gel green food coloring , a little goes a long way, so add tiny dollops and fold until the shade pleases you. The dough will deepen in tone as the color incorporates, and you can pause to evaluate in natural light to avoid overdoing it. If you add too much color you risk staining hands and linens, and an overly intense color can feel artificial, so proceed gradually.
- Stir in mini chocolate chips.: As you fold in the mini chocolate chips , you will notice small, dark specks appearing throughout the pale green dough, creating visual contrast. The chips provide bursts of flavor and a slight chew, and you should aim for even distribution so each cookie bites into chocolate. A mistake here is using large chips which can tear the dough while shaping, so stick to minis for uniformity.
- Scoop out one tablespoon of dough at a time and form into a ball. Place balls on the prepared cookie sheet.: When you scoop and roll, the dough should feel cool and slightly tacky, not sticky. Rolling into smooth balls ensures even baking and that signature snowball shape, and spacing the balls gives air room for minimal spreading. If the dough sticks excessively, chill it briefly; if you overpack the balls they will be dense instead of tender.
- Cover and refrigerate dough for at least 30 minutes.: Chilling firms the butter so the cookies keep their shape in the oven, and it lets the flavors marry. You will feel the dough tighten and cool to the touch after chilling. This step also prevents excessive spreading and yields a denser interior texture. A common oversight is skipping the chill, which often results in flat, greasy cookies.
- Preheat oven to 375°F.: The oven should reach the correct heat so the cookies set quickly and bake evenly; preheating ensures consistent results. As the oven comes up, you may notice a warm, toasty scent that hints at what is to come. Baking at the specified temperature encourages a light golden underside while the top remains pale, which is the cue you want. If the oven is not properly preheated, cookies can bake unevenly, so always wait until it signals ready.
- Bake cookies for 7 to 8 minutes. You do not want the cookies to get more than very lightly browned on the bottom. Let cool for 5 minutes on the cookie sheet.: During baking you will watch the edges set while the centers stay soft, and that narrow window of 7 to 8 minutes is essential for a tender middle. The small visual cue is a barely golden bottom and a top that still looks slightly pale. Removing them too late will produce a dryer cookie, while underbaking will leave them overly doughy, so trust the look and touch.
- Line another large baking sheet with parchment paper and dust liberally with powdered sugar. Place the slightly cooled cookies on this baking sheet and dust with additional powdered sugar.: The warmth from the slightly cooled cookies helps the powdered sugar adhere for an even, snowy coating. You will see the white dust settle into the crevices, giving that iconic finish. If you try to sugar when they are piping hot, the sugar will melt away, so allow the brief cooling period first.
- Let cookies cool completely.: Allowing the cookies to cool fully stabilizes their structure so the coating and texture set properly. As they cool you will notice the chocolate chips firming and the overall aroma becoming more balanced between mint and butter . Cutting this cooling short leads to crumbling or sugar dissolving into the cookie.
- Fill a small bowl halfway with powdered sugar. Drop cookies one at a time into the bowl and turn until coated in powdered sugar.: When you roll the cooled cookies in the powdered sugar the coating should cling lightly, forming an even, snowy layer. You will feel the powder soft under your fingers and see the cookies transform into festive rounds. If they are still warm the sugar will melt, so ensure proper cooling for the best presentation.
- Store leftovers in an airtight container for up to four days.: Proper storage keeps the cookies tender and preserves the sugary coating. Place parchment between layers to prevent sticking and keep them at room temperature for best texture. Refrigerating can dry them out prematurely, and improper sealing invites staleness, so use a tight container.
Recipe Tips about Mint Chocolate Chip Snowball Cookies
These tips reflect what I have learned from making this recipe many times. They focus on timing, texture, and presentation so you get consistent holiday worthy cookies.
- Room and butter temperature: Aim for softened but still cool unsalted butter so it creams properly with the powdered sugar, creating a light, airy base.
- Measure flour correctly: Spoon the all purpose flour into the cup and level it off to prevent a dense dough from too much flour.
- Control mint intensity: Start with the recipe amount of mint extract and taste the raw dough to judge whether a touch more is needed, as extracts vary in strength.
- Chill for shape: Refrigerating the formed dough balls helps maintain the classic snowball shape and keeps the edges from overbrowning.
- Powdered sugar technique: Dust while slightly warm and then roll in a second coating when cool to achieve an even, stable powdered finish that lasts for serving or gifting.
What to Serve Alongside Mint Chocolate Chip Snowball Cookies
These cookies pair wonderfully with warm beverages and festive platters, and they adapt to many occasions from casual coffee breaks to holiday parties. Think about contrast in temperature and texture to highlight their minty sweetness.
- Hot chocolate or coffee: A warm drink contrasts the cool mint flavor and complements the buttery cookie texture.
- Holiday cookie platter: Arrange with other small cookies for variety in texture and flavor, making a festive spread for gatherings.
- Gift boxes: Layer cookies between parchment in a box and tie with a ribbon for a thoughtful seasonal present that travels well.
- After dinner sweet: Serve a small plate of these cookies with espresso to finish a holiday meal on a refreshing note.
- Storage and make ahead: Bake and freeze for up to three months, or store in an airtight container at room temperature for up to four days for easy entertaining.
FAQ
Conclusion
Mint Chocolate Chip Snowball Cookies stand out for their refreshing mint character, tender crumb, and picture perfect snowy finish. Give them a try when you want a holiday cookie that feels both nostalgic and lively, and you may find they become a yearly favorite. They are forgiving, packable, and beautiful on a platter, so pull out your mixer, prep the dough, and enjoy the small ritual of baking and sharing these festive bites with people you care about.
Mint Chocolate Chip Snowball Cookies
Equipment
- Mixing Bowl
- Mixer
- Cookie Sheet
- Parchment Paper
- Spoon or scoop
Ingredients
- 1 cup unsalted butter softened Creamed to provide richness and structure, softened unsalted butter contributes a tender crumb and helps bind dough while keeping flavors balanced without added salt.
- 2/3 cup powdered sugar sifted Sifted powdered sugar sweetens and adds a fine, melt-in-your-mouth texture; sifting prevents lumps and helps create the classic cookie exterior and smooth dough consistency.
- 2 1/4 cup all-purpose flour spooned and leveled Measured precisely and spooned then leveled, all-purpose flour supplies the cookie's body and gluten framework, determining chewiness and helping to hold the shape during baking.
- 1/2 teaspoons salt Balanced to control flavor, salt enhances overall taste and offsets sweetness while strengthening gluten slightly, improving dough handling and depth of flavor.
- 1 teaspoon mint extract peppermint extract Added for concentrated flavor, mint extract delivers the characteristic cool, aromatic mint profile; peppermint extract gives a strong, bright mint note that complements chocolate.
- green food coloring gel food color works best Tinted sparingly, green food coloring gel provides vivid color without thinning the dough; gel works best to achieve a uniform hue with minimal impact on texture.
- 3/4 cup mini chocolate chips Folded in as bursts of chocolate, mini chocolate chips provide pockets of sweet, melty chocolate throughout and a pleasant contrast in texture to the tender cookie.
- additional powdered sugar for coating Used for finishing, additional powdered sugar for coating creates a snowy, sweet outer layer that adds visual appeal and a delicate, powdery first bite.
Instructions
- Line a large cookie sheet with parchment paper and set aside.: The kitchen should feel a little calmer when the workspace is prepared, and parchment ensures the bottoms do not stick, preserving the delicate pale color I want for these cookies. You should hear the slight crinkle as you smooth the paper and feel the cool surface of the sheet under your palms. Lining the sheet prevents the heat from gripping the dough directly which could cause uneven browning, and it simplifies cleanup. A common slip is skipping this step and dealing with stuck cookies, so take the minute to prep your pan first.
- Beat the butter and powdered sugar together until light and fluffy.: As you beat the unsalted butter with the sifted powdered sugar , watch the mixture go from dull and dense to pale and aerated; this change is tactile and visible. You may hear the gentle hum of your mixer and smell the creamy butter coming forward. This creaming introduces tiny air pockets that translate to a tender crumb, so stop once it looks light and holds soft peaks. Overbeating can cause the butter to become too soft, and underbeating will yield a heavy dough, so aim for that perfect airy texture.
- Mix in the flour, salt, and extract just until combined.: When adding the all purpose flour , the measured spooned and leveled amount should be folded in gently so the dough stays tender. You will see streaks of flour disappear as you fold, and the scent of the mint extract will lift slightly as it disperses. Mixing until just combined preserves a soft structure; overworking the dough will develop gluten and create toughness, so stop when the mixture looks homogenous.
- Add the green food color a few drops at a time until your desired color is achieved. I like to use this gel food color.: With gel green food coloring , a little goes a long way, so add tiny dollops and fold until the shade pleases you. The dough will deepen in tone as the color incorporates, and you can pause to evaluate in natural light to avoid overdoing it. If you add too much color you risk staining hands and linens, and an overly intense color can feel artificial, so proceed gradually.
- Stir in mini chocolate chips.: As you fold in the mini chocolate chips , you will notice small, dark specks appearing throughout the pale green dough, creating visual contrast. The chips provide bursts of flavor and a slight chew, and you should aim for even distribution so each cookie bites into chocolate. A mistake here is using large chips which can tear the dough while shaping, so stick to minis for uniformity.
- Scoop out one tablespoon of dough at a time and form into a ball. Place balls on the prepared cookie sheet.: When you scoop and roll, the dough should feel cool and slightly tacky, not sticky. Rolling into smooth balls ensures even baking and that signature snowball shape, and spacing the balls gives air room for minimal spreading. If the dough sticks excessively, chill it briefly; if you overpack the balls they will be dense instead of tender.
- Cover and refrigerate dough for at least 30 minutes.: Chilling firms the butter so the cookies keep their shape in the oven, and it lets the flavors marry. You will feel the dough tighten and cool to the touch after chilling. This step also prevents excessive spreading and yields a denser interior texture. A common oversight is skipping the chill, which often results in flat, greasy cookies.
- Preheat oven to 375°F.: The oven should reach the correct heat so the cookies set quickly and bake evenly; preheating ensures consistent results. As the oven comes up, you may notice a warm, toasty scent that hints at what is to come. Baking at the specified temperature encourages a light golden underside while the top remains pale, which is the cue you want. If the oven is not properly preheated, cookies can bake unevenly, so always wait until it signals ready.
- Bake cookies for 7 to 8 minutes. You do not want the cookies to get more than very lightly browned on the bottom. Let cool for 5 minutes on the cookie sheet.: During baking you will watch the edges set while the centers stay soft, and that narrow window of 7 to 8 minutes is essential for a tender middle. The small visual cue is a barely golden bottom and a top that still looks slightly pale. Removing them too late will produce a dryer cookie, while underbaking will leave them overly doughy, so trust the look and touch.
- Line another large baking sheet with parchment paper and dust liberally with powdered sugar. Place the slightly cooled cookies on this baking sheet and dust with additional powdered sugar.: The warmth from the slightly cooled cookies helps the powdered sugar adhere for an even, snowy coating. You will see the white dust settle into the crevices, giving that iconic finish. If you try to sugar when they are piping hot, the sugar will melt away, so allow the brief cooling period first.
- Let cookies cool completely.: Allowing the cookies to cool fully stabilizes their structure so the coating and texture set properly. As they cool you will notice the chocolate chips firming and the overall aroma becoming more balanced between mint and butter . Cutting this cooling short leads to crumbling or sugar dissolving into the cookie.
- Fill a small bowl halfway with powdered sugar. Drop cookies one at a time into the bowl and turn until coated in powdered sugar.: When you roll the cooled cookies in the powdered sugar the coating should cling lightly, forming an even, snowy layer. You will feel the powder soft under your fingers and see the cookies transform into festive rounds. If they are still warm the sugar will melt, so ensure proper cooling for the best presentation.
- Store leftovers in an airtight container for up to four days.: Proper storage keeps the cookies tender and preserves the sugary coating. Place parchment between layers to prevent sticking and keep them at room temperature for best texture. Refrigerating can dry them out prematurely, and improper sealing invites staleness, so use a tight container.
Notes
- Room and butter temperature: Aim for softened but still cool unsalted butter so it creams properly with the powdered sugar, creating a light, airy base.
- Measure flour correctly: Spoon the all purpose flour into the cup and level it off to prevent a dense dough from too much flour.
- Control mint intensity: Start with the recipe amount of mint extract and taste the raw dough to judge whether a touch more is needed, as extracts vary in strength.
- Chill for shape: Refrigerating the formed dough balls helps maintain the classic snowball shape and keeps the edges from overbrowning.
- Powdered sugar technique: Dust while slightly warm and then roll in a second coating when cool to achieve an even, stable powdered finish that lasts for serving or gifting.