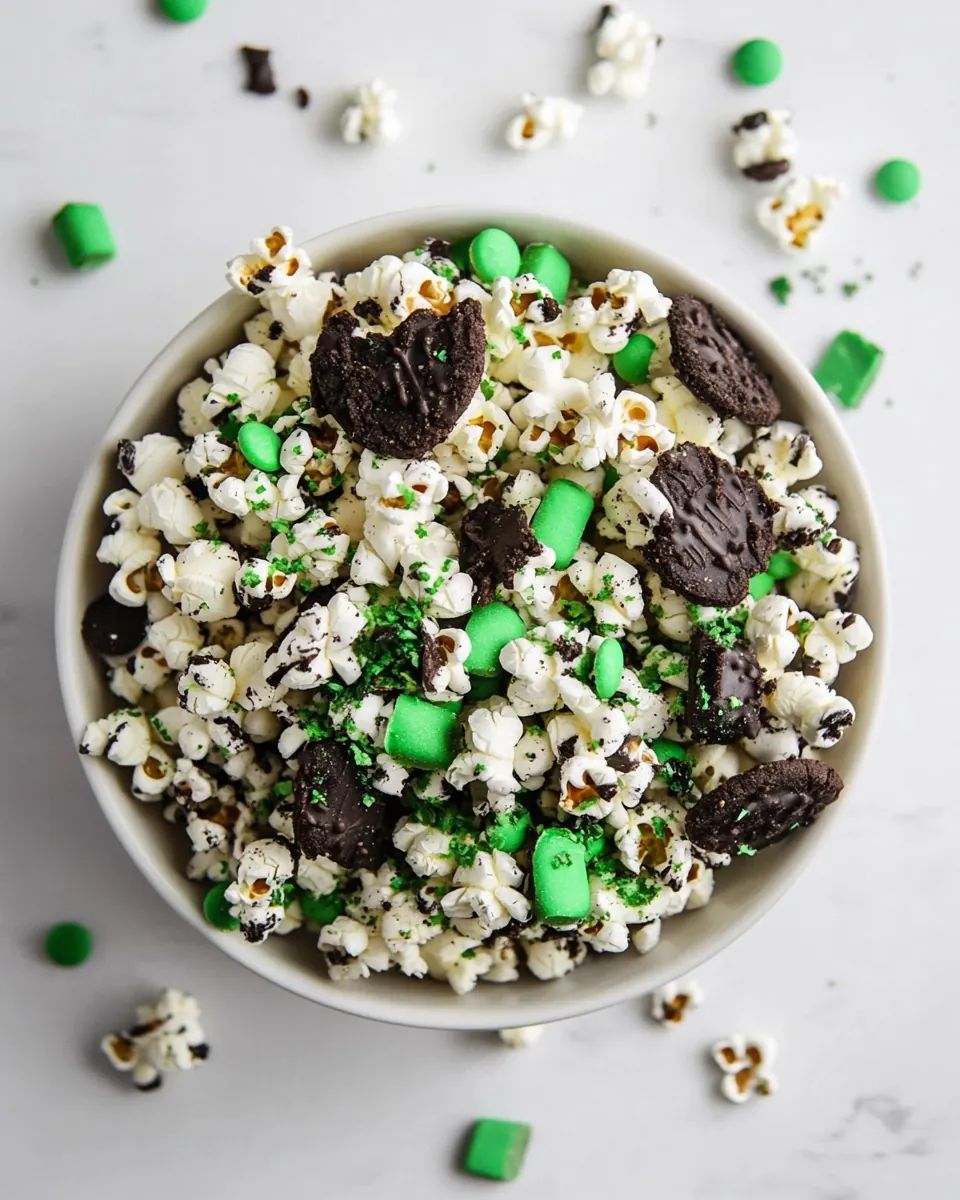
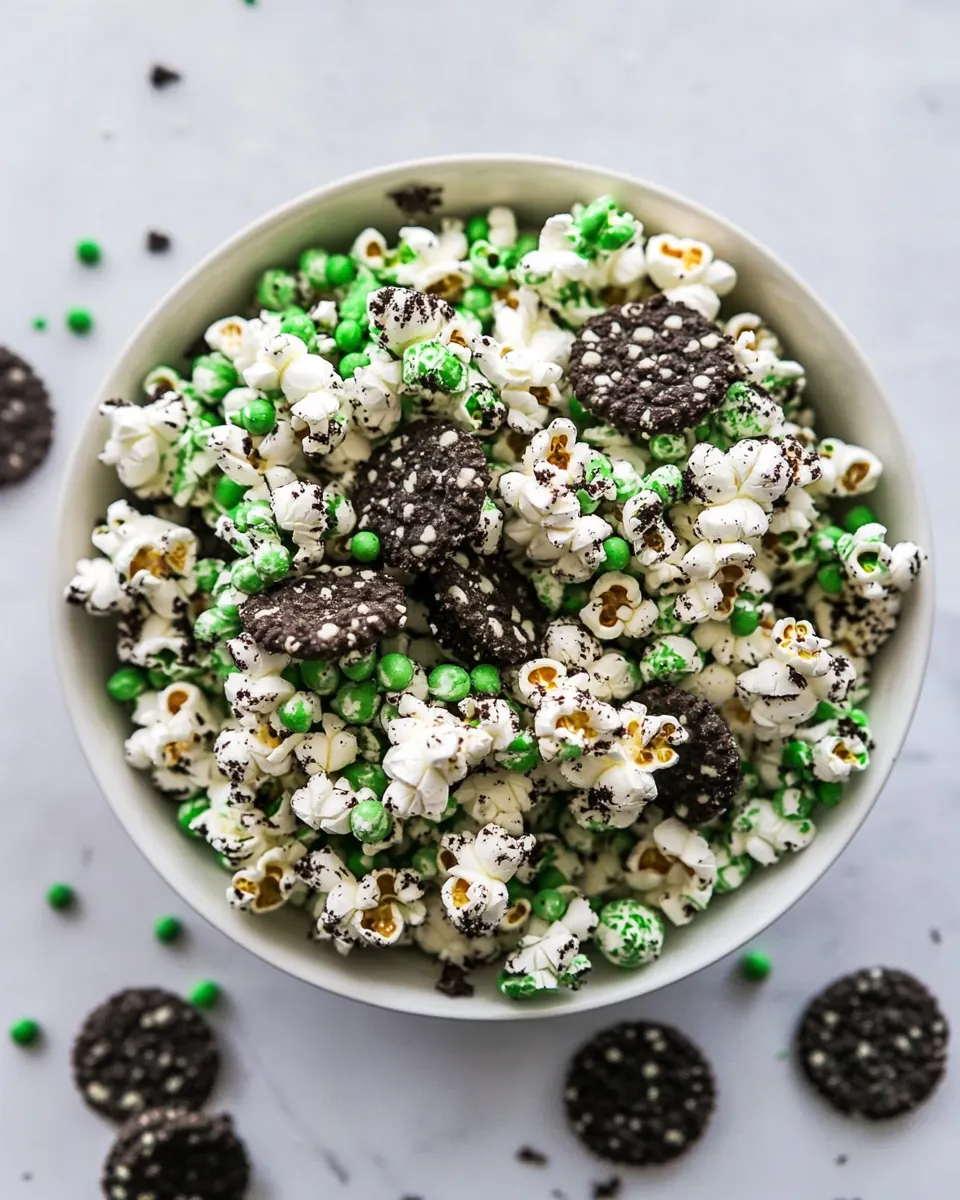
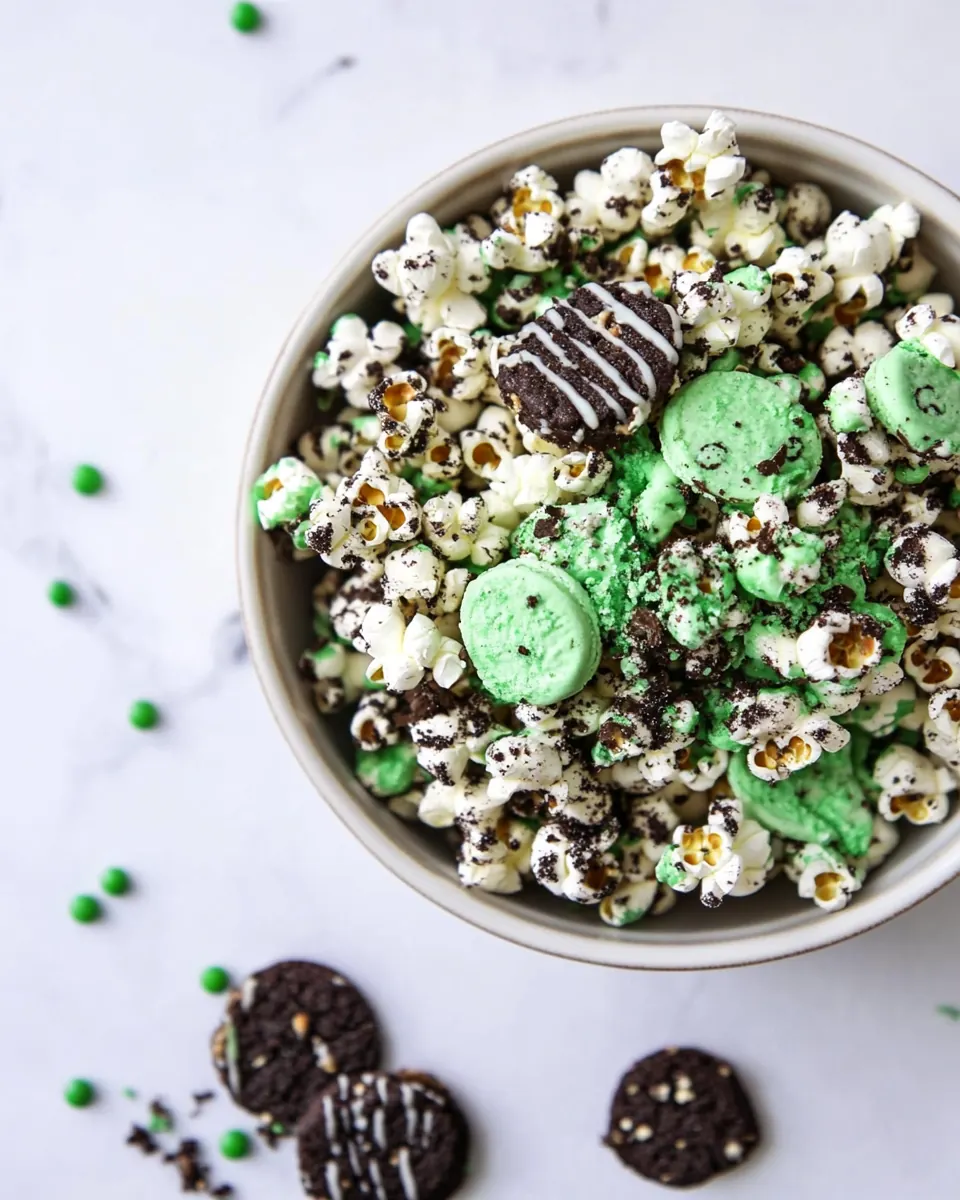
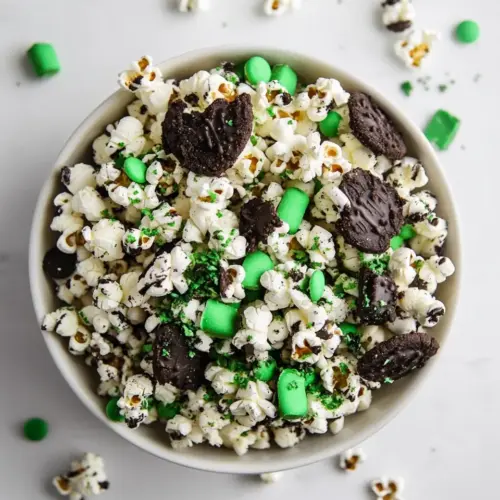
Mint Cookies and Cream Popcorn
Mint Cookies and Cream Popcorn came to life one restless evening when I wanted something playful, crunchy, and minty without a long recipe. I remember standing in my kitchen with a bowl of warm, freshly popped popcorn and a bag of white candy wafers, thinking how fun it would be to pair that familiar movie snack with crushed mint cookies for a festive twist. The first bite was a pleasant surprise, a crackle of texture followed by a cool, sweet note that made me grin. It felt like a little celebration in every handful.
That night I tweaked the balance of coating to crumbs, tested the best way to drizzle so bits stayed crisp, and learned how brief chilling helps everything set without getting soggy. Over time I served this at casual get togethers and holiday cookie exchanges, and people always asked for the recipe. What I love is how quickly you can make a large batch, and how the combination of simple pantry items transforms into something charming and shareable. You do not need special skills to pull it off, just patience while the candy sets and a light hand when tossing the pieces to keep the texture lively.
Recipe Snapshot
10 mins
5 mins
5 mins
Medium
150 kcal
American
Vegan, Gluten-Free
Desserts
Air popper, Rimmed baking sheet, Microwave safe bowl
Why This Mint Cookies and Cream Popcorn Works
Playful flavor contrast
I adore how Mint Cookies and Cream Popcorn marries the clean, cool notes of mint cookie crumbs with sweet white coating. The contrast between airy popcorn and crunchy cookie pieces keeps every bite interesting, and I find it gives a grown up twist to a childhood favorite.
Speed and simplicity
One of the biggest reasons I reach for this recipe is its speed. With most work done in under 10 minutes, it is a go to when I want an impressive snack fast. The minimal steps mean you can involve kids or friends in assembly without stress, and I often make a double batch when guests arrive.
Customizable treat
I love that you can dial the sweetness and mint intensity to your liking. By adjusting how much of the melted white candy you drizzle, you control the coating level, and the crushed cookies add variable crunch. I typically use more crumbs for texture or more candy for a candy bar feel.
Great for gatherings
Whether it is a movie night, a casual party, or a holiday table, Mint Cookies and Cream Popcorn feels festive and shareable. It stores well for a few days, so I often make it ahead of time to save last minute prep. The bright green sprinkles bring a playful color pop when needed, and guests always notice the attention to detail.
Kid friendly and nostalgic
I find kids especially love the fun textures and minty cookie flavor, while adults appreciate the nostalgic notes turned slightly modern. It is an approachable recipe that brings smiles, and I find it sparks conversation about favorite snack mash ups.
What Goes Into Mint Cookies and Cream Popcorn
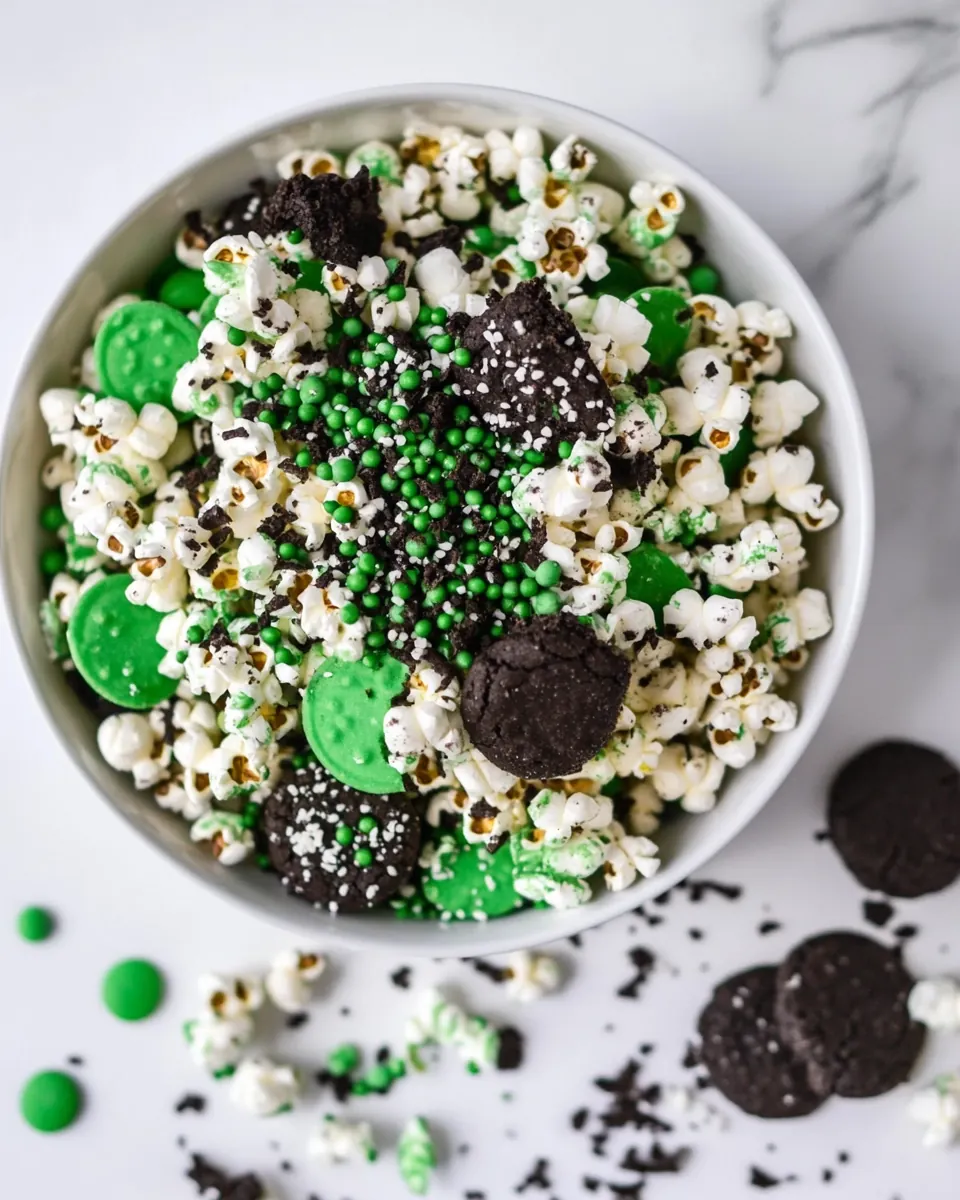
This ingredient list is intentionally short and pantry friendly. The philosophy here is simple balance: airy popcorn provides volume and crunch, the white candy wafers add sweet, creamy coating, and the crushed mint cookies introduce texture and cooling flavor. The optional green sprinkles are purely for festive color, not for taste, but they bring a playful finish that makes the snack feel seasonal without changing the base profile.
- 1/3 cup un-popped popcorn kernels: Provide the base for the snack by popping into light, crunchy popcorn; yields a neutral canvas that soaks up coatings and adds volume to the treat. Use fresh kernels and even heat to maximize popped yield and minimize unpopped kernels for best texture.
- 10 ounces white candy melting wafers: Melt together into a smooth, pourable coating that binds popcorn and cookie pieces; offers creamy sweetness and helps the mix set into clusters. Temper gently over low heat or microwave in short bursts to avoid burning and ensure glossy, even coverage.
- 12 mint Oreos crushed: Crush finely to distribute mint flavor and chocolate cookie crunch throughout the popcorn; contributes both texture contrast and the signature mint-chocolate taste. Reserve some larger pieces for added chew, and mix in while the coating is warm to adhere well.
- green sprinkles (optional): Add a festive finish with small, colorful green sprinkles that enhance visual appeal and provide a slight sugary crunch; use sparingly to avoid overpowering the mint flavor. Apply immediately after coating so sprinkles adhere before the coating sets.
Cooking Method for Mint Cookies and Cream Popcorn
I approach the method like making a candy bark, keeping steps simple and sensory driven. You will pop, melt, drizzle, toss, and chill, and each action has a couple of handy cues to watch for so the final texture stays crisp and bright. I walk you through how things should look, feel, and smell at every stage so you can make confident choices as you go.
- Pop popcorn kernels in an air popper.: The first thing you will notice is the steady pop rhythm and the clean, toasty scent as the kernels burst into fluffy popcorn . Listen for the popping to slow to several seconds between pops which signals they are done. This method keeps the corn dry and light so coatings stay crisp. A common error is leaving popped corn in the hot chamber which can create steam and sogginess, so remove it promptly.
- Spread popped corn onto a rimmed baking sheet.: As you spread the warm popcorn you will feel the residual heat and see a cloud of steam briefly lift off, which helps any fine bits settle. Use a rimmed sheet to contain stray pieces and to give a flat surface for even drizzling. If the pan is overcrowded the coating will pile up in places, so spread in a single layer for best coverage.
- Melt candy wafers in the microwave, following package directions.: When melting the white candy wafers, stirs and small glossy pools are good signs; the aroma becomes sweet and buttery. Heat in short bursts, stirring between each, until mostly smooth, then stir off heat to finish melting. Overheating will cause graininess or burning, so stop when a few small lumps remain and stir to smooth them out.
- Drizzle half of the melted candy over the popcorn and sprinkle with half of the Oreo crumbs.: The moment you drizzle you will see ribbons of glossy white cascading over the popcorn , and the first shower of crumbs will land like snow, creating visual contrast. Drizzling just half keeps some plain popcorn for texture variation. If you add too much coating at once the popcorn can clump, so a light hand helps preserve a crunchy mix.
- Use a spoon to gently toss mixture together.: When tossing, you should hear a soft rustle and feel the coated pieces glide around the sheet, while some uncoated kernels remain for texture. Gentle folding helps distribute crumbs without crushing the popcorn . Aggressive stirring will pulverize pieces, yielding smaller fragments rather than pleasant clusters.
- Drizzle with remaining melted candy wafers and sprinkle with remaining Oreos.: A second drizzle creates layered coating and additional crumb pockets that give depth to each bite, and the final sprinkle adds more mint flavor and crunch. Visually you will see glossy highlights and dark speckles. Avoid pouring too much more candy because it can create sticky lumps instead of delicate clusters.
- Refrigerate for 10 minutes to set the melted candy.: Chilling brings a satisfying snap to the coating and firms everything so pieces separate cleanly, and you will notice the candy go from glossy and soft to matte and crisp. Ten minutes is usually sufficient in my fridge, and longer chilling can make the coating brittle. Do not leave it out at room temperature too long or humidity may soften the coating.
- Break popcorn into pieces and store in an airtight container for up to 3 days.: As you break the sheet into manageable clusters you will release a light minty scent and see clean breaks between pieces. Storing airtight keeps the coating crisp and prevents absorption of fridge odors. A typical mistake is leaving it uncovered which causes the coating to pick up moisture and lose its crunch.
Tips and Variations
I like to keep this section practical and playful, offering ways to adapt the snack without changing its charm. Below are thoughtful tips I use in my kitchen to get reliable results and small variations to match the mood or occasion.
- Use an air popper for crispness — Air popped popcorn stays dry and holds the candy coating better than oil popped versions, which can become greasy and soggy. If you must use oil popped corn, cool it on a sheet until completely room temperature before coating to reduce moisture problems.
- Microwave the candy in short bursts — Heat the white candy wafers in 15 to 20 second intervals, stirring each time, to avoid scorching and graininess. Once most pieces are melted, off heat stirring will finish smoothing the mixture without overheating.
- Keep some uncoated popcorn — Deliberately leaving pockets of plain popcorn increases textural contrast and prevents the snack from becoming uniformly sticky. Toss gently to distribute coating and preserve those lighter bites.
- Pulse cookies for texture — Aim for a mix of fine crumbs and small chunks when crushing the mint Oreos. This preserves crunch and prevents a muddy, overly dusty texture that can happen if pulverized too finely.
- Add sprinkles last — If you use the green sprinkles, add them immediately after the final drizzle but before chilling, so they adhere without melting into the candy. Adding them too late risks them falling off during storage.
- Break into clusters after chilling — Let the candy fully set in the fridge, then gently break the sheet into clusters with your hands for better presentation and snackable sizes. Do not try to cut it, as the coating may crack unevenly.
Perfect Matches for Mint Cookies and Cream Popcorn
This snack pairs well with cozy moments and casual entertaining, and I often build little spreads around it. Below are ideas for occasions, accompaniments, and storage, written as practical serving notes to make sharing easy and stylish.
- Movie night — Serve a bowl of Mint Cookies and Cream Popcorn alongside plain popcorn options so guests can choose sweetness levels. It complements light soda or mint tea and keeps hands clean when offered in small paper cones.
- Holiday cookie exchange — Pack into cellophane bags tied with ribbon for an attractive, shareable treat that looks seasonal with the green sprinkles. It travels well if fully set and stored airtight, making it a convenient contribution.
- Party snack table — Combine with other simple nibbles like nuts and pretzel bites, arranging the popcorn in a large bowl for grazing. Its bright look draws people in, and placing a small scoop nearby helps portion control.
- Gift jars — Layer small clusters into mason jars for a homemade gift, include a label with a brief note about freshness, and advise recipients to consume within three days for best texture. Jars keep the mix from being crushed during transport.
- Storage tips — Keep in an airtight container at room temperature for up to three days, and avoid refrigeration unless you live in a very warm, humid climate. If humidity softens the coating, a short re chill on a tray restores some snap.
- Seasonal pairing — The mint note is great for winter holidays, but the snack also works for spring parties when you want a playful, cool flavored treat. Swap sprinkles color to suit the occasion without changing the base recipe.
FAQ
Conclusion
Mint Cookies and Cream Popcorn is special because it transforms humble popcorn into a playful, minty confection that is quick to make and delightful to share. The mix of airy texture, creamy white coating, and crunchy mint cookie pieces offers a snack that feels both nostalgic and new. I encourage you to give it a try the next time you want a fast, crowd pleasing treat; it is simple to assemble and always brings smiles when placed on a table. Enjoy the process of making it and the pleasurable crunch with each bite.
Mint Cookies and Cream Popcorn
Equipment
- Air popper
- Rimmed Baking Sheet
- Microwave-safe Bowl
Ingredients
- 1/3 cup un-popped popcorn kernels Provide the base for the snack by popping into light, crunchy popcorn; yields a neutral canvas that soaks up coatings and adds volume to the treat. Use fresh kernels and even heat to maximize popped yield and minimize unpopped kernels for best texture.
- 10 ounces white candy melting wafers Melt together into a smooth, pourable coating that binds popcorn and cookie pieces; offers creamy sweetness and helps the mix set into clusters. Temper gently over low heat or microwave in short bursts to avoid burning and ensure glossy, even coverage.
- 12 mint Oreos crushed Crush finely to distribute mint flavor and chocolate cookie crunch throughout the popcorn; contributes both texture contrast and the signature mint-chocolate taste. Reserve some larger pieces for added chew, and mix in while the coating is warm to adhere well.
- green sprinkles optional Add a festive finish with small, colorful green sprinkles that enhance visual appeal and provide a slight sugary crunch; use sparingly to avoid overpowering the mint flavor. Apply immediately after coating so sprinkles adhere before the coating sets.
Instructions
- Pop popcorn kernels in an air popper.: The first thing you will notice is the steady pop rhythm and the clean, toasty scent as the kernels burst into fluffy popcorn . Listen for the popping to slow to several seconds between pops which signals they are done. This method keeps the corn dry and light so coatings stay crisp. A common error is leaving popped corn in the hot chamber which can create steam and sogginess, so remove it promptly.
- Spread popped corn onto a rimmed baking sheet.: As you spread the warm popcorn you will feel the residual heat and see a cloud of steam briefly lift off, which helps any fine bits settle. Use a rimmed sheet to contain stray pieces and to give a flat surface for even drizzling. If the pan is overcrowded the coating will pile up in places, so spread in a single layer for best coverage.
- Melt candy wafers in the microwave, following package directions.: When melting the white candy wafers, stirs and small glossy pools are good signs; the aroma becomes sweet and buttery. Heat in short bursts, stirring between each, until mostly smooth, then stir off heat to finish melting. Overheating will cause graininess or burning, so stop when a few small lumps remain and stir to smooth them out.
- Drizzle half of the melted candy over the popcorn and sprinkle with half of the Oreo crumbs.: The moment you drizzle you will see ribbons of glossy white cascading over the popcorn , and the first shower of crumbs will land like snow, creating visual contrast. Drizzling just half keeps some plain popcorn for texture variation. If you add too much coating at once the popcorn can clump, so a light hand helps preserve a crunchy mix.
- Use a spoon to gently toss mixture together.: When tossing, you should hear a soft rustle and feel the coated pieces glide around the sheet, while some uncoated kernels remain for texture. Gentle folding helps distribute crumbs without crushing the popcorn . Aggressive stirring will pulverize pieces, yielding smaller fragments rather than pleasant clusters.
- Drizzle with remaining melted candy wafers and sprinkle with remaining Oreos.: A second drizzle creates layered coating and additional crumb pockets that give depth to each bite, and the final sprinkle adds more mint flavor and crunch. Visually you will see glossy highlights and dark speckles. Avoid pouring too much more candy because it can create sticky lumps instead of delicate clusters.
- Refrigerate for 10 minutes to set the melted candy.: Chilling brings a satisfying snap to the coating and firms everything so pieces separate cleanly, and you will notice the candy go from glossy and soft to matte and crisp. Ten minutes is usually sufficient in my fridge, and longer chilling can make the coating brittle. Do not leave it out at room temperature too long or humidity may soften the coating.
- Break popcorn into pieces and store in an airtight container for up to 3 days.: As you break the sheet into manageable clusters you will release a light minty scent and see clean breaks between pieces. Storing airtight keeps the coating crisp and prevents absorption of fridge odors. A typical mistake is leaving it uncovered which causes the coating to pick up moisture and lose its crunch.
Notes
- Use an air popper for crispness — Air popped popcorn stays dry and holds the candy coating better than oil popped versions, which can become greasy and soggy. If you must use oil popped corn, cool it on a sheet until completely room temperature before coating to reduce moisture problems.
- Microwave the candy in short bursts — Heat the white candy wafers in 15 to 20 second intervals, stirring each time, to avoid scorching and graininess. Once most pieces are melted, off heat stirring will finish smoothing the mixture without overheating.
- Keep some uncoated popcorn — Deliberately leaving pockets of plain popcorn increases textural contrast and prevents the snack from becoming uniformly sticky. Toss gently to distribute coating and preserve those lighter bites.
- Pulse cookies for texture — Aim for a mix of fine crumbs and small chunks when crushing the mint Oreos. This preserves crunch and prevents a muddy, overly dusty texture that can happen if pulverized too finely.
- Add sprinkles last — If you use the green sprinkles, add them immediately after the final drizzle but before chilling, so they adhere without melting into the candy. Adding them too late risks them falling off during storage.
- Break into clusters after chilling — Let the candy fully set in the fridge, then gently break the sheet into clusters with your hands for better presentation and snackable sizes. Do not try to cut it, as the coating may crack unevenly.