Magic Shell
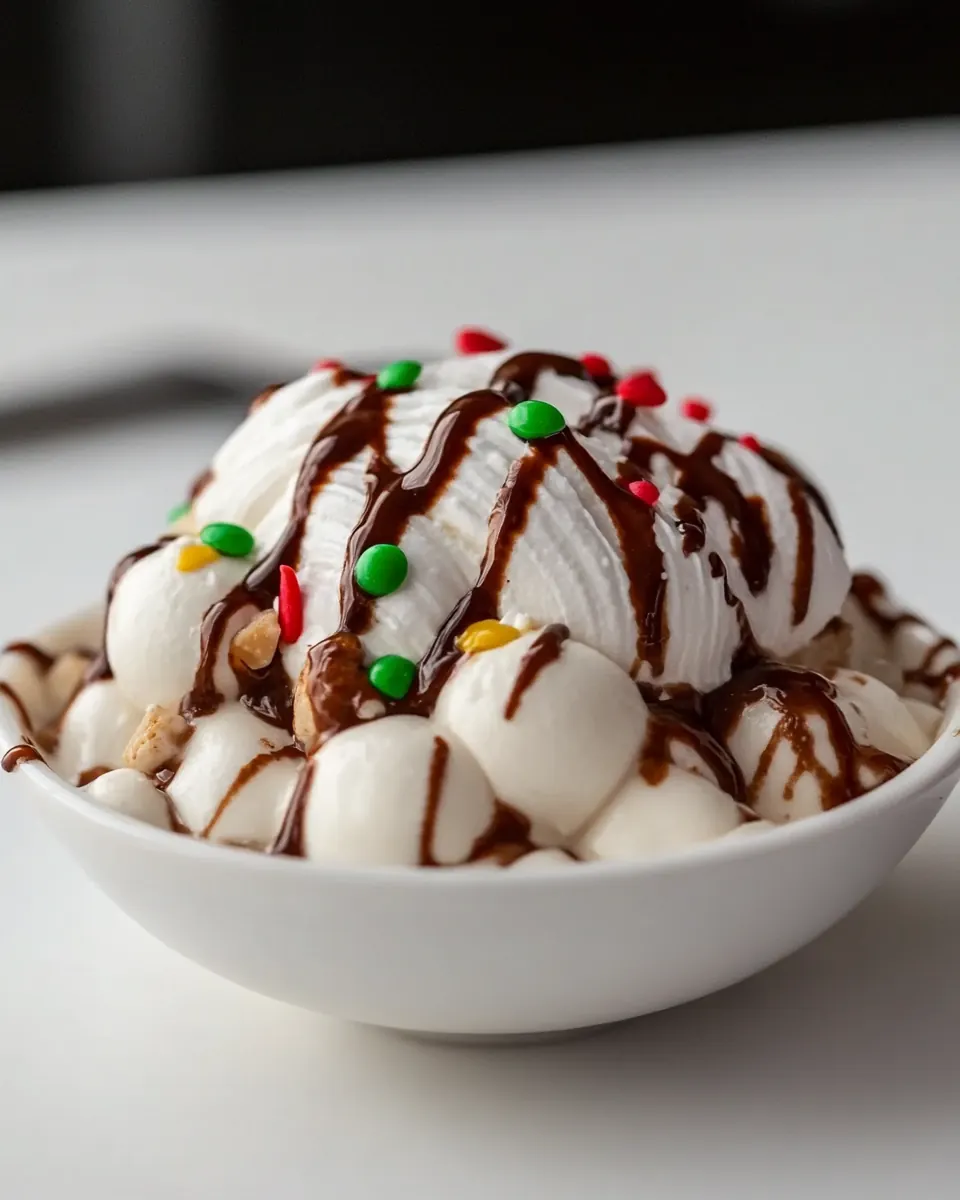
Magic Shell is one of those tiny food miracles that transforms a simple scoop into an event, and the first time I dribbled this glossy sauce over my bowl of ice cream I felt like a kid again. I remember the clink of the spoon against the ceramic, the hush that fell as the warm, liquid chocolate hit the cold, and how the surface snapped into a crisp shell that made the whole room grin. That first crack sent a signal through the house, and suddenly everyone wanted a bowl.
Over the years I have tweaked the ratio between 1 cups emisweet chocolate chips and 1/3 cup coconut oil according to the mood of the moment. Some afternoons I prefer a thicker, fudgier shell that fragments into chunky shards, other nights I make it silky and thin so it coats every crevice of the scoop. I love that with two ingredients you can chase textures and memories, and you only need a microwave or a gentle double boiler to coax the magic out.
Recipe Snapshot
10 mins
5 mins
5 mins
Easy
150 kcal
American
Vegan, Gluten-Free
Desserts
Microwave safe bowl, Spoon, Sealable jar
Why You’ll Love This Magic Shell
Instant Texture Upgrade
I adore how Magic Shell turns soft, yielding ice cream into an irresistible crunch in seconds. The contrast between cold and warm creates a satisfying mouthfeel, and I always laugh when people try to guess how it works. For me, it is the easiest way to add drama to a dessert without extra fuss.
Two Ingredients, Endless Variations
Using only 1 cups emisweet chocolate chips and 1/3 cup coconut oil means you can dial sweetness and richness in a heartbeat. I often adjust proportions depending on whether I want a brittle shell or a more flexible coating. I also appreciate how minimal the ingredient list is, because it invites creativity rather than locks you into a long shopping list.
Kid Friendly and Party Ready
Before I hosted birthday parties I would stash a jar of Magic Shell on the counter and watch the kids parade their sundaes around like tiny trophies. It is a crowd pleaser, and it simplifies serving. Parents love that it is quick, and I love the delight it produces every single time.
Reliable and Long Lasting
I keep a jar at room temperature and reheat small amounts as needed. It keeps surprisingly well because the coconut oil helps maintain that silky pourable state until it cools on contact. I often reheat in short bursts to preserve the glossy sheen, and that reliability has saved many last minute dessert rescues.
Flexible Texture Control
I always tell friends that the beauty of Magic Shell is how forgiving it is. Add more chocolate chips for a thicker finish, or a touch more coconut oil to make it pour easier. I use those adjustments to match different ice cream textures so the final bite is always perfectly balanced.
Ingredients for Magic Shell
These ingredients play hero and sidekick in equal measure. The 1 cups emisweet chocolate chips provide the deep cocoa flavor and body, while the 1/3 cup coconut oil gives the mixture fluidity and enables that dramatic snap when it cools. Together they form a simple emulsion that melts, pours, and then quickly solidifies on cold surfaces.
- 1 cups emisweet chocolate chips: Melted and bittersweet, provides the primary chocolate flavor and structure for creating a glossy, firm shell once cooled; helps set the mixture quickly when poured over frozen desserts and offers a rich, balanced sweetness.
- 1/3 cup coconut oil, (measured when solid): Solid and fatty, adds necessary liquid fat when melted to thin the chocolate for easy pouring and creates the characteristic hard, crackable texture as it cools; contributes a subtle coconut aroma when used at room temperature before melting.
How to Cook Magic Shell
This recipe is refreshingly short and forgiving, but I always take a moment to center myself before melting. Keep your tools close and use gentle heat pulses so the emulsion forms smoothly. Below I walk you through each step with sensory cues and common pitfalls so you can nail the texture every time.
- In a microwave safe bowl, add the chocolate chips and coconut oil. Melt in 30 second intervals in the microwave stirring in between. Add more chocolate chips to make it thicker, more coconut oil to make it thinner.: The aroma at this stage is subtle, a whiff of warm cocoa and faint coconut that signals the beginning of transformation. Use a shallow, microwave safe bowl so heat distributes evenly. A common mistake is crowding the bowl which leads to uneven melting and scorched bits. You will want the mixture to look like clumps of glossy chocolate surrounded by shiny oil before you start short bursts of microwaving.
- In a microwave safe bowl, add the chocolate chips and coconut oil. Melt in 30 second intervals in the microwave stirring in between. Add more chocolate chips to make it thicker, more coconut oil to make it thinner.: At each interval take the bowl out and stir vigorously with a spoon, scraping the sides so residual heat completes the melt. You'll hear a faint hiss as the chips soften, and the texture should move from grainy to smooth. This step prevents scorching, which can make the chocolate grainy and dull. If you skip stirring, you risk hot pockets that ruin shine and flavor.
- Pour over ice cream. Store at room temperature and reheat as needed.: As the mixture comes together, taste and test temperature by dipping a spoon and letting it cool for a beat. Thicker mixtures will crack more noticeably when poured on cold ice cream , while thinner ones will create a delicate glossy coat. The wrong ratio gives either a floppy coating or an oil slick, so adjust in small amounts and test on a cold surface to see how it sets.
- Pour over ice cream. Store at room temperature and reheat as needed.: When you repeat this step for larger batches you should notice the same sensory cues but on a bigger scale, with the chocolate scent intensifying and the shine becoming more pronounced. Use a heat proof spatula to bring melted portions into contact with unmelted chips so they soften without extra heat. Overheating during a second melt can make the coconut oil separate, which ruins texture and requires starting over.
- Melt in 30 second intervals in the microwave stirring in between: Continue the tempering rhythm until the mixture is fully smooth and glossy. The sound will be quiet now, and the visual cue is a homogenous, mirror like surface. Avoid using metal utensils which can be uncomfortable and unnecessary here, and always stop microwaving once fully incorporated to prevent graininess. If the mix appears oily on top, whisk quickly to recombine before it cools.
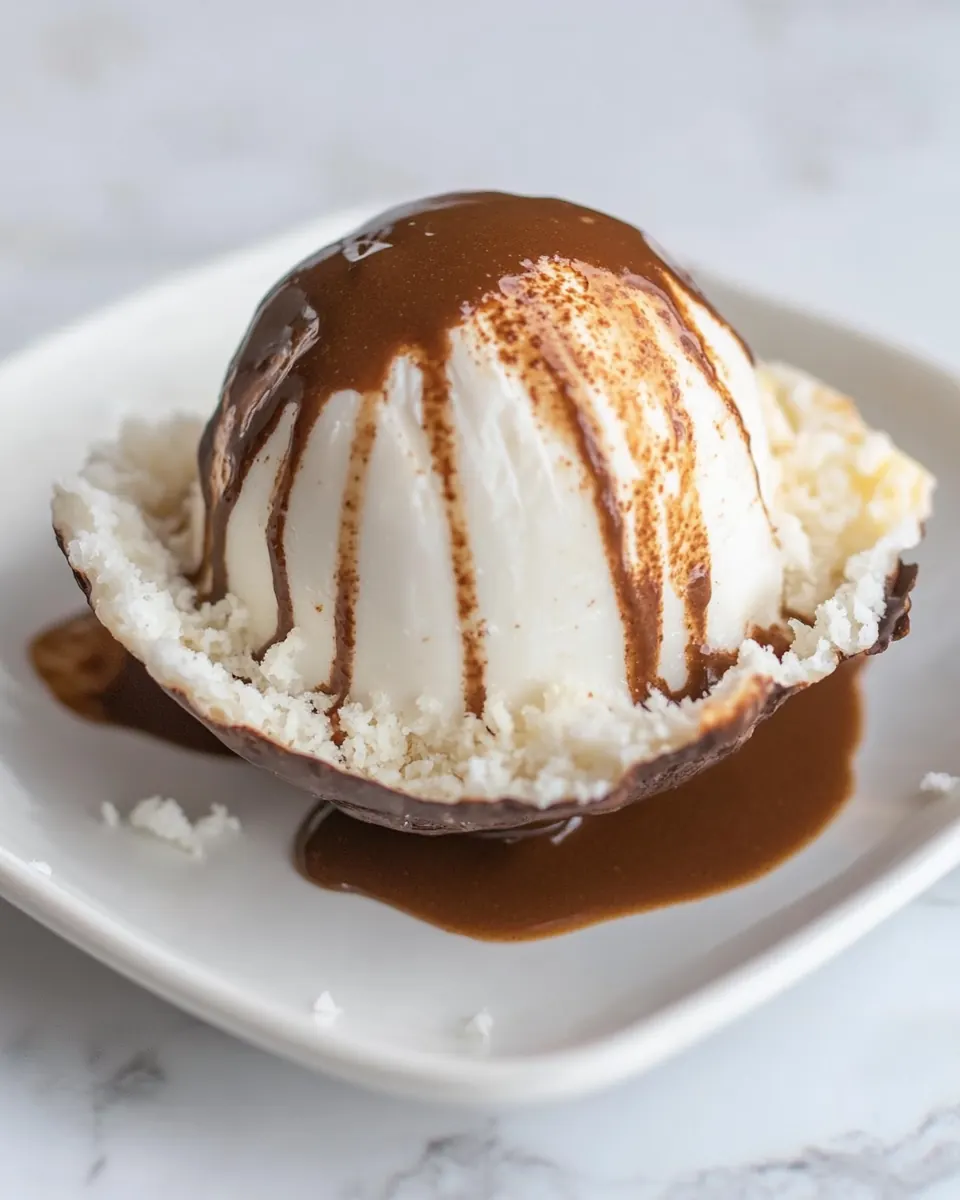
- Pour over ice cream: When you drizzle the warm sauce, listen for the soft sizzle as hot meets cold, and watch the liquid form a glossy coat that hardens almost immediately. The visual satisfaction of that snap is immediate. Pour from a spoon or small pitcher for better control; a common error is pouring too quickly, which can create pools rather than a uniform shell. Let it set for a few seconds before serving so the surface becomes satisfyingly crisp.
- Store at room temperature and reheat as needed: Stored in a sealed jar, the sauce keeps at room temperature because the coconut oil solidifies when cool, preserving texture. Reheat in short bursts to regain pourable consistency, stirring to redistribute heat so it stays glossy. A mistake is overheating which can break the emulsion, so use short intervals and stir until smooth. Keep away from direct sunlight which can soften it unevenly.
- Pour over ice cream: For subsequent servings, dip a spoon into the warmed mixture and drizzle; the sensory repeat is part ritual, part joy. You may notice slight changes in aroma as it cools and reheats, but flavor remains rich. If reheated unevenly, it may separate, so always stir until fully homogeneous. Avoid reheating repeatedly in large batches to keep the shine intact.
Expert Tips about Magic Shell

I always find a few pro tips helpful when making Magic Shell so you get perfect results every time. Below are compact, actionable suggestions I use in my kitchen to control texture, sheen, and storage.
- Choose good quality chocolate chips — Better chips melt creamier and give a richer flavor and glossier finish, which improves the final shell.
- Measure coconut oil solid — Measuring when solid avoids overshooting the liquid volume and helps you get the texture you expect.
- Use short microwave bursts — Thirty second intervals with stirring prevent scorching and ensure a smooth emulsion.
- Test on a cold plate — A quick test pour on a chilled plate shows whether the ratio yields the snap or thin coat you want.
- Store in a sealed jar at room temperature — This keeps the mixture ready to reheat and preserves its pourable quality without refrigeration.
- Reheat gently and stir — Short bursts of heat and thorough stirring restore gloss without separating the oil and chocolate.
What Goes Well With This Magic Shell
Magic Shell pairs beautifully with many desserts and occasions, and it is especially versatile at gatherings. Whether you are serving bowls of ice cream at a family supper or setting up a sundae bar for a celebration, this sauce elevates every spoonful. Below I explain pairings, storage tips, and serving ideas so you can plan accordingly.
- Simple scoops of ice cream — Classic pairing where the shell provides contrasting texture and immediate visual impact, perfect for casual family nights.
- Sundae bars for parties — Offer the sauce in a warmed dispenser and let guests drizzle to their taste, ideal for birthdays and informal gatherings.
- Serving suggestions for seasons — In warm months use thinner pour for delicate coverage, in cooler months a slightly thicker shell gives heartier crunch.
- Storage and reheating — Keep at room temperature in a sealed jar and reheat small portions in the microwave in short bursts until glossy and pourable.
- Occasions — Works for weeknight treats, weekend desserts, and festive moments like Ramadan if you want a special after meal sweet.
- Presentation — Serve with small bowls of toppings so people can crack the shell and add texture as they like.
FAQ
Conclusion
Magic Shell stands out because it takes just two pantry ingredients and turns ordinary scoops into a textural celebration. The combination of semi sweet chocolate and coconut oil yields a glossy, snappy coating that elevates simple desserts with almost no effort. I encourage you to try it tonight, whether you are serving family bowls after dinner or building a sundae bar for guests. The process is forgiving, the results are joyful, and the smiles are immediate, so give it a whirl and enjoy that satisfying crack.

Magic Shell
Equipment
- Microwave-safe Bowl
- Spoon
- Sealable jar
Ingredients
- 1 cups emisweet chocolate chips Melted and bittersweet, provides the primary chocolate flavor and structure for creating a glossy, firm shell once cooled; helps set the mixture quickly when poured over frozen desserts and offers a rich, balanced sweetness.
- 1/3 cup coconut oil, (measured when solid) Solid and fatty, adds necessary liquid fat when melted to thin the chocolate for easy pouring and creates the characteristic hard, crackable texture as it cools; contributes a subtle coconut aroma when used at room temperature before melting.
Instructions
- In a microwave safe bowl, add the chocolate chips and coconut oil. Melt in 30 second intervals in the microwave stirring in between. Add more chocolate chips to make it thicker, more coconut oil to make it thinner.: The aroma at this stage is subtle, a whiff of warm cocoa and faint coconut that signals the beginning of transformation. Use a shallow, microwave safe bowl so heat distributes evenly. A common mistake is crowding the bowl which leads to uneven melting and scorched bits. You will want the mixture to look like clumps of glossy chocolate surrounded by shiny oil before you start short bursts of microwaving.
- In a microwave safe bowl, add the chocolate chips and coconut oil. Melt in 30 second intervals in the microwave stirring in between. Add more chocolate chips to make it thicker, more coconut oil to make it thinner.: At each interval take the bowl out and stir vigorously with a spoon, scraping the sides so residual heat completes the melt. You'll hear a faint hiss as the chips soften, and the texture should move from grainy to smooth. This step prevents scorching, which can make the chocolate grainy and dull. If you skip stirring, you risk hot pockets that ruin shine and flavor.
- Pour over ice cream. Store at room temperature and reheat as needed.: As the mixture comes together, taste and test temperature by dipping a spoon and letting it cool for a beat. Thicker mixtures will crack more noticeably when poured on cold ice cream , while thinner ones will create a delicate glossy coat. The wrong ratio gives either a floppy coating or an oil slick, so adjust in small amounts and test on a cold surface to see how it sets.
- Pour over ice cream. Store at room temperature and reheat as needed.: When you repeat this step for larger batches you should notice the same sensory cues but on a bigger scale, with the chocolate scent intensifying and the shine becoming more pronounced. Use a heat proof spatula to bring melted portions into contact with unmelted chips so they soften without extra heat. Overheating during a second melt can make the coconut oil separate, which ruins texture and requires starting over.
- Melt in 30 second intervals in the microwave stirring in between: Continue the tempering rhythm until the mixture is fully smooth and glossy. The sound will be quiet now, and the visual cue is a homogenous, mirror like surface. Avoid using metal utensils which can be uncomfortable and unnecessary here, and always stop microwaving once fully incorporated to prevent graininess. If the mix appears oily on top, whisk quickly to recombine before it cools.
- Pour over ice cream: When you drizzle the warm sauce, listen for the soft sizzle as hot meets cold, and watch the liquid form a glossy coat that hardens almost immediately. The visual satisfaction of that snap is immediate. Pour from a spoon or small pitcher for better control; a common error is pouring too quickly, which can create pools rather than a uniform shell. Let it set for a few seconds before serving so the surface becomes satisfyingly crisp.
- Store at room temperature and reheat as needed: Stored in a sealed jar, the sauce keeps at room temperature because the coconut oil solidifies when cool, preserving texture. Reheat in short bursts to regain pourable consistency, stirring to redistribute heat so it stays glossy. A mistake is overheating which can break the emulsion, so use short intervals and stir until smooth. Keep away from direct sunlight which can soften it unevenly.
- Pour over ice cream: For subsequent servings, dip a spoon into the warmed mixture and drizzle; the sensory repeat is part ritual, part joy. You may notice slight changes in aroma as it cools and reheats, but flavor remains rich. If reheated unevenly, it may separate, so always stir until fully homogeneous. Avoid reheating repeatedly in large batches to keep the shine intact.
Notes
- Choose good quality chocolate chips — Better chips melt creamier and give a richer flavor and glossier finish, which improves the final shell.
- Measure coconut oil solid — Measuring when solid avoids overshooting the liquid volume and helps you get the texture you expect.
- Use short microwave bursts — Thirty second intervals with stirring prevent scorching and ensure a smooth emulsion.
- Test on a cold plate — A quick test pour on a chilled plate shows whether the ratio yields the snap or thin coat you want.
- Store in a sealed jar at room temperature — This keeps the mixture ready to reheat and preserves its pourable quality without refrigeration.
- Reheat gently and stir — Short bursts of heat and thorough stirring restore gloss without separating the oil and chocolate.