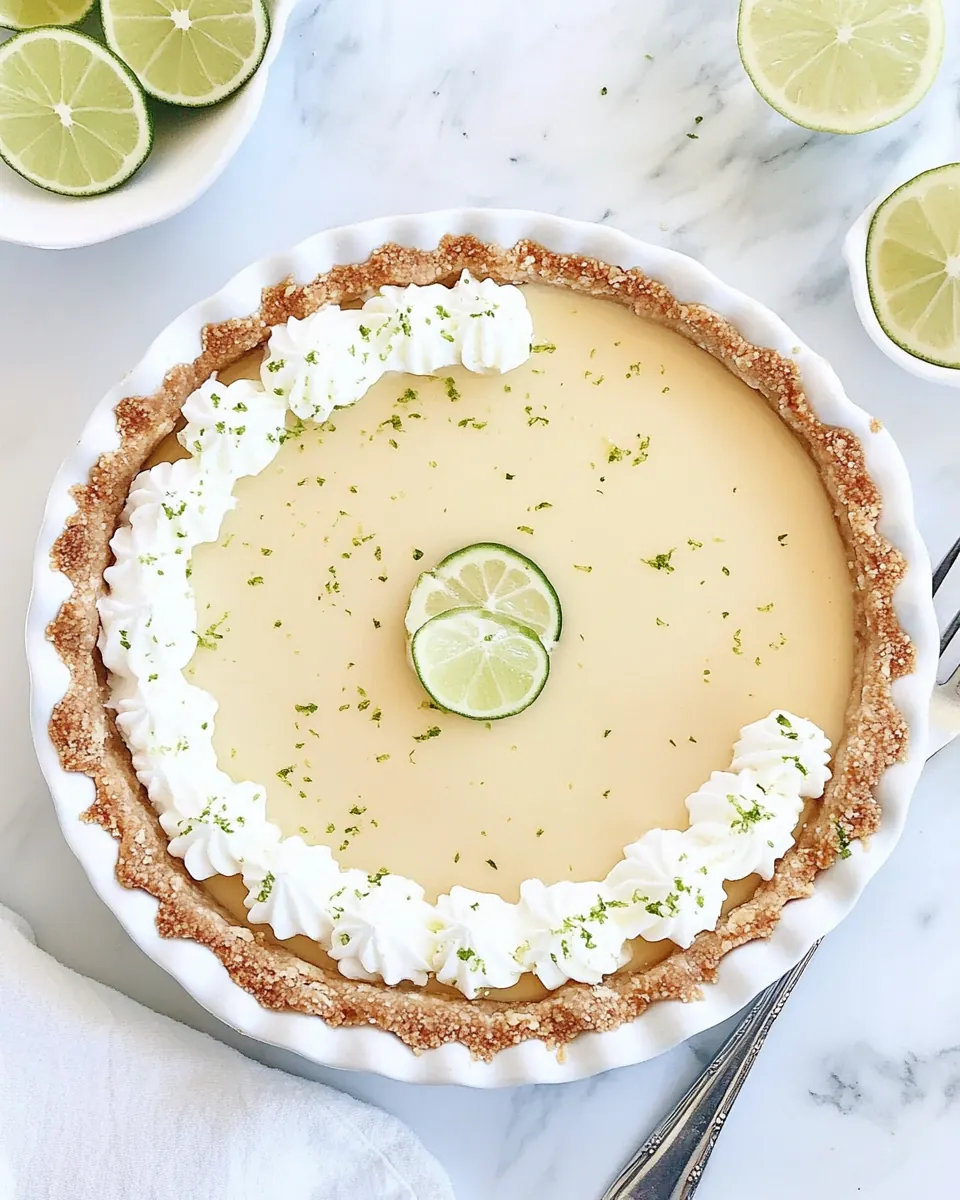
Key Lime Pie
Key Lime Pie has been my go to for hot afternoons when I want something that feels both light and indulgent at once. I remember the first time I made it for a neighborhood potluck, carrying the pie through a sunlit kitchen while the smell of warm crust and bright lime cut through the air. Guests asked for seconds, and that quiet approval told me this simple combination of graham cracker crumbs, butter, and a creamy lime filling was a trustable classic.
I always come back to this recipe when I want to celebrate small victories, or when I simply want dessert that cools and refreshes. Over the years I learned to respect the little rituals that make the difference, like zesting enough key lime to wake up the filling, and chilling the pie long enough so it sets cleanly when sliced. Those details make the pie feel homemade, not hurried.
There is a comfort in the method too, because it rewards gentle technique rather than theatrics. I find myself smiling when the condensed milk stretches into a glossy custard with the egg yolks and lime juice, and when the buttered crumbs press into a sturdy, nutty cradle. When friends ask for the secret I tell them it is patience, and good ingredients, and the habit of tasting as you go.
Recipe Snapshot
40 mins
20 mins
20 mins
Easy
320 kcal
American
Gluten-Free, Low FODMAP
Desserts
9 inch pie plate, Medium bowl, Electric mixer, Oven
Why This Key Lime Pie Is So Good
Bright citrus flavor that wakes the palate
I love how Key Lime Pie delivers an immediate burst of acidity, thanks to the fresh key lime juice and zest. That tang keeps each forkful lively, and it balances the sweet, creamy filling so the dessert never feels cloying. I often find myself savoring that first tangy moment before the smooth texture takes over.
Effortless yet impressive
One reason I recommend this recipe is the small list of pantry friendly ingredients. With sweetened condensed milk and a handful of staples you can turn out a pie that looks and tastes like you spent hours on it, without an elaborate technique. It is one of those recipes that makes hosts look like pros, quickly and reliably.
Contrasting textures that sing together
The crunchy graham cracker crumbs mixed with melted butter create a toasty base that contrasts beautifully with the silk of the filling. That interplay is why I always press the crust up the sides of the pie plate, so each bite has the right crust to custard ratio.
Make ahead friendly for easy entertaining
I depend on desserts I can prepare in advance, and Key Lime Pie is ideal because chilling improves its texture. I like to bake the crust, assemble the filling, then let the pie rest in the fridge for several hours or overnight. That gives me freedom to focus on the main course and arrive calm to the table.
Simple garnishes for a beautiful finish
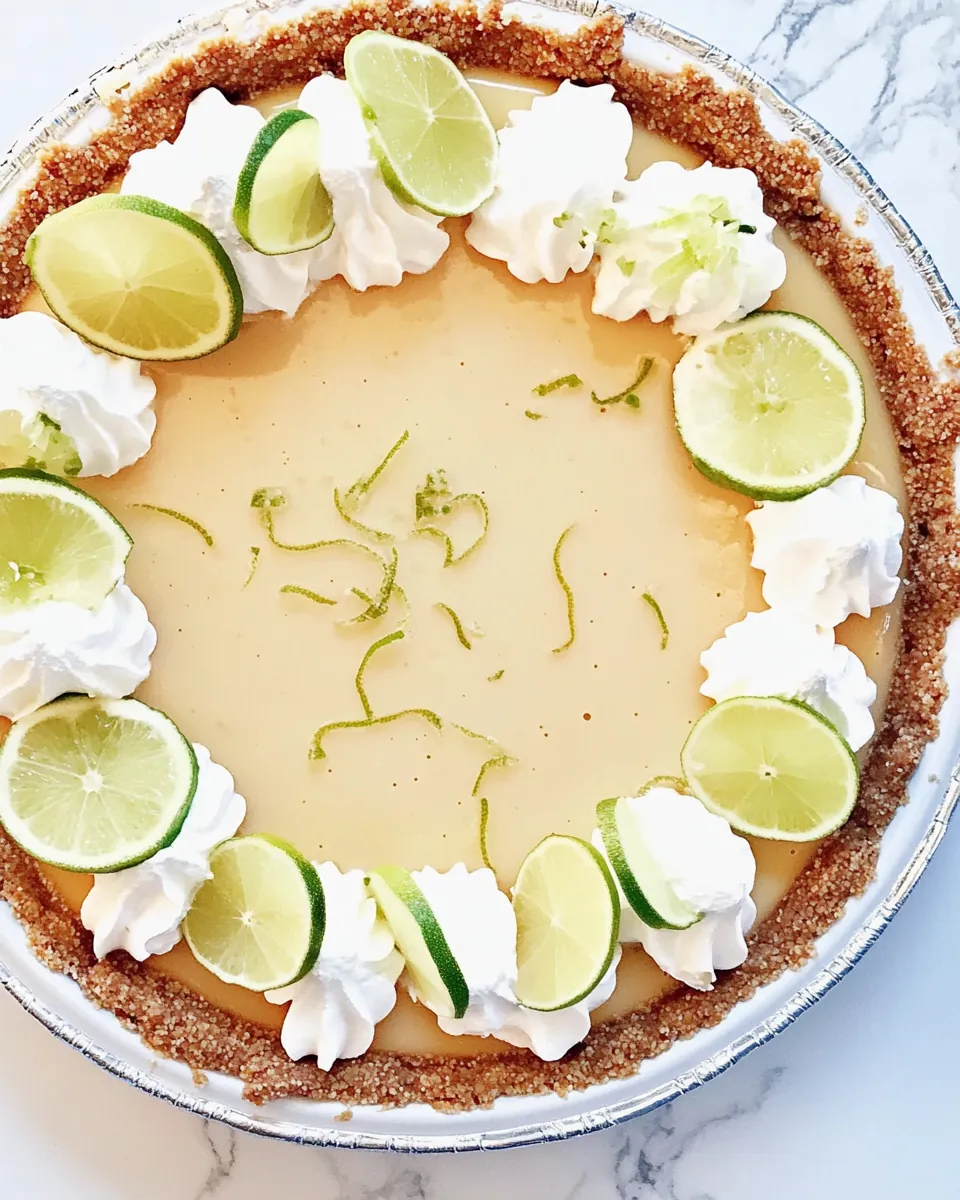
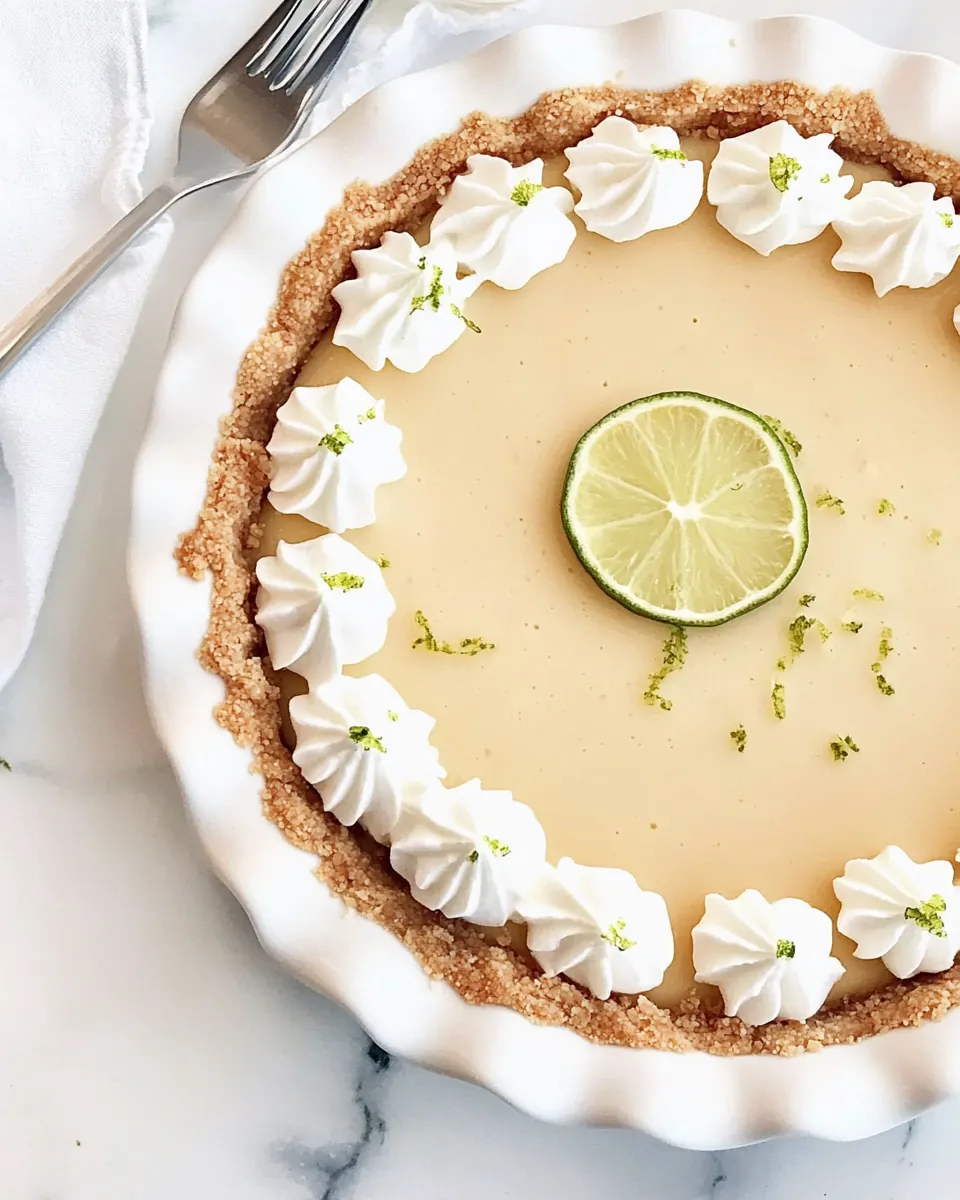
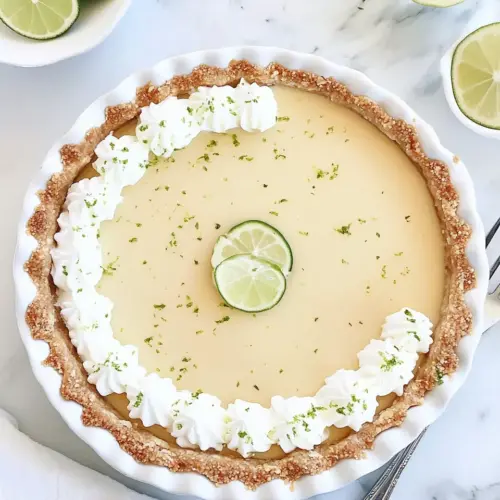
A little whipped cream and thin key lime slices transform this humble pie into a centerpiece. I enjoy arranging the garnish in a casual spiral, and it always earns compliments. The finishing touches take minutes, and they lift the whole dessert.
What You Need for Key Lime Pie
This recipe is built on a few strong players that each have a clear role. The crust, made from graham cracker crumbs and butter, provides toasty structure. The filling centers on the bright acidity of key lime juice and the richness of sweetened condensed milk and egg yolks, which emulsify into a glossy custard. Finally, whipped cream and lime slices finish the pie with creaminess and fresh vibrance.
- 8 tablespoons salted butter, melted: Melted and salted to bind the crust while adding a touch of savory richness; combine with cracker crumbs to create a buttery, cohesive base that browns slightly during baking and balances the pie’s tart filling.
- 2 1/4 cups graham cracker crumbs: Finely ground to form the structure of the crust; mix thoroughly with melted butter so the crumbs compact into a firm, even layer that holds the filling and provides a crisp texture contrast.
- 4 large egg yolks: Beaten and incorporated to thicken and enrich the filling; whisk yolks with lime juice and condensed milk to create a silky custard that sets when chilled and contributes depth of flavor and color.
- 1 tablespoon finely grated key lime zest: Finely grated to release fragrant citrus oils and bright aromatics; sprinkle into the filling and garnish to intensify lime fragrance and deliver subtle, zesty bursts in each bite.
- 1 cup key lime juice (see notes below): Freshly squeezed to provide the primary tart and acidic component; combine with yolks and sweetened condensed milk to chemically set the custard and provide the signature tang of key lime pie.
- 2 14-ounce cans sweetened condensed milk: Sweetened and concentrated to provide creamy sweetness and body; blend with lime juice and yolks to create a smooth, dense filling that requires no additional sugar and contributes a caramel-like richness.
- whipped cream and key lime slices: Lightly whipped and sliced to garnish and balance the dessert; add dollops of whipped cream and thin lime slices to offset acidity with creaminess and to provide an attractive finishing touch.
Key Lime Pie Instructions

I like to approach the assembly like a calm ritual, moving from crust to filling in a steady rhythm. Gather your ingredients and a 9 inch pie plate so everything flows without hunting for tools. The few oven minutes you use for the crust and filling go a long way toward a polished dessert.
- Preheat oven to 350 degrees F.: The kitchen will smell faintly warm as the oven comes up to temperature, and that low steady heat primes the crust to toast rather than steam. Preheating ensures the crust begins to set right away once it hits the oven. If the oven is cooler than expected, the crust may stay soft, so use an oven thermometer if you suspect inaccuracies. Avoid opening the oven door repeatedly because it drops the temperature and changes baking time.
- In a medium bowl, combine the butter and crumbs. Press the crust mixture into the bottom and up the sides of a 9-inch pie plate. Bake the crust for 5 minutes. Remove from the oven and let cool while you prepare the filling.: You'll notice a warm, toasty aroma as the graham cracker crumbs and butter bake together, and the surface will set to a slightly firmer texture. Press with the heel of your hand to compact the mixture, aiming for an even thickness so slices hold. Baking briefly locks in crispness and prevents a soggy base later. A common slip is pressing unevenly, which causes thin spots that flake out when served.
- In a medium bowl, use an electric mixer to beat the egg yolks. Add the zest, juice and condensed milk. Blend well, scraping the sides and the bottom, until all of the ingredients are incorporated and smooth.: At this stage the mixture will go from glossy and pale to more opaque and vibrantly scented with key lime . The sound of the mixer will change as the mixture thickens, and you should stop to scrape the bowl so no streaks remain. This step creates the stable emulsion that sets into the custard, so thorough blending matters. Watch for any lumps or unmixed pockets which indicate incomplete incorporation.
- Pour the filling into the crust and bake for 15 minutes. Refrigerate the pie for several hours (or overnight) before serving. It will thicken more as it chills. Serve with whipped cream and lime slices for garnish.: As the pie bakes the filling firms at the edges and remains slightly jiggly in the center, with a gentle sheen on top; that jiggle means it will set perfectly as it cools. After baking, a cool down followed by several hours in the refrigerator allows the custard to fully thicken and slice cleanly. Be cautious not to overbake, which can cause cracking or a rubbery texture. If the surface shows small cracks, a brief dollop of whipped cream will disguise them and add creaminess.
Pro Tips and Tweaks
I favor practical tips that lift the final result without adding hassle. Below are small adjustments and serving ideas that I rely on whenever I make Key Lime Pie. They help with texture, flavor balance, and presentation.
- Use room temperature yolks to help them blend into the filling effortlessly and prevent curdling while mixing.
- Pack the crust tightly so slices hold their shape and the contrast between crunchy base and creamy filling is clean.
- Choose fresh or quality bottled key lime juice for the most authentic bright acidity that defines the pie.
- Chill for best texture because the flavors calm and the filling firms considerably after several hours in the refrigerator.
- Garnish on service to keep whipped cream light and the key lime slices looking fresh, not dried out.
What to Pair With Key Lime Pie
This pie pairs well with light beverages and seasonal fruit, and it shines in casual gatherings and warm weather menus. Below are serving ideas, occasions, storage tips, and seasonal pairings to help you plan the full dessert experience.
- Serve chilled for clean, cool slices that hold their shape and show off the glossy filling.
- Pair with coffee or tea to balance the citrus brightness with a warm, bitter note during brunch or after dinner.
- Bring to picnics or potlucks because it can be made ahead and travels well when kept cool in an insulated bag.
- Store in the refrigerator for up to three days, covered lightly with foil or plastic wrap to protect the surface and garnish.
- Freeze slices wrapped tightly for up to one month, then thaw overnight in the fridge for easy make ahead serving.
- Serve for occasions like summer parties, brunches, or festive gatherings where a bright, refreshing dessert is welcome.
- Plate with fresh berries for color contrast and an extra layer of freshness that complements the lime.
FAQ
Conclusion
Key Lime Pie stands out because it combines bright citrus with a silky, sweet filling and a toasty graham crust. The balance of tang and creaminess makes each bite refreshing and satisfying. Give this recipe a try when you want a dessert that is impressive but not fussy, and enjoy the ease of making a pie that rewards patience and simple technique. Serve it chilled, garnish lightly, and watch friends and family reach for seconds with a smile.
Key Lime Pie
Equipment
- 9-inch pie plate
- Medium Bowl
- Electric Mixer
- Oven
Ingredients
- 8 tablespoons salted butter, melted Melted and salted to bind the crust while adding a touch of savory richness; combine with cracker crumbs to create a buttery, cohesive base that browns slightly during baking and balances the pie’s tart filling.
- 2 1/4 cups graham cracker crumbs Finely ground to form the structure of the crust; mix thoroughly with melted butter so the crumbs compact into a firm, even layer that holds the filling and provides a crisp texture contrast.
- 4 large egg yolks Beaten and incorporated to thicken and enrich the filling; whisk yolks with lime juice and condensed milk to create a silky custard that sets when chilled and contributes depth of flavor and color.
- 1 tablespoon finely grated key lime zest Finely grated to release fragrant citrus oils and bright aromatics; sprinkle into the filling and garnish to intensify lime fragrance and deliver subtle, zesty bursts in each bite.
- 1 cup key lime juice (see notes below) Freshly squeezed to provide the primary tart and acidic component; combine with yolks and sweetened condensed milk to chemically set the custard and provide the signature tang of key lime pie.
- 2 14-ounce cans sweetened condensed milk Sweetened and concentrated to provide creamy sweetness and body; blend with lime juice and yolks to create a smooth, dense filling that requires no additional sugar and contributes a caramel-like richness.
- whipped cream and key lime slices Lightly whipped and sliced to garnish and balance the dessert; add dollops of whipped cream and thin lime slices to offset acidity with creaminess and to provide an attractive finishing touch.
Instructions
- Preheat oven to 350 degrees F.: The kitchen will smell faintly warm as the oven comes up to temperature, and that low steady heat primes the crust to toast rather than steam. Preheating ensures the crust begins to set right away once it hits the oven. If the oven is cooler than expected, the crust may stay soft, so use an oven thermometer if you suspect inaccuracies. Avoid opening the oven door repeatedly because it drops the temperature and changes baking time.
- In a medium bowl, combine the butter and crumbs. Press the crust mixture into the bottom and up the sides of a 9-inch pie plate. Bake the crust for 5 minutes. Remove from the oven and let cool while you prepare the filling.: You'll notice a warm, toasty aroma as the graham cracker crumbs and butter bake together, and the surface will set to a slightly firmer texture. Press with the heel of your hand to compact the mixture, aiming for an even thickness so slices hold. Baking briefly locks in crispness and prevents a soggy base later. A common slip is pressing unevenly, which causes thin spots that flake out when served.
- In a medium bowl, use an electric mixer to beat the egg yolks. Add the zest, juice and condensed milk. Blend well, scraping the sides and the bottom, until all of the ingredients are incorporated and smooth.: At this stage the mixture will go from glossy and pale to more opaque and vibrantly scented with key lime . The sound of the mixer will change as the mixture thickens, and you should stop to scrape the bowl so no streaks remain. This step creates the stable emulsion that sets into the custard, so thorough blending matters. Watch for any lumps or unmixed pockets which indicate incomplete incorporation.
- Pour the filling into the crust and bake for 15 minutes. Refrigerate the pie for several hours (or overnight) before serving. It will thicken more as it chills. Serve with whipped cream and lime slices for garnish.: As the pie bakes the filling firms at the edges and remains slightly jiggly in the center, with a gentle sheen on top; that jiggle means it will set perfectly as it cools. After baking, a cool down followed by several hours in the refrigerator allows the custard to fully thicken and slice cleanly. Be cautious not to overbake, which can cause cracking or a rubbery texture. If the surface shows small cracks, a brief dollop of whipped cream will disguise them and add creaminess.
Notes
- Use room temperature yolks to help them blend into the filling effortlessly and prevent curdling while mixing.
- Pack the crust tightly so slices hold their shape and the contrast between crunchy base and creamy filling is clean.
- Choose fresh or quality bottled key lime juice for the most authentic bright acidity that defines the pie.
- Chill for best texture because the flavors calm and the filling firms considerably after several hours in the refrigerator.
- Garnish on service to keep whipped cream light and the key lime slices looking fresh, not dried out.