Easy Empty Tomb Rolls
Easy Empty Tomb Rolls began as a kitchen experiment the first time I wanted a playful, nostalgic treat for an Easter gathering. I remember standing at the counter with a bag of soft rolls and a bowl of cinnamon sugar, thinking about how simple ingredients can become a memorable moment. The first sentence I said to my niece was that this would be like a tiny surprise in every bite, and her excited grin told me I was on the right track.
That afternoon turned into a ritual, where I learned to enjoy the little details that make Easy Empty Tomb Rolls special. The smell of butter and cinnamon filled the house, and the process of rolling each marshmallow into dough became a shared, laugh-filled task. I found that these rolls work wonders when you want something comforting, slightly sticky, and perfectly shareable.
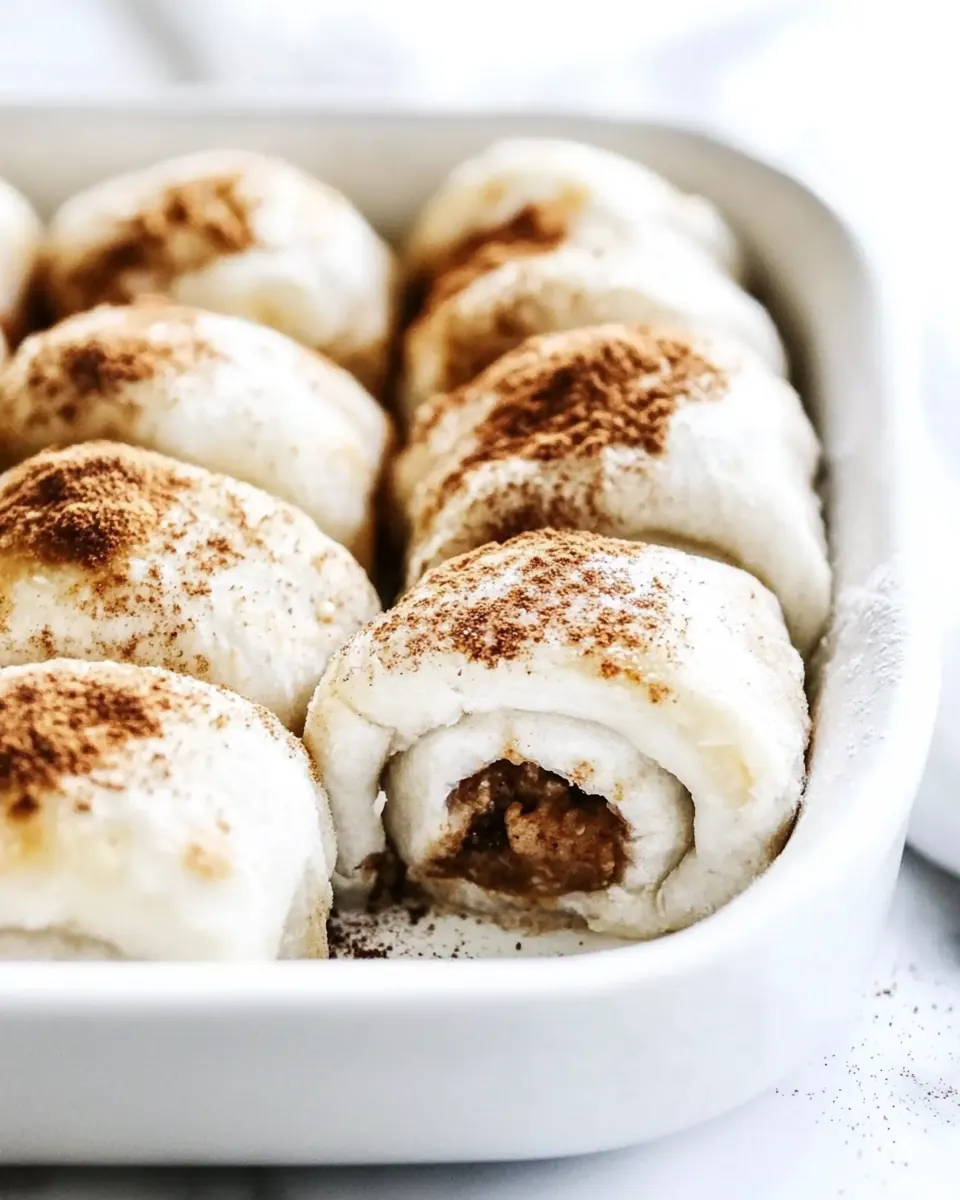
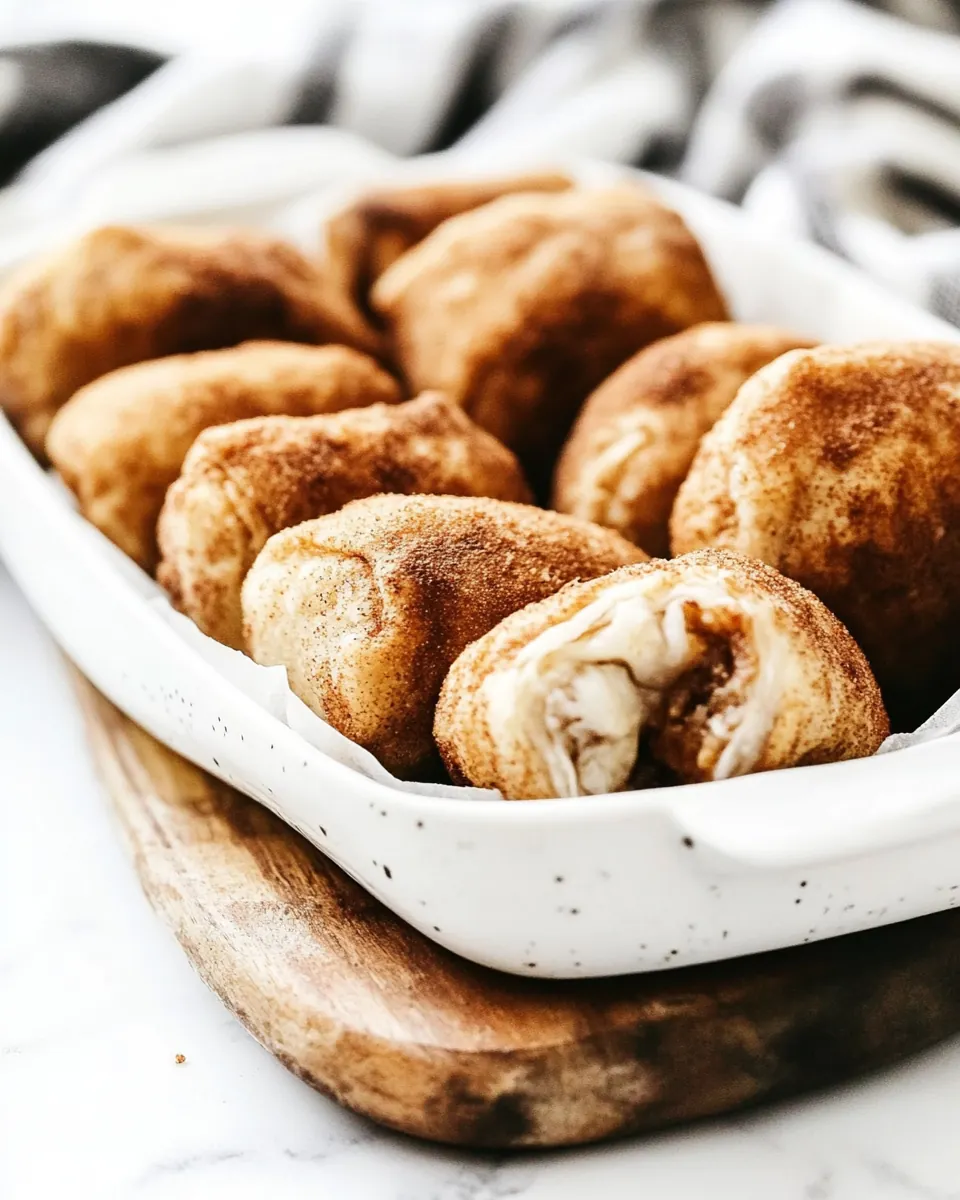
Over the years I’ve adjusted small things, but the heart of the recipe stays the same: soft dough wrapped around a gooey center, brushed with butter, and dusted in cinnamon sugar. When I serve Easy Empty Tomb Rolls now, people always comment on how they bring back simple pleasures. I love that this recipe requires minimal fuss, while still feeling festive and a little theatrical. It’s become one of my go to desserts when I want to keep the mood light and the smiles big.
Recipe Snapshot
25 mins
10 mins
15 mins
Easy
250 kcal
American
Keto, Gluten-Free
Desserts
Oven, 12 cup muffin tin, Mixing bowl
What Sets This Easy Empty Tomb Rolls Apart
Simple ingredients, big impact
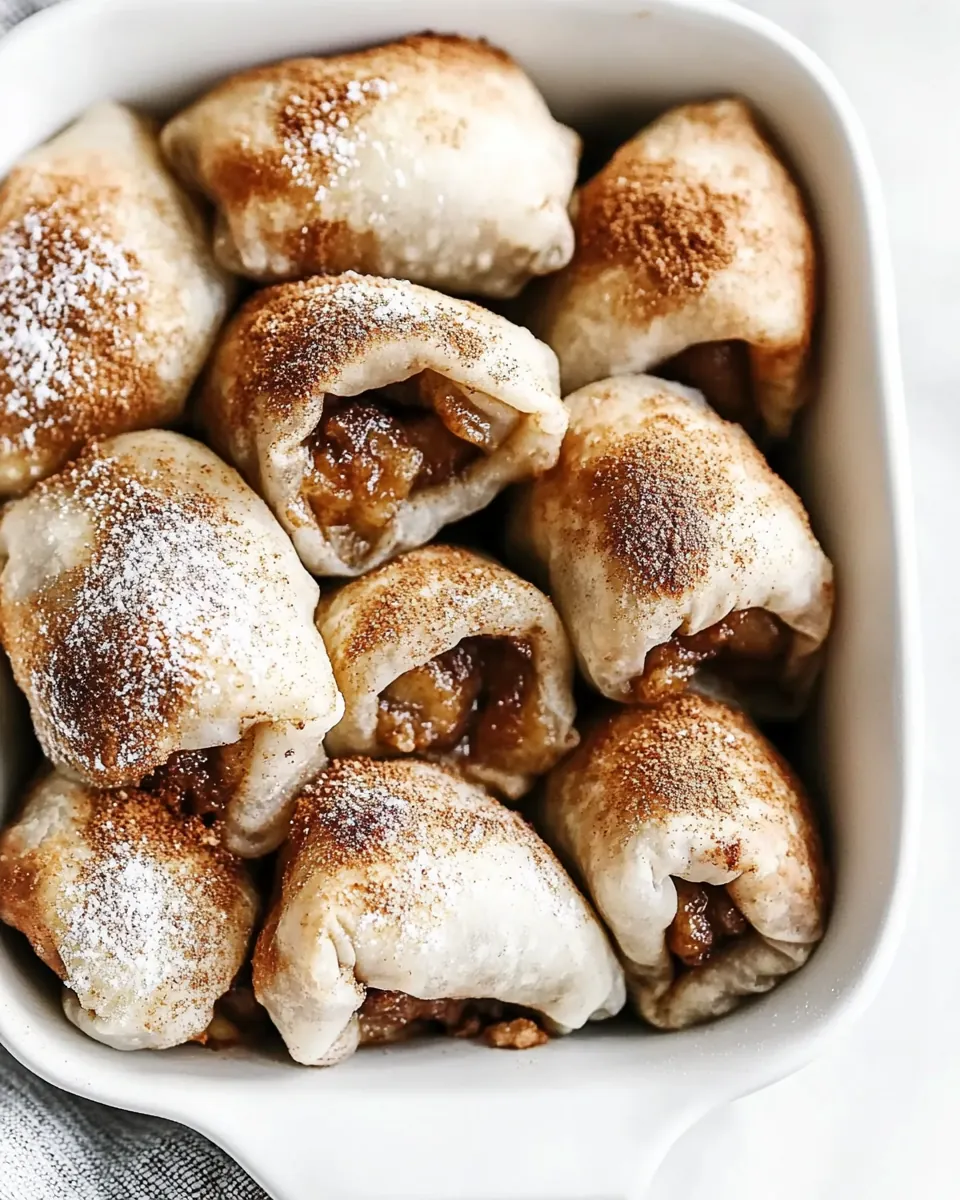
I love how Easy Empty Tomb Rolls rely on just a handful of pantry friendly items. The combination of soft rolls, melted butter, and cinnamon sugar creates a warm, familiar flavor that hits a comforting sweet spot. When I pull them from the oven, the scent alone makes everyone gather, and that immediate reaction is why I keep making them.
Great for groups and hands on fun
I’ve found these rolls are perfect for gatherings because they invite participation. Kids and adults can take turns dipping marshmallows and sealing dough, which turns baking into a shared activity. When I host, I set out the ingredients and people naturally gravitate toward the project, talking and laughing as they shape each roll.
Fast and reliable
One reason I reach for Easy Empty Tomb Rolls is speed. With minimal prep and a short bake time, you can go from kitchen to table quickly. There is comfort in a recipe that does not demand hours of attention, and I appreciate that these rolls deliver consistent results even when I am multi tasking.
Child friendly and nostalgic
These rolls tap into nostalgia with that gooey marshmallow center. I remember being a kid at holiday gatherings and helping assemble treats like this. Serving these now, I enjoy watching new memories form as the marshmallow stretches and the sugar caramelizes in little pockets.
Versatile presentation
Finally, I adore how Easy Empty Tomb Rolls can be dressed up or kept casual. They work on a dessert platter for a party or as a cozy addition to an afternoon tea. Because the recipe is so approachable, I often tweak nothing and let the simple, warm flavors shine.
Key Ingredients for Easy Empty Tomb Rolls
These components are deliberately minimal, each playing a clear role. The dough provides structure and a tender crumb, the butter brings richness and helps the cinnamon sugar adhere, and the marshmallows give that nostalgic, gooey center. Together they create contrast between soft bread and sticky filling, which is the heart of this recipe.
- 1/2 cups sugar: Sweeten and coat the rolls by dissolving into a cinnamon–sugar mixture that caramelizes slightly during baking, adding a golden, crunchy exterior. Provide balance to the buttery richness and the neutral dough, enhancing the overall dessert flavor profile.
- 1 tablespoon cinnamon: Add warmth and spice that complements the sugar and butter, creating a classic cinnamon–sugar aroma. Elevate the simple flavors and provide a pleasant contrast to the soft roll texture.
- 12 thawed Rhodes rolls: Provide the soft dough base that wraps around the filling and bakes into a pillowy, golden pastry. Serve as the structural component that holds the marshmallow and absorbs buttery and sugar flavors for the empty tomb effect.
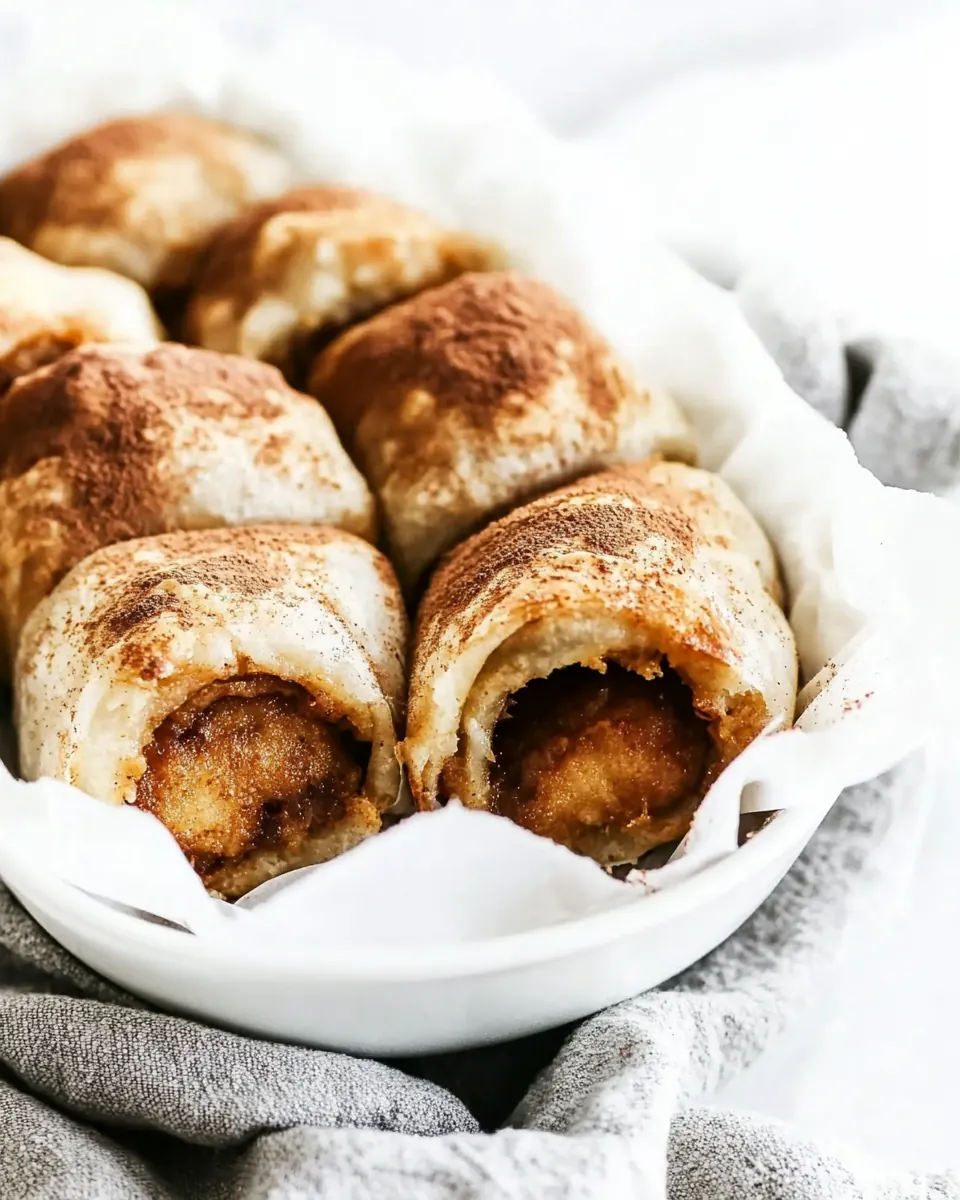
- 12 jumbo marshmallows: Melt into a gooey, melted center that simulates the empty tomb when it dissolves in the oven, creating a sweet, stretchy interior. Offer a familiar candy-like sweetness that pairs well with cinnamon and buttery dough.
- 1/2 cup melted butter: Bind the sugar and cinnamon coating to the rolls while promoting browning and a tender crumb in the baked pastry. Impart a rich mouthfeel and help create a slightly crisp exterior as it combines with the sugar.
Making Easy Empty Tomb Rolls
This recipe is straightforward, but comforting detail elevates it. Follow the flow, pay attention to texture and aroma, and you will end up with rolls that are tender, golden, and slightly crisp on the outside. I like to work with a small assembly line to keep things moving.
- Preheat oven to 350 degrees Fahrenheit and grease a 12-cup muffin tin with non-stick cooking spray and set aside.: The kitchen takes on a warm, anticipatory scent as the oven comes up to temperature, and greasing the tin ensures the bottoms release cleanly. This step promotes even browning and prevents sticking, which matters because sticky bottoms ruin presentation. A common mistake is skipping the grease, which leads to tearing when you remove the rolls. Check the oven gauge so you know the heat is accurate; a slightly cool oven will prevent proper rise, while too hot will brown the exterior before the center is warm.
- In a small bowl, whisk together the 1/2 cup sugar and 1 tablespoon cinnamon. Flatten each 12 thawed Rhodes rolls into a small circle.: The cinnamon and sugar mixture should smell warm and inviting, releasing spiced notes when whisked. As you press each roll into a circle, you are creating a tender pocket that will stretch without tearing. Feel the dough for flexibility; if it resists, let it rest briefly to relax the gluten. One pitfall is rolling too thin, which leads to breaks during baking. Aim for even thickness so the marshmallow will be enveloped comfortably.
- Dip each 12 jumbo marshmallows into the 1/2 cup melted butter, then into the cinnamon sugar mixture.: When the marshmallows hit the melted butter , they pick up a glossy sheen, and the sugar clings in a fragrant crust. This double dip adds flavor layers and helps seal in the gooey center. Work quickly so the butter does not cool and harden, which would reduce adhesion. A common error is letting the marshmallows sit too long between dips, causing uneven coating; keep them moving through the bowl.
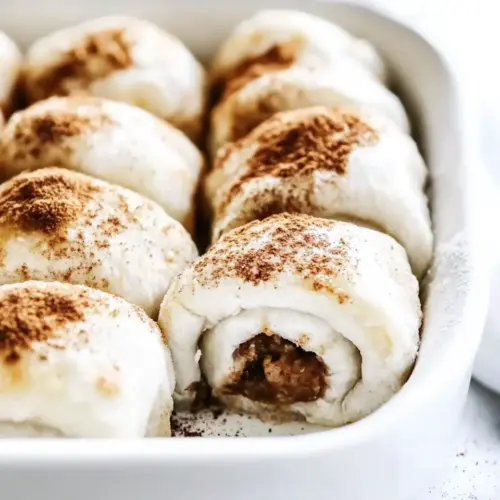
- Place each coated marshmallow into the center of each flattened roll and fold the dough over the marshmallow, pinch to seal.: As you fold, you should hear a soft stretch and feel the dough snug around the filling, creating a smooth seam. Pinching ensures the marshmallow stays enclosed and melts inward rather than leaking out. If the seam is not secure, sugar and butter can seep during baking, making a sticky mess. Take a moment to press firmly and smooth the seam with your thumb to create a tight seal.
- Roll the assembled rolls into the melted butter and cinnamon sugar again.: Re dipping the finished parcels gives the exterior an attractive glaze that will brown in the oven. When you roll them, you will notice the surface become tacky and evenly coated, which yields a pleasant crisp after baking. Avoid saturating the dough in butter , which can make the base greasy; a light coating is enough. If you see pools of butter forming, blot lightly before baking.
- Bake the rolls for 10-15 minutes, remove from the oven, and let them cool before serving.: The oven fills with sweet, toasty aromas as the edges turn golden and the tops take on a gentle sheen. Look for a light golden color and slight puffing as indicators they are done, and resist opening the oven too often which can slow baking. After removing, allow them to cool slightly so the molten center sets enough to hold shape while still being gooey. A typical mistake is serving too hot, which leads to a very runny center and possible burns; waiting gives the marshmallow a chance to thicken just a touch.
How to Switch It Up
I like offering variations when I serve Easy Empty Tomb Rolls, because small changes can change the mood of the plate. Below are practical, tested suggestions that keep the recipe approachable while letting you personalize presentation and texture.
- Swap coating method Try brushing a thinner layer of butter with a pastry brush to control moisture on the dough surface.
- Adjust sweetness Reduce the sugar by a small amount if you prefer less cloying treats, while keeping the cinnamon for warmth.
- Make ahead tip Assemble the rolls and chill briefly before baking to firm the seams and reduce leakage.
- Presentation idea Serve warm on a platter lined with parchment so guests can grab while they are still gooey.
- Batch baking Use multiple muffin tins to bake many rolls at once, rotating racks for even color.
- Cooling note Let rolls rest for a few minutes before serving to avoid overly runny centers and potential burns.
How to Enjoy Easy Empty Tomb Rolls
These rolls are flexible in how they are served, working for casual family gatherings or as a festive brunch treat. I often place them on a warm platter and let people help themselves. They pair well with simple drinks and can be a sweet finish to a holiday meal.
- Serve warm Place the rolls on a shallow platter and keep them slightly covered to retain warmth until serving.
- Family gatherings These are ideal for casual holiday tables where people can reach in and take one or two.
- Brunch option Offer them as a sweet companion to morning coffee, arranged on a cake stand for a cheerful display.
- Storage tip Store cooled rolls in an airtight container at room temperature for a day, rewarming briefly in a low oven before serving.
- Seasonal pairing Because they are simple and comforting, they suit spring celebrations like Easter, bringing a playful element to the dessert spread.
FAQ
Conclusion
What makes this recipe special is how a few humble pantry items transform into a nostalgic, shareable treat with a gooey center and warm cinnamon crust. Try making these the next time you want a crowd pleasing dessert that is quick and comforting, and watch how fast they disappear. I love serving them warm, seeing faces light up with that first pull of the marshmallow, and I think you will enjoy the easy, playful nature of this recipe as much as I do.
Easy Empty Tomb Rolls
Equipment
- Oven
- 12-cup muffin tin
- Mixing Bowl
Ingredients
- 1/2 cups sugar Sweeten and coat the rolls by dissolving into a cinnamon-sugar mixture that caramelizes slightly during baking, adding a golden, crunchy exterior. Provide balance to the buttery richness and the neutral dough, enhancing the overall dessert flavor profile.
- 1 tablespoon cinnamon Add warmth and spice that complements the sugar and butter, creating a classic cinnamon-sugar aroma. Elevate the simple flavors and provide a pleasant contrast to the soft roll texture.
- 12 thawed Rhodes rolls Provide the soft dough base that wraps around the filling and bakes into a pillowy, golden pastry. Serve as the structural component that holds the marshmallow and absorbs buttery and sugar flavors for the empty tomb effect.
- 12 jumbo marshmallows Melt into a gooey, melted center that simulates the empty tomb when it dissolves in the oven, creating a sweet, stretchy interior. Offer a familiar candy-like sweetness that pairs well with cinnamon and buttery dough.
- 1/2 cup melted butter Bind the sugar and cinnamon coating to the rolls while promoting browning and a tender crumb in the baked pastry. Impart a rich mouthfeel and help create a slightly crisp exterior as it combines with the sugar.
Instructions
- Preheat oven to 350 degrees Fahrenheit and grease a 12-cup muffin tin with non-stick cooking spray and set aside.: The kitchen takes on a warm, anticipatory scent as the oven comes up to temperature, and greasing the tin ensures the bottoms release cleanly. This step promotes even browning and prevents sticking, which matters because sticky bottoms ruin presentation. A common mistake is skipping the grease, which leads to tearing when you remove the rolls. Check the oven gauge so you know the heat is accurate; a slightly cool oven will prevent proper rise, while too hot will brown the exterior before the center is warm.
- In a small bowl, whisk together the 1/2 cup sugar and 1 tablespoon cinnamon. Flatten each 12 thawed Rhodes rolls into a small circle.: The cinnamon and sugar mixture should smell warm and inviting, releasing spiced notes when whisked. As you press each roll into a circle, you are creating a tender pocket that will stretch without tearing. Feel the dough for flexibility; if it resists, let it rest briefly to relax the gluten. One pitfall is rolling too thin, which leads to breaks during baking. Aim for even thickness so the marshmallow will be enveloped comfortably.
- Dip each 12 jumbo marshmallows into the 1/2 cup melted butter, then into the cinnamon sugar mixture.: When the marshmallows hit the melted butter , they pick up a glossy sheen, and the sugar clings in a fragrant crust. This double dip adds flavor layers and helps seal in the gooey center. Work quickly so the butter does not cool and harden, which would reduce adhesion. A common error is letting the marshmallows sit too long between dips, causing uneven coating; keep them moving through the bowl.
- Place each coated marshmallow into the center of each flattened roll and fold the dough over the marshmallow, pinch to seal.: As you fold, you should hear a soft stretch and feel the dough snug around the filling, creating a smooth seam. Pinching ensures the marshmallow stays enclosed and melts inward rather than leaking out. If the seam is not secure, sugar and butter can seep during baking, making a sticky mess. Take a moment to press firmly and smooth the seam with your thumb to create a tight seal.
- Roll the assembled rolls into the melted butter and cinnamon sugar again.: Re dipping the finished parcels gives the exterior an attractive glaze that will brown in the oven. When you roll them, you will notice the surface become tacky and evenly coated, which yields a pleasant crisp after baking. Avoid saturating the dough in butter , which can make the base greasy; a light coating is enough. If you see pools of butter forming, blot lightly before baking.
- Bake the rolls for 10-15 minutes, remove from the oven, and let them cool before serving.: The oven fills with sweet, toasty aromas as the edges turn golden and the tops take on a gentle sheen. Look for a light golden color and slight puffing as indicators they are done, and resist opening the oven too often which can slow baking. After removing, allow them to cool slightly so the molten center sets enough to hold shape while still being gooey. A typical mistake is serving too hot, which leads to a very runny center and possible burns; waiting gives the marshmallow a chance to thicken just a touch.
Notes
- Swap coating method Try brushing a thinner layer of butter with a pastry brush to control moisture on the dough surface.
- Adjust sweetness Reduce the sugar by a small amount if you prefer less cloying treats, while keeping the cinnamon for warmth.
- Make ahead tip Assemble the rolls and chill briefly before baking to firm the seams and reduce leakage.
- Presentation idea Serve warm on a platter lined with parchment so guests can grab while they are still gooey.
- Batch baking Use multiple muffin tins to bake many rolls at once, rotating racks for even color.
- Cooling note Let rolls rest for a few minutes before serving to avoid overly runny centers and potential burns.