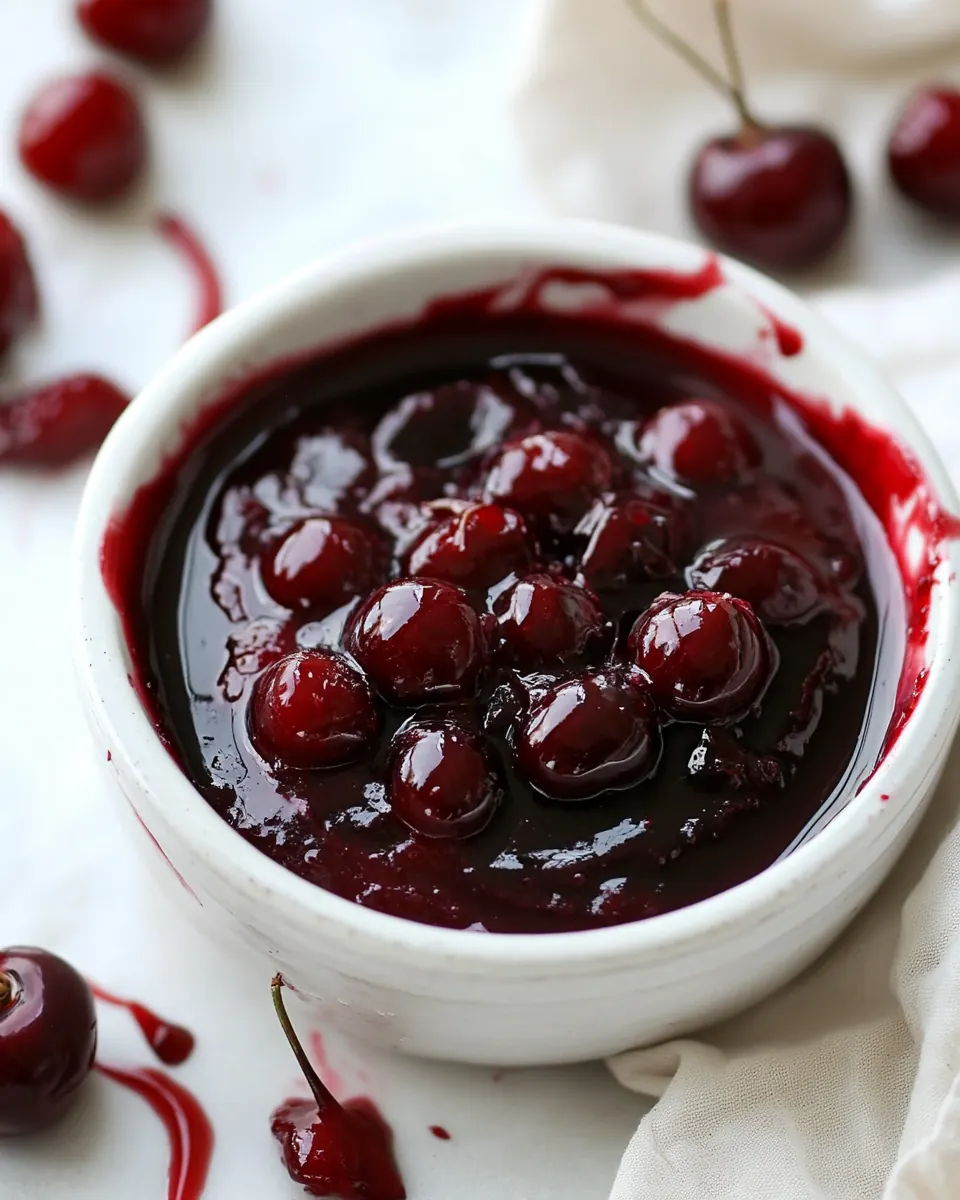
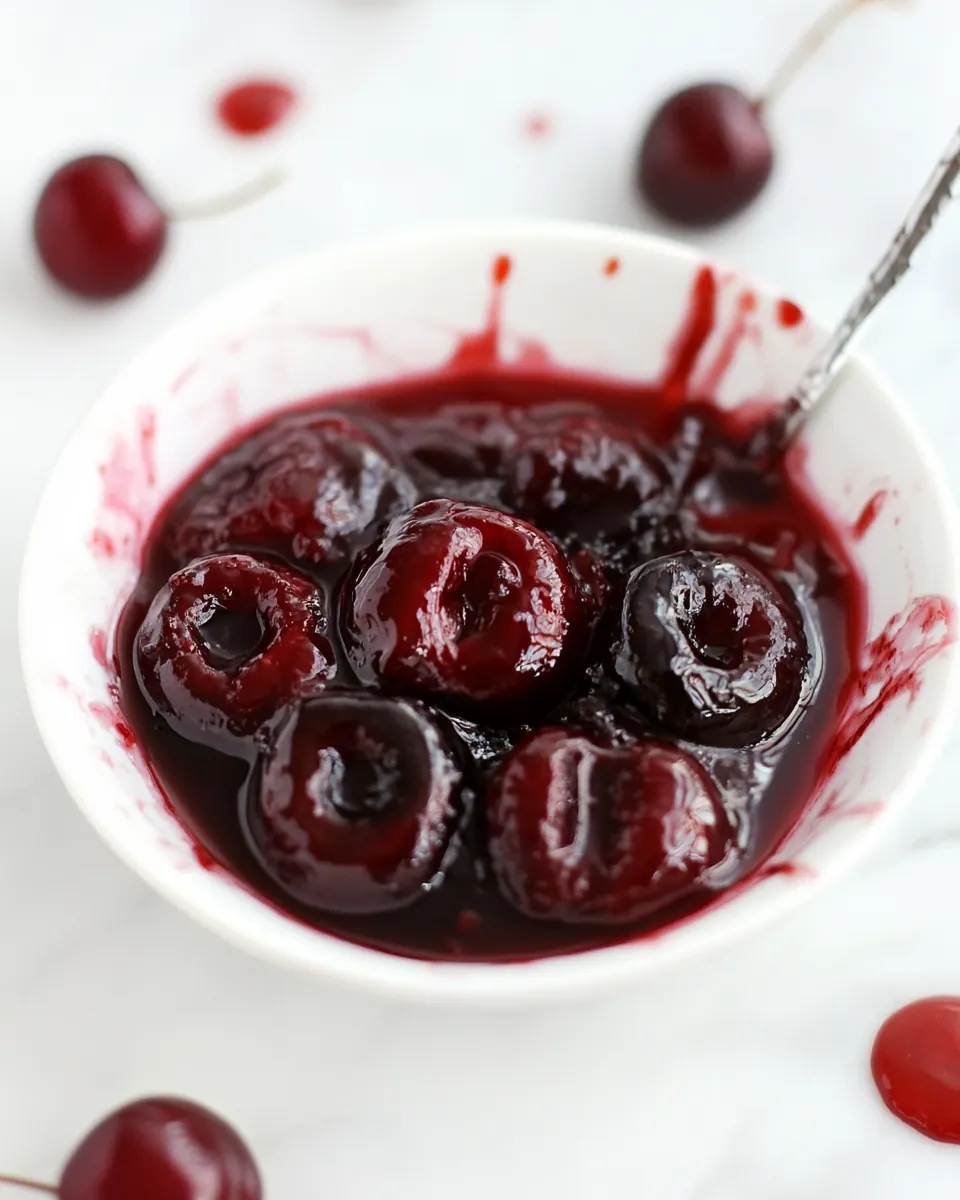
Whole Cherry Syrup
Whole Cherry Syrup began as a small experiment on my sunlit windowsill the year my neighbor dropped off a bag of perfectly ripe cherries from her tree. I remember sorting through the fruit, the skins taut and glossy, and deciding I would preserve that moment in a jar. I set a tiny saucepan on the stove, cracked the window, and let the kitchen fill with a bright, fruity perfume as the fruit softened. That first batch stained my wooden spoon and my fingers, and I smiled because I had captured summer, sticky and intense, concentrated into a syrup that felt like holding a warm afternoon.
Over the seasons I adjusted the balance between sugar and fruit, learned when to let the mixture simmer longer for depth, and discovered that a touch of butter at the end smooths the finish. Friends began requesting jars, and I started pairing the syrup with everything from sparkling water to drizzled yogurt. Each use brought a small memory back, and now whenever I make Whole Cherry Syrup I think of that day of neighborly generosity and the quiet, slow ritual of turning fresh fruit into something that lasts.
Recipe Snapshot
25 mins
10 mins
15 mins
Easy
150 kcal
American
Keto, Gluten-Free
Desserts
Small saucepan, Wooden spoon, Fine sieve, Measuring cups
What You’ll Enjoy About This Whole Cherry Syrup
Bright concentrated flavor
I love how Whole Cherry Syrup takes fleeting summer cherries and magnifies their character. The fruit’s natural tartness becomes syrupy, while the sugar rounds the edges, creating a concentrated flavor punch. When I spoon it over plain ingredients, it transforms them instantly.
Versatility across uses
We use this syrup in surprising ways. It lifts beverages, glazes desserts, and accents savory dishes where appropriate. Because it’s a liquid concentrate, a little goes a long way, and I enjoy experimenting with proportions to get either a subtle hint or a bold cherry statement.
Simple, pantry friendly method
The technique behind Whole Cherry Syrup is approachable. A small saucepan and a wooden spoon are all I need, and the process is forgiving. I often make a batch between other kitchen tasks. The straightforward method means you can cook while juggling other things, and still end up with a reliable result.
Preserves summer memories
For me, this syrup is about preservation. It freezes or jars well, so you can enjoy cherries long after the season ends. Each jar brings back the textures and aromas of a warm day, and serving it sparks conversation and nostalgia whenever guests arrive.
Small batch, big payoff
Making a small quantity is efficient, and it allows testing flavors without waste. I often double or halve the recipe depending on what I plan to do with it, but even a single batch feels abundant once you start spooning it onto dishes. That economical quality is one reason I keep coming back.
Shopping List for Whole Cherry Syrup
The ingredients for Whole Cherry Syrup are intentionally few, which is part of what makes this recipe so satisfying. Each component plays a key role: the fruit provides the base flavor and body, the water helps extract juices and control consistency, the sugar balances tartness and preserves, and the butter adds sheen and a rounded mouthfeel. Together they create a syrup that is both bright and mellow, with a silky finish that clings to whatever you pair it with.
- 1/2 pound dark sweet cherries pitted: Provide rich, ripe fruit flavor and color while offering natural sweetness and a slight tartness; pitting ensures a smooth syrup without bitter pits and allows the cherries to break down evenly when cooked, releasing juices and deepening the sauce's aroma.
- 1/2 cup water: Bring necessary liquid to help dissolve sugar and create the syrup base; water helps control consistency and prevents scorching by allowing gentle simmering to extract fruit flavors and meld ingredients evenly.
- 1 cup sugar: Supply the primary sweetening and preservative agent that balances cherry tartness and contributes to syrup body and mouthfeel; sugar also helps thicken the mixture as it reduces and promotes a glossy finish when cooled.
- 1 tablespoon butter: Add richness and a silky mouthfeel while mellowing sharp edges of acidity; butter helps finish the syrup with a glossy sheen and smooth texture, enhancing flavor and preventing excessive foaming while cooking.
Making Whole Cherry Syrup
This process is calm and satisfying, ideal for a quiet afternoon when you can keep an eye on the pan. Focus on gentle simmering and attentive stirring to coax out the cherries‘ full flavor. Below I expand the single-line directions into steps you can follow with confidence.
- Bring cherries, water and sugar to a boil in a small saucepan. Reduce heat to a simmer and cook for 15-20 minutes, scraping the sides of the saucepan so crystals don’t form. Mix in the butter, remove from heat and serve.: The kitchen will fill with a sharp, fruity scent as the mixture heats, bright and immediate, and you will see bubbles form across the surface as the sugars dissolve. This initial heat helps the fruit release its juices quickly, which is essential for extracting concentrated flavor, and the visual cue to look for is a steady, rolling boil rather than a timid simmer. A common mistake at this stage is using too high a flame, which can scorch the sugars at the pan edges and create bitter notes. Keep the saucepan stable, swirled gently to dissolve the sugar, and scrape the sides as the crystals soften so nothing sticks. You'll notice the cherries beginning to soften within minutes and the color becoming more vibrant as fruit breaks down. The sound will shift from isolated pops to a continuous bubbling, and the aroma will deepen from fresh fruit to something more jam like.
- Reduce heat to a simmer and cook for 15 to 20 minutes, scraping the sides of the saucepan so crystals don’t form: At this stage the texture evolves slowly, and the simmering sound becomes gentler, almost whispering as the liquid reduces and concentrates. Simmering rather than boiling preserves bright fruit notes while allowing water to evaporate, thickening the syrup without burning. As you scrape the sides, you prevent grainy sugar from forming and ensure even caramelization on the bottom, which would otherwise create uneven flavor pockets. Keep an eye on the color shift toward a deeper red and the way viscosity increases, coating your spoon in a glossy film. If the mixture splatters, lower the heat; if it refuses to thicken after 20 minutes, increase the heat briefly while stirring constantly. One trap is walking away; even a short neglect can let the sugars stick and burn, which ruins the batch.
- Mix in the butter: When you pull the pan from the heat, the sound quiets, and steam rises in a fragrant plume. Adding the butter now enriches the syrup, smoothing edges and creating a luxurious sheen. Stir gently until the butter fully melts and emulsifies, noticing how the syrup becomes silkier and slightly more opaque. This step helps integrate fat into the sugar fruit matrix, rounding flavors and improving mouthfeel. Avoid reheating aggressively after adding butter, or it may break and separate, leaving oily streaks. If your butter does not incorporate smoothly, let the pan cool briefly and stir more slowly; overworking it at high temperature is the usual cause of separation. The aroma will mellow, and the syrup should drip in thick ribbons from your spoon when ready.
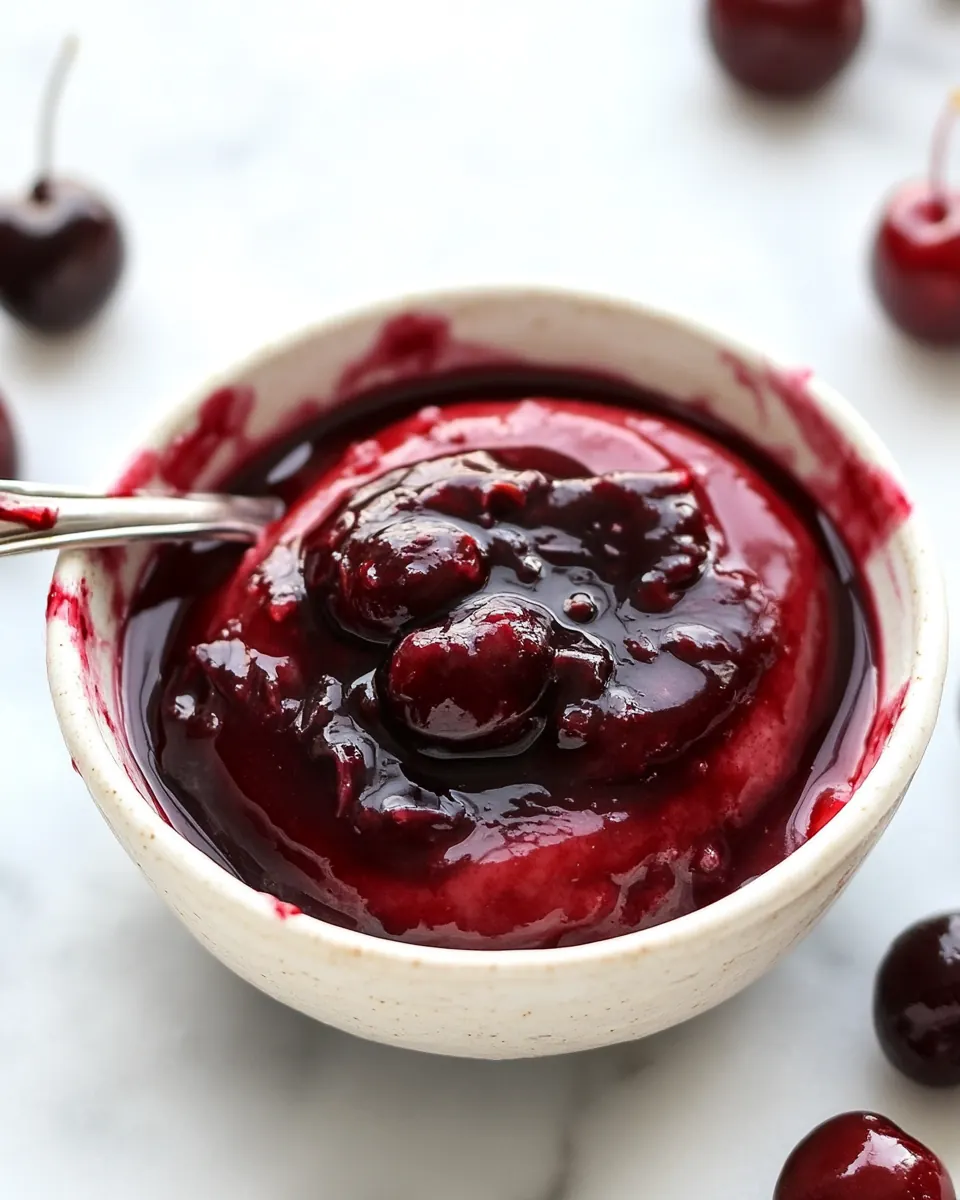
- Remove from heat and serve: After the final stir the room will relax into a soft, warm scent, and you can judge readiness by the syrup's flow. Properly made, it will coat a spoon and fall slowly in continuous ribbons. Serving while warm gives a fluid texture ideal for drizzling, while cooled syrup will be slightly thicker and stickier. Transfer to a clean jar if you plan to store it, leaving a small headspace for expansion if freezing. The main mistake here is letting it cool uncovered near drafts, which can encourage crystallization on the surface. Seal promptly for storage and label with date; small jars cool faster and reduce risk of spoilage. The finished syrup should taste balanced, glossy, and true to the cherry character you started with.
Tips and Variations
I like to keep these tips close by when I make Whole Cherry Syrup. Small adjustments change the outcome in meaningful ways, so these variations help you tailor the syrup to your intended use. Below are practical suggestions I rely on regularly.
- Adjust sweetness: If your cherries are very sweet, reduce the sugar slightly and taste toward the end of cooking to avoid an overly cloying syrup.
- Control thickness: For a thinner syrup, stop cooking earlier; for a thicker syrup, extend the simmer time, watching closely to prevent burning.
- Strain for clarity: If you want a perfectly smooth, clear syrup, strain through a fine sieve or cheesecloth, pressing gently to extract as much liquid as possible.
- Small batch storage: Divide into small jars so you only thaw or open what you need, preserving the rest from repeated temperature changes.
- Use fresh fruit: Frozen cherries can work in a pinch, but fresh dark sweet cherries give the most vibrant color and aroma.
Best Served With
Whole Cherry Syrup is a friendly companion to a wide range of dishes and occasions. Its concentrated fruit flavor pairs well with breakfasts, desserts, and celebratory beverages, and it can be stored for later use. Below are serving ideas, pairing suggestions, and storage notes to help you make the most of every jar.
- Drizzle over yogurt or ice cream: Spoon warm or chilled syrup over plain yogurt or vanilla style frozen dessert for a burst of fruit and glossy finish.
- Mix into beverages: Stir a spoonful into sparkling water or iced tea to make a fruity refresher, adjusting sweetness to taste.
- Use as a glaze: Brush lightly on roasted fruit or desserts right before serving for shine and an extra layer of flavor.
- Breakfast topping: Serve with pancakes, waffles, or French toast in place of or alongside maple syrup for a seasonal twist.
- Gift jars: Fill small sterilized jars and label them for hostess gifts or seasonal presents, keeping them refrigerated until gifted.
- Storage tips: Keep refrigerated for up to three weeks, or freeze in small portions for up to six months, thawing overnight in the refrigerator.
- Occasions: Great for weekend brunches, summer gatherings, or adding a special touch to holiday desserts, especially during cherry season.
- Seasonal pairing: Best in summer when cherries are at peak ripeness, but frozen jars can bring back that flavor in winter months.
- Serving style: Serve warm for drizzling, or slightly chilled for a thicker, spoonable syrup that’s ideal for garnishing plates.
- Presentation: Use a small pouring vessel or spoon to control portions and create elegant drizzles on plated desserts.
FAQ
Conclusion
What makes this recipe special is how a handful of cherries and a little attention yield a concentrated syrup that brightens so many dishes. Try the recipe the next time cherries are abundant, and you will likely find yourself reaching for jars throughout the season. It’s an easy, rewarding way to capture summer flavor and share small moments of joy with friends and family.
Whole Cherry Syrup
Equipment
- Small Saucepan
- Wooden Spoon
- Fine sieve
- Measuring Cups
Ingredients
- 1/2 pound dark sweet cherries pitted Provide rich, ripe fruit flavor and color while offering natural sweetness and a slight tartness; pitting ensures a smooth syrup without bitter pits and allows the cherries to break down evenly when cooked, releasing juices and deepening the sauce's aroma.
- 1/2 cup water Bring necessary liquid to help dissolve sugar and create the syrup base; water helps control consistency and prevents scorching by allowing gentle simmering to extract fruit flavors and meld ingredients evenly.
- 1 cup sugar Supply the primary sweetening and preservative agent that balances cherry tartness and contributes to syrup body and mouthfeel; sugar also helps thicken the mixture as it reduces and promotes a glossy finish when cooled.
- 1 tablespoon butter Add richness and a silky mouthfeel while mellowing sharp edges of acidity; butter helps finish the syrup with a glossy sheen and smooth texture, enhancing flavor and preventing excessive foaming while cooking.
Instructions
- Bring cherries, water and sugar to a boil in a small saucepan. Reduce heat to a simmer and cook for 15-20 minutes, scraping the sides of the saucepan so crystals don’t form. Mix in the butter, remove from heat and serve.: The kitchen will fill with a sharp, fruity scent as the mixture heats, bright and immediate, and you will see bubbles form across the surface as the sugars dissolve. This initial heat helps the fruit release its juices quickly, which is essential for extracting concentrated flavor, and the visual cue to look for is a steady, rolling boil rather than a timid simmer. A common mistake at this stage is using too high a flame, which can scorch the sugars at the pan edges and create bitter notes. Keep the saucepan stable, swirled gently to dissolve the sugar, and scrape the sides as the crystals soften so nothing sticks. You'll notice the cherries beginning to soften within minutes and the color becoming more vibrant as fruit breaks down. The sound will shift from isolated pops to a continuous bubbling, and the aroma will deepen from fresh fruit to something more jam like.
- Reduce heat to a simmer and cook for 15 to 20 minutes, scraping the sides of the saucepan so crystals don’t form: At this stage the texture evolves slowly, and the simmering sound becomes gentler, almost whispering as the liquid reduces and concentrates. Simmering rather than boiling preserves bright fruit notes while allowing water to evaporate, thickening the syrup without burning. As you scrape the sides, you prevent grainy sugar from forming and ensure even caramelization on the bottom, which would otherwise create uneven flavor pockets. Keep an eye on the color shift toward a deeper red and the way viscosity increases, coating your spoon in a glossy film. If the mixture splatters, lower the heat; if it refuses to thicken after 20 minutes, increase the heat briefly while stirring constantly. One trap is walking away; even a short neglect can let the sugars stick and burn, which ruins the batch.
- Mix in the butter: When you pull the pan from the heat, the sound quiets, and steam rises in a fragrant plume. Adding the butter now enriches the syrup, smoothing edges and creating a luxurious sheen. Stir gently until the butter fully melts and emulsifies, noticing how the syrup becomes silkier and slightly more opaque. This step helps integrate fat into the sugar fruit matrix, rounding flavors and improving mouthfeel. Avoid reheating aggressively after adding butter, or it may break and separate, leaving oily streaks. If your butter does not incorporate smoothly, let the pan cool briefly and stir more slowly; overworking it at high temperature is the usual cause of separation. The aroma will mellow, and the syrup should drip in thick ribbons from your spoon when ready.
- Remove from heat and serve: After the final stir the room will relax into a soft, warm scent, and you can judge readiness by the syrup's flow. Properly made, it will coat a spoon and fall slowly in continuous ribbons. Serving while warm gives a fluid texture ideal for drizzling, while cooled syrup will be slightly thicker and stickier. Transfer to a clean jar if you plan to store it, leaving a small headspace for expansion if freezing. The main mistake here is letting it cool uncovered near drafts, which can encourage crystallization on the surface. Seal promptly for storage and label with date; small jars cool faster and reduce risk of spoilage. The finished syrup should taste balanced, glossy, and true to the cherry character you started with.
Notes
- Adjust sweetness: If your cherries are very sweet, reduce the sugar slightly and taste toward the end of cooking to avoid an overly cloying syrup.
- Control thickness: For a thinner syrup, stop cooking earlier; for a thicker syrup, extend the simmer time, watching closely to prevent burning.
- Strain for clarity: If you want a perfectly smooth, clear syrup, strain through a fine sieve or cheesecloth, pressing gently to extract as much liquid as possible.
- Small batch storage: Divide into small jars so you only thaw or open what you need, preserving the rest from repeated temperature changes.
- Use fresh fruit: Frozen cherries can work in a pinch, but fresh dark sweet cherries give the most vibrant color and aroma.