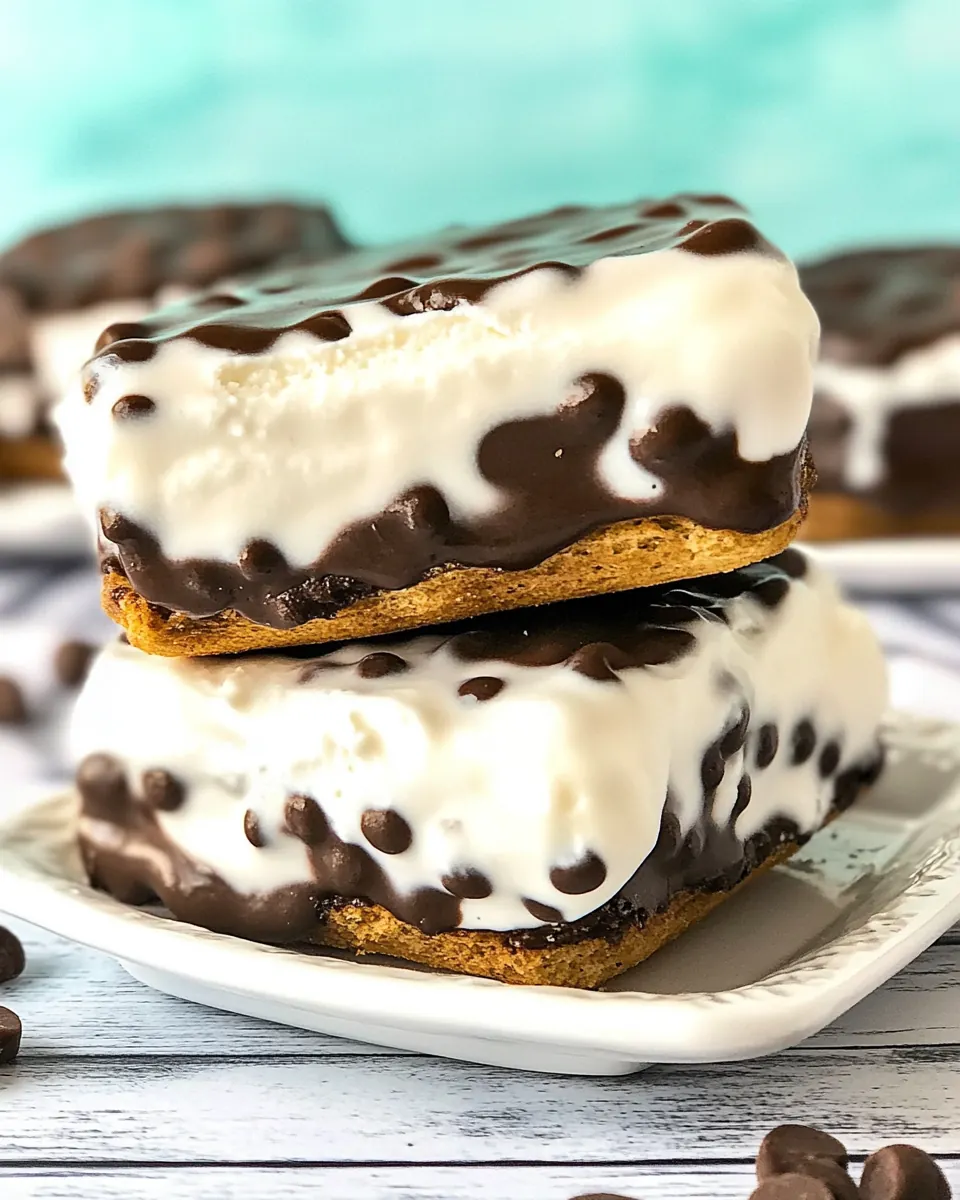
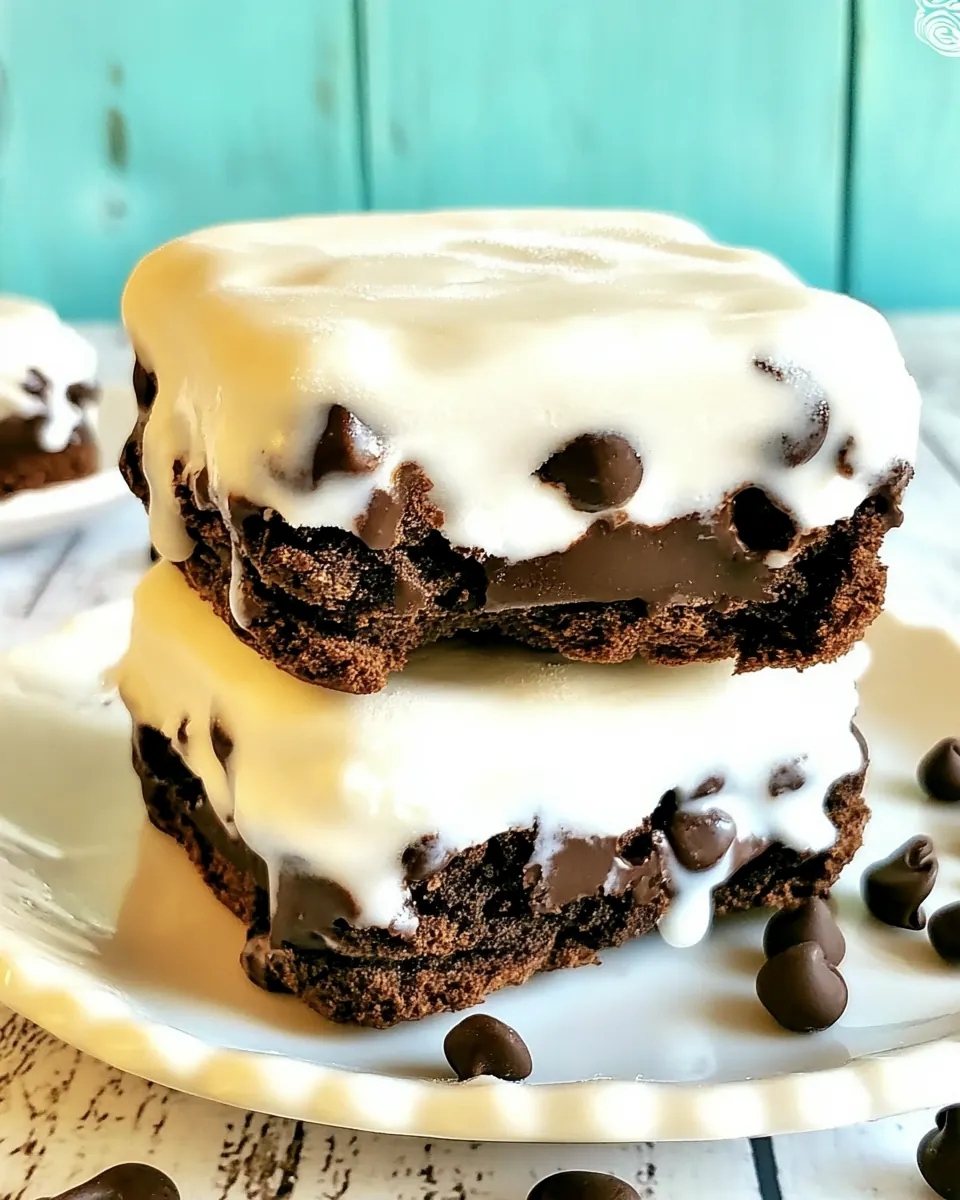
Copycat Ice Cream Sandwiches
Copycat Ice Cream Sandwiches are the kind of treat I reach for when I want something nostalgic yet impressively homemade. The first time I made these I remember juggling a tray full of warm cookies and a tub of softening ice cream, laughing at how something so simple could feel so celebratory. I grew up with store bought versions, but assembling these at home turned a quick craving into a small ritual, one that invited me to slow down and enjoy the craft of building a perfect bite.
On a sunlit afternoon I set up a little assembly line on my kitchen counter: a bowl of mini chocolate chips, cookies cooling on a rack, and a chilled container waiting in the freezer. I discovered little tricks that made all the difference, like rolling the edges in mini chocolate chips for texture and freezing each sandwich briefly before moving the batch. Those tiny steps changed the final mouthfeel from floppy to delightfully firm, and ever since then I make extra simply to tuck into the freezer for last minute guests or a personal late night indulgence.
Recipe Snapshot
35 mins
20 mins
15 mins
Medium
250 kcal
American
Keto, Gluten-Free
Desserts
Cookie sheet, Parchment paper, Shallow bowl, Airtight container
The Best Thing About This Copycat Ice Cream Sandwiches
Comfort That Feels Homemade
I love how Copycat Ice Cream Sandwiches take familiar flavors and make them feel handcrafted. The chewy face of a chocolate chip cookie paired with creamy ice cream is comforting in a way that hits childhood memories, yet the homemade touch makes it taste fresher and more personalized.
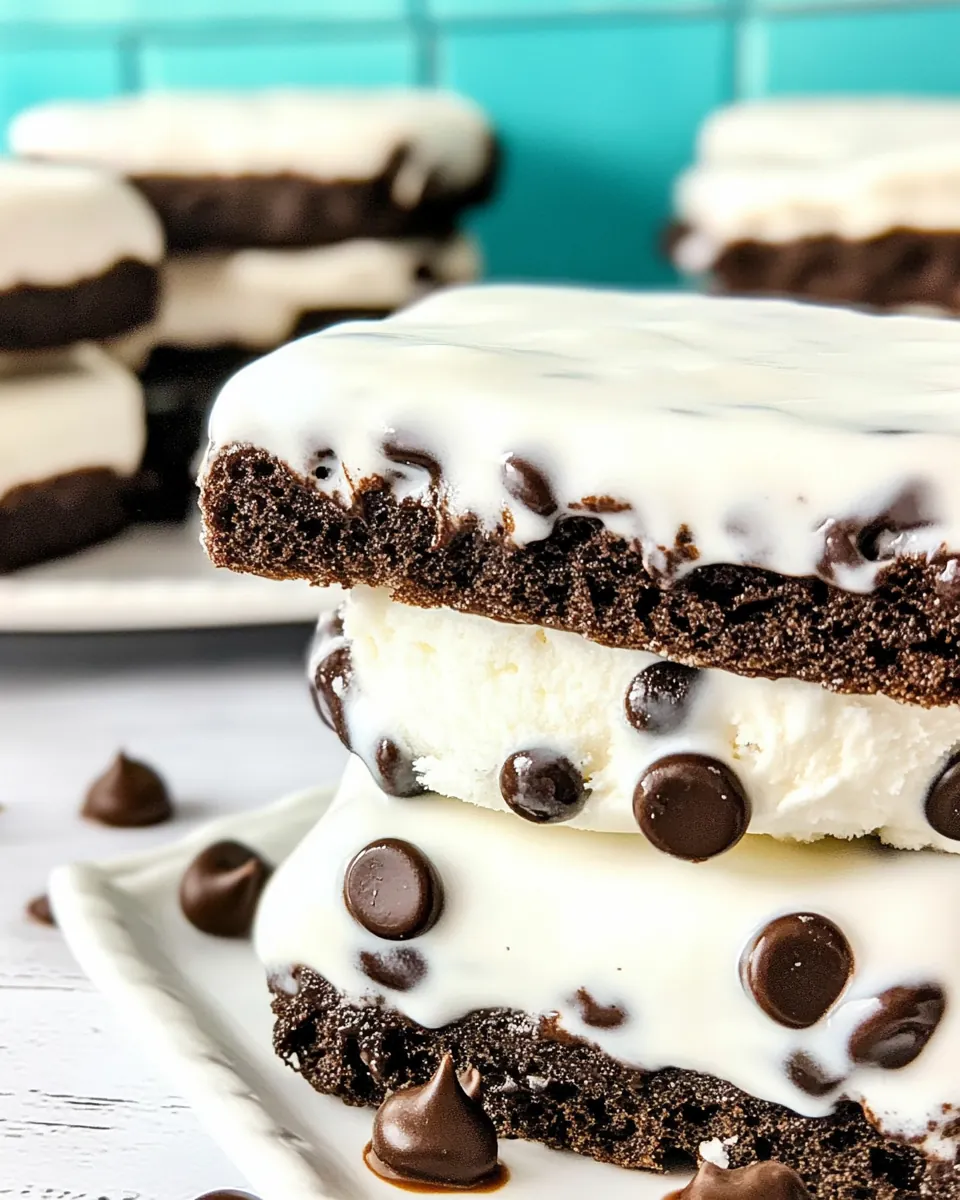
Textural Contrast in Every Bite
The secret joy here is contrast. When you bite into one of these, you get the slight crunch from the cookie edge, the soft chew in the center, and a cold, creamy middle from the ice cream. Rolling the edges in mini chocolate chips adds pops of chocolate and a pleasant crunch that lifts the whole experience.
Make Ahead Friendly
I appreciate recipes that reward a bit of planning, and these do exactly that. You can assemble a tray, freeze them solid, and then store them for weeks. That makes them perfect for impromptu visits, kids coming home from school, or a low effort dessert after dinner.
Flexible and Approachable
What I enjoy most is how approachable this recipe is. You do not need fancy tools, and the steps are forgiving. I often encourage friends to experiment with different cookie recipes or swap the ice cream flavor, but the base method always produces reliably delicious sandwiches.
Shareable Crowd Pleaser
Finally, these are ideal for gatherings. They scale neatly, and because you can freeze them, you get dessert ready ahead of time. I always find they disappear fast whenever I bring a platter to a summer get together.
What You Need for Copycat Ice Cream Sandwiches
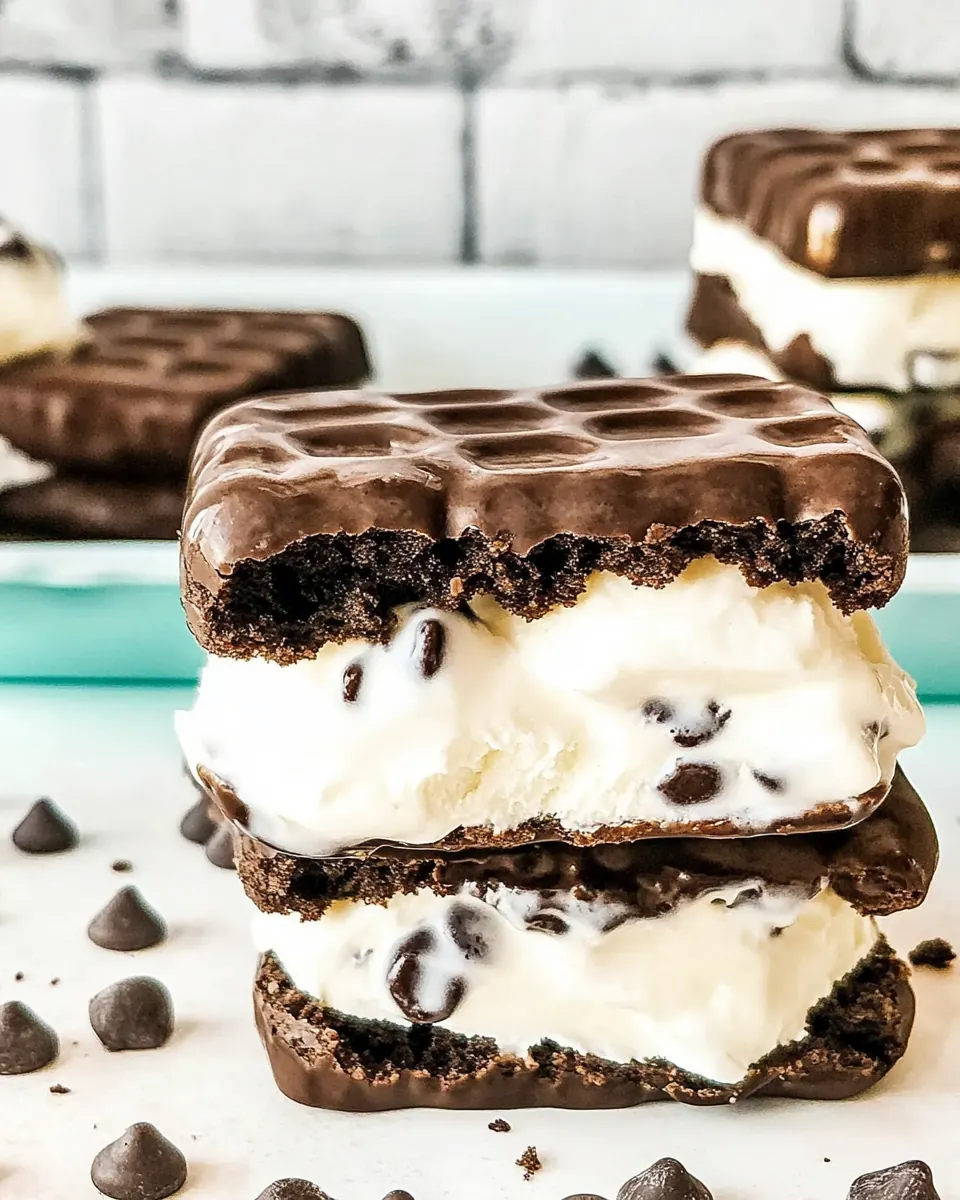
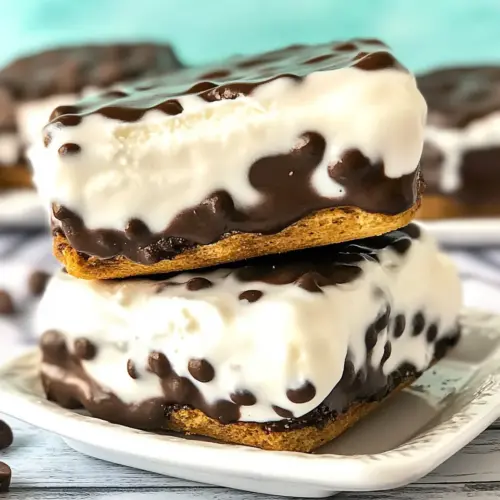
These ingredients form a short, harmonious lineup, each playing a clear role. The cookies provide structure and chew, the ice cream brings the creamy center and flavor, and the mini chocolate chips add texture and extra chocolate hits around the edges. Together they create a simple assembly that yields satisfying, make ahead treats.
- 24 chocolate chip cookies baked and cooled (see note): Baked and cooled to provide sturdy, flavorful sandwich shells that hold up to softened ice cream without becoming soggy; chocolate chips in the cookies add texture and extra chocolate flavor. Arrange cookies evenly to create uniform sandwiches and allow them to cool completely to prevent melting the ice cream during assembly.
- 3 cups vanilla ice cream: Vanilla ice cream serves as the creamy, sweet filling that contrasts the cookies and complements chocolate flavors; scooping while slightly softened makes spreading easier for neat, even sandwiches. Freeze assembled sandwiches briefly after filling to firm them up and preserve shape for serving.
- 2 cups (340 g) mini chocolate chips: Mini chocolate chips add concentrated bursts of chocolate and crunchy texture within the filling, distributing small pockets of chocolate throughout each sandwich. Fold chips into softened ice cream for even distribution, then quickly re-freeze to prevent chips from sinking and maintain an appealing bite.
Cooking Instructions for Copycat Ice Cream Sandwiches
Assembling these sandwiches is part construction, part sensory check in. The steps are straightforward but benefit from attention to texture and timing, especially when working with cold and slightly softened ice cream. Keep a tray in the freezer so each completed sandwich stays firm as you work.
- Allow ice cream to soften for 5-10 minutes, or until easily scoopable.: When the ice cream softens it becomes pliable and spreads smoothly without tearing the cookies. You will notice a glossy surface forming and a spoon should glide through with little resistance, that is the visual cue to begin. This stage prevents large icy chunks from forming in the sandwich, keeping the center creamy rather than gritty. A common mistake is letting it soften too long, which makes the ice cream runny and hard to handle, so check it frequently.
- Place a cookie sheet or container in freezer to place your ice cream sandwiches as you assemble them.: A cold surface helps each sandwich firm up quickly and hold its shape, and you will feel the temperature difference when you touch it, a sharp chill that tells you it is ready. This step matters because assembling directly on the counter can cause spreading and melting. Avoid stacking warm sandwiches on top of each other as they can fuse together, instead allow space on the frozen tray.
- Place chocolate chips in a shallow bowl.: Laying the mini chocolate chips in a shallow dish makes rolling the edges efficient and even, and you can see how much coating you are getting by the way the chips cling to the spoon. Use a bowl wide enough so the sandwich edge can be rolled without compressing the chips too much. If the chips are in a narrow container you risk uneven coverage, so transfer them to a plate if needed.
- Place half of cookies upside down on a cookie sheet covered with parchment or wax paper.: Lining the tray protects the bottoms of the sandwiches and makes cleanup simple, and turning the cookies upside down creates an even surface to support the ice cream . You will notice the cookie centers look slightly domed on the top side, so flipping them gives a flatter base for assembly. One frequent issue is placing cookies too close; leave a little space so the sandwiches do not touch as you freeze them.
- Working in batches of 2-3 cookies at a time, scoop 1/4 cups of ice cream on top of each cookie and sandwich with a second cookie. Roll each sandwich in the chocolate chips to adhere. Place in freezer.: Scooping consistent portions yields uniform sandwiches that freeze evenly, and the sound here is telling, a soft thud as the second cookie meets the ice cream and compresses it. The pressure should be firm enough to spread the ice cream to the edges but not so hard that the cookies crack. If you press too vigorously the cookies can break or the ice cream will ooze excessively, so use measured pressure and a steady hand.
- Continue until all sandwiches are assembled and in freezer. Freeze for at least 3 hours, or until firm.: Rolling the rim in the mini chocolate chips adds texture and seals the edge, and you should hear tiny clinks as chips embed into the cold ice cream . The chips should stick easily if the ice cream is soft but not melted, creating a visible speckled band around the sandwich. Do this soon after assembling so the chips adhere, and avoid pressing too hard which can flatten the sandwich or push out too much filling.
- Transfer to an airtight container and freeze for up to 3 months.: Moving the assembled sandwiches onto the chilled tray immediately chills the filling and sets the shape, and you can feel the cold bite when you touch one briefly to test firmness. This rapid cooldown limitsthe migration of moisture from the ice cream into the cookie, preserving texture contrast. A typical error is crowding the tray which slows freezing and causes sandwiches to lose their neat edges, so give each sandwich breathing room.
- Continue until all sandwiches are assembled and in freezer: Working steadily in batches keeps the ice cream at an optimal consistency, and you will notice the rhythm of scooping, pressing, and rolling becomes quicker as you go. Keep unused cookies covered to prevent them from drying out, and if the ice cream begins to refreeze too hard periodically let it soften slightly between batches. Do not try to speed the process by using warmer ice cream , as that harms texture.
- Freeze for at least 3 hours, or until firm: A full freeze ensures the center is solid enough to hold up in storage and when eaten, and you will see the surface go from glossy to matte as the temperature drops. This stage also helps the mini chocolate chips set into the rim, preventing them from falling off during storage. Rushing this step leads to sandwiches that collapse or weep when handled, so plan for adequate freeze time.
- Transfer to an airtight container and freeze for up to 3 months: Storing in a sealed container protects the sandwiches from freezer burn and off flavors, and you will appreciate the convenience of pulling one out whenever you want a treat. For best texture, let a frozen sandwich rest at room temperature for a few minutes before eating so the ice cream softens slightly, but do not leave it out long enough to melt. Be careful when stacking, place parchment between layers to prevent sticking.
Pro Tips and Tweaks
These pro tips will help you perfect texture, speed up assembly, and adapt the recipe to your pantry. I often rely on a few small tricks that make a big difference when I’m prepping a large batch.
- Soften ice cream intentionally This lets you shape and smooth the filling without creating icy pockets, aim for a scoopable but still cold consistency.
- Use room temperature cookies briefly If cookies are too cold they can make the ice cream harden unevenly, while very warm cookies will melt the filling.
- Freeze the tray ahead of time A frozen surface prevents early melting and helps every sandwich set quickly, streamlining the process.
- Choose mini chips for coating Their small size ensures even coverage and a pleasant crunch without overwhelming the bite.
- Label and date your storage container Frozen sandwiches stay best for up to three months, so dating helps you rotate stock and enjoy them at peak quality.
What to Pair With Copycat Ice Cream Sandwiches
These sandwiches are inherently dessert focused, but they pair beautifully with beverages and light accompaniments. Whether you serve them for an afternoon snack, at a summer barbecue, or as a sweet finish to a casual dinner, choose pairings that highlight the cold creamy center and the cookie base.
- Chilled milk A classic companion to ice cream sandwiches, milk complements the cookie and chocolate, making it ideal for kids or a nostalgic treat.
- Fresh fruit platter Serve sliced seasonal fruit alongside to add bright acidity that balances the richness of the ice cream.
- After dinner dessert Present them on a platter after a relaxed meal, they work well for casual gatherings and easy entertaining.
- Party favor setup Individually wrap sandwiches for a take home treat at birthday parties or celebrations, they travel well when frozen solid.
- Storage tip Keep in an airtight, labeled container and place parchment between layers to prevent sticking, thaw for a few minutes before serving for optimal texture.
FAQ
Conclusion
These Copycat Ice Cream Sandwiches are special because they combine simple ingredients into a nostalgic, homemade treat with delightful texture contrast. Give them a try when you want an easy, make ahead dessert that feels both comforting and celebratory. They are forgiving to assemble, store beautifully, and are ideal for sharing with friends or saving for a solo indulgence. Have fun with flavors, keep your workspace chilled, and enjoy the little ritual of creating each perfect sandwich.
Copycat Ice Cream Sandwiches
Equipment
- Cookie Sheet
- Parchment Paper
- Shallow Bowl
- Airtight Container
Ingredients
- 24 chocolate chip cookies baked and cooled (see note) Baked and cooled to provide sturdy, flavorful sandwich shells that hold up to softened ice cream without becoming soggy; chocolate chips in the cookies add texture and extra chocolate flavor. Arrange cookies evenly to create uniform sandwiches and allow them to cool completely to prevent melting the ice cream during assembly.
- 3 cups vanilla ice cream Vanilla ice cream serves as the creamy, sweet filling that contrasts the cookies and complements chocolate flavors; scooping while slightly softened makes spreading easier for neat, even sandwiches. Freeze assembled sandwiches briefly after filling to firm them up and preserve shape for serving.
- 2 cups (340 g) mini chocolate chips Mini chocolate chips add concentrated bursts of chocolate and crunchy texture within the filling, distributing small pockets of chocolate throughout each sandwich. Fold chips into softened ice cream for even distribution, then quickly re-freeze to prevent chips from sinking and maintain an appealing bite.
Instructions
- Allow ice cream to soften for 5-10 minutes, or until easily scoopable.: When the ice cream softens it becomes pliable and spreads smoothly without tearing the cookies. You will notice a glossy surface forming and a spoon should glide through with little resistance, that is the visual cue to begin. This stage prevents large icy chunks from forming in the sandwich, keeping the center creamy rather than gritty. A common mistake is letting it soften too long, which makes the ice cream runny and hard to handle, so check it frequently.
- Place a cookie sheet or container in freezer to place your ice cream sandwiches as you assemble them.: A cold surface helps each sandwich firm up quickly and hold its shape, and you will feel the temperature difference when you touch it, a sharp chill that tells you it is ready. This step matters because assembling directly on the counter can cause spreading and melting. Avoid stacking warm sandwiches on top of each other as they can fuse together, instead allow space on the frozen tray.
- Place chocolate chips in a shallow bowl.: Laying the mini chocolate chips in a shallow dish makes rolling the edges efficient and even, and you can see how much coating you are getting by the way the chips cling to the spoon. Use a bowl wide enough so the sandwich edge can be rolled without compressing the chips too much. If the chips are in a narrow container you risk uneven coverage, so transfer them to a plate if needed.
- Place half of cookies upside down on a cookie sheet covered with parchment or wax paper.: Lining the tray protects the bottoms of the sandwiches and makes cleanup simple, and turning the cookies upside down creates an even surface to support the ice cream . You will notice the cookie centers look slightly domed on the top side, so flipping them gives a flatter base for assembly. One frequent issue is placing cookies too close; leave a little space so the sandwiches do not touch as you freeze them.
- Working in batches of 2-3 cookies at a time, scoop 1/4 cups of ice cream on top of each cookie and sandwich with a second cookie. Roll each sandwich in the chocolate chips to adhere. Place in freezer.: Scooping consistent portions yields uniform sandwiches that freeze evenly, and the sound here is telling, a soft thud as the second cookie meets the ice cream and compresses it. The pressure should be firm enough to spread the ice cream to the edges but not so hard that the cookies crack. If you press too vigorously the cookies can break or the ice cream will ooze excessively, so use measured pressure and a steady hand.
- Continue until all sandwiches are assembled and in freezer. Freeze for at least 3 hours, or until firm.: Rolling the rim in the mini chocolate chips adds texture and seals the edge, and you should hear tiny clinks as chips embed into the cold ice cream . The chips should stick easily if the ice cream is soft but not melted, creating a visible speckled band around the sandwich. Do this soon after assembling so the chips adhere, and avoid pressing too hard which can flatten the sandwich or push out too much filling.
- Transfer to an airtight container and freeze for up to 3 months.: Moving the assembled sandwiches onto the chilled tray immediately chills the filling and sets the shape, and you can feel the cold bite when you touch one briefly to test firmness. This rapid cooldown limitsthe migration of moisture from the ice cream into the cookie, preserving texture contrast. A typical error is crowding the tray which slows freezing and causes sandwiches to lose their neat edges, so give each sandwich breathing room.
- Continue until all sandwiches are assembled and in freezer: Working steadily in batches keeps the ice cream at an optimal consistency, and you will notice the rhythm of scooping, pressing, and rolling becomes quicker as you go. Keep unused cookies covered to prevent them from drying out, and if the ice cream begins to refreeze too hard periodically let it soften slightly between batches. Do not try to speed the process by using warmer ice cream , as that harms texture.
- Freeze for at least 3 hours, or until firm: A full freeze ensures the center is solid enough to hold up in storage and when eaten, and you will see the surface go from glossy to matte as the temperature drops. This stage also helps the mini chocolate chips set into the rim, preventing them from falling off during storage. Rushing this step leads to sandwiches that collapse or weep when handled, so plan for adequate freeze time.
- Transfer to an airtight container and freeze for up to 3 months: Storing in a sealed container protects the sandwiches from freezer burn and off flavors, and you will appreciate the convenience of pulling one out whenever you want a treat. For best texture, let a frozen sandwich rest at room temperature for a few minutes before eating so the ice cream softens slightly, but do not leave it out long enough to melt. Be careful when stacking, place parchment between layers to prevent sticking.
Notes
- Soften ice cream intentionally This lets you shape and smooth the filling without creating icy pockets, aim for a scoopable but still cold consistency.
- Use room temperature cookies briefly If cookies are too cold they can make the ice cream harden unevenly, while very warm cookies will melt the filling.
- Freeze the tray ahead of time A frozen surface prevents early melting and helps every sandwich set quickly, streamlining the process.
- Choose mini chips for coating Their small size ensures even coverage and a pleasant crunch without overwhelming the bite.
- Label and date your storage container Frozen sandwiches stay best for up to three months, so dating helps you rotate stock and enjoy them at peak quality.