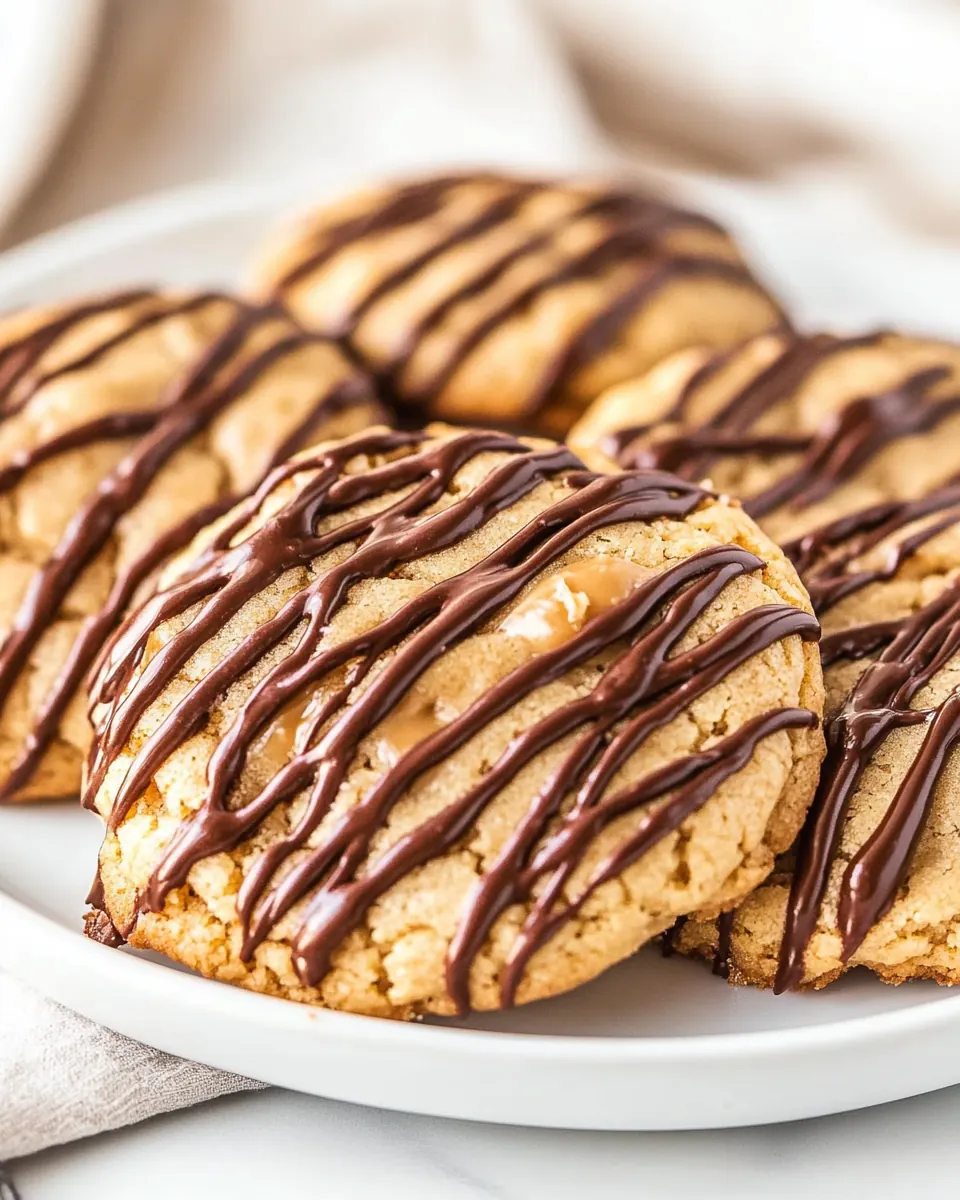
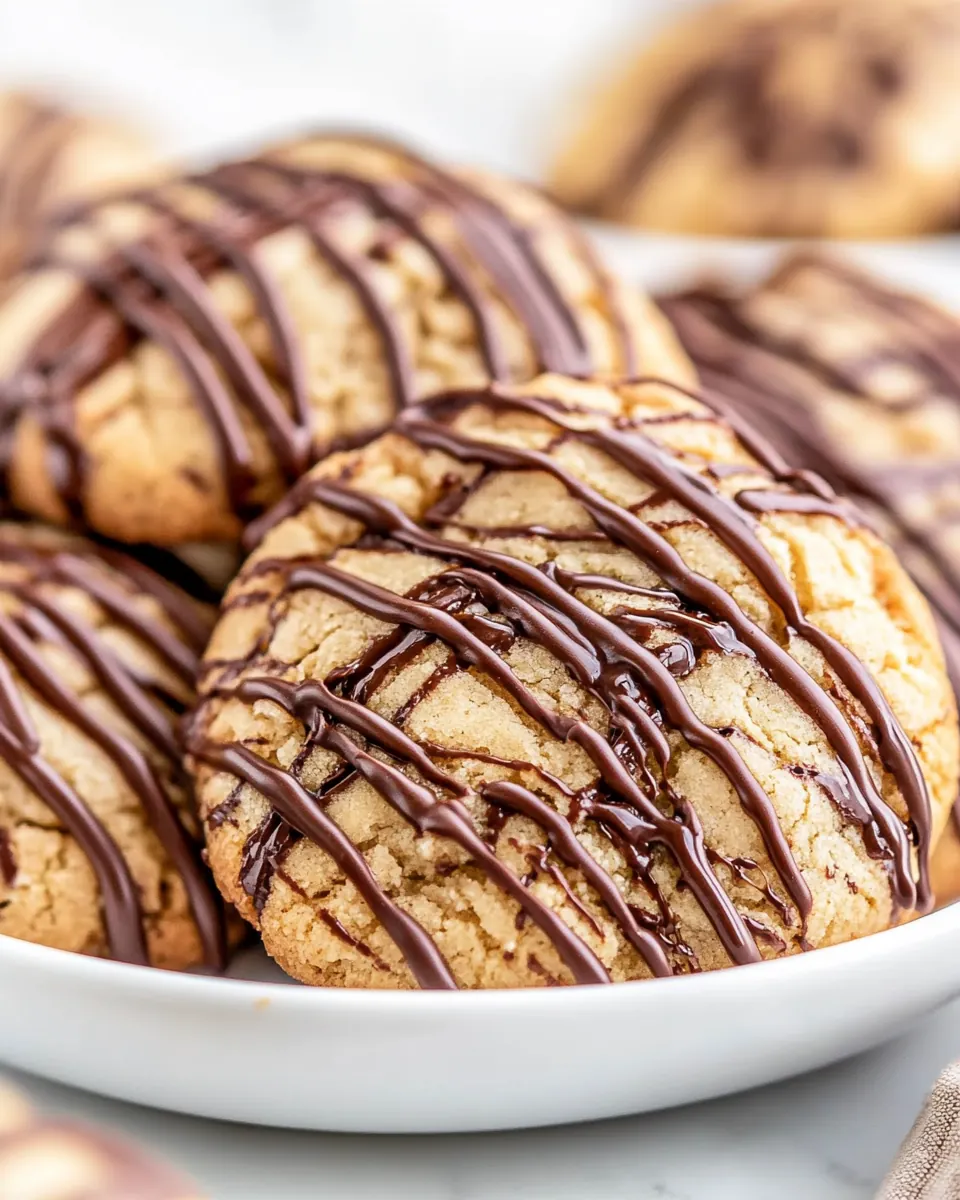
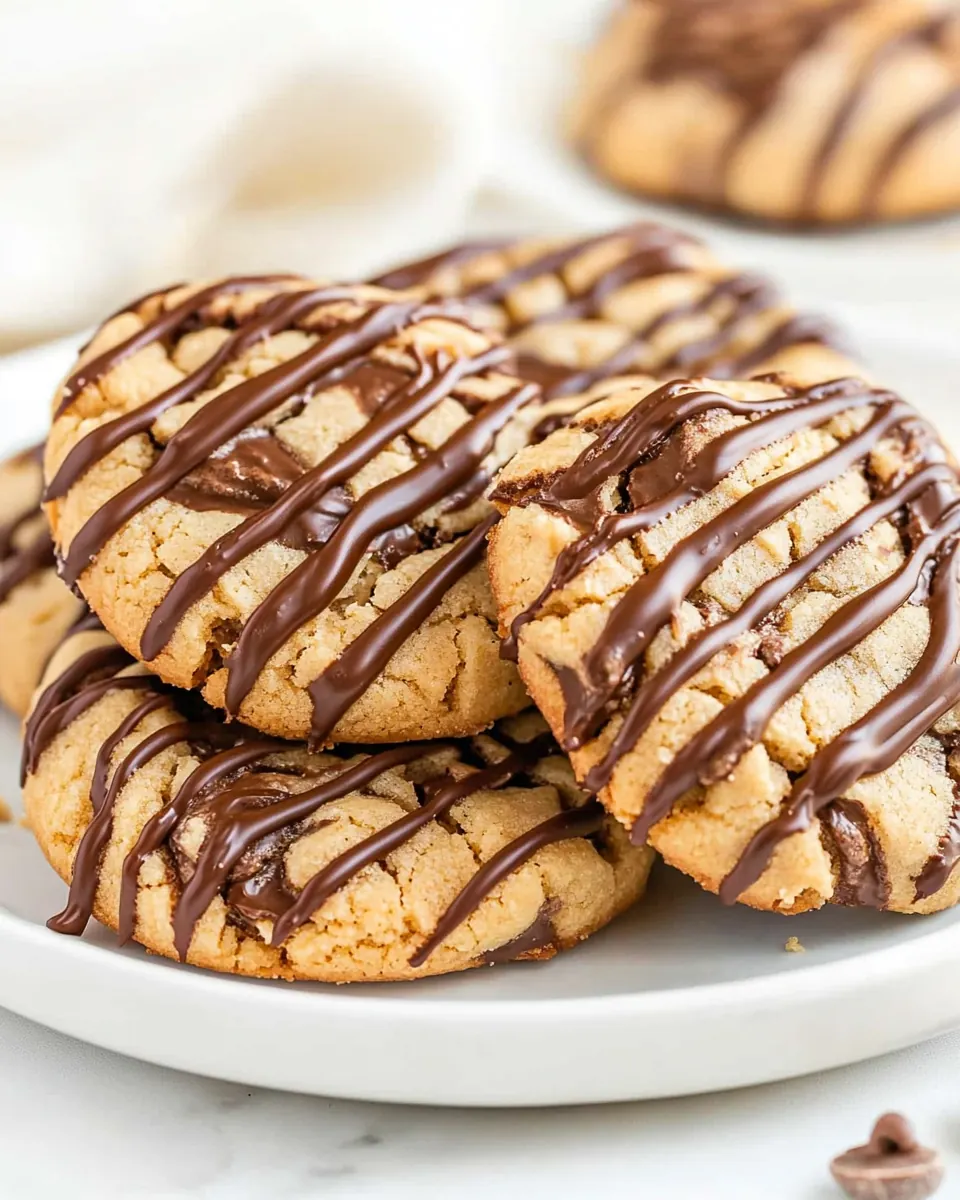
Chocolate Drizzled Peanut Butter Cookies
Chocolate Drizzled Peanut Butter Cookies started showing up in my life on slow Sunday afternoons, the sort where the kitchen fills with warm, nutty aromas and I let the radio play softly in the background. I remember grabbing a jar of peanut butter because I wanted something quick, comforting, and slightly nostalgic. A simple dough came together in minutes, and I found myself smiling at how a few pantry staples could turn into tiny rounds of joy, each one begging for a drizzle of milk chocolate chips melted down into glossy ribbons.
Over the years I refined the texture, played with chilling times, and learned how a touch of salted butter balances the sweetness without stealing the spotlight. When guests arrive, I often hide a batch in plain sight and watch as they reach for one, then another, drawn to that soft chew and the snap of cooled chocolate. These cookies feel like a hug, and I love sharing them because they travel well, they freeze beautifully, and they pair with so many moments, from hurried school mornings to relaxed coffee breaks with a friend.
Recipe Snapshot
41 mins
30 mins
11 mins
Easy
150 kcal
American
Gluten-Free, Low FODMAP
Desserts
Electric mixer, Baking sheet, Parchment paper, Mixing bowls, Cookie scoop, Cooling rack, Microwave safe bowl, Piping bag or sandwich bag
Why This Chocolate Drizzled Peanut Butter Cookies Is a Winner
Comfort with a Twist
I adore Chocolate Drizzled Peanut Butter Cookies because they combine two beloved flavors in a way that feels both familiar and elevated. The peanut butter offers a creamy, savory backbone while the milk chocolate chips add a sweet, glossy finish. I often say these cookies hit that perfect balance between homey and just a little fancy, so they work for everyday treats and small celebrations.
Simple Ingredients, Big Impact
One thing I repeatedly appreciate is how few ingredients are needed to create something memorable. With basic staples like all purpose flour, baking powder, and sugars, you get a tender crumb and pleasant chew. When I whip these up, I like to emphasize technique over exotic additions, because the right method makes every ingredient sing.
Fast Rewards
These cookies are wonderfully forgiving. I can mix the dough, chill it briefly, and have warm cookies within an hour. That quick turnaround is a lifesaver when I need a last minute dessert or a thoughtful homemade gift. The chilling step is my secret for controlled spread and consistent texture, and it lets me manage the process without rushing.
Textural Contrast
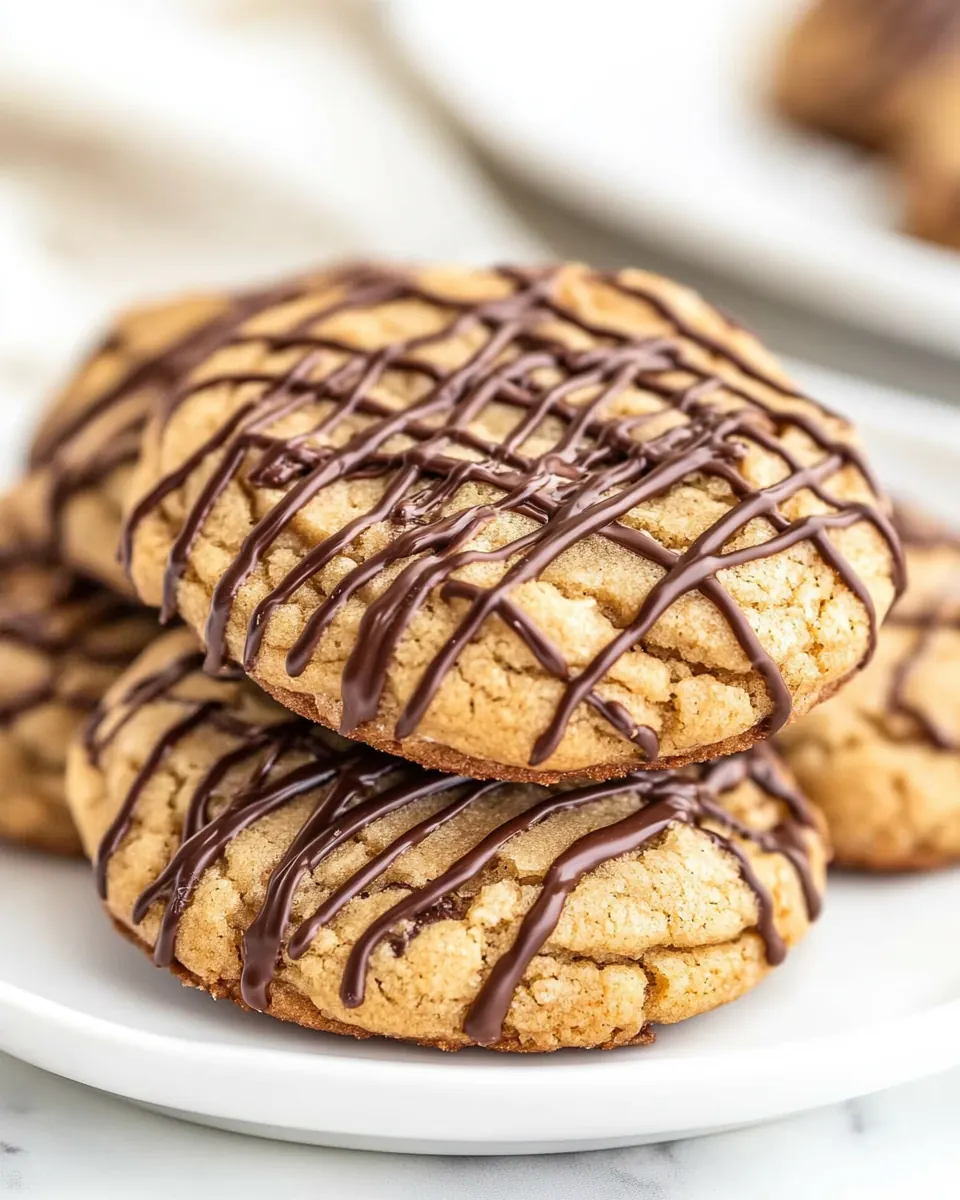
What keeps me coming back is the contrast the recipe achieves. The center remains soft and slightly chewy, while the edges get a gentle crisp. Then the milk chocolate chips drizzle harden into a delicate shell, providing a satisfying snap. I think that interplay of textures makes every bite interesting.
Versatility and Nostalgia
Finally, I treasure how adaptable these cookies are. I sometimes make them as classic peanut butter cookies by forgoing the drizzle, or I change the presentation depending on the occasion. They remind me of childhood kitchens and grown up gatherings at once, and that layered nostalgia is one reason they always feel special to serve.
Main Ingredients for Chocolate Drizzled Peanut Butter Cookies
These ingredients are the heart of the cookie, chosen to create a balance of tenderness, chew, and rich flavor. The philosophy is simple: a sturdy dry base supports the rich peanut butter, while sugars and butter create the right caramelized notes. The chocolate on top adds shine and sweetness, transforming a humble cookie into something that looks and tastes celebratory.
- 1 1/2 cups all purpose flour: Provide structure and bulk to the cookies; sifts and combines with leavening for even texture. Ensures proper crumb and helps absorb fats and liquids for a tender bite.
- 1 teaspoon baking powder: Leaven gently to give cookies slight lift and a tender crumb; mixes into the flour for uniform rise. Balances density so cookies are not overly flat while maintaining chewiness.
- 1/2 cup (1 stick) salted butter, at room temperature: Cream to add richness and contribute to a tender, flaky texture; helps incorporate air when beaten with sugars. Provides flavor depth and a buttery mouthfeel to complement peanut butter.
- 1/2 cup packed light brown sugar: Sweeten and add moisture while contributing a deep, caramel-like flavor from molasses; helps retain chewiness in the cookie. Dissolves into fat to create a soft, slightly sticky texture.
- 1/2 cup granulated white sugar: Sweeten and promote spread by melting into butter during baking; contributes crisp edges and a clean sweet profile. Balances the brown sugar’s molasses notes and helps tenderize the dough.
- 1 cup creamy or chunky peanut butter: Bind and flavor the dough while contributing fat and protein for chewiness and richness; peanut character defines the cookie’s savory-sweet profile. Versatile texture (creamy or chunky) affects final crumb and mouthfeel.
- 1 large egg: Bind and add moisture while helping with structure through coagulation during baking; contributes richness and helps set the cookie’s interior. Promotes even browning and improves overall texture.
- 1 1/2 teaspoons vanilla extract: Flavor and aroma enhancer that rounds out sweetness and highlights peanut and chocolate notes; a small amount brightens the dough. Blends into wet ingredients to evenly distribute flavor.
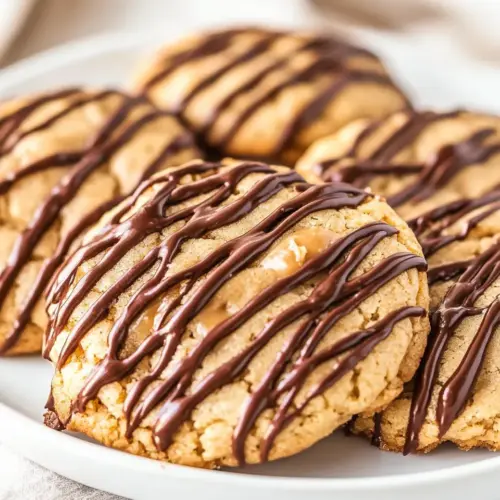
- 6 ounces milk chocolate chips: Melt and drizzle to add a sweet, glossy finish and additional chocolate flavor; can be melted and piped or drizzled over cooled cookies. Provides textural contrast and a rich, creamy topping that complements peanut butter.
How to Prepare Chocolate Drizzled Peanut Butter Cookies
These directions are easy to follow, and I like to walk through them as a relaxed ritual rather than a chore. The process rewards attention to texture, from creaming to chilling to baking, so take your time and listen to the dough. You’ll notice clear visual and sensory cues at each stage that tell you when you’re on track.
- Preheat the oven to 375 degrees F. Line baking sheets with parchment paper.: The kitchen will fill with a faint warm scent as the oven climbs toward 375 degrees F , and that rising heat prepares the metal so cookies set immediately on contact. I always line sheets with parchment paper to prevent sticking and to promote even browning. A common mistake is putting cold dough on a cold pan, which can cause excess spread, so pre-heated pans help achieve consistent edges. Listen for the faint click of the oven thermostat cycling as the temp stabilizes.
- In a small bowl, whisk together the flour and baking powder.: When you combine all purpose flour and baking powder , you should see a pale, sandy texture with no visible clumps, and a faint dusty aroma of flour. Whisking aerates this mix, which promotes an even lift in the cookies. If you skip whisking, pockets of baking powder can cause uneven rise. I also sniff for stale flour as a quick quality check; fresh flour should smell neutral and not musty.
- In a large bowl, use an electric mixer to combine the butter with the brown sugar and white sugar until creamy. Add the peanut butter, egg and vanilla and continue to mix for 1 to 2 minutes. Add the dry ingredients a little at a time until well-combined. Cover the bowl and refrigerate the dough for at least 30 minutes.: As you beat the butter and sugars, watch the mixture transform from grainy to pale and creamy, with a light, slightly aerated texture that smells buttery and sweet. Folding in peanut butter gives the batter a glossy, nutty sheen, while the egg helps it become cohesive. Adding the dry mix gradually prevents a floury dust cloud and ensures the dough is uniformly hydrated. Chilling firms the dough, improving shape retention during baking and concentrating flavors. A common pitfall is underchilling, which yields flat cookies, or overchilling, which makes scooping difficult. While chilling, I usually clean my workspace and prepare the baking sheets.
- Use a cookie scoop to scoop chilled dough onto a baking sheet. Bake 9 to 11 minutes, until the cookies are lightly browned around the edges. Let the cookies sit on the baking sheet for a few minutes, and then move the cookies to a cooling rack to cool completely.: When you portion dough with a scoop, you get uniformly sized cookies that bake evenly and present nicely, and the cooled dough will feel slightly firm to the touch. As the cookies bake, they will expand and the edges will take on a soft golden tint while the centers remain paler and tender. Remove them when the edges show light color, since carryover heat on the sheet finishes the centers without overbaking. Leaving them on the hot sheet for a couple of minutes helps set the base, avoiding breakage when transferred. A frequent error is baking too long; that robs chew and yields a dry interior.
- Heat the chocolate in a glass bowl in the microwave in small bursts (stirring along the way) until the chocolate is melted and smooth. Slide wax paper underneath the cooling rack. Add the melted chocolate to a piping bag or a sandwich-sized zip baggie. Snip the corner. Drizzle chocolate on the tops of the cookies in a decorative fashion. Refrigerate the cookies or let them sit until the chocolate is set and has hardened.: Melting milk chocolate chips gradually in short microwave bursts results in a glossy, silky chocolate that smells sweet and milky, and stirs to a smooth ribbon that drips with sheen. Placing wax paper under the rack catches any drips and keeps your counter tidy. When you drizzle, aim for fluid, confident motions to create delicate lines, and watch the chocolate cool into a shiny shell that adds both texture and visual appeal. Chill briefly to firm the chocolate if you want a clean snap, but be careful not to condense moisture on the surface. A common misstep is overheating the chocolate, which can seize and become grainy; if that happens, a small amount of neutral oil can sometimes bring it back together.
Tips and Variations
I like to offer a handful of variations to tailor the cookies to mood and pantry. These tips cover texture, presentation, and small swaps that keep the spirit of the recipe intact while offering new experiences.
- Make them peanut butter only: Skip the chocolate drizzle and press a criss-cross fork pattern on each dough ball before baking for a traditional look and rustic texture.
- Chunky or creamy: Use chunky peanut butter for extra nutty bites or creamy for a silken interior, both yield great results depending on your texture preference.
- Chill longer for neater cookies: If you want perfectly rounded cookies with minimal spread, chill the dough for up to 2 hours before scooping and baking.
- Warm the chocolate gently: Use short, 15 second bursts in the microwave and stir often to ensure a smooth milk chocolate chips drizzle without seizing.
- Freeze for future batches: Portion the dough into scoops and freeze on a tray, then transfer to a bag; bake straight from frozen adding a couple of minutes to the time for fresh cookies anytime.
What to Pair With Chocolate Drizzled Peanut Butter Cookies
These cookies are versatile and pair well with simple accompaniments. Think casual gatherings, coffee breaks, childrens lunchboxes, or after-dinner treats. The pairing suggestions below include serving ideas, occasions, and storage tips to help you present the cookies naturally and attractively.
- Casual beverage pairing: Serve with a cold glass of milk or a cup of coffee for a classic duo where the creamy peanut butter and sweet milk chocolate chips complement the drink.
- Party platter: Add these cookies to a dessert board with fresh fruit and simple biscuits for variety; they work well as a sweet anchor on mixed platters during gatherings or celebrations.
- Gifting idea: Stack cooled cookies in a decorative tin or cellophane bag with a ribbon for a thoughtful homemade gift for neighbors or hosts during informal visits.
- Storage tips: Store at room temperature in an airtight container for up to 4 days, or freeze fully baked cookies for up to 2 months; thaw at room temperature for best texture.
- Occasions: Great for school lunches, potluck desserts, cozy weekend baking, and casual tea times; their approachable flavor profile makes them suitable year round.
FAQ
Conclusion
These Chocolate Drizzled Peanut Butter Cookies shine because they balance creamy peanut flavor with a sweet, glossy chocolate finish and a tender, slightly chewy texture. Give them a try the next time you want a reliable, crowd pleasing treat, whether for a casual snack or a small celebration. Baking them is a comforting ritual, and I hope you enjoy sharing the results with friends and family as much as I do.
Chocolate Drizzled Peanut Butter Cookies
Equipment
- Electric Mixer
- Baking Sheet
- Parchment Paper
- Mixing Bowls
- Cookie Scoop
- Cooling rack
- Microwave-safe Bowl
- Piping bag or sandwich bag
Ingredients
- 1 1/2 cups all purpose flour Provide structure and bulk to the cookies; sifts and combines with leavening for even texture. Ensures proper crumb and helps absorb fats and liquids for a tender bite.
- 1 teaspoon baking powder Leaven gently to give cookies slight lift and a tender crumb; mixes into the flour for uniform rise. Balances density so cookies are not overly flat while maintaining chewiness.
- 1/2 cup (1 stick) salted butter, at room temperature Cream to add richness and contribute to a tender, flaky texture; helps incorporate air when beaten with sugars. Provides flavor depth and a buttery mouthfeel to complement peanut butter.
- 1/2 cup packed light brown sugar Sweeten and add moisture while contributing a deep, caramel-like flavor from molasses; helps retain chewiness in the cookie. Dissolves into fat to create a soft, slightly sticky texture.
- 1/2 cup granulated white sugar Sweeten and promote spread by melting into butter during baking; contributes crisp edges and a clean sweet profile. Balances the brown sugar’s molasses notes and helps tenderize the dough.
- 1 cup creamy or chunky peanut butter Bind and flavor the dough while contributing fat and protein for chewiness and richness; peanut character defines the cookie’s savory-sweet profile. Versatile texture (creamy or chunky) affects final crumb and mouthfeel.
- 1 large egg Bind and add moisture while helping with structure through coagulation during baking; contributes richness and helps set the cookie’s interior. Promotes even browning and improves overall texture.
- 1 1/2 teaspoons vanilla extract Flavor and aroma enhancer that rounds out sweetness and highlights peanut and chocolate notes; a small amount brightens the dough. Blends into wet ingredients to evenly distribute flavor.
- 6 ounces milk chocolate chips Melt and drizzle to add a sweet, glossy finish and additional chocolate flavor; can be melted and piped or drizzled over cooled cookies. Provides textural contrast and a rich, creamy topping that complements peanut butter.
Instructions
- Preheat the oven to 375 degrees F. Line baking sheets with parchment paper.: The kitchen will fill with a faint warm scent as the oven climbs toward 375 degrees F , and that rising heat prepares the metal so cookies set immediately on contact. I always line sheets with parchment paper to prevent sticking and to promote even browning. A common mistake is putting cold dough on a cold pan, which can cause excess spread, so pre-heated pans help achieve consistent edges. Listen for the faint click of the oven thermostat cycling as the temp stabilizes.
- In a small bowl, whisk together the flour and baking powder.: When you combine all purpose flour and baking powder , you should see a pale, sandy texture with no visible clumps, and a faint dusty aroma of flour. Whisking aerates this mix, which promotes an even lift in the cookies. If you skip whisking, pockets of baking powder can cause uneven rise. I also sniff for stale flour as a quick quality check; fresh flour should smell neutral and not musty.
- In a large bowl, use an electric mixer to combine the butter with the brown sugar and white sugar until creamy. Add the peanut butter, egg and vanilla and continue to mix for 1 to 2 minutes. Add the dry ingredients a little at a time until well-combined. Cover the bowl and refrigerate the dough for at least 30 minutes.: As you beat the butter and sugars, watch the mixture transform from grainy to pale and creamy, with a light, slightly aerated texture that smells buttery and sweet. Folding in peanut butter gives the batter a glossy, nutty sheen, while the egg helps it become cohesive. Adding the dry mix gradually prevents a floury dust cloud and ensures the dough is uniformly hydrated. Chilling firms the dough, improving shape retention during baking and concentrating flavors. A common pitfall is underchilling, which yields flat cookies, or overchilling, which makes scooping difficult. While chilling, I usually clean my workspace and prepare the baking sheets.
- Use a cookie scoop to scoop chilled dough onto a baking sheet. Bake 9 to 11 minutes, until the cookies are lightly browned around the edges. Let the cookies sit on the baking sheet for a few minutes, and then move the cookies to a cooling rack to cool completely.: When you portion dough with a scoop, you get uniformly sized cookies that bake evenly and present nicely, and the cooled dough will feel slightly firm to the touch. As the cookies bake, they will expand and the edges will take on a soft golden tint while the centers remain paler and tender. Remove them when the edges show light color, since carryover heat on the sheet finishes the centers without overbaking. Leaving them on the hot sheet for a couple of minutes helps set the base, avoiding breakage when transferred. A frequent error is baking too long; that robs chew and yields a dry interior.
- Heat the chocolate in a glass bowl in the microwave in small bursts (stirring along the way) until the chocolate is melted and smooth. Slide wax paper underneath the cooling rack. Add the melted chocolate to a piping bag or a sandwich-sized zip baggie. Snip the corner. Drizzle chocolate on the tops of the cookies in a decorative fashion. Refrigerate the cookies or let them sit until the chocolate is set and has hardened.: Melting milk chocolate chips gradually in short microwave bursts results in a glossy, silky chocolate that smells sweet and milky, and stirs to a smooth ribbon that drips with sheen. Placing wax paper under the rack catches any drips and keeps your counter tidy. When you drizzle, aim for fluid, confident motions to create delicate lines, and watch the chocolate cool into a shiny shell that adds both texture and visual appeal. Chill briefly to firm the chocolate if you want a clean snap, but be careful not to condense moisture on the surface. A common misstep is overheating the chocolate, which can seize and become grainy; if that happens, a small amount of neutral oil can sometimes bring it back together.
Notes
- Make them peanut butter only: Skip the chocolate drizzle and press a criss-cross fork pattern on each dough ball before baking for a traditional look and rustic texture.
- Chunky or creamy: Use chunky peanut butter for extra nutty bites or creamy for a silken interior, both yield great results depending on your texture preference.
- Chill longer for neater cookies: If you want perfectly rounded cookies with minimal spread, chill the dough for up to 2 hours before scooping and baking.
- Warm the chocolate gently: Use short, 15 second bursts in the microwave and stir often to ensure a smooth milk chocolate chips drizzle without seizing.
- Freeze for future batches: Portion the dough into scoops and freeze on a tray, then transfer to a bag; bake straight from frozen adding a couple of minutes to the time for fresh cookies anytime.