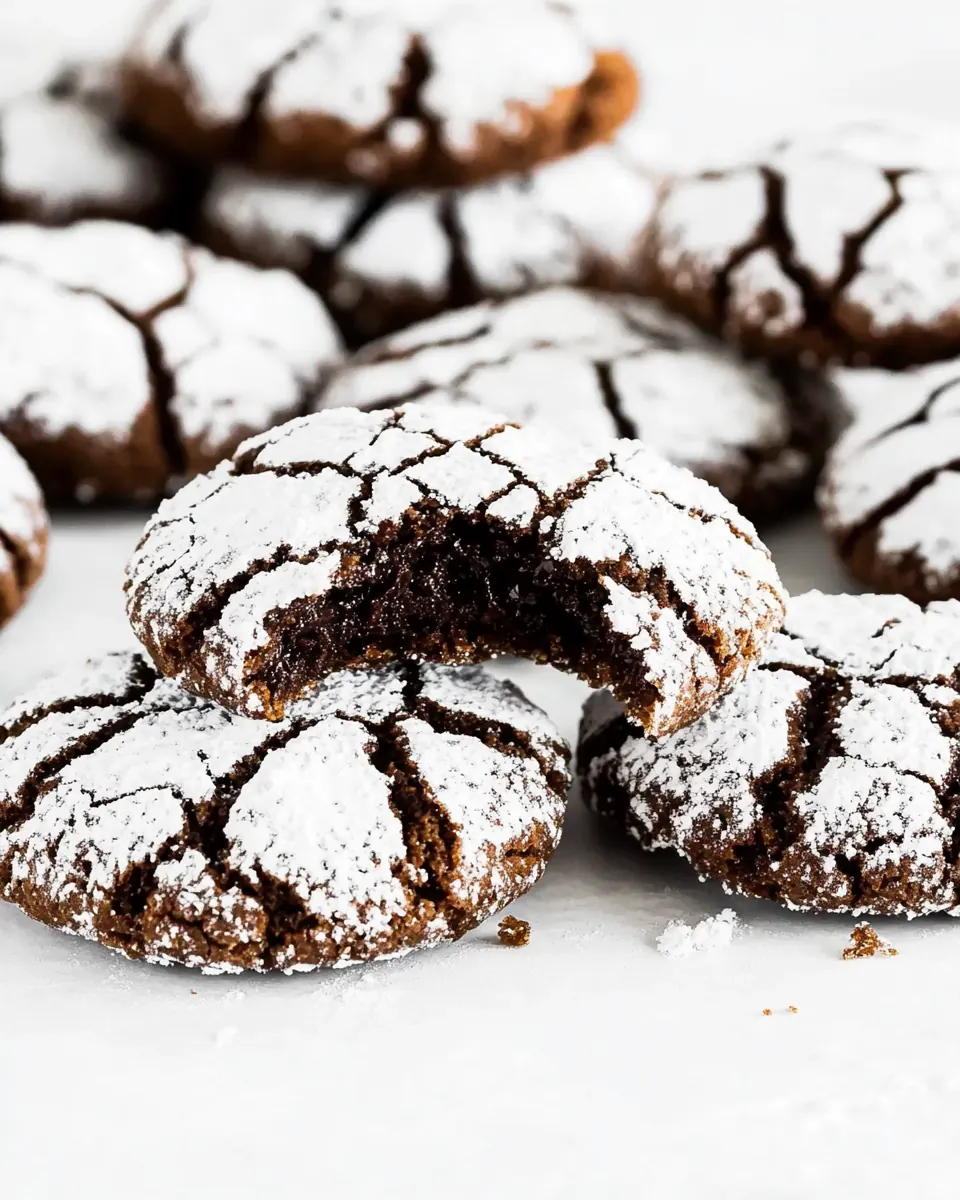
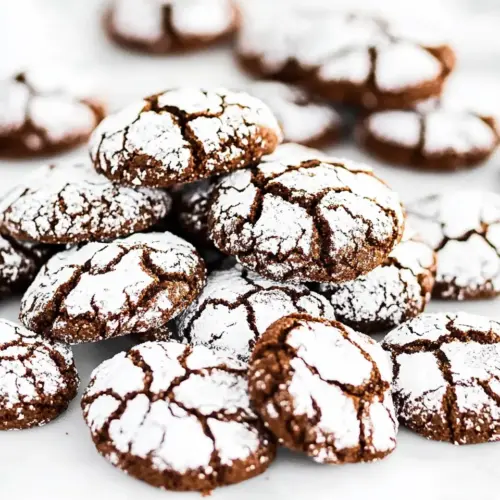
Chocolate Crinkle Cookies
Chocolate Crinkle Cookies have been a holiday staple in my family for as long as I can remember, and the very first time I baked them I knew they would become a tradition. I grew up watching my grandmother roll tiny chocolatey spheres in generous clouds of powdered sugar while the kitchen filled with the warm, cocoa scent of melting butter and sugar. That first tray came out slightly underbaked and perfectly fudgy in the center, and I was hooked for life.
Years later I still make Chocolate Crinkle Cookies when I need to bring a little comfort to a gathering, or when I want to surprise someone with something that tastes like celebration. There is something almost mischievous about the way the powdered sugar cracks and reveals glossy chocolate beneath, and I love how each cookie takes on its own personality as it puffs and splits. I usually wind up telling stories while the dough chills, because patience is part of the fun and the waiting builds the anticipation.
Recipe Snapshot
37 mins
25 mins
12 mins
Medium
150 kcal
American
Gluten-Free, Low FODMAP
Desserts
Mixer, Mixing bowls, Baking sheets, Parchment paper, Cookie scoop, Cooling rack
What Makes This Chocolate Crinkle Cookies Special
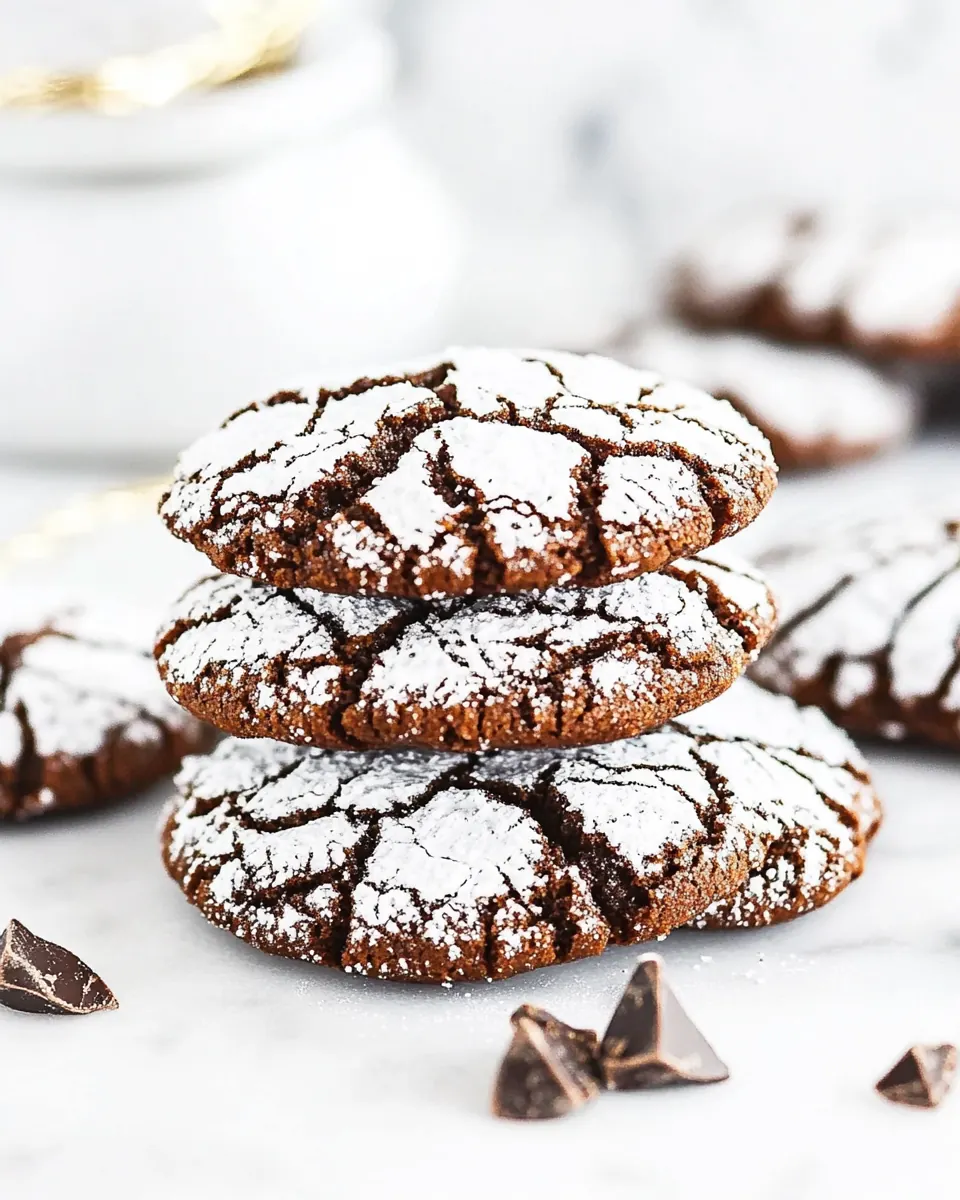
Deep chocolate flavor with simple pantry items
I love that Chocolate Crinkle Cookies extract rich, intense chocolate notes from straightforward ingredients like cocoa powder and all-purpose flour. You do not need exotic items to get a dessert that tastes premium, and that makes this recipe perfect for both last minute baking and careful holiday planning. The combination of cocoa powder and a touch of softened butter gives a fudgy, almost brownie like texture that keeps these cookies satisfying.
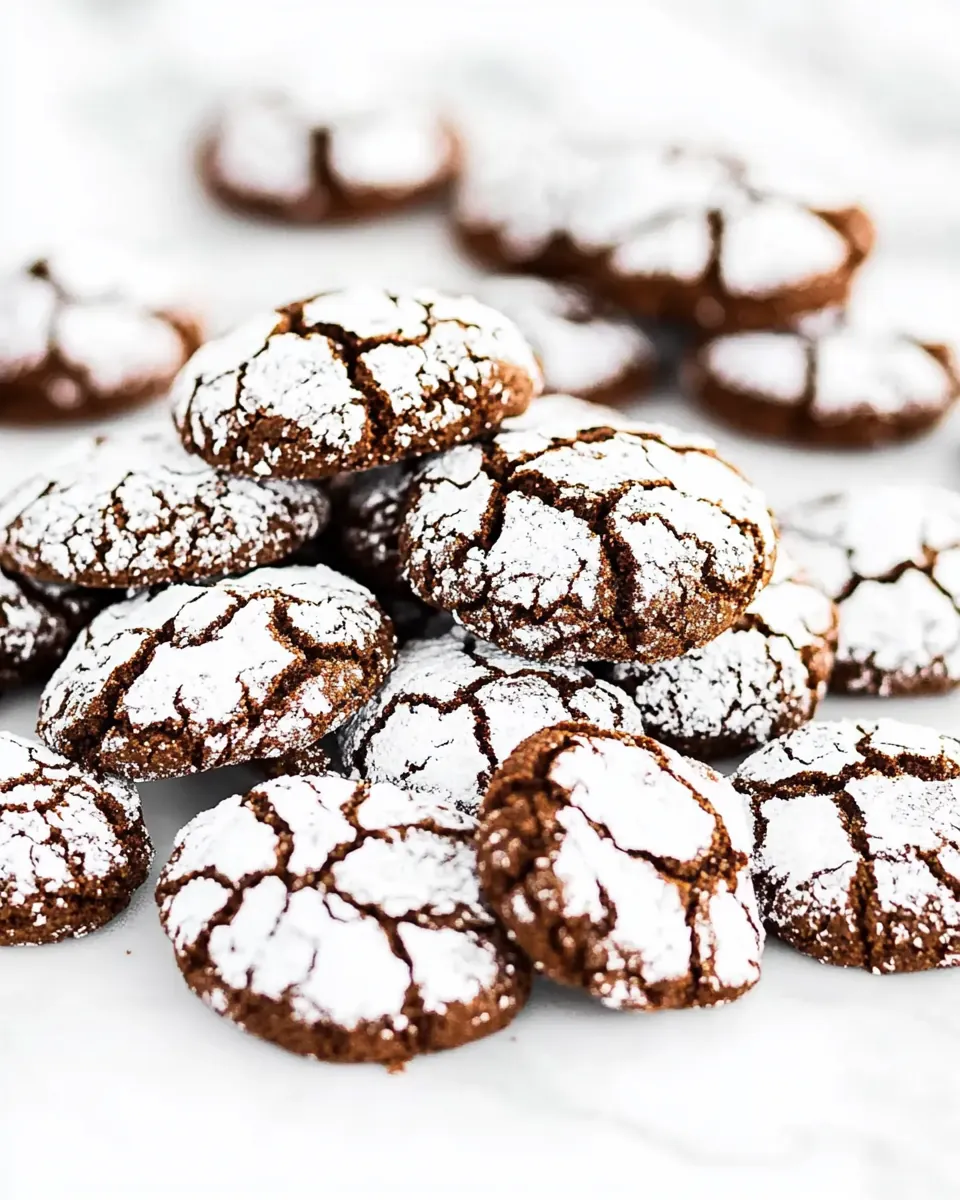
Textural contrast that sings
The crackled, snowy exterior from the powdered sugar turns into a delicate crust that contrasts with a soft, tender interior. I find that this balance makes every bite interesting, with a tiny crisp then a melt in your mouth center. That juxtaposition is why I keep coming back to these cookies when I want a crowd pleaser.
Make ahead friendly
One reason I adore this recipe is how forgiving it is when you plan ahead. Chilling the dough for several hours or overnight deepens the flavor and firms the dough so shaping is effortless. I often prepare the dough the night before a party, which means the actual baking session becomes a relaxing, social activity.
Flexible for flavor variations
While this version includes a splash of orange liqueur for warmth, the recipe adapts easily if you prefer to skip that. The base is sturdy enough that subtle swaps or additions remain balanced, which is comforting when you want to personalize the recipe without risking the outcome.
Perfect for gatherings
These cookies are compact, transportable, and keep well for days when stored properly. I love packing them into tins for neighbors or arranging them on platters for festive afternoons. They look gorgeous on a cookie plate, and the powdered sugar finish makes every batch feel celebratory.
What You Need for Chocolate Crinkle Cookies
These ingredients are built for flavor and texture. The core players are the cocoa powder for deep chocolate character, the butter and eggs for richness and structure, and the two sugars which play different roles in texture and appearance. Together they yield cookies that are fudgy inside, lightly crisp outside, and visually irresistible once dusted in powdered sugar.
- 12 tablespoon butter (unsalted, softened (1 1/2 sticks)): Softened and unsalted butter contributes richness, tenderness, and moisture to the dough while helping create a tender crumb and carrying flavor throughout the cookies. Creaming it with sugar helps incorporate air for lift and a lighter texture during baking.
- 2 cups sugar (granulated): Granulated sugar provides sweetness and assists in creating a tender, slightly crisp exterior by caramelizing during baking; it also helps with creaming to incorporate air for leavening. Balances the cocoa bitterness and enhances overall flavor depth.
- 4 large eggs: Large eggs bind ingredients together, add structure from proteins, and contribute moisture and richness; their emulsifying properties help create a cohesive dough with a smooth texture. Eggs also assist in leavening and browning for proper cookie rise and color.
- 2 tablespoon Grand Marnier: Grand Marnier adds a bright, citrusy orange flavor with subtle complexity that complements chocolate and enhances aroma without adding extra acidity. A small amount intensifies overall taste and lends a nuanced, slightly boozy note to the cookie flavor profile.
- 2 1/2 cups all-purpose flour: All-purpose flour provides the primary structure via gluten formation when mixed, giving the cookies their body and chewiness; it balances wet and dry ingredients for proper dough consistency. Proper measurement ensures correct texture and prevents overly dense or dry cookies.
- 1 cup cocoa powder: Cocoa powder delivers concentrated chocolate flavor and color while reducing some tenderness due to its dryness, so balance with fats and liquids is important. Also contributes to the characteristic deep chocolate taste and works with sugar to form the crinkle pattern when coated.
- 1 tablespoon baking powder: Baking powder acts as a chemical leavening agent that releases gas during baking to help the cookies rise and create a light, slightly cakey interior. Proper distribution ensures even lift and desirable texture without off-flavors.
- 1/2 teaspoons salt: Salt enhances and balances sweetness while amplifying the flavors of chocolate and butter; it also helps strengthen gluten slightly, contributing to overall structure. Even a small amount is crucial for depth and flavor balance in the finished cookies.
- 1/2 cups sugar (granulated): Additional granulated sugar used for rolling adds an outer layer of sweetness and helps form a slightly crisp, sparkling exterior that contrasts with the chewy interior. When combined with powdered sugar coating, it contributes to the classic crinkle appearance.
- 1 cup powdered sugar (same as icing sugar or confectioners sugar): Powdered sugar provides a fine, even coating that produces the signature cracked, snow-dusted look when cookies expand and crack during baking; it also adds a delicate sweetness to the exterior. Its fine texture prevents melting into the dough immediately, ensuring visual contrast.
Directions for Chocolate Crinkle Cookies
These directions will guide you through warming aromas and tactile moments that tell you the cookies are progressing exactly as they should. Take your time with chilling and coating, because the small pauses deliver big rewards in texture and appearance. Below, each step contains sensory cues, the reason behind the technique, and a troubleshooting note so you can bake with confidence.
- Preheat your oven to 350°F. Line 3 baking sheets with parchment paper. Set aside.: The moment you preheat, the kitchen will start to warm and you may notice a faint scent of heated metal from the oven, which means it is approaching baking temperature. Preheating ensures the cookies begin baking immediately, creating lift and the recognizable crackled top. Lining with parchment paper prevents sticking and promotes even browning. A common mistake is skipping preheating which causes uneven spread and flatter cookies, so always wait until the oven reaches a steady 350°F before you slide the trays in.
- In the bowl of your mixer add the softened butter and sugar and mix until well combined.: As you cream the butter and sugar , you will notice the mixture become paler and slightly fluffy, and you may hear the mixer change tone as air incorporates. This aeration is why the cookies have structure and tenderness. If the butter is too cold, it will not cream smooth, leading to lumps; if it is too warm, the mixture will be greasy and will not trap air. Aim for softened but not melted butter .
- Add the eggs, one at a time and continue mixing until light and fluffy. Stir in the Grand Marnier.: When you add each egg , the batter will look glossy and slightly looser, and beating until light helps build a network that supports the cookie while keeping it tender. The addition of Grand Marnier introduces a warm citrus aroma that complements the cocoa powder . A frequent error is adding cold eggs which can cause the mixture to seize, so bring eggs to room temperature before using.
- In another large bowl combine the flour, cocoa powder, baking powder and salt.: Sifting these dry elements together will create a uniform mixture and a fine dusting of cocoa powder that disperses evenly when folded in, preventing streaks. You will notice a rich, bittersweet cocoa scent when you mix them, which signals balanced chocolate flavor. If you skip sifting, lumps can remain and cause uneven texture in the baked cookies.
- Gradually add the flour mixture to the mixer bowl and mix until combined. Do not over mix. Cover the bowl with plastic wrap and chill for 4 hours to overnight.: As the dry mix incorporates, the dough will thicken and take on a dense, satiny appearance. Chilling solidifies the butter , making the dough easier to portion and promoting the thick, fudgy interior. The cold also slows spread so the crack pattern forms nicely. Over mixing at this stage activates gluten and yields tough cookies, so stop once the streaks disappear. If you are short on time, a minimum four hour chill works, but overnight deepens flavor more.
- Place the remaining sugar and powdered sugar in 2 separate shallow plates or bowls. Form the dough into 1-inch balls. Use a cookie scoop for evenly sized cookies. Roll the cookie balls first in the granulated sugar and then in powdered sugar. Make sure they are coated properly.: Rolling the dough creates the visual contrast once baked, with the outer powdered layer cracking open to reveal the dark chocolate beneath. As you roll, you'll feel the cool, slightly tacky surface firm up from the chill, and pressing into the sugars leaves a matte, snowy finish. If balls are uneven, cookies will bake at different rates, so use a scoop for consistent results. If the dough sticks to your hands, chill it a bit longer.
- Transfer the cookie balls to the prepared baking sheets and arrange about 1 1/2 inches apart. You should be able to fit about 12 cookies per sheet.: When spaced correctly, each cookie has room to expand into a rounded, cracked dome while edges brown lightly. The visual cue to look for in the oven is a puffed, cracked surface. Crowding the sheet can result in merged cookies with flatter tops, so respect the spacing. If you do not have enough sheets, bake in batches and allow the sheet to return to room temperature between batches for more consistent results.
- Place the baking sheets to the preheated oven and bake for 10 to 12 minutes until the cookies are puffed and cracked. If placing 2 cookie sheets at once, switch them halfway through.: During baking you will smell an intensified chocolate aroma and hear a faint sizzle as moisture evaporates. The cookies should look puffed with glossy cracks and slightly set edges while the centers remain soft. Rotating the sheets ensures even browning because ovens often have hot spots. Overbaking will dry them out, so remove them when edges are set but centers still look tender.
- Let the cookies cool for 5 minutes on the baking sheets, then transfer them to racks to cool completely.: The first five minutes on the sheet allow the cookies to finish setting without breaking apart, and you may notice steam rising as they release residual heat. Transferring to a rack prevents the bottoms from becoming soggy and helps them firm to the perfect bite. A common misstep is moving them too soon, which can cause them to collapse, so give them that brief rest before lifting onto the rack.
Change It Up
These tips will help you adapt and perfect Chocolate Crinkle Cookies for different occasions and preferences. Small adjustments create big differences in texture and flavor, so experiment carefully and always keep notes.
- Boost chocolate intensity by using a high quality unsweetened cocoa powder and consider dutch processed if you prefer a deeper, smoother chocolate note.
- Swap the liqueur with a teaspoon of orange extract if you want a non alcoholic citrus hint; reduce to one teaspoon because extracts are concentrated.
- Uniform shaping is achieved with a one inch scoop, which helps you get the classic crack pattern and ensures all cookies bake at the same rate.
- Freeze dough portions on a tray then store in a bag so you can bake fresh cookies on demand without thawing the whole batch.
- Freshness counts for baking powder and cocoa powder, so replace stale leavening and old cocoa powder to keep lift and chocolate flavor robust.
- Adjust sweetness by lightly reducing the granulated sugar in the dough if you prefer a less sweet cookie, but keep the powdered sugar roll for the classic look.
Serve This Chocolate Crinkle Cookies With
These cookies are versatile for gifting, holiday platters, or cozy afternoons. Consider presentation, pairing, and storage so every occasion feels intentional. Below are ideas for serving situations, seasonal pairings, and practical storage notes presented as a helpful list.
- Holiday cookie tray Arrange Chocolate Crinkle Cookies on a festive platter alongside other small cookies for a colorful assortment at parties.
- Gift tins Layer cookies with parchment paper in airtight tins for neighborly gifts that travel well; they stay fresh for several days when stored properly.
- After dinner treat Serve two or three with coffee or tea for a relaxed dessert that does not require plating; the powdered sugar lends a celebratory touch.
- Seasonal pairing These cookies suit winter holidays beautifully, especially Christmas, because the powdered sugar evokes a snowy look and they pair well with citrus accented flavors.
- Storage for freshness Keep cookies in an airtight container at room temperature for three to five days, or freeze baked cookies for up to three months for make ahead convenience.
- Party prep Bake earlier in the day and arrange on platters just before guests arrive to preserve their fresh crackled appearance.
FAQ
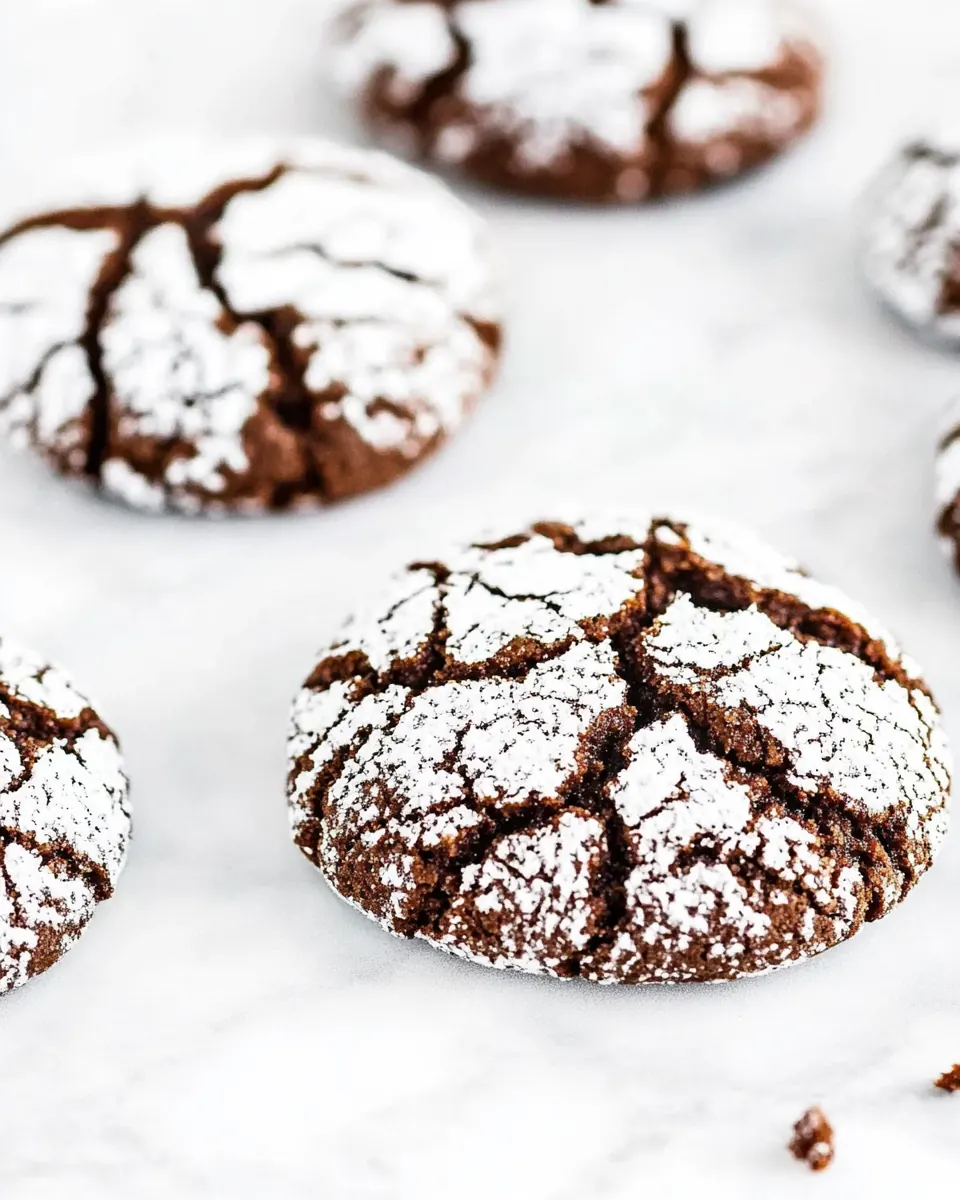
Conclusion
What makes these cookies special is their combination of rich, fudgy chocolate and a signature crackled powdered sugar finish that looks as good as it tastes. I encourage you to give Chocolate Crinkle Cookies a try because they are forgiving, crowd pleasing, and perfect for holidays or simple afternoons when you want something comforting. Bake a batch, share with someone you love, and notice how a small, thoughtful recipe can create big moments around the table.
Chocolate Crinkle Cookies
Equipment
- Mixer
- Mixing Bowls
- Baking Sheets
- Parchment Paper
- Cookie Scoop
- Cooling rack
Ingredients
- 12 tablespoon butter (unsalted, softened (1 1/2 sticks)) Softened and unsalted butter contributes richness, tenderness, and moisture to the dough while helping create a tender crumb and carrying flavor throughout the cookies. Creaming it with sugar helps incorporate air for lift and a lighter texture during baking.
- 2 cups sugar (granulated) Granulated sugar provides sweetness and assists in creating a tender, slightly crisp exterior by caramelizing during baking; it also helps with creaming to incorporate air for leavening. Balances the cocoa bitterness and enhances overall flavor depth.
- 4 large eggs Large eggs bind ingredients together, add structure from proteins, and contribute moisture and richness; their emulsifying properties help create a cohesive dough with a smooth texture. Eggs also assist in leavening and browning for proper cookie rise and color.
- 2 tablespoon Grand Marnier Grand Marnier adds a bright, citrusy orange flavor with subtle complexity that complements chocolate and enhances aroma without adding extra acidity. A small amount intensifies overall taste and lends a nuanced, slightly boozy note to the cookie flavor profile.
- 2 1/2 cups all-purpose flour All-purpose flour provides the primary structure via gluten formation when mixed, giving the cookies their body and chewiness; it balances wet and dry ingredients for proper dough consistency. Proper measurement ensures correct texture and prevents overly dense or dry cookies.
- 1 cup cocoa powder Cocoa powder delivers concentrated chocolate flavor and color while reducing some tenderness due to its dryness, so balance with fats and liquids is important. Also contributes to the characteristic deep chocolate taste and works with sugar to form the crinkle pattern when coated.
- 1 tablespoon baking powder Baking powder acts as a chemical leavening agent that releases gas during baking to help the cookies rise and create a light, slightly cakey interior. Proper distribution ensures even lift and desirable texture without off-flavors.
- 1/2 teaspoons salt Salt enhances and balances sweetness while amplifying the flavors of chocolate and butter; it also helps strengthen gluten slightly, contributing to overall structure. Even a small amount is crucial for depth and flavor balance in the finished cookies.
- 1/2 cups sugar (granulated) Additional granulated sugar used for rolling adds an outer layer of sweetness and helps form a slightly crisp, sparkling exterior that contrasts with the chewy interior. When combined with powdered sugar coating, it contributes to the classic crinkle appearance.
- 1 cup powdered sugar (same as icing sugar or confectioners sugar) Powdered sugar provides a fine, even coating that produces the signature cracked, snow-dusted look when cookies expand and crack during baking; it also adds a delicate sweetness to the exterior. Its fine texture prevents melting into the dough immediately, ensuring visual contrast.
Instructions
- Preheat your oven to 350°F. Line 3 baking sheets with parchment paper. Set aside.: The moment you preheat, the kitchen will start to warm and you may notice a faint scent of heated metal from the oven, which means it is approaching baking temperature. Preheating ensures the cookies begin baking immediately, creating lift and the recognizable crackled top. Lining with parchment paper prevents sticking and promotes even browning. A common mistake is skipping preheating which causes uneven spread and flatter cookies, so always wait until the oven reaches a steady 350°F before you slide the trays in.
- In the bowl of your mixer add the softened butter and sugar and mix until well combined.: As you cream the butter and sugar , you will notice the mixture become paler and slightly fluffy, and you may hear the mixer change tone as air incorporates. This aeration is why the cookies have structure and tenderness. If the butter is too cold, it will not cream smooth, leading to lumps; if it is too warm, the mixture will be greasy and will not trap air. Aim for softened but not melted butter .
- Add the eggs, one at a time and continue mixing until light and fluffy. Stir in the Grand Marnier.: When you add each egg , the batter will look glossy and slightly looser, and beating until light helps build a network that supports the cookie while keeping it tender. The addition of Grand Marnier introduces a warm citrus aroma that complements the cocoa powder . A frequent error is adding cold eggs which can cause the mixture to seize, so bring eggs to room temperature before using.
- In another large bowl combine the flour, cocoa powder, baking powder and salt.: Sifting these dry elements together will create a uniform mixture and a fine dusting of cocoa powder that disperses evenly when folded in, preventing streaks. You will notice a rich, bittersweet cocoa scent when you mix them, which signals balanced chocolate flavor. If you skip sifting, lumps can remain and cause uneven texture in the baked cookies.
- Gradually add the flour mixture to the mixer bowl and mix until combined. Do not over mix. Cover the bowl with plastic wrap and chill for 4 hours to overnight.: As the dry mix incorporates, the dough will thicken and take on a dense, satiny appearance. Chilling solidifies the butter , making the dough easier to portion and promoting the thick, fudgy interior. The cold also slows spread so the crack pattern forms nicely. Over mixing at this stage activates gluten and yields tough cookies, so stop once the streaks disappear. If you are short on time, a minimum four hour chill works, but overnight deepens flavor more.
- Place the remaining sugar and powdered sugar in 2 separate shallow plates or bowls. Form the dough into 1-inch balls. Use a cookie scoop for evenly sized cookies. Roll the cookie balls first in the granulated sugar and then in powdered sugar. Make sure they are coated properly.: Rolling the dough creates the visual contrast once baked, with the outer powdered layer cracking open to reveal the dark chocolate beneath. As you roll, you'll feel the cool, slightly tacky surface firm up from the chill, and pressing into the sugars leaves a matte, snowy finish. If balls are uneven, cookies will bake at different rates, so use a scoop for consistent results. If the dough sticks to your hands, chill it a bit longer.
- Transfer the cookie balls to the prepared baking sheets and arrange about 1 1/2 inches apart. You should be able to fit about 12 cookies per sheet.: When spaced correctly, each cookie has room to expand into a rounded, cracked dome while edges brown lightly. The visual cue to look for in the oven is a puffed, cracked surface. Crowding the sheet can result in merged cookies with flatter tops, so respect the spacing. If you do not have enough sheets, bake in batches and allow the sheet to return to room temperature between batches for more consistent results.
- Place the baking sheets to the preheated oven and bake for 10 to 12 minutes until the cookies are puffed and cracked. If placing 2 cookie sheets at once, switch them halfway through.: During baking you will smell an intensified chocolate aroma and hear a faint sizzle as moisture evaporates. The cookies should look puffed with glossy cracks and slightly set edges while the centers remain soft. Rotating the sheets ensures even browning because ovens often have hot spots. Overbaking will dry them out, so remove them when edges are set but centers still look tender.
- Let the cookies cool for 5 minutes on the baking sheets, then transfer them to racks to cool completely.: The first five minutes on the sheet allow the cookies to finish setting without breaking apart, and you may notice steam rising as they release residual heat. Transferring to a rack prevents the bottoms from becoming soggy and helps them firm to the perfect bite. A common misstep is moving them too soon, which can cause them to collapse, so give them that brief rest before lifting onto the rack.
Notes
- Boost chocolate intensity by using a high quality unsweetened cocoa powder and consider dutch processed if you prefer a deeper, smoother chocolate note.
- Swap the liqueur with a teaspoon of orange extract if you want a non alcoholic citrus hint; reduce to one teaspoon because extracts are concentrated.
- Uniform shaping is achieved with a one inch scoop, which helps you get the classic crack pattern and ensures all cookies bake at the same rate.
- Freeze dough portions on a tray then store in a bag so you can bake fresh cookies on demand without thawing the whole batch.
- Freshness counts for baking powder and cocoa powder, so replace stale leavening and old cocoa powder to keep lift and chocolate flavor robust.
- Adjust sweetness by lightly reducing the granulated sugar in the dough if you prefer a less sweet cookie, but keep the powdered sugar roll for the classic look.