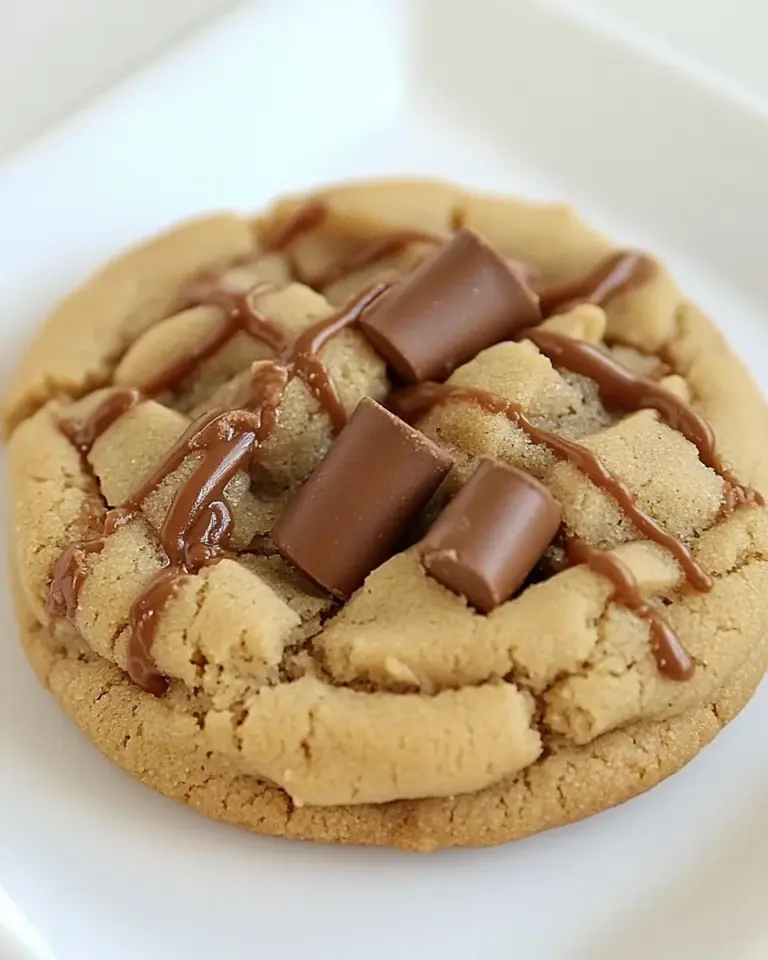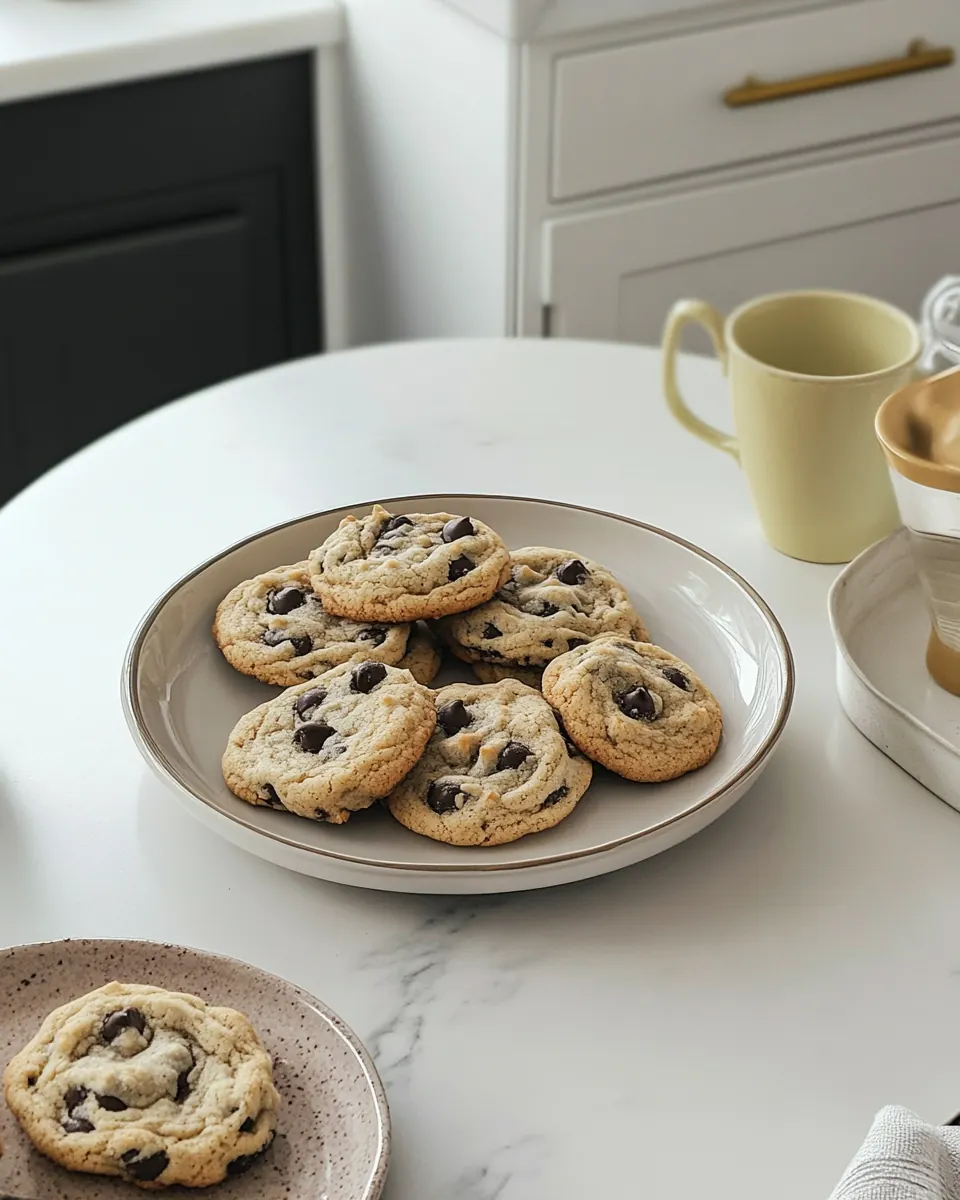
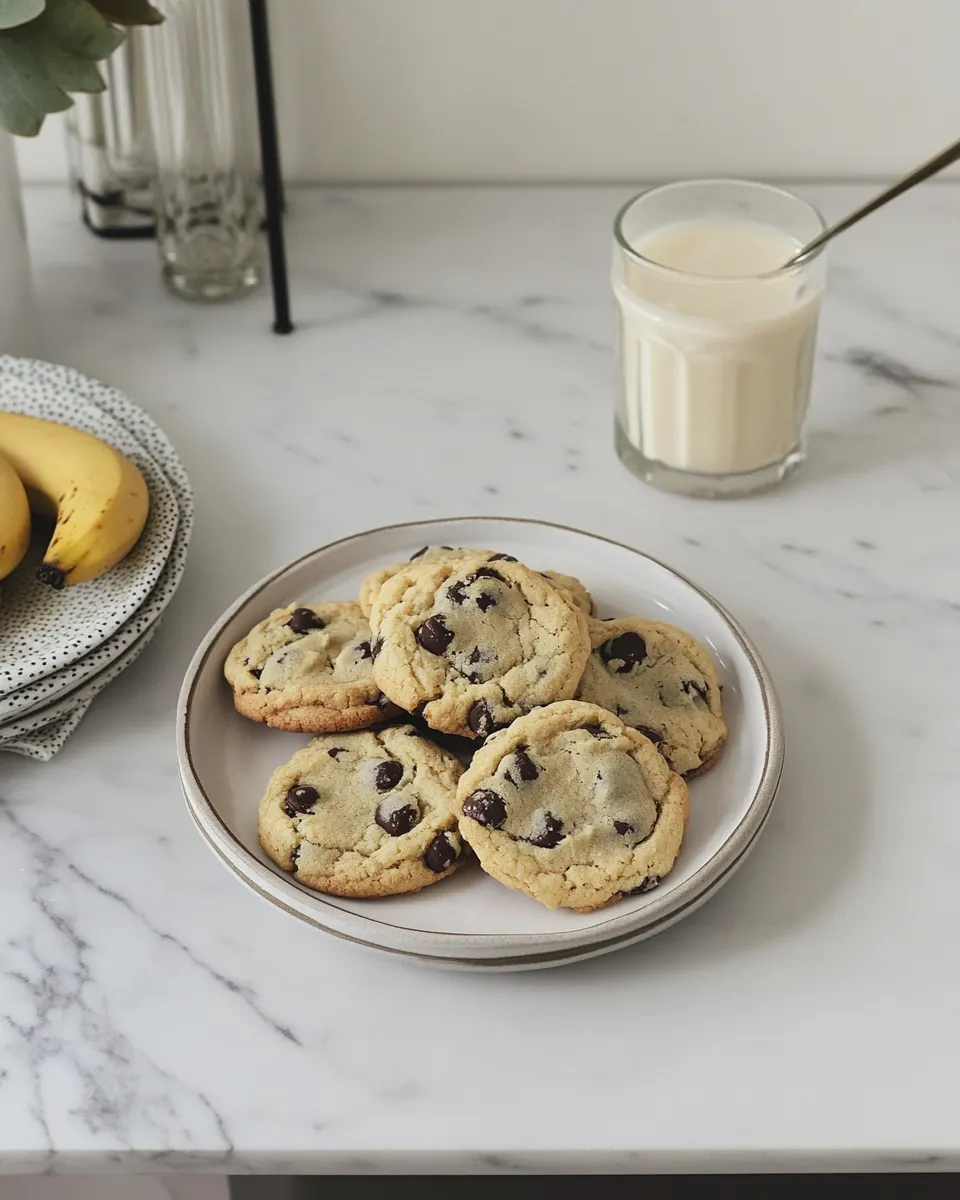
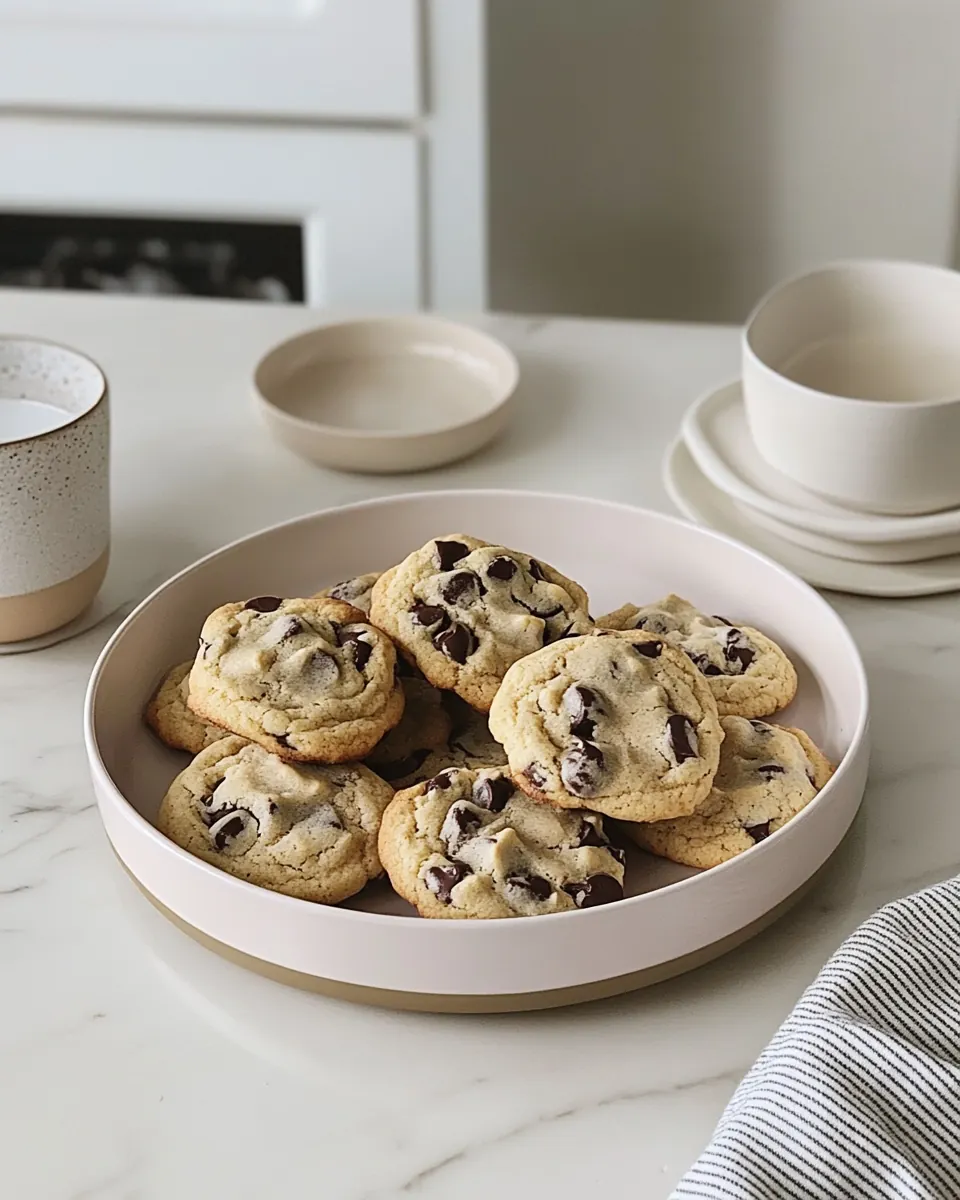
Banana Chocolate Chip Cookies
Banana Chocolate Chip Cookies are the kind of treat I reach for when I want something comforting yet a little grown up, a cookie that bridges childhood nostalgia and adult tastes.
My first batch came about on a rainy afternoon when I had two slightly spotted bananas and a stubborn craving for chocolate. I mashed the fruit, mixed it with sugars and a touch of melted butter, and the kitchen filled with a warm, fruity aroma that hinted at caramelized bananas. While the dough chilled, I cleaned up and found myself smiling at how simple ingredients can transform into something that feels like a hug.
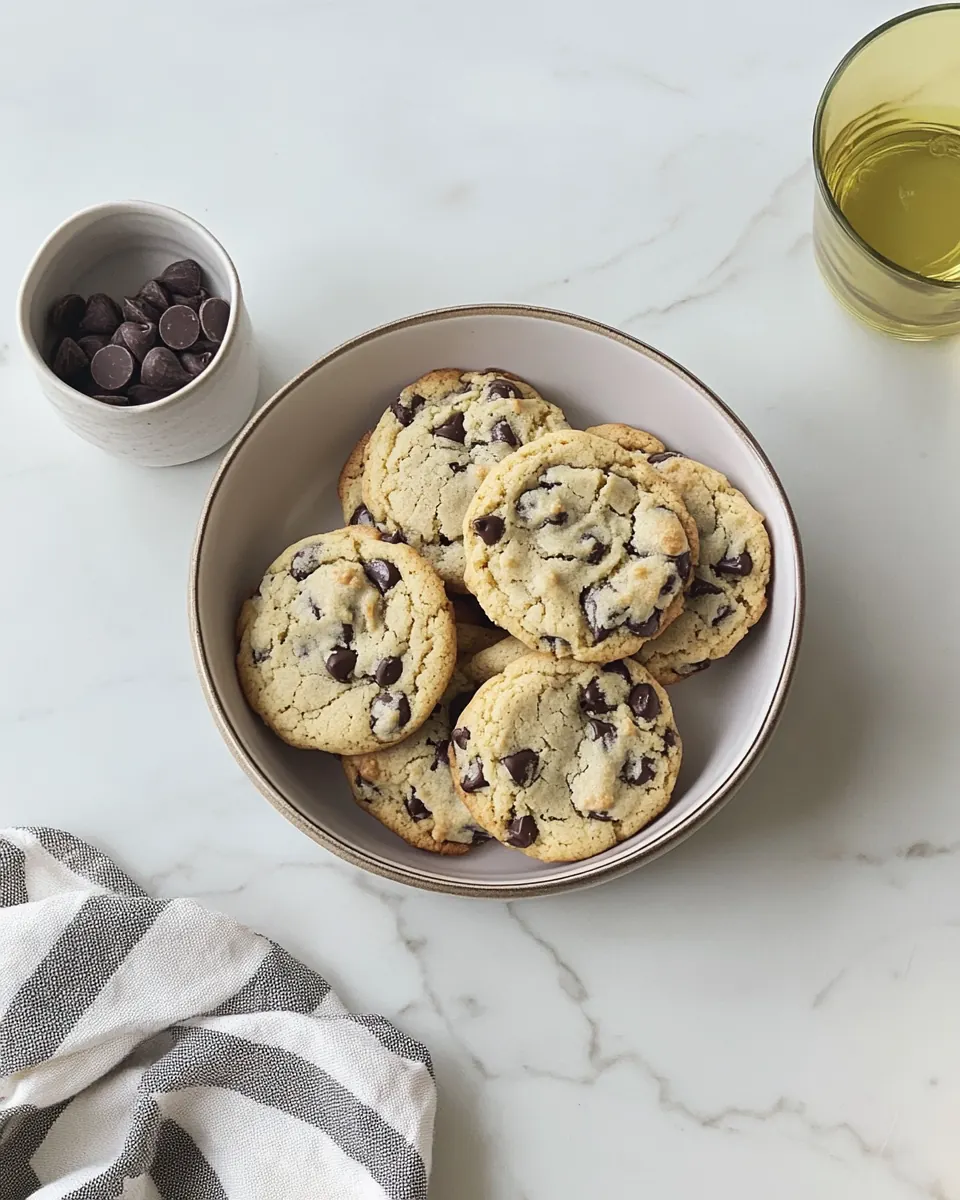
The real charm of these cookies is the contrast between soft crumb and pockets of dark chocolate, with the occasional crunch of finely chopped walnuts. I learned to roll the dough gently between my palms so each cookie keeps a tender center and slightly crisp edges. Friends who tried them asked for the recipe, and I started bringing them to casual gatherings because they are reliably loved.
Recipe Snapshot
25 mins
15 mins
10 mins
Easy
150 kcal
American
Gluten-Free, Low FODMAP
Desserts
Large bowl, Whisk, Spatula, Baking sheet, Parchment paper, Oven
What Sets This Banana Chocolate Chip Cookies Apart
They use everyday ingredients you already have
I love that Banana Chocolate Chip Cookies rely on pantry staples like all purpose flour, sugars, and a couple of ripe bananas. There is no need for specialty items, which makes these cookies perfect for a spontaneous baking session when you want quick comfort food.
Flavor balance that feels intentional
The natural sweetness and moisture from the mashed banana pairs beautifully with the bitterness of dark chocolate. The brown sugar gives a mild molasses note, while the granulated sugar keeps the texture light. I enjoy how each bite is both chewy and slightly crisp at the edges.
Texture play with walnuts and chocolate
Adding finely chopped walnuts is a small move that changes the whole mouthfeel. You get soft cookie, gooey chocolate, and an occasional nutty crunch. I appreciate how that contrast makes each bite interesting and keeps people coming back for more.
Easy to scale and freeze
These cookies adapt well to doubling or freezing. I often scoop and freeze dough balls so I can bake fresh cookies as needed. That flexibility is a huge reason I keep making this recipe, because it fits busy schedules without sacrificing homemade quality.
Reliable technique for consistent results
The method is forgiving, and chilling the dough for an hour firms up the batter so the cookies bake into tidy mounds. I like that small habits like chilling and not overmixing yield a consistently tender interior and nicely set edges.
Main Ingredients for Banana Chocolate Chip Cookies
These ingredients form a simple, harmonious cast where each player has a clear role. The mashed banana provides moisture and flavor, the sugars create caramelized notes and help with texture, and the all purpose flour gives structure. Dark chocolate and walnuts introduce contrast in taste and texture, while leavening and salt balance the sweetness. Together they create cookies that are tender, slightly chewy, and deeply satisfying.
- 1/2 cup mashed banana, (from 2 bananas): Mashed to provide natural sweetness and moisture that tenderizes the cookie crumb, helping bind ingredients and contributing banana flavor; use ripe bananas for best aroma and texture.
- 2/3 cup firmly packed brown sugar: Firmly packed to add deep, molasses-like sweetness and chewiness while aiding caramelization during baking; provides moisture and balances the banana’s fruitiness.
- 1/4 cup granulated sugar: Granulated to contribute crispness and help create a slightly crunchy edge while balancing overall sweetness; dissolves into the dough to affect texture and spread.
- 1/4 cup unsalted butter, melted: Melted to add rich fat that improves tenderness, mouthfeel, and spread while carrying flavor throughout the dough; warmed butter also helps dissolve sugars for even texture.
- 1 teaspoon baking soda: Leavening to react with acids and gases in the dough, producing lift and lightness so cookies are not overly dense; measure accurately for proper rise.
- 1/2 teaspoon kosher salt: Kosher to season and enhance all other flavors, balancing sweetness and intensifying chocolate and banana notes; its larger crystals help distribute saltiness evenly when mixed well.
- 1 1/2 cups all purpose flour: All-purpose to provide structure through gluten development while keeping cookies tender when mixed lightly; measure by spooning and leveling for consistent texture.
- 4 ounces dark chocolate chunks or chocolate chips, chopped: Chopped to supply concentrated chocolate pockets that melt into gooey bites, adding bitterness and richness that contrasts the sweet banana; use dark chips or chunks for intensity.
- 1/3 cup walnuts, finely chopped: Finely chopped to contribute crunchy texture and a toasty, nutty flavor that complements banana and chocolate; sprinkle evenly for consistent bites in every cookie.
How to Make Banana Chocolate Chip Cookies
These instructions will guide you through mixing, chilling, and baking so your cookies come out tender and full of flavor. I walk you through sensory cues and common pitfalls so you can bake with confidence and enjoy the process.
- In a large bowl, add the mashed banana, brown sugar, sugar and melted butter. Whisk until smooth. Don’t be shy to break up any banana bits as you’re whisking. You want it pretty smooth. Add in the baking soda and salt. Mix again.: The bowl should smell sweet and slightly caramelized as you whisk, and the mixture should become glossy and homogeneous, showing no dry sugar pockets. The whisking helps dissolve some sugar and aerates the mix slightly, which contributes to a lighter crumb. If you notice large unmashed banana lumps, press them against the bowl sides with your whisk to smooth them out, because uneven banana pieces can create wet spots in the dough. A common mistake is underwhisking, which leaves gritty sugar and uneven texture, so take time until the surface looks cohesive and slightly shiny.
- Add the flour and, switching to a spatula, fold it in. Pour in the chocolate chunks or chips and walnuts. Fold them in until combined. Cover with plastic wrap and transfer to the fridge to chill for 1 hour.: When you incorporate the baking soda and kosher salt , pay attention to an even distribution so leavening is consistent across the dough. Mixing briefly should leave the batter smelling faintly of banana with a balanced salt background that perks up sweetness. The reason this step matters is that baking soda needs to be dispersed quickly to react uniformly; uneven mixing can make some cookies flatter or denser. Avoid overmixing here, which can dissolve too much structure and lead to excessively spread cookies.
- Preheat the oven to 350 degrees F. Line a baking sheet with parchment. Scoop out 6 balls of dough and roll each one in between your palms. Space them about 3 inches apart. Bake them in the oven for 10 to 12 minutes, until the edges are medium golden brown. Repeat with the remaining cookie dough. The cookies will be a bit puffy and will fall as they cool. Allow them to cool for about 10 minutes.: As you introduce the all purpose flour , use gentle folding motions to preserve tenderness. You'll feel the dough thicken and become less sticky, transforming into a cohesive mass with soft resistance. The right texture is pliable but not overly wet, which signals the right balance for shaping. Folding preserves air and prevents gluten overdevelopment, which is why aggressive stirring is a problem that can make cookies tough.
- Pour in the chocolate chunks or chips and walnuts. Fold them in until combined: The moment you add dark chocolate and walnuts , the dough becomes speckled and more texturally interesting. Visually, you want even distribution so each scoop has both chocolate and nut pieces. The folding action should be patient and measured, ensuring inclusions are not overworked into the dough. A common error is dumping add ins and stirring vigorously, which can crush nuts and overheat chocolate, creating uneven pockets instead of melty ribbons.
- Cover with plastic wrap and transfer to the fridge to chill for 1 hour: Chilling firms the dough so cookies hold shape and develop better texture during baking. You will notice the dough become denser and cooler to the touch, which helps control spread. The cold dough also deepens flavors as the ingredients meld. Skipping this step often results in overly flat cookies, so try to be patient and chill for the full hour when possible.
- Preheat the oven to 350 degrees F: As the oven warms, the kitchen will carry warm, toasty notes that hint at the caramelization to come. Preheating ensures even baking from the start, which is crucial for achieving cookies that set at the edges while staying soft inside. An error I see often is placing dough into a not fully preheated oven, which leads to uneven spread and inconsistent browning. Use an oven thermometer if your oven runs hot or cool to match the temperature precisely.
- Line a baking sheet with parchment: Lining the sheet prevents sticking and promotes even browning on the bottom without extra fat. The parchment also insulates slightly, giving a gentler heat to the cookie base so it can set without burning. If you skip this, cookies can stick and break when you try to remove them. Make sure the parchment lies flat so cookies bake evenly and don't ride up one side.
- Scoop out 6 balls of dough and roll each one in between your palms: Rolling creates smooth tops and encourages even baking. The dough should feel cool and slightly tacky, and rolling helps compact any air pockets for a uniform rise. Spacing them about 3 inches apart gives them room to spread and brown at the edges. Overpacking the tray leads to merged cookies, so use multiple sheets if needed rather than crowding.
- Bake them in the oven for 10 to 12 minutes, until the edges are medium golden brown: While baking, the kitchen aroma will turn richer, with notes of caramelized sugar and warm banana . Look for edges that have taken on medium golden color while centers remain slightly puffed, which indicates they will set but stay tender. The timing produces a cookie with a soft center; baking longer makes them firmer throughout. A common mistake is waiting until the center looks fully set, but cookies often finish setting as they cool.
- Repeat with the remaining cookie dough: Working in batches preserves oven heat and consistent results. Transfer baked cookies to a cooling rack before putting another tray in, because overcrowding the oven can lower the internal temperature and change bake times. A mistake is leaving cookies on the hot sheet for too long, which causes carryover baking and makes them drier, so move them after a brief rest.
- The cookies will be a bit puffy and will fall as they cool. Allow them to cool for about 10 minutes: As they rest, centers settle into a tender, moist crumb while edges become slightly firmer, giving the characteristic texture interplay. The cooling period also allows flavors to marry, and you will notice the dark chocolate firm up into ribbons that cut cleanly when bitten. Resist the temptation to eat them hot from the sheet, because they need this time to finish setting and to achieve the right chew.
Making Adjustments
If you want to tweak these cookies for texture or convenience, there are simple adjustments that keep the core flavor intact. Below are practical tips that address ripeness, chilling, mix ins, and freezing so you can adapt the recipe to your schedule and taste.
- Banana ripeness: Use moderately ripe banana with brown freckles for balanced sweetness and moisture, avoiding overly mushy fruit that adds excess liquid.
- Sweetness level: Reduce the granulated sugar by a tablespoon or two if you prefer a less sweet cookie, keeping the brown sugar the same to preserve chewiness.
- Chocolate choice: Opt for varied sizes of dark chocolate chunks so you get both melty pockets and small chocolate flecks throughout.
- Nut texture: Finely chop walnuts for a subtle crunch that blends with the cookie, or keep larger pieces if you want more pronounced bites.
- Freezing dough: Scoop dough into balls and freeze on a tray, then transfer to a bag; bake from frozen with an extra minute or two added to the time.
- Chill time flexibility: If you are short on time, refrigerate for 30 minutes but expect slightly more spread; the full hour yields the best shape and texture.
Serving Suggestions
These cookies are versatile, fitting casual snacking as well as relaxed gatherings. Below are ideas for occasions, pairings, storage, and presentation that help you serve them confidently and attractively.
- Casual snack: Arrange warm Banana Chocolate Chip Cookies on a simple platter for afternoon tea or coffee, offering a comforting sweet without being overly rich.
- Kids lunchbox: Pack a single cookie in wax paper for an easy treat, ensuring it stays soft by storing in an airtight container with a slice of apple if needed.
- Party platter: Serve alongside fresh fruit and nuts for a balanced dessert board, placing cookies near small bowls of extra dark chocolate chips for dipping.
- Seasonal gifting: Wrap stacks of cooled cookies in parchment and tie with twine for a homemade gift during holidays or as a hostess gesture.
- Storage: Keep baked cookies in an airtight container at room temperature for up to three days, or freeze for longer storage; thaw at room temperature before serving.
- Occasions: Ideal for afternoon gatherings, casual brunches, or anytime you need a comforting homemade sweet to share with friends and family.
FAQ
Conclusion
What makes this recipe special is its simple harmony of mashed banana, deep dark chocolate, and a little walnut crunch that creates a comforting yet sophisticated cookie. Give these Banana Chocolate Chip Cookies a try when you have a couple of spotted bananas and a craving for something homemade, because the technique is forgiving and the results are reliably delicious. Share them warm with friends or freeze dough balls for busy nights, and enjoy the small ritual of baking that brightens ordinary days.
Banana Chocolate Chip Cookies
Equipment
- Large Bowl
- Whisk
- Spatula
- Baking Sheet
- Parchment Paper
- Oven
Ingredients
- 1/2 cup mashed banana, (from 2 bananas) Mashed to provide natural sweetness and moisture that tenderizes the cookie crumb, helping bind ingredients and contributing banana flavor; use ripe bananas for best aroma and texture.
- 2/3 cup firmly packed brown sugar Firmly packed to add deep, molasses-like sweetness and chewiness while aiding caramelization during baking; provides moisture and balances the banana’s fruitiness.
- 1/4 cup granulated sugar Granulated to contribute crispness and help create a slightly crunchy edge while balancing overall sweetness; dissolves into the dough to affect texture and spread.
- 1/4 cup unsalted butter, melted Melted to add rich fat that improves tenderness, mouthfeel, and spread while carrying flavor throughout the dough; warmed butter also helps dissolve sugars for even texture.
- 1 teaspoon baking soda Leavening to react with acids and gases in the dough, producing lift and lightness so cookies are not overly dense; measure accurately for proper rise.
- 1/2 teaspoon kosher salt Kosher to season and enhance all other flavors, balancing sweetness and intensifying chocolate and banana notes; its larger crystals help distribute saltiness evenly when mixed well.
- 1 1/2 cups all purpose flour All-purpose to provide structure through gluten development while keeping cookies tender when mixed lightly; measure by spooning and leveling for consistent texture.
- 4 ounces dark chocolate chunks or chocolate chips, chopped Chopped to supply concentrated chocolate pockets that melt into gooey bites, adding bitterness and richness that contrasts the sweet banana; use dark chips or chunks for intensity.
- 1/3 cup walnuts, finely chopped Finely chopped to contribute crunchy texture and a toasty, nutty flavor that complements banana and chocolate; sprinkle evenly for consistent bites in every cookie.
Instructions
- In a large bowl, add the mashed banana, brown sugar, sugar and melted butter. Whisk until smooth. Don’t be shy to break up any banana bits as you’re whisking. You want it pretty smooth. Add in the baking soda and salt. Mix again.: The bowl should smell sweet and slightly caramelized as you whisk, and the mixture should become glossy and homogeneous, showing no dry sugar pockets. The whisking helps dissolve some sugar and aerates the mix slightly, which contributes to a lighter crumb. If you notice large unmashed banana lumps, press them against the bowl sides with your whisk to smooth them out, because uneven banana pieces can create wet spots in the dough. A common mistake is underwhisking, which leaves gritty sugar and uneven texture, so take time until the surface looks cohesive and slightly shiny.
- Add the flour and, switching to a spatula, fold it in. Pour in the chocolate chunks or chips and walnuts. Fold them in until combined. Cover with plastic wrap and transfer to the fridge to chill for 1 hour.: When you incorporate the baking soda and kosher salt , pay attention to an even distribution so leavening is consistent across the dough. Mixing briefly should leave the batter smelling faintly of banana with a balanced salt background that perks up sweetness. The reason this step matters is that baking soda needs to be dispersed quickly to react uniformly; uneven mixing can make some cookies flatter or denser. Avoid overmixing here, which can dissolve too much structure and lead to excessively spread cookies.
- Preheat the oven to 350 degrees F. Line a baking sheet with parchment. Scoop out 6 balls of dough and roll each one in between your palms. Space them about 3 inches apart. Bake them in the oven for 10 to 12 minutes, until the edges are medium golden brown. Repeat with the remaining cookie dough. The cookies will be a bit puffy and will fall as they cool. Allow them to cool for about 10 minutes.: As you introduce the all purpose flour , use gentle folding motions to preserve tenderness. You'll feel the dough thicken and become less sticky, transforming into a cohesive mass with soft resistance. The right texture is pliable but not overly wet, which signals the right balance for shaping. Folding preserves air and prevents gluten overdevelopment, which is why aggressive stirring is a problem that can make cookies tough.
- Pour in the chocolate chunks or chips and walnuts. Fold them in until combined: The moment you add dark chocolate and walnuts , the dough becomes speckled and more texturally interesting. Visually, you want even distribution so each scoop has both chocolate and nut pieces. The folding action should be patient and measured, ensuring inclusions are not overworked into the dough. A common error is dumping add ins and stirring vigorously, which can crush nuts and overheat chocolate, creating uneven pockets instead of melty ribbons.
- Cover with plastic wrap and transfer to the fridge to chill for 1 hour: Chilling firms the dough so cookies hold shape and develop better texture during baking. You will notice the dough become denser and cooler to the touch, which helps control spread. The cold dough also deepens flavors as the ingredients meld. Skipping this step often results in overly flat cookies, so try to be patient and chill for the full hour when possible.
- Preheat the oven to 350 degrees F: As the oven warms, the kitchen will carry warm, toasty notes that hint at the caramelization to come. Preheating ensures even baking from the start, which is crucial for achieving cookies that set at the edges while staying soft inside. An error I see often is placing dough into a not fully preheated oven, which leads to uneven spread and inconsistent browning. Use an oven thermometer if your oven runs hot or cool to match the temperature precisely.
- Line a baking sheet with parchment: Lining the sheet prevents sticking and promotes even browning on the bottom without extra fat. The parchment also insulates slightly, giving a gentler heat to the cookie base so it can set without burning. If you skip this, cookies can stick and break when you try to remove them. Make sure the parchment lies flat so cookies bake evenly and don't ride up one side.
- Scoop out 6 balls of dough and roll each one in between your palms: Rolling creates smooth tops and encourages even baking. The dough should feel cool and slightly tacky, and rolling helps compact any air pockets for a uniform rise. Spacing them about 3 inches apart gives them room to spread and brown at the edges. Overpacking the tray leads to merged cookies, so use multiple sheets if needed rather than crowding.
- Bake them in the oven for 10 to 12 minutes, until the edges are medium golden brown: While baking, the kitchen aroma will turn richer, with notes of caramelized sugar and warm banana . Look for edges that have taken on medium golden color while centers remain slightly puffed, which indicates they will set but stay tender. The timing produces a cookie with a soft center; baking longer makes them firmer throughout. A common mistake is waiting until the center looks fully set, but cookies often finish setting as they cool.
- Repeat with the remaining cookie dough: Working in batches preserves oven heat and consistent results. Transfer baked cookies to a cooling rack before putting another tray in, because overcrowding the oven can lower the internal temperature and change bake times. A mistake is leaving cookies on the hot sheet for too long, which causes carryover baking and makes them drier, so move them after a brief rest.
- The cookies will be a bit puffy and will fall as they cool. Allow them to cool for about 10 minutes: As they rest, centers settle into a tender, moist crumb while edges become slightly firmer, giving the characteristic texture interplay. The cooling period also allows flavors to marry, and you will notice the dark chocolate firm up into ribbons that cut cleanly when bitten. Resist the temptation to eat them hot from the sheet, because they need this time to finish setting and to achieve the right chew.
Notes
- Banana ripeness: Use moderately ripe banana with brown freckles for balanced sweetness and moisture, avoiding overly mushy fruit that adds excess liquid.
- Sweetness level: Reduce the granulated sugar by a tablespoon or two if you prefer a less sweet cookie, keeping the brown sugar the same to preserve chewiness.
- Chocolate choice: Opt for varied sizes of dark chocolate chunks so you get both melty pockets and small chocolate flecks throughout.
- Nut texture: Finely chop walnuts for a subtle crunch that blends with the cookie, or keep larger pieces if you want more pronounced bites.
- Freezing dough: Scoop dough into balls and freeze on a tray, then transfer to a bag; bake from frozen with an extra minute or two added to the time.
- Chill time flexibility: If you are short on time, refrigerate for 30 minutes but expect slightly more spread; the full hour yields the best shape and texture.