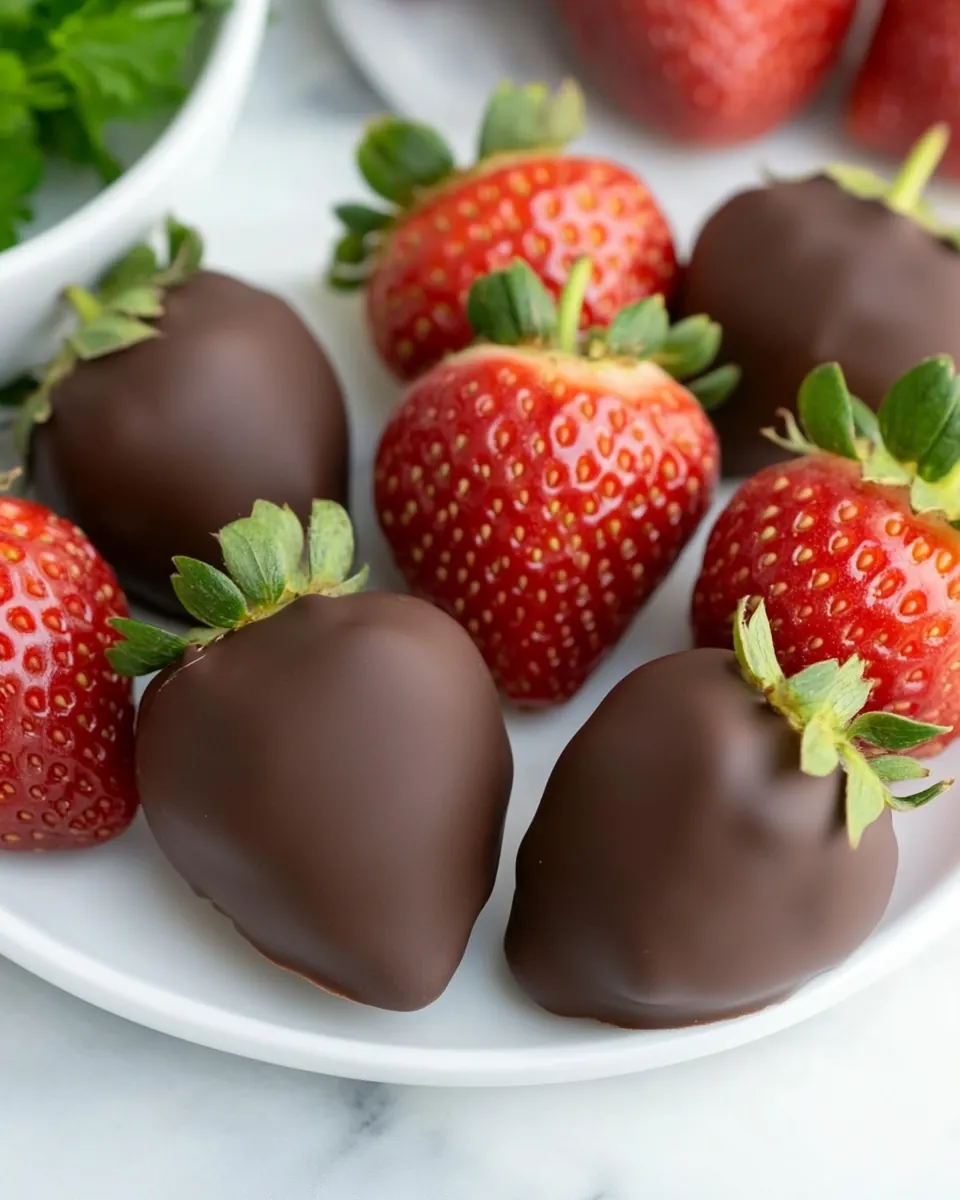
Keto Chocolate Covered Strawberries
Keto Chocolate Covered Strawberries are one of those simple treats I reach for when I want something impressive without a lot of fuss. The first time I made them I was juggling a busy afternoon and a last minute idea for a small celebration, and these berries felt like the perfect solution, elegant yet unfussy. I remember the sweet snap of the chocolate against the juicy bite of the strawberries, and how everyone lingered over them, savoring each mouthful.
Since then I often turn to Keto Chocolate Covered Strawberries when I want a quick, refined dessert that still fits a low carb approach. I like that they feel special for a date night, yet they are straightforward enough to bring to a casual get together. I’ve learned small tricks along the way that keep the chocolate glossy and the fruit fresh, and they make all the difference when you want that professional look without the extra time.
Recipe Snapshot
4 mins
2 mins
2 mins
Easy
150 kcal
American
Keto, Gluten-Free
Desserts
Microwave safe bowl, Whisk, Parchment paper, Large plate
Why This Keto Chocolate Covered Strawberries Is a Winner
Quick to Make, Big on Presentation
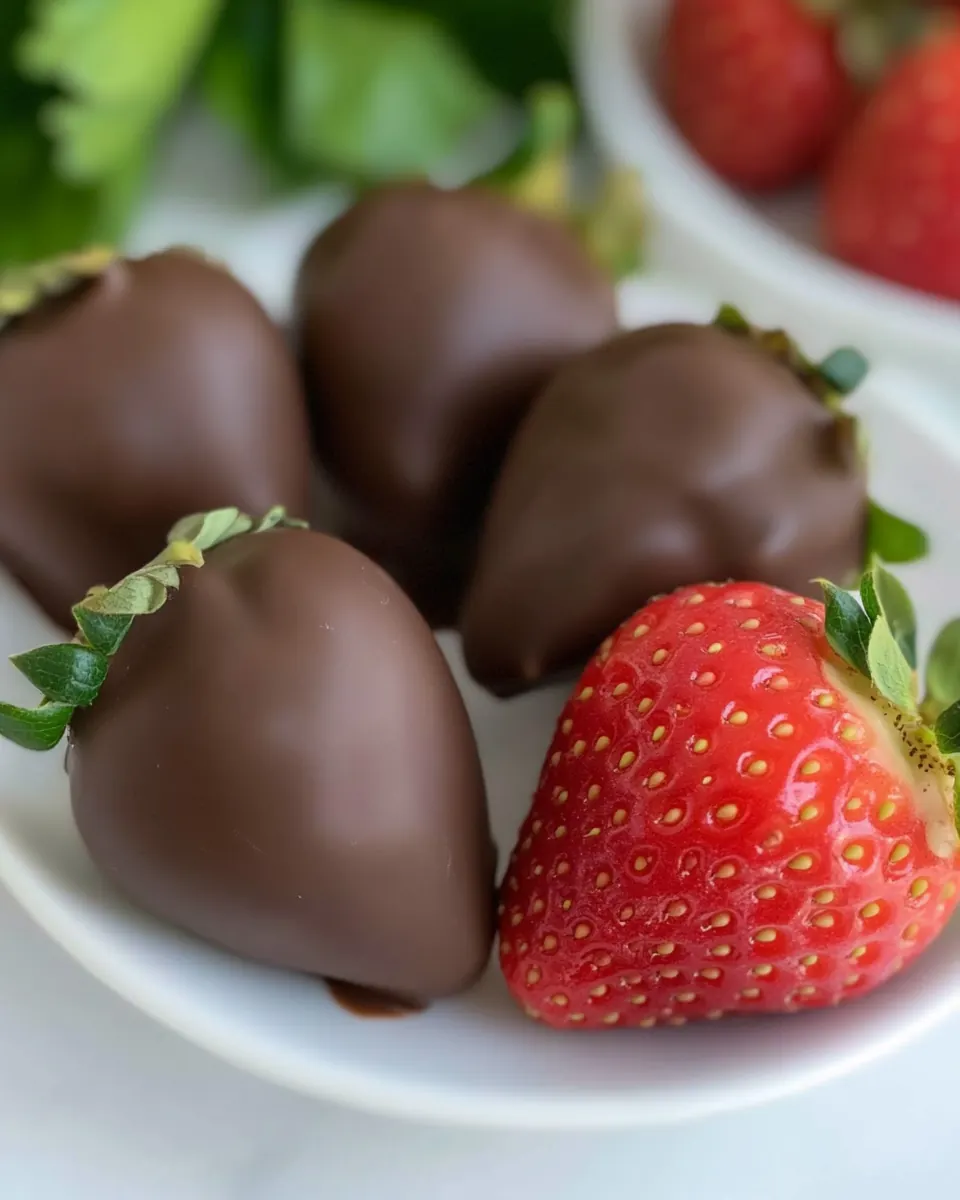
I love how Keto Chocolate Covered Strawberries take minutes to assemble yet look like something from a patisserie. The contrast between the deep chocolate and the bright strawberries makes them feel festive, and you do not need fancy equipment to get that effect. When guests arrive, I can have a platter ready that looks intentional, not thrown together.
Satisfying Keto Friendly Treat
For anyone watching carbs, these deliver the chocolate fix without derailing a day of careful eating. Using keto chocolate chips keeps sugar low while preserving that rich mouthfeel you want from a dessert. I find this is a great compromise that keeps things inclusive when I am hosting friends with different diets.
Versatile for Occasions
I reach for this recipe for celebrations like Valentine’s Day, spring gatherings, or impromptu dessert moments. They pair beautifully with bubbly or a pot of coffee, and they scale easily if I need to make more. Since they store well chilled or at room temperature for a couple of days, they are forgiving for party prep.
Minimal Ingredients, Maximum Impact
With only a few items required, the technique becomes the star. Melting keto chocolate chips with a bit of coconut oil yields a glossy coating that sets nicely on the strawberries. I appreciate how few moving parts there are, it lets me focus on finish and plating rather than complicated steps.
Kid Friendly, Yet Elegant
Kids love dipping and decorating, and adults appreciate the grown up flavor. I often involve my niece or nephew in the dipping step, it keeps them busy and gives me a moment to chat with guests. The texture is universally appealing, crunchy shell and juicy fruit beneath, which makes these a crowd pleaser across ages.
Ingredients Required for Keto Chocolate Covered Strawberries

These ingredients are intentionally minimal, each playing a clear role. The strawberries bring bright acidity and fresh moisture, the keto chocolate chips deliver the rich coating and flavor, and the coconut oil helps the chocolate melt smoothly and set with a nice sheen. Together they produce a balanced bite that feels indulgent but stays simple.
- 24 medium strawberries: Rinse and hull before use to ensure berries are clean and free of stems; provide a fresh, juicy base that contrasts with the firm chocolate coating. Use medium-sized berries for even coating and consistent serving portions, and pat dry thoroughly so chocolate adheres properly without seizing. Arrange with stems intact for easier dipping and an attractive presentation suitable for gifting or dessert platters.
- 1 cup keto chocolate chips: Melt and temper gently to create a smooth, glossy coating that sets firmly at room temperature and provides a rich chocolate flavor without sugar. Choose keto-friendly chips formulated with low-carb sweeteners to maintain the recipe's carbohydrate goals while delivering satisfying sweetness and texture. Stir in small batches over low heat to prevent burning and ensure an even melt that is easy to dip.
- 1 teaspoon coconut oil: Melt and blend into the chocolate to improve flow and sheen, creating a silky texture that helps the coating set with a glossy finish. Use sparingly to avoid thinning chocolate too much; coconut oil also helps the chocolate release cleanly from the berries and prevents cracking once set. Allow the added fat to integrate fully for a uniform dip consistency and an appealing mouthfeel.
Directions for Keto Chocolate Covered Strawberries
These directions are straightforward and conversational, guiding you from clean fruit to glossy finished bites. I walk through sensory cues so you know when things look and smell right. Read them once, then dive in, and expect a calm, rewarding process.
- Wash your strawberries very well and pat them completely dry, ensuring there is no moisture on them.: Start by feeling the skin of each strawberry , it should be cool and slightly firm, not soft or squishy. The sound of the paper towel as you pat them dry is a small but satisfying step, and you will notice small beads of water disappear. This matters because any residual moisture will make the melted keto chocolate chips seize, leaving grainy, dull chocolate instead of a glossy coat. A common mistake is rushing this step, so allow yourself to let them air a few minutes after patting for extra assurance. If you skip drying, the chocolate will not cling properly and will form streaks or bubbles when set.
- Line a large plate with parchment paper. In a microwave safe bowl, add your chocolate chips and coconut oil and microwave until melted. Whisk together until combined.: When you lay the parchment paper down, you should hear the soft crinkle and see a smooth surface ready to catch each berry. This simple barrier prevents the chocolate from sticking, and it makes cleanup effortless. The parchment also gives the underside of the chocolate a matte, even finish, which contrasts nicely with the glossy top. One mistake is using wax paper instead of parchment, which can cause sticking; parchment is the reliable choice. If your plate is too small, the berries may touch and smear their coatings, so leave comfortable spacing between each.
- Dip each strawberry into the melted chocolate, covering 2/3 of the fruit. Place the chocolate covered strawberries onto the lined plate and let it sit for 30 minutes, or until the chocolate has firmed up.: As the keto chocolate chips and coconut oil warm, you will see the chips soften at the edges and the mixture begin to gleam, a key visual cue. Heat in short bursts, stirring between each, so you hear the soft, intermittent clinks of the spoon and see a velvety stream form when stirred. The reason for low interval heating is to avoid overheating, which can cause the chocolate to break and separate. A frequent error is microwaving too long in one go, which makes chocolate grainy and dull. Keep heat gentle, and you will end up with a smooth, shiny coating that tastes rich and melts on the tongue.
- Whisk together until combined.: When you whisk the melted mixture, the motion creates a silky texture and a faint sheen that signals proper emulsion between the keto chocolate chips and coconut oil . The sound of the whisk is soft and steady, and the chocolate should flow like warm syrup off the spoon. This step matters because it distributes the oil evenly, preventing thin spots or streaks when dipping. Overwhisking is rare but can incorporate air, which may leave tiny bubbles in the set chocolate; if this happens, let it rest briefly and stir slowly to smooth the surface.
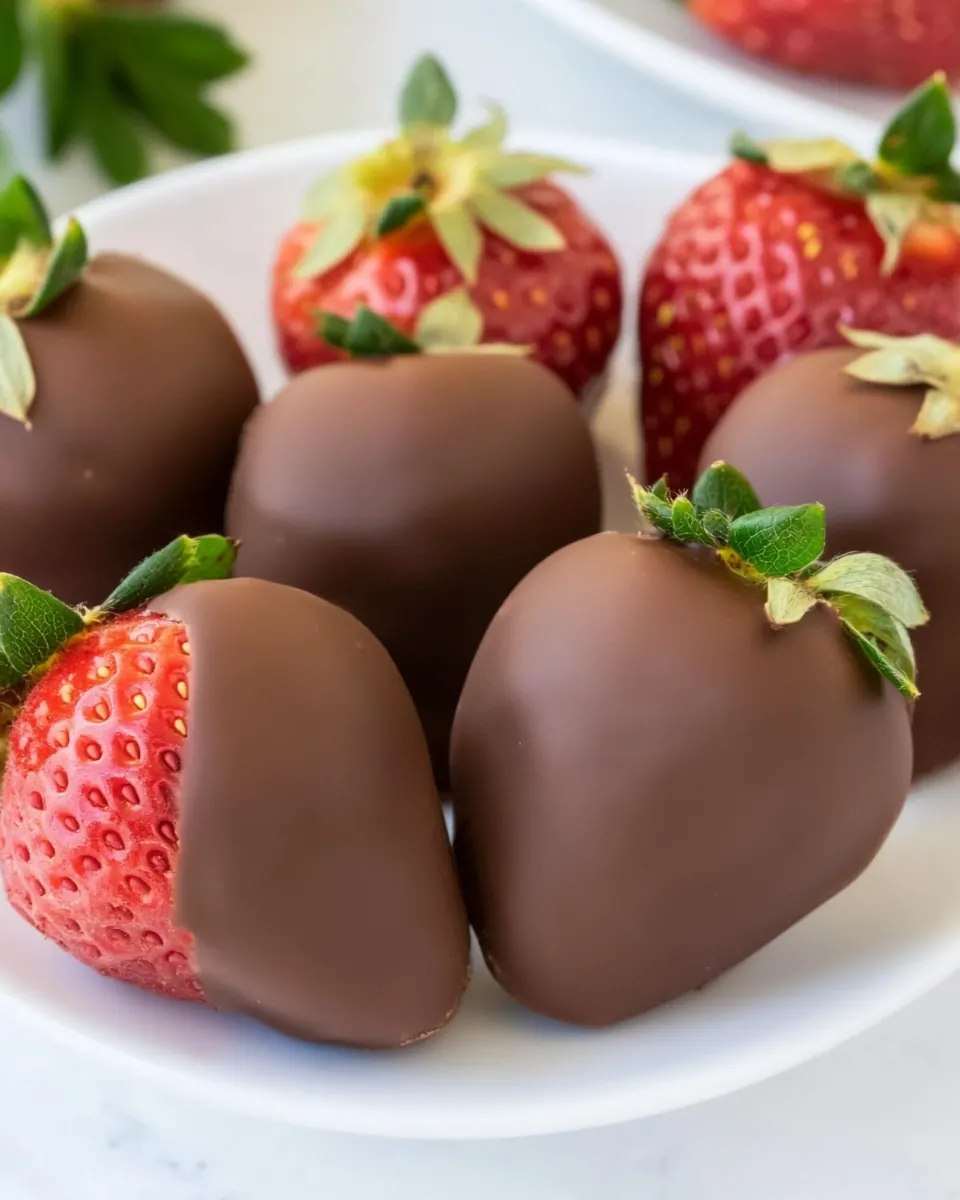
- Dip each strawberry into the melted chocolate, covering 2/3 of the fruit.: As you dip, notice the weight of the strawberry in your hand and the reassuring viscosity of the chocolate as it coats the surface without sliding off. Aim to submerge about two thirds so the green cap remains for an elegant handle and a color contrast. Gently twist or lift to allow excess chocolate to drip back into the bowl, watching for a smooth, even layer. Doing this slowly ensures the coating sets evenly; a common mistake is plunging too fast, which creates blobs and irregular coverage. If you see thick drips, lightly tap the berry against the bowl rim to remove them.
- Place the chocolate covered strawberries onto the lined plate and let it sit for 30 minutes, or until the chocolate has firmed up.: When you set the berries down, listen for a soft clunk as the chocolate makes contact with the parchment, then step back and let time do its work. In about 30 minutes the surface will lose its glossy stickiness and feel firm to the touch, indicating the keto chocolate chips have set. Temperature matters here, colder ambient air speeds setting but can cause condensation if moved straight to a cold fridge. Avoid stacking or crowding the berries because they will stick together. If the chocolate is still tacky after the waiting period, give it a few more minutes; rushing to transport them will smudge the finish.
Substitutions and Tips
I like sharing practical tips that actually change results in the kitchen. Below are focused suggestions and expansions based on the recipe, each designed to help you get consistent, beautiful Keto Chocolate Covered Strawberries. These are written as stand alone tips so you can refer to them while you work.
- Choose firm ripe berries: Select strawberries that are bright red with no soft spots, since firmness helps them hold the chocolate without leaking juices. If berries are underripe they can be tart and waterlogged, which will make the coating slip. If they are overripe they will become mushy when handled.
- Control moisture: After washing, pat each strawberry completely dry and let them sit on a towel for a few extra minutes. Even a small bead of water can cause the melted keto chocolate chips to seize and become grainy, so this small patience pays off in glossy results.
- Use the right melting method: Microwave in short intervals and stir frequently, or use a double boiler over low heat. Gentle heat prevents scorching and keeps the keto chocolate chips silky. If you must use a double boiler, ensure steam does not touch the bowl as condensation can drip in.
- Measure coconut oil carefully: One teaspoon of coconut oil thins the chocolate slightly and adds shine, but too much will make the coating soft at room temperature. If the chocolate seems too thick, add tiny increments, one quarter teaspoon at a time.
- Room temperature finish: Let the dipped strawberries set at room temperature initially to avoid condensation, then refrigerate if you plan to store them longer. Rapid cooling can cause bloom on the chocolate, a white film that changes appearance though not taste.
- Presentation matters: Arrange strawberries with stems facing out on a platter for an attractive display, and serve within a day for peak freshness. If preparing ahead, store them separated in a single layer to preserve the coating.
Serving Suggestions
Keto Chocolate Covered Strawberries make a lovely, simple centerpiece for many occasions. They are flexible in plating and pair well with light beverages or as a finishing touch to a dessert course. Below are detailed serving ideas and storage notes in list form so you can pick the one that suits your event.
- Elegant platter for Valentine celebrations: Arrange the strawberries on a wide platter with stems outward, creating a floral look that is ideal for intimate occasions like Valentine’s Day. Serve at room temperature so the chocolate is slightly soft and decadent.
- Casual gathering tray: For a brunch or spring gathering, place the strawberries on a long board mixed with small bowls of nuts or cheese for non keto guests, offering variety while keeping the focus on the chocolate dipped fruit.
- Party finger food: Provide parchment-lined trays with tongs so guests can pick without touching others, and refill as needed. The easy single bite nature makes these perfect for mingling events.
- Storage short term: Store leftovers at room temperature in an airtight container for up to two to three days, keeping them single layered to avoid sticking. This preserves texture and flavor for immediate enjoyment.
- Longer storage: For up to one week, refrigerate the berries in a single layer in an airtight container, but bring them to room temperature for a few minutes before serving to restore mouthfeel.
- Freezing option: Freeze in a single layer on a tray then transfer to a freezer safe container for up to two months. Expect some loss of chocolate sheen upon thawing, though flavor remains enjoyable.
FAQ
Conclusion
These Keto Chocolate Covered Strawberries are special because they pair a fresh, vibrant strawberry with a glossy, low carb chocolate coating in just minutes. The simplicity of the ingredients and the small technique details produce an elegant treat that feels celebratory yet approachable. I hope you give them a try the next time you want a quick dessert that looks intentional and tastes rich, they are one of my favorite go to sweets for hosting and quiet evenings alike.

Keto Chocolate Covered Strawberries
Equipment
- Microwave-safe Bowl
- Whisk
- Parchment Paper
- Large plate
Ingredients
- 24 medium strawberries Rinse and hull before use to ensure berries are clean and free of stems; provide a fresh, juicy base that contrasts with the firm chocolate coating. Use medium-sized berries for even coating and consistent serving portions, and pat dry thoroughly so chocolate adheres properly without seizing. Arrange with stems intact for easier dipping and an attractive presentation suitable for gifting or dessert platters.
- 1 cup keto chocolate chips Melt and temper gently to create a smooth, glossy coating that sets firmly at room temperature and provides a rich chocolate flavor without sugar. Choose keto-friendly chips formulated with low-carb sweeteners to maintain the recipe's carbohydrate goals while delivering satisfying sweetness and texture. Stir in small batches over low heat to prevent burning and ensure an even melt that is easy to dip.
- 1 teaspoon coconut oil Melt and blend into the chocolate to improve flow and sheen, creating a silky texture that helps the coating set with a glossy finish. Use sparingly to avoid thinning chocolate too much; coconut oil also helps the chocolate release cleanly from the berries and prevents cracking once set. Allow the added fat to integrate fully for a uniform dip consistency and an appealing mouthfeel.
Instructions
- Wash your strawberries very well and pat them completely dry, ensuring there is no moisture on them.: Start by feeling the skin of each strawberry , it should be cool and slightly firm, not soft or squishy. The sound of the paper towel as you pat them dry is a small but satisfying step, and you will notice small beads of water disappear. This matters because any residual moisture will make the melted keto chocolate chips seize, leaving grainy, dull chocolate instead of a glossy coat. A common mistake is rushing this step, so allow yourself to let them air a few minutes after patting for extra assurance. If you skip drying, the chocolate will not cling properly and will form streaks or bubbles when set.
- Line a large plate with parchment paper. In a microwave safe bowl, add your chocolate chips and coconut oil and microwave until melted. Whisk together until combined.: When you lay the parchment paper down, you should hear the soft crinkle and see a smooth surface ready to catch each berry. This simple barrier prevents the chocolate from sticking, and it makes cleanup effortless. The parchment also gives the underside of the chocolate a matte, even finish, which contrasts nicely with the glossy top. One mistake is using wax paper instead of parchment, which can cause sticking; parchment is the reliable choice. If your plate is too small, the berries may touch and smear their coatings, so leave comfortable spacing between each.
- Dip each strawberry into the melted chocolate, covering 2/3 of the fruit. Place the chocolate covered strawberries onto the lined plate and let it sit for 30 minutes, or until the chocolate has firmed up.: As the keto chocolate chips and coconut oil warm, you will see the chips soften at the edges and the mixture begin to gleam, a key visual cue. Heat in short bursts, stirring between each, so you hear the soft, intermittent clinks of the spoon and see a velvety stream form when stirred. The reason for low interval heating is to avoid overheating, which can cause the chocolate to break and separate. A frequent error is microwaving too long in one go, which makes chocolate grainy and dull. Keep heat gentle, and you will end up with a smooth, shiny coating that tastes rich and melts on the tongue.
- Whisk together until combined.: When you whisk the melted mixture, the motion creates a silky texture and a faint sheen that signals proper emulsion between the keto chocolate chips and coconut oil . The sound of the whisk is soft and steady, and the chocolate should flow like warm syrup off the spoon. This step matters because it distributes the oil evenly, preventing thin spots or streaks when dipping. Overwhisking is rare but can incorporate air, which may leave tiny bubbles in the set chocolate; if this happens, let it rest briefly and stir slowly to smooth the surface.
- Dip each strawberry into the melted chocolate, covering 2/3 of the fruit.: As you dip, notice the weight of the strawberry in your hand and the reassuring viscosity of the chocolate as it coats the surface without sliding off. Aim to submerge about two thirds so the green cap remains for an elegant handle and a color contrast. Gently twist or lift to allow excess chocolate to drip back into the bowl, watching for a smooth, even layer. Doing this slowly ensures the coating sets evenly; a common mistake is plunging too fast, which creates blobs and irregular coverage. If you see thick drips, lightly tap the berry against the bowl rim to remove them.
- Place the chocolate covered strawberries onto the lined plate and let it sit for 30 minutes, or until the chocolate has firmed up.: When you set the berries down, listen for a soft clunk as the chocolate makes contact with the parchment, then step back and let time do its work. In about 30 minutes the surface will lose its glossy stickiness and feel firm to the touch, indicating the keto chocolate chips have set. Temperature matters here, colder ambient air speeds setting but can cause condensation if moved straight to a cold fridge. Avoid stacking or crowding the berries because they will stick together. If the chocolate is still tacky after the waiting period, give it a few more minutes; rushing to transport them will smudge the finish.
Notes
- Choose firm ripe berries: Select strawberries that are bright red with no soft spots, since firmness helps them hold the chocolate without leaking juices. If berries are underripe they can be tart and waterlogged, which will make the coating slip. If they are overripe they will become mushy when handled.
- Control moisture: After washing, pat each strawberry completely dry and let them sit on a towel for a few extra minutes. Even a small bead of water can cause the melted keto chocolate chips to seize and become grainy, so this small patience pays off in glossy results.
- Use the right melting method: Microwave in short intervals and stir frequently, or use a double boiler over low heat. Gentle heat prevents scorching and keeps the keto chocolate chips silky. If you must use a double boiler, ensure steam does not touch the bowl as condensation can drip in.
- Measure coconut oil carefully: One teaspoon of coconut oil thins the chocolate slightly and adds shine, but too much will make the coating soft at room temperature. If the chocolate seems too thick, add tiny increments, one quarter teaspoon at a time.
- Room temperature finish: Let the dipped strawberries set at room temperature initially to avoid condensation, then refrigerate if you plan to store them longer. Rapid cooling can cause bloom on the chocolate, a white film that changes appearance though not taste.
- Presentation matters: Arrange strawberries with stems facing out on a platter for an attractive display, and serve within a day for peak freshness. If preparing ahead, store them separated in a single layer to preserve the coating.