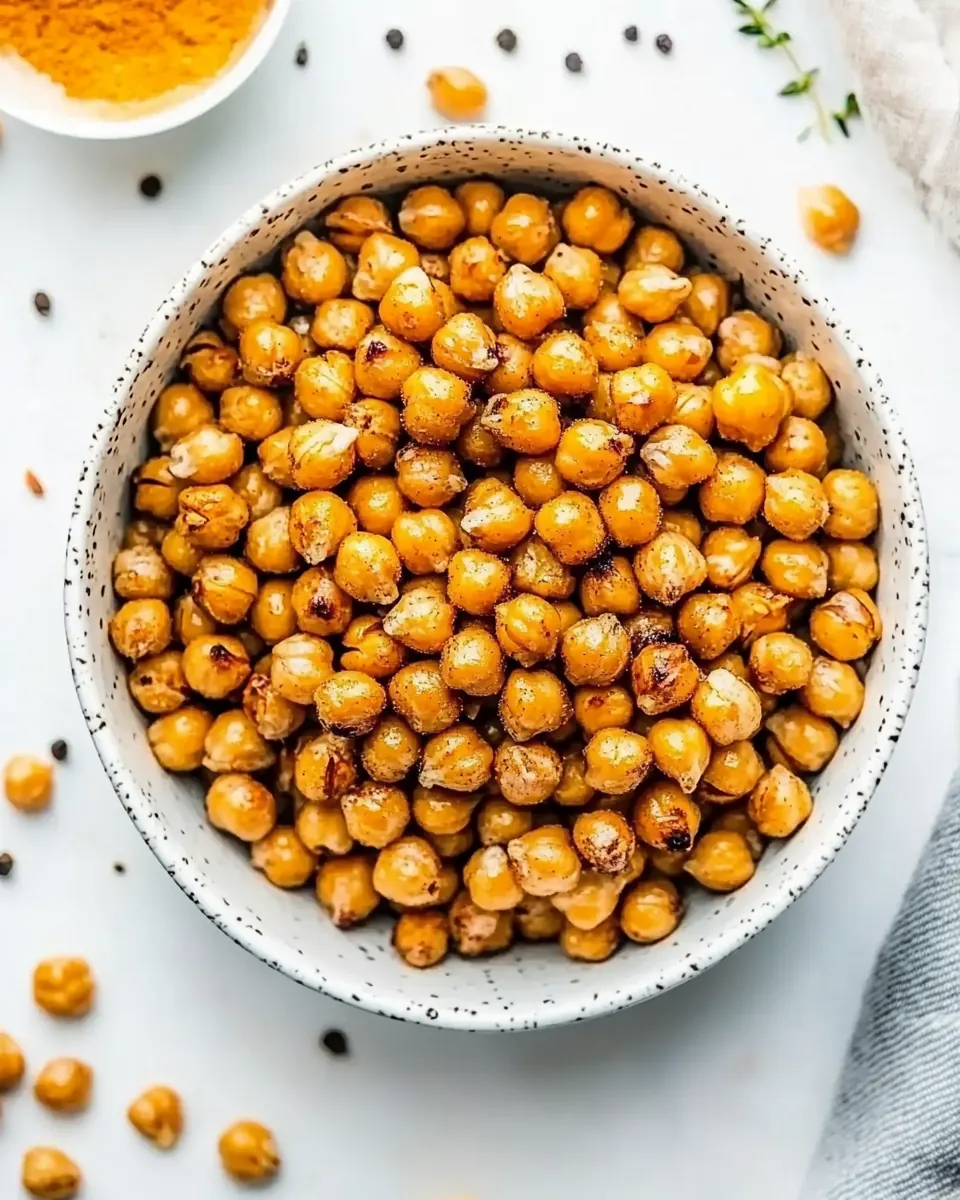
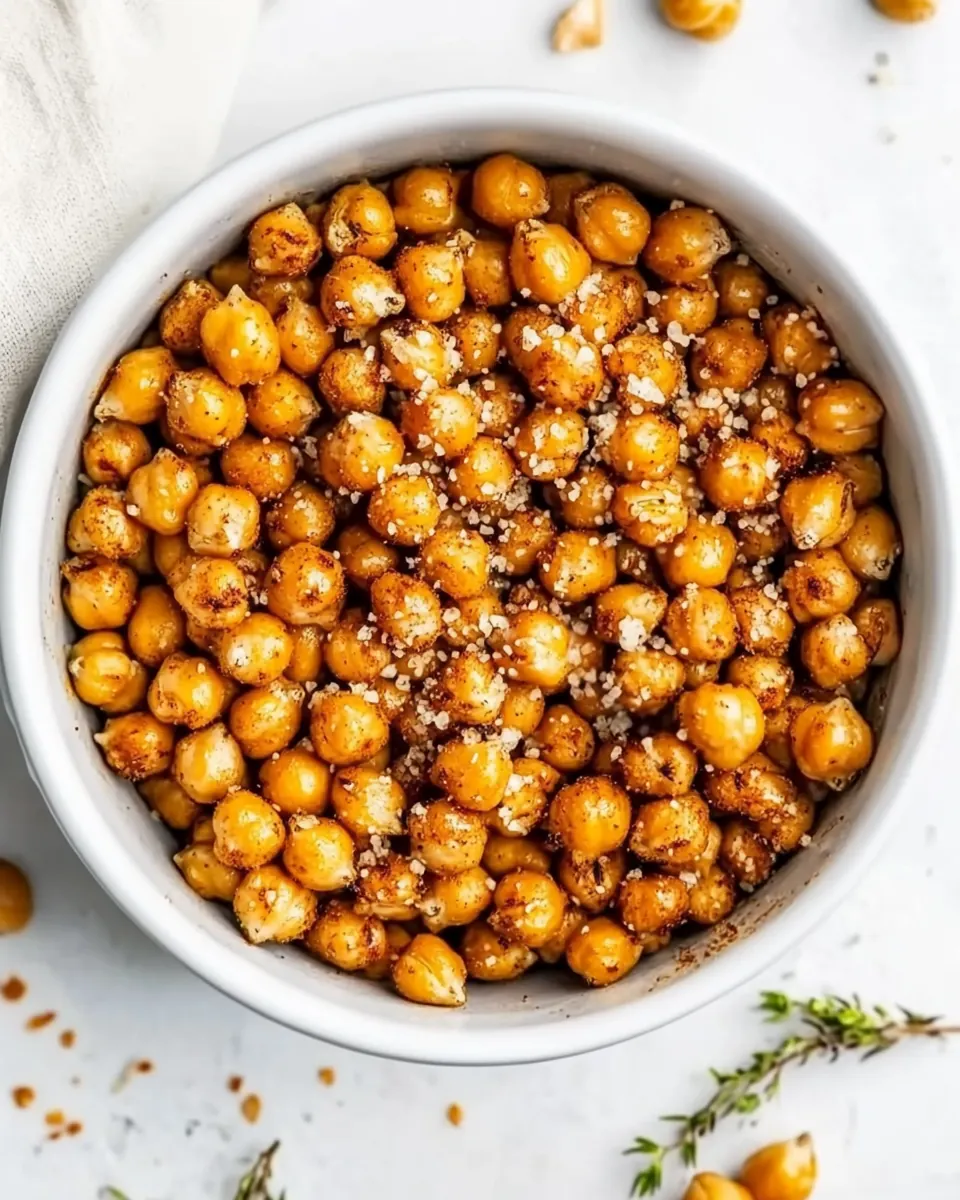
Air Fryer Chickpeas
Air Fryer Chickpeas became my go to crunchy snack on evenings when I wanted something effortless yet satisfying. I grabbed a can, a drizzle of olive oil, and a sprinkle of seasoning, and within minutes the apartment smelled warm and toasty. I remember the first time I made them, I was surprised at how transforming a simple can of chickpeas could be when given heat and space to crisp up.
There was one week when I had friends over for a casual game night, and I set a bowl of these out alongside a few other nibbles. People kept reaching back into the bowl, remarking on the contrast between the crunchy shell and the tender center of each chickpea. Over time I tweaked the seasoning for different moods, but the basic method stayed the same, and I came to rely on this little ritual when I wanted a fuss free, wholesome snack.
Recipe Snapshot
9 mins
1 mins
8 mins
Easy
130 kcal
Mediterranean
Vegan, Gluten-Free
Appetizers
Air Fryer, Bowl, Paper towel
The Beauty of This Air Fryer Chickpeas
1. Ultra easy crisp in minutes
I love that Air Fryer Chickpeas are one of those recipes that feels indulgent but takes almost no time. I can pop a can of chickpeas into the basket, set a short cook time, and get a crunchy result without babysitting a pan. This convenience makes them perfect for weekday cravings when I do not want to fuss.
2. Versatile seasoning canvas
These chickpeas take on flavors beautifully. I often switch between simple Italian seasoning, smoky paprika blends, or a bright taco style mix. Because the base is neutral, the oil helps spices adhere and caramelize slightly, giving each bite a complex, toasted flavor. I keep a jar of different spice mixes handy so I can change the mood in seconds.
3. Healthy crunch without deep frying
Using an air fryer gives me that fried texture with a fraction of the oil. I appreciate the lighter profile when I want snacks that feel satisfying but not heavy. The result still has that roasted aroma and a golden exterior, but without the greasy mouthfeel you get from deep frying.
4. Great for snacking or topping
I often scatter these over salads or bowls for added texture. They hold up well and stay crunchy for a while when stored properly. That versatility means I can prepare a batch ahead, use some as a snack, and the rest as a finishing touch on lunches for the week.
5. Minimal ingredients, maximum impact
The ingredient list is delightfully short, which is one reason I make them so often. With just chickpeas, olive oil, and a few seasonings like salt and pepper, the outcome feels greater than the sum of its parts. That simplicity is very appealing when my pantry is sparse but I still want something flavorful.
Ingredients You’ll Need for Air Fryer Chickpeas
These ingredients focus on texture and seasoning. The key players are the canned chickpeas for convenience and structure, the olive oil to help spices adhere and promote browning, and the simple seasonings to lift the flavor. Together they create a balance of crunchy exterior and tender interior.
- 15 ounces canned chickpeas: Drain and dry thoroughly to remove excess liquid, allowing the chickpeas to crisp properly in the air fryer; shaking off loose skins improves texture and prevents steaming. Provide the main protein and hearty base of the snack, delivering a creamy interior once roasted. Enhance flavor absorption by tossing with oil and seasonings before cooking.
- 1 tablespoon olive oil: Coat evenly to promote browning and crispness during air frying, helping spices adhere to the chickpeas for balanced flavor. Contribute healthy fats that assist in achieving a golden, crunchy exterior without deep frying. Allow small amounts to distribute across the beans for optimal texture.
- 1/2 teaspoons salt: Season lightly to elevate overall flavor and help balance the richness from the oil; adjust amount to taste to avoid over-salting. Enhance natural nuttiness of the chickpeas while supporting crisp exterior formation. Dissolve into the surface when mixed for even seasoning.
- 1/4 teaspoon pepper: Add mild heat and a subtle bite to contrast the chickpeas' creaminess, sharpening the overall profile without overpowering other seasonings. Contribute to the savory finish and help highlight herbs and other spices. Distribute sparingly to maintain balanced seasoning.
- 1 teaspoon Italian seasoning (optional): Optional herb blend to introduce aromatic complexity and Mediterranean notes when used, complementing salt and pepper without overwhelming the snack. Provide layers of flavor such as oregano, basil, and thyme that pair well with roasted chickpeas. Sprinkle or mix in before air frying for best infusion.
Instructions for Air Fryer Chickpeas
These instructions walk you through a short and deliberate process to achieve the best crunch. I like to think of this as a sequence of small attentions to detail, from drying to tossing and giving the chickpeas room to breathe in the basket.
- Preheat the air fryer to 190 C/375 F.: The moment the warm, dry air fills the basket you will notice a light, toasty scent that signals readiness. Preheating creates an immediate blast of heat that helps the exterior of the chickpeas begin to crisp quickly, preventing them from becoming soggy. A common mistake is skipping preheat, which leads to uneven texture because the chickpeas heat slowly and release moisture. If your air fryer has hotspots, rotate the basket briefly after the first two minutes to encourage even browning.
- Drain and rinse the chickpeas, then pat them completely dry with a paper towel.: As you rinse, the water will remove the starchy canning liquid and any residue that can interfere with crisping. When you pat each chickpea dry, you are removing surface moisture that would otherwise steam during cooking, preventing the crunchy shell from forming. You should feel the beans go from slick to slightly rough under your fingers. A frequent error is rushing this step; any leftover dampness leads to softer results, so take your time and use multiple towels if needed.
- In a bowl, toss the chickpeas with olive oil, salt, pepper, and Italian seasoning.: The moment the olive oil coats the legumes, you will see the spices begin to cling and the mixture develop a glossy sheen. Tossing by hand ensures each chickpea is evenly seasoned, so you get consistent flavor in every bite. The oil also helps promote Maillard browning during the cook. One trap to avoid is adding too much oil, which can cause the chickpeas to steam rather than crisp, leaving them limp and greasy.
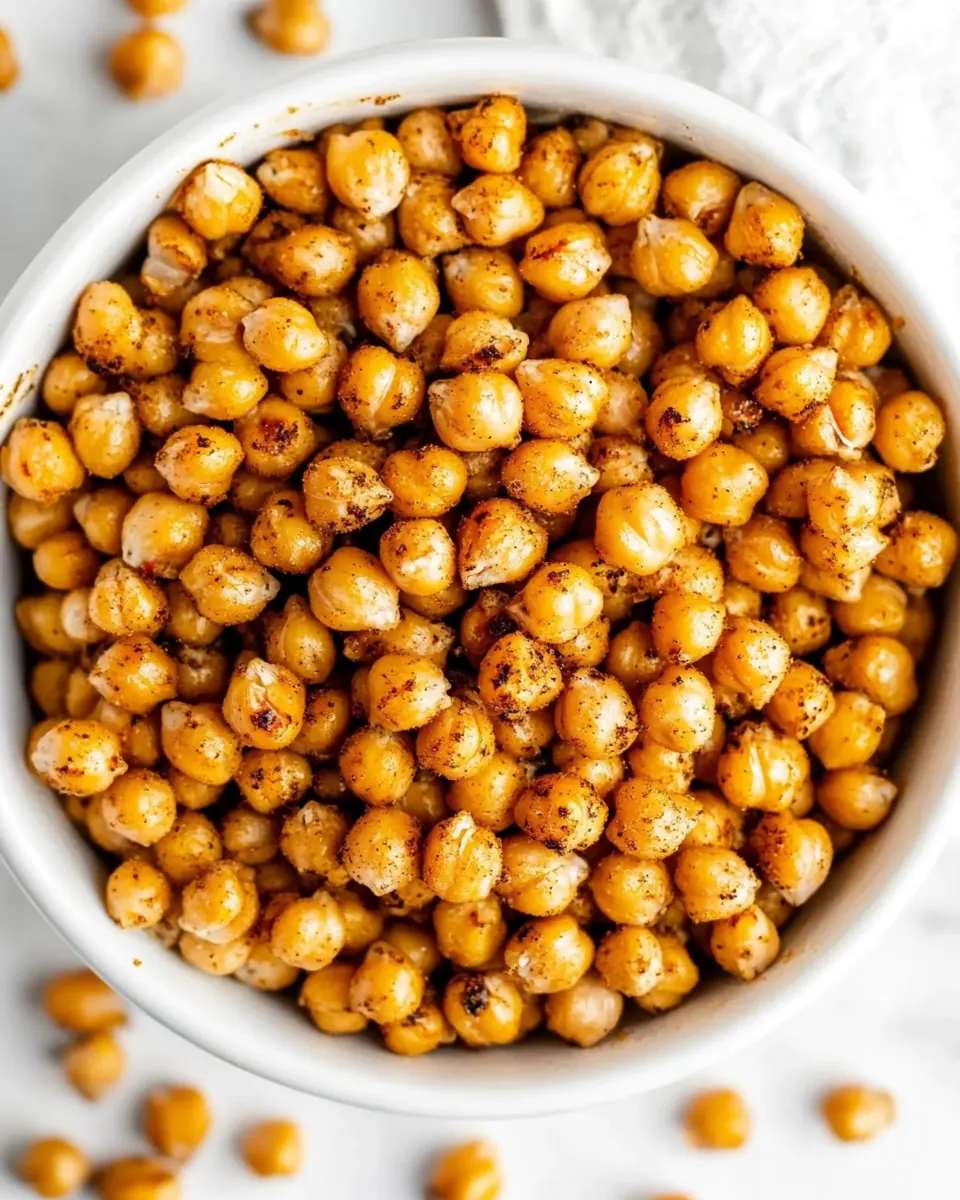
- Spread the chickpeas in a single layer in the basket. Cook for 8 minutes, shaking the basket every 4 minutes until crispy.: As the air circulates, you will hear a soft crackling and start to see a light golden color develop. Shaking helps separate the pieces so hot air reaches all sides, resulting in uniform texture. The aroma will shift from faintly toasted to richly roasted. If you overcrowd the basket, they will steam together and not crisp properly, so keep them in a single layer and work in batches if necessary. Watch the color closely in the last minute to avoid burning.
- Let them cool for a few minutes, as they get crispier as they cool down.: When removed, the surface might still feel slightly tender, but as they cool they firm up and reach peak crunchiness. The cooling stage also mellow the immediate heat and lets flavors settle into the interior. Avoid tasting them straight from the fryer since they can be hot enough to burn, and resist storing them while warm because trapped steam will make them soggy. If they lose crispness later, a short reheat in the air fryer for a minute or two can revive them.
Tips for Success
These tips are what I rely on to get predictable crispiness. A few small habits, like thorough drying and single layering, make a huge difference. Below I expanded practical points into detailed guidance so you can replicate the result every time.
- Thorough Drying: Make sure the chickpeas are completely dry after rinsing. Lay them out on a clean towel and press gently, swapping to dry towels if necessary. Any leftover moisture creates steam in the air fryer and prevents the surface from becoming crisp. I often let them sit for five minutes while I prep the rest of the ingredients to ensure they are bone dry.
- Light Oil Coating: One tablespoon of olive oil for a can of chickpeas is usually enough. Toss gently so they are evenly coated without pooling oil at the bottom of the bowl. Too much oil leads to greasy texture and can mask the spices, while too little makes the seasoning flake off during cooking.
- Even Spicing: Mix spices and salt in a small bowl before tossing with the chickpeas to ensure even distribution. If you add herbs straight from a jar, they can clump; pre mixing prevents pockets of intense flavor. Taste a single bean after cooking and adjust future batches based on that feedback.
- Single Layer Cooking: Arrange the chickpeas in a single layer in the basket so hot air circulates freely. Crowding causes steaming and uneven browning. If you need more than one tray, rotate them halfway through the cook time to ensure consistent results.
- Mid Cook Agitation: Shake the basket or use tongs every few minutes to break apart clusters. This exposes more surface area to the circulating hot air and prevents spots from burning. A gentle shake works well, and if you see uneven browning, give them a careful stir with tongs.
- Flavor Variations: Experiment with the included seasoning ideas by applying them after a quick reheat. For delicate finishes like grated cheese, add it in the last minute so it melts but does not burn. Stronger spice blends can be applied before cooking to deepen their flavor through toasting.
What to Pair With Air Fryer Chickpeas
These crunchy chickpeas are adaptable and can be served in many contexts. Whether you want a snack, a salad topper, or a party bowl, they add texture and savory flavor. Below are serving ideas, storage notes, and seasonal suggestions formatted as a list for easy scanning.
- As a snack: Serve cooled chickpeas in a bowl for casual nibbling during movie night or when friends drop by. Their crunchy texture makes them satisfying on their own.
- Salad topping: Sprinkle over leafy greens to add contrast to soft vegetables and dressings. They provide protein and crunch for a more interesting mouthfeel.
- Bowl enhancer: Add to grain bowls or roasted vegetable bowls for texture and a nutty flavor that complements grains like quinoa or rice.
- Party appetizer: Place alongside other small bites for grazing. Their portability makes them ideal for buffet style serving during gatherings.
- Storage tips: Store completely cooled chickpeas in an airtight container at room temperature for up to three days. If they soften, refresh them in the air fryer for one to two minutes to restore crispness.
- Seasonal pairings: In cooler months, pair with warm roasted vegetables and spiced dips. In warmer months, scatter over chilled salads or grain bowls for a light crunchy element.
FAQ
Conclusion
Air Fryer Chickpeas stand out because they transform a humble can into a crunchy, flavorful snack with minimal effort. The combination of thorough drying, a light oil coating, and quick high heat yields a texture that satisfies like a fried treat but feels lighter and cleaner. Give this recipe a try the next time you want a simple, nutritious nibble that doubles as a salad topper or party bite. You might be surprised how often you reach for this versatile, crunchy staple once it becomes part of your snack rotation.
Air Fryer Chickpeas
Equipment
- Air Fryer
- Bowl
- Paper towel
Ingredients
- 15 ounces canned chickpeas Drain and dry thoroughly to remove excess liquid, allowing the chickpeas to crisp properly in the air fryer; shaking off loose skins improves texture and prevents steaming. Provide the main protein and hearty base of the snack, delivering a creamy interior once roasted. Enhance flavor absorption by tossing with oil and seasonings before cooking.
- 1 tablespoon olive oil Coat evenly to promote browning and crispness during air frying, helping spices adhere to the chickpeas for balanced flavor. Contribute healthy fats that assist in achieving a golden, crunchy exterior without deep frying. Allow small amounts to distribute across the beans for optimal texture.
- 1/2 teaspoons salt Season lightly to elevate overall flavor and help balance the richness from the oil; adjust amount to taste to avoid over-salting. Enhance natural nuttiness of the chickpeas while supporting crisp exterior formation. Dissolve into the surface when mixed for even seasoning.
- 1/4 teaspoon pepper Add mild heat and a subtle bite to contrast the chickpeas' creaminess, sharpening the overall profile without overpowering other seasonings. Contribute to the savory finish and help highlight herbs and other spices. Distribute sparingly to maintain balanced seasoning.
- 1 teaspoon Italian seasoning optional Optional herb blend to introduce aromatic complexity and Mediterranean notes when used, complementing salt and pepper without overwhelming the snack. Provide layers of flavor such as oregano, basil, and thyme that pair well with roasted chickpeas. Sprinkle or mix in before air frying for best infusion.
Instructions
- Preheat the air fryer to 190 C/375 F.: The moment the warm, dry air fills the basket you will notice a light, toasty scent that signals readiness. Preheating creates an immediate blast of heat that helps the exterior of the chickpeas begin to crisp quickly, preventing them from becoming soggy. A common mistake is skipping preheat, which leads to uneven texture because the chickpeas heat slowly and release moisture. If your air fryer has hotspots, rotate the basket briefly after the first two minutes to encourage even browning.
- Drain and rinse the chickpeas, then pat them completely dry with a paper towel.: As you rinse, the water will remove the starchy canning liquid and any residue that can interfere with crisping. When you pat each chickpea dry, you are removing surface moisture that would otherwise steam during cooking, preventing the crunchy shell from forming. You should feel the beans go from slick to slightly rough under your fingers. A frequent error is rushing this step; any leftover dampness leads to softer results, so take your time and use multiple towels if needed.
- In a bowl, toss the chickpeas with olive oil, salt, pepper, and Italian seasoning.: The moment the olive oil coats the legumes, you will see the spices begin to cling and the mixture develop a glossy sheen. Tossing by hand ensures each chickpea is evenly seasoned, so you get consistent flavor in every bite. The oil also helps promote Maillard browning during the cook. One trap to avoid is adding too much oil, which can cause the chickpeas to steam rather than crisp, leaving them limp and greasy.
- Spread the chickpeas in a single layer in the basket. Cook for 8 minutes, shaking the basket every 4 minutes until crispy.: As the air circulates, you will hear a soft crackling and start to see a light golden color develop. Shaking helps separate the pieces so hot air reaches all sides, resulting in uniform texture. The aroma will shift from faintly toasted to richly roasted. If you overcrowd the basket, they will steam together and not crisp properly, so keep them in a single layer and work in batches if necessary. Watch the color closely in the last minute to avoid burning.
- Let them cool for a few minutes, as they get crispier as they cool down.: When removed, the surface might still feel slightly tender, but as they cool they firm up and reach peak crunchiness. The cooling stage also mellow the immediate heat and lets flavors settle into the interior. Avoid tasting them straight from the fryer since they can be hot enough to burn, and resist storing them while warm because trapped steam will make them soggy. If they lose crispness later, a short reheat in the air fryer for a minute or two can revive them.
Notes
- Thorough Drying: Make sure the chickpeas are completely dry after rinsing. Lay them out on a clean towel and press gently, swapping to dry towels if necessary. Any leftover moisture creates steam in the air fryer and prevents the surface from becoming crisp. I often let them sit for five minutes while I prep the rest of the ingredients to ensure they are bone dry.
- Light Oil Coating: One tablespoon of olive oil for a can of chickpeas is usually enough. Toss gently so they are evenly coated without pooling oil at the bottom of the bowl. Too much oil leads to greasy texture and can mask the spices, while too little makes the seasoning flake off during cooking.
- Even Spicing: Mix spices and salt in a small bowl before tossing with the chickpeas to ensure even distribution. If you add herbs straight from a jar, they can clump; pre mixing prevents pockets of intense flavor. Taste a single bean after cooking and adjust future batches based on that feedback.
- Single Layer Cooking: Arrange the chickpeas in a single layer in the basket so hot air circulates freely. Crowding causes steaming and uneven browning. If you need more than one tray, rotate them halfway through the cook time to ensure consistent results.
- Mid Cook Agitation: Shake the basket or use tongs every few minutes to break apart clusters. This exposes more surface area to the circulating hot air and prevents spots from burning. A gentle shake works well, and if you see uneven browning, give them a careful stir with tongs.
- Flavor Variations: Experiment with the included seasoning ideas by applying them after a quick reheat. For delicate finishes like grated cheese, add it in the last minute so it melts but does not burn. Stronger spice blends can be applied before cooking to deepen their flavor through toasting.