Small Batch Skillet Blondie
Small Batch Skillet Blondie started showing up in my life on a weeknight when I wanted something comforting but not overwhelming, and I could only spare a single skillet and a few minutes of attention. I remember heating the oven while the apartment hummed, and thinking how nice it was to make a treat that did not produce a mountain of leftovers. I love that this version is intimate and forgiving, meant for two people to share, split straight from the pan while it is still warm.
On that particular evening I had a craving for something buttery and chewy with pockets of melted chips, so I pulled together a few pantry basics and a handful of mix ins. The first bite was warm, slightly gooey in the center, and nicely caramelized at the edges. It felt like a dessert hug without the ceremony, perfect after a long day. Ever since, I keep this method in my back pocket for spur of the moment gatherings, movie nights, or when I want to treat a friend without making a fuss.
Recipe Snapshot
30 mins
10 mins
20 mins
Easy
220 kcal
American
Gluten-Free, Low FODMAP
Desserts
Cast iron skillet, Oven, Measuring cups, Mixing bowl, Spatula
Why This Small Batch Skillet Blondie Stands Out
One pan, big flavor
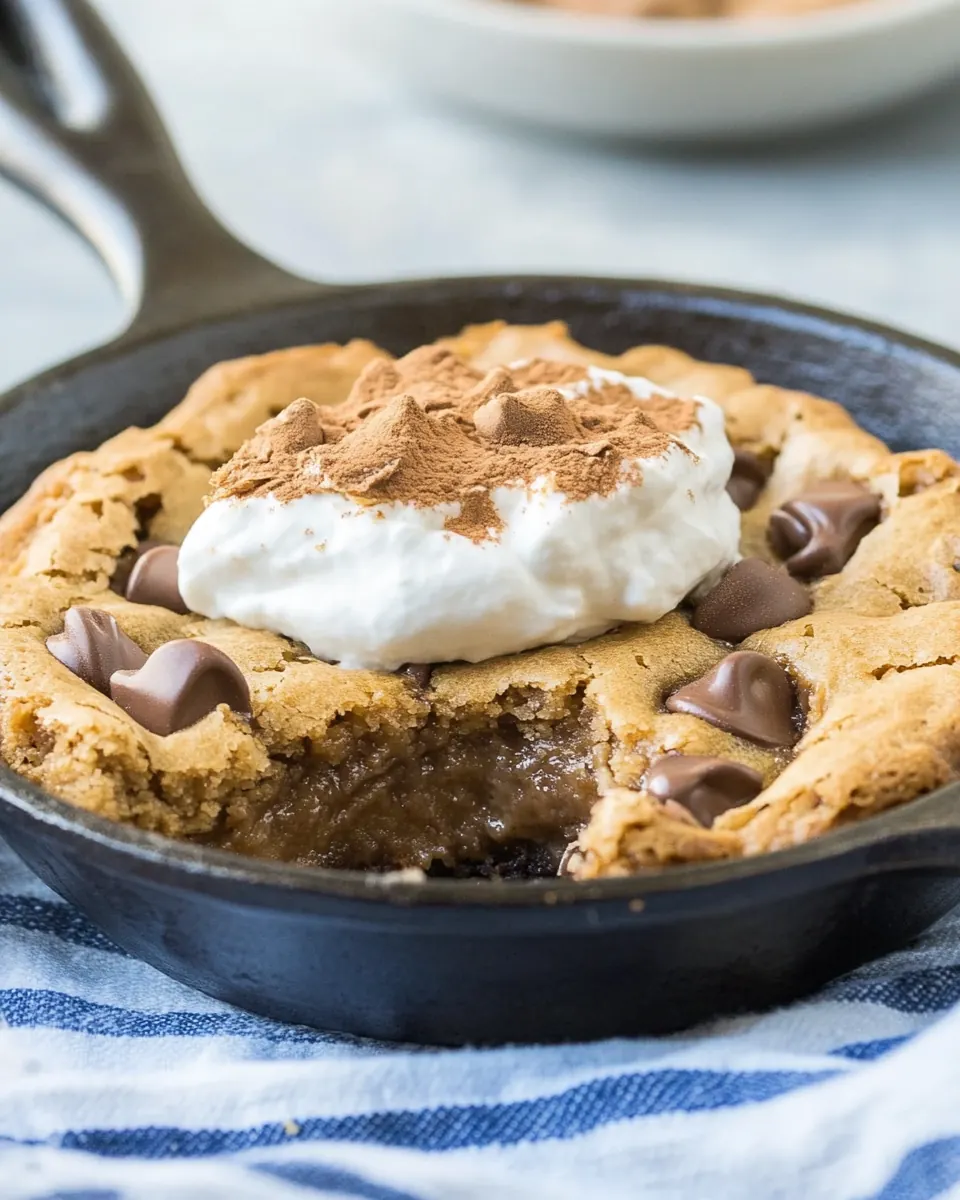
I adore how Small Batch Skillet Blondie delivers intense flavor with minimal cleanup. Cooking in a small cast iron skillet concentrates heat, creating crispy, golden edges while the center stays tender and slightly gooey. I like that technique because it gives you contrast in texture, which makes each bite more interesting.
Perfect for two
We seldom need a dozen servings, and I love that this recipe respects portion control without sacrificing decadence. I find it more enjoyable to savor a warm blondie right away rather than stare at a pile of leftovers. For quiet evenings or spontaneous guests, it feels just right.
Highly customizable
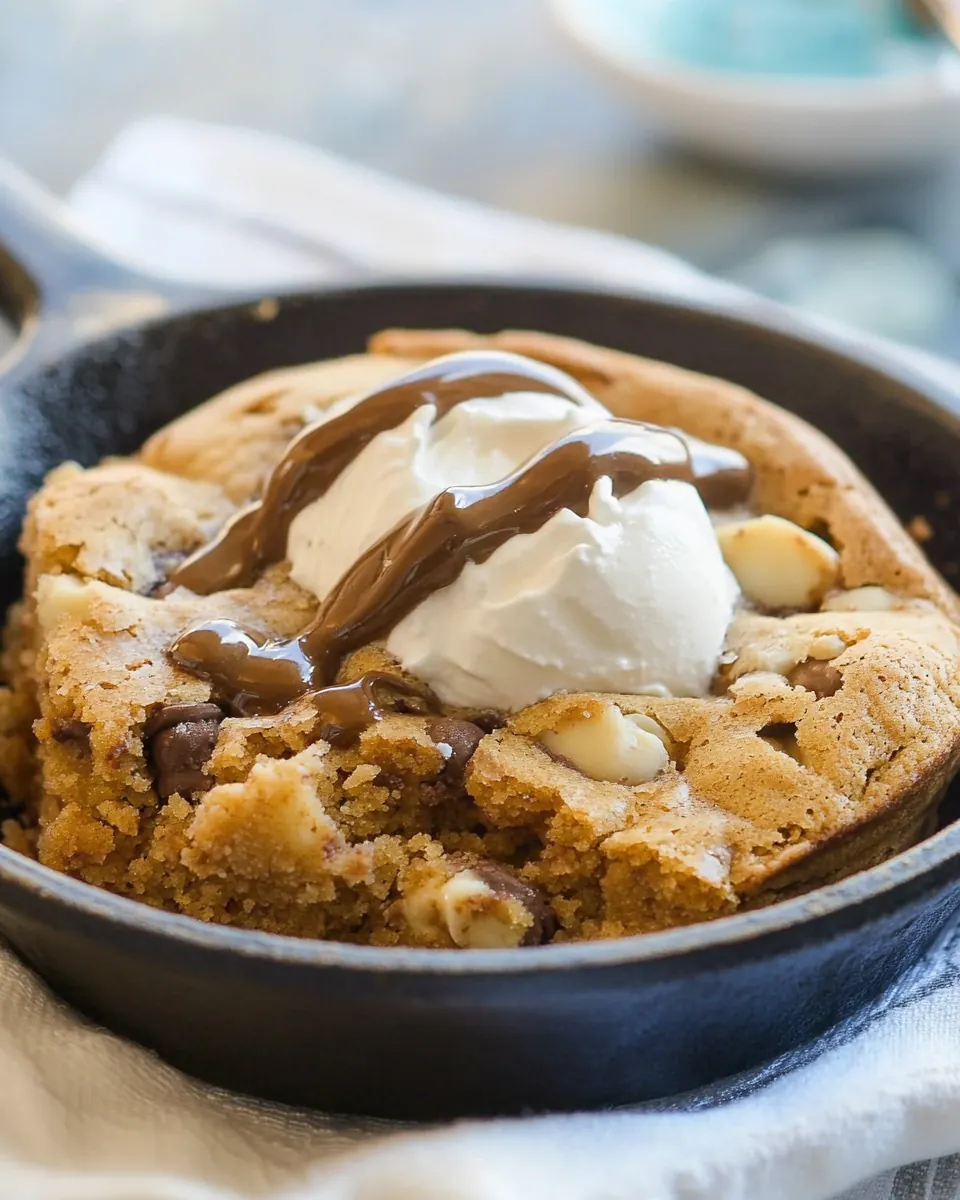
One of my favorite things is swapping mix ins. The base is buttery and sweet, so whether you choose chips, nuts, or candy, the flavors meld beautifully. I often experiment with different textures, and the recipe forgives gentle substitutions, so you can make it match your mood.
Quick but impressive
This recipe is deceptive. It takes little time to assemble, yet it produces a dessert that looks and tastes like you spent much longer. I love serving a warm pan straight from the oven because guests always comment on the aroma and the glossy, slightly jiggly center.
Comforting, crowd pleasing technique
The simple brown sugar and butter base is familiar and satisfying. I return to this method when I want to create something comforting that still feels special. It’s reliable, predictable, and comforting in a way that feels like a gentle, reliable ritual.
Ingredients Overview for Small Batch Skillet Blondie
These ingredients are deliberately simple, built around the classic blondie balance of butter, sugar, and flour. The key players are the butter for richness, the brown sugar for caramel notes, and the egg yolk for silkiness and structure. The small amount of flour keeps the texture tender while mix ins bring personality.
- 2 tablespoons (28 g) unsalted butter, melted: Melted to provide rich fat and help bind the batter while adding a glossy, tender crumb to the blondie; contributes moisture and carries flavor evenly throughout the small batch.
- 1/4 cup (50 g) packed brown sugar: Packed to add concentrated sweetness and a deep caramel-like flavor that enhances the blondie's brown–sugar profile; helps create chewiness and slight molasses notes when melted into the batter.
- 1 large egg yolk: Beaten yolk used for richness, emulsification, and structure without extra egg white protein; adds silkiness and helps create a dense, fudgy texture appropriate for a single-serving skillet blondie.
- 1/2 teaspoon vanilla extract: Added to introduce warm, sweet aroma and enhance other flavors; a small amount brightens the overall taste and complements the brown–sugar caramel notes.
- 1/4 teaspoon baking powder: Leavening powder included to provide a modest lift and lighten the dense batter slightly; balances tenderness and prevents the blondie from becoming too compact while giving a gentle rise in the skillet.
- 1/8 teaspoons salt: Measured to season and enhance sweetness balance while reinforcing other flavors; a small pinch ensures proper taste without overwhelming the delicate blondie.
- 1/3 cup (41 g) all-purpose flour: Sifted or whisked to provide structure and body by supplying gluten and starch; measured precisely to keep the blondie tender rather than cakey, ensuring the right ratio for a fudgy texture.
- 1/2 cup mix-ins (see note): Combined as optional additions to introduce texture, flavor contrast, and visual interest; folded in last to distribute mix-ins like chocolate chips, nuts, or toffee evenly for personalized finishing touches.
Small Batch Skillet Blondie Instructions
This is one of those recipes that moves fast once you begin, so I recommend prepping your mix ins and skillet before you combine ingredients. The steps below follow the original directions but expand on sensory cues and troubleshooting so you can nail texture and doneness.
- Preheat oven to 350°F. Spray a small cast iron skillet or 4-6” cake pan with nonstick cooking spray.: Warmth in the kitchen is immediate, and you will smell the faint metal warmth of the oven as it comes up to temperature, which primes the skillet for an even bake. Preheating ensures the edges start setting as soon as the batter hits the pan, creating those coveted crisp edges. If you skip preheating, the bake will be uneven, and the center may overcook before edges brown. Make sure your oven racks are positioned so the skillet will sit in the middle of the oven for steady heat.
- Stir melted butter and brown sugar then mix in the egg yolk, vanilla, baking powder, and salt. Stir in flour, then stir in add-ins.: The pan should glint slightly where the spray has coated it, which helps the blondie release easily after baking. Using a small cast iron imparts even browning, while a cake pan makes removal simpler. If you do not grease thoroughly, the edges can stick and tear when you try to serve. I like to tap out excess spray and, if using cast iron, warm it slightly so the batter spreads evenly.
- Bake for about 18-24 minutes or until the outer edges and center are golden brown, but the center is still a bit jiggly. Err on the side of underdone, it will continue cooking as it cools and taste better a bit gooey.: Right away you will notice a glossy, syrupy texture as the butter and brown sugar merge, and the scent of caramel deepens. Adding the egg yolk brings a silky sheen and thicker body; the batter will appear smoother and more cohesive. The chemical lift from the baking powder will be subtle but important for balance. A common mistake is adding the egg while the butter is too hot, which can scramble the yolk; stir to slightly cool the butter before combining if it is steaming. Mix until the mixture looks uniform and warm but not hot.
- Serve with ice cream and caramel sauce.: As you fold in the flour , the batter will transition from glossy to a thicker, velvety paste that holds its shape slightly when scooped. Incorporating the mix ins last preserves their texture and prevents overworking the dough. Listen for a quieter mixing sound as the flour integrates, and watch for any streaks of flour to disappear. Overmixing is the most frequent error here, it develops gluten and makes the blondie tougher, so fold just until the flour is blended and the add ins are distributed evenly.
- Bake for about 18 to 24 minutes or until the outer edges and center are golden brown, but the center is still a bit jiggly.: In the oven you will notice a warm, buttery aroma and edges turning a deep golden color before the center sets, that contrast indicates success. The center should wobble gently when nudged, not look liquid; this ensures a gooey interior after cooling. If you bake until fully firm, the blondie will be cake like and lose that desirable chew. An oven thermometer helps if your oven runs hot or cool; rotate the skillet halfway through if your oven has hot spots.
- Err on the side of underdone, it will continue cooking as it cools and taste better a bit gooey.: When you pull the skillet out, the residual heat finishes the cooking and the center firms slightly while staying tender. The top should be set but glossy, and the edges should feel springy and slightly crisp. Cutting too soon can cause a messy slice, while waiting too long reduces the gooey contrast, so aim to rest for about ten minutes. If you notice the edges are dark but the center still very runny, next time lower the temperature slightly to allow even cooking.
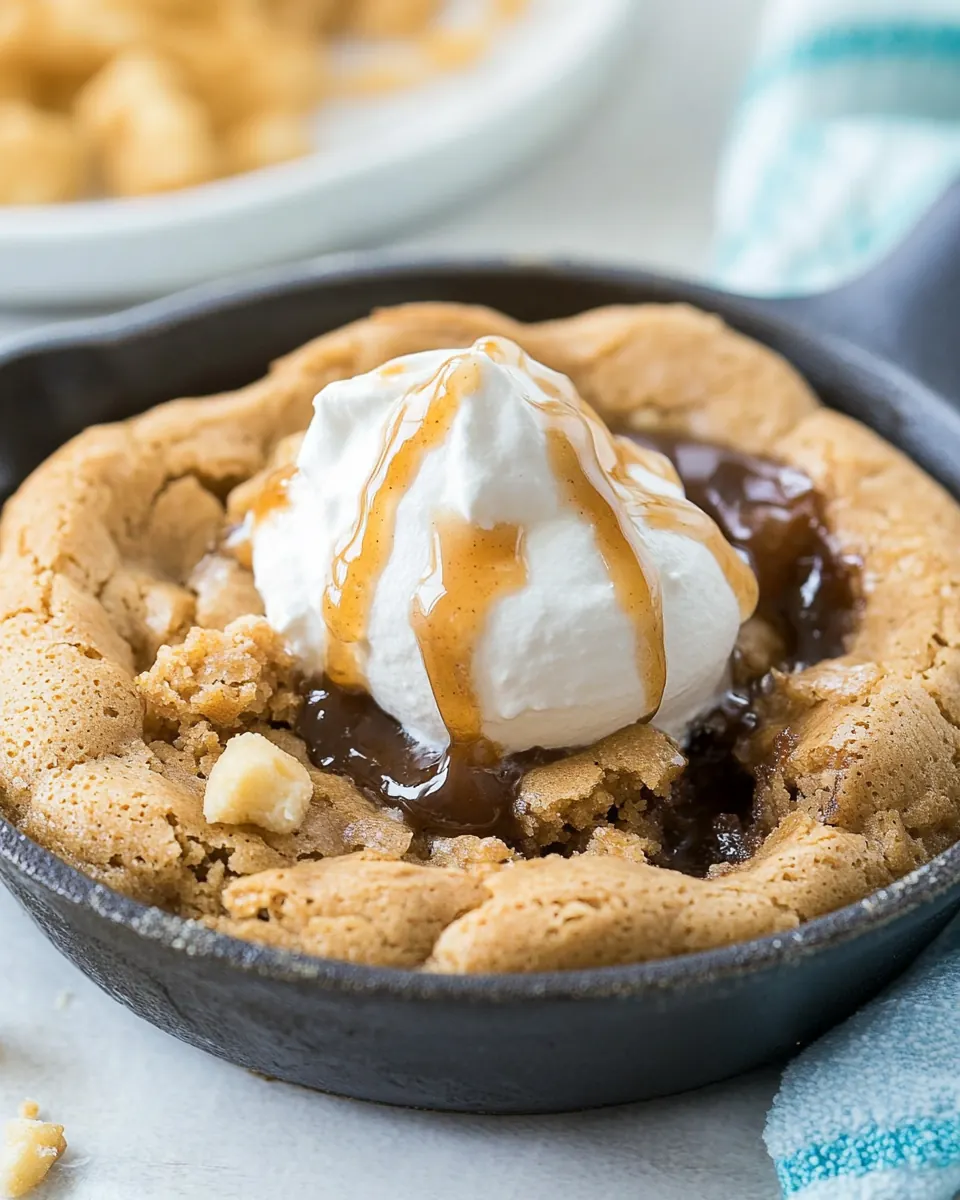
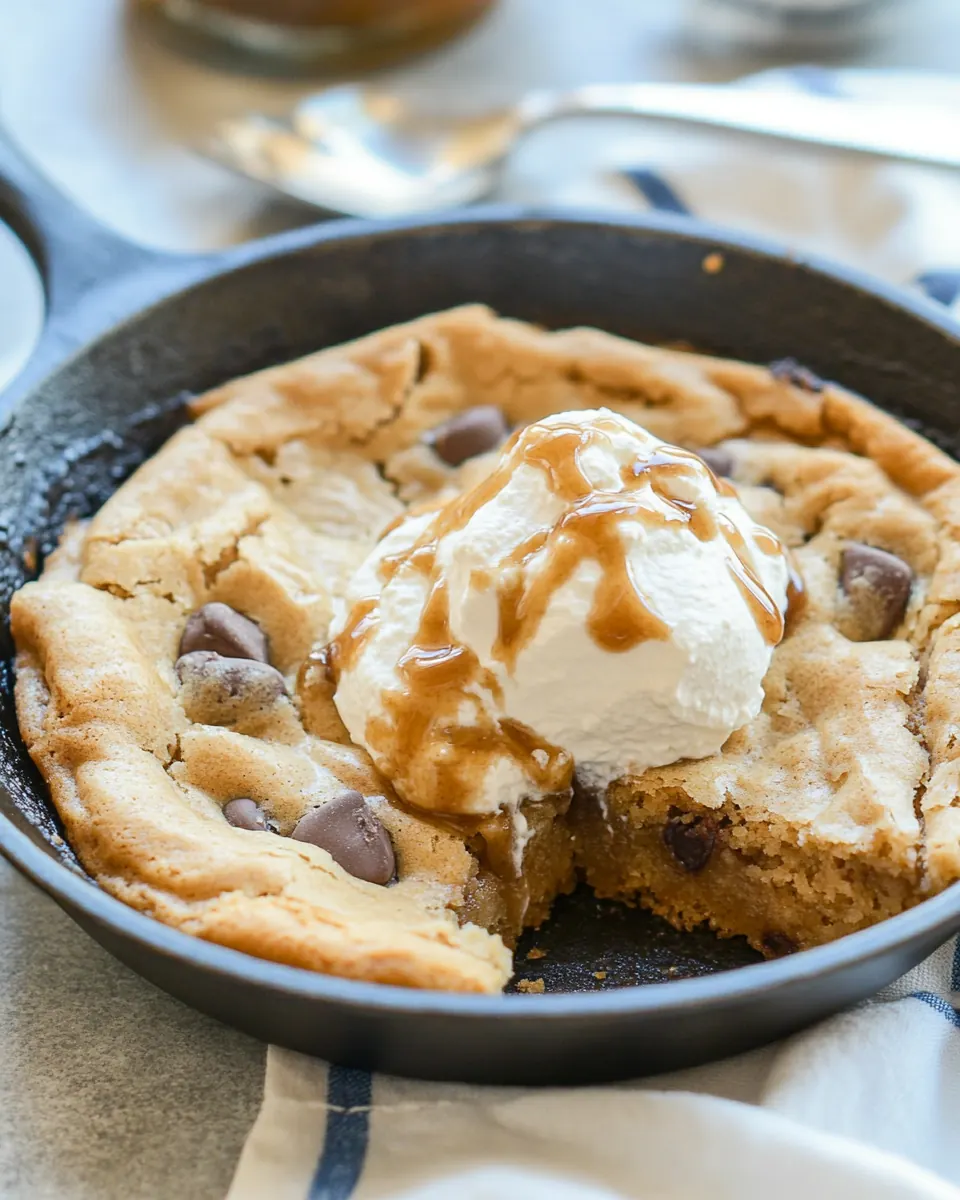
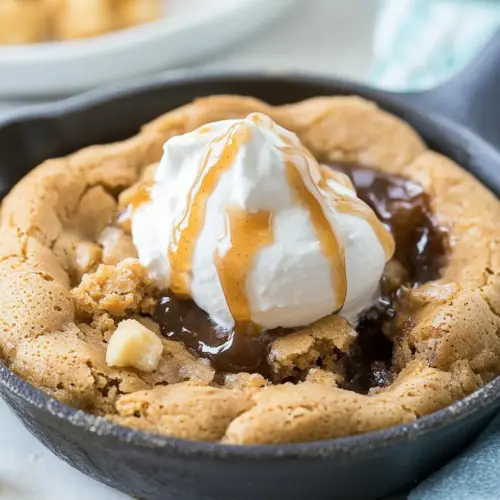
- Serve with ice cream and caramel sauce.: The cold creaminess of the ice cream paired with warm, slightly chewy blondie creates a delightful temperature contrast, and a drizzle of caramel sauce amplifies the brown sugar notes. The sizzling aroma fades into sweet, smoky caramel when you pour sauce over warm pastry, which is a real showstopper. Be careful when serving directly from cast iron, it retains heat and can burn if touched. Use a spatula to lift wedges and a spoon to add sauce, presenting immediately for the best texture contrast.
Helpful Notes about Small Batch Skillet Blondie
I like to keep tips concise and practical so you can make a near perfect blondie every time. Below are my go to notes that cover technique, timing, and flavor choices. These expand the short notes from the recipe into actionable guidance you can use while baking.
- Use room temperature egg yolk: Let the egg yolk sit out for a few minutes so it combines smoothly with the warm butter, creating a glossy batter rather than cooked bits. Cold yolks can seize and make the batter lumpy.
- Measure flour accurately: Spoon the all purpose flour into the cup and level it off rather than scooping, which prevents a dry, dense blondie. Too much flour will rob the center of that tender, gooey quality.
- Customize mix ins thoughtfully: If you use dense or large mix ins, halve them so they distribute evenly and do not weigh the batter down, which can lengthen bake time and alter texture.
- Watch bake time closely: Ovens vary, so check at the lower end of the range; the blondie should be golden at the edges and slightly jiggly in the center for best results. Overbaking is the most common culprit for dryness.
- Let it rest: Allow the pan to cool for about ten minutes so the center sets gently; serving too hot can cause a loose slice and too cool can reduce the gooey appeal.
How to Serve Small Batch Skillet Blondie
Serving this dessert is all about contrast and comfort. Whether for a cozy weeknight dessert or a casual celebration, the warm skillet presentation and a few thoughtful accompaniments elevate the experience. Plan for simple sides that enhance texture and temperature differences.
- Serve warm with ice cream: A scoop of vanilla ice cream beside a warm blondie wedge creates a pleasing hot and cold contrast that highlights the gooey center.
- Drizzle with caramel sauce: A light stream of caramel brightens the brown sugar flavor and adds glossy sweetness to each bite.
- Plate for two: Cut wedges directly in the skillet and transfer with a wide spatula to share a cozy dessert at the table.
- Occasions: Great for intimate dinners, date nights, late night movie treats, or small celebrations where you want to impress without fuss.
- Storage: Store leftover slices in an airtight container at room temperature for up to two days. Rewarm briefly in a low oven to revive the texture before serving.
- Seasonal pairing: This dessert is versatile year round, pairing beautifully with summer berries in warm months or spiced drinks in cooler seasons.
FAQ
Conclusion
This Small Batch Skillet Blondie stands out for its buttery, slightly gooey center and crisp, golden edges that come from a simple, one pan technique. It’s a quick, intimate dessert that feels indulgent without producing a lot of leftovers, which makes it ideal for sharing. The combination of brown sugar, melted butter, and a few well chosen mix ins delivers classic caramel notes and texture contrast, so it’s easy to make and even easier to love. Try it the next time you want a fast, comforting dessert that still feels special; serve it warm with a scoop of ice cream for maximum effect and enjoy the immediate satisfaction of homemade sweetness.
Small Batch Skillet Blondie
Equipment
- Cast-Iron Skillet
- Oven
- Measuring Cups
- Mixing Bowl
- Spatula
Ingredients
- 2 tablespoons (28 g) unsalted butter, melted Melted to provide rich fat and help bind the batter while adding a glossy, tender crumb to the blondie; contributes moisture and carries flavor evenly throughout the small batch.
- 1/4 cup (50 g) packed brown sugar Packed to add concentrated sweetness and a deep caramel-like flavor that enhances the blondie's brown-sugar profile; helps create chewiness and slight molasses notes when melted into the batter.
- 1 large egg yolk Beaten yolk used for richness, emulsification, and structure without extra egg white protein; adds silkiness and helps create a dense, fudgy texture appropriate for a single-serving skillet blondie.
- 1/2 teaspoon vanilla extract Added to introduce warm, sweet aroma and enhance other flavors; a small amount brightens the overall taste and complements the brown-sugar caramel notes.
- 1/4 teaspoon baking powder Leavening powder included to provide a modest lift and lighten the dense batter slightly; balances tenderness and prevents the blondie from becoming too compact while giving a gentle rise in the skillet.
- 1/8 teaspoons salt Measured to season and enhance sweetness balance while reinforcing other flavors; a small pinch ensures proper taste without overwhelming the delicate blondie.
- 1/3 cup (41 g) all-purpose flour Sifted or whisked to provide structure and body by supplying gluten and starch; measured precisely to keep the blondie tender rather than cakey, ensuring the right ratio for a fudgy texture.
- 1/2 cup mix-ins (see note) Combined as optional additions to introduce texture, flavor contrast, and visual interest; folded in last to distribute mix-ins like chocolate chips, nuts, or toffee evenly for personalized finishing touches.
Instructions
- Preheat oven to 350°F. Spray a small cast iron skillet or 4-6” cake pan with nonstick cooking spray.: Warmth in the kitchen is immediate, and you will smell the faint metal warmth of the oven as it comes up to temperature, which primes the skillet for an even bake. Preheating ensures the edges start setting as soon as the batter hits the pan, creating those coveted crisp edges. If you skip preheating, the bake will be uneven, and the center may overcook before edges brown. Make sure your oven racks are positioned so the skillet will sit in the middle of the oven for steady heat.
- Stir melted butter and brown sugar then mix in the egg yolk, vanilla, baking powder, and salt. Stir in flour, then stir in add-ins.: The pan should glint slightly where the spray has coated it, which helps the blondie release easily after baking. Using a small cast iron imparts even browning, while a cake pan makes removal simpler. If you do not grease thoroughly, the edges can stick and tear when you try to serve. I like to tap out excess spray and, if using cast iron, warm it slightly so the batter spreads evenly.
- Bake for about 18-24 minutes or until the outer edges and center are golden brown, but the center is still a bit jiggly. Err on the side of underdone, it will continue cooking as it cools and taste better a bit gooey.: Right away you will notice a glossy, syrupy texture as the butter and brown sugar merge, and the scent of caramel deepens. Adding the egg yolk brings a silky sheen and thicker body; the batter will appear smoother and more cohesive. The chemical lift from the baking powder will be subtle but important for balance. A common mistake is adding the egg while the butter is too hot, which can scramble the yolk; stir to slightly cool the butter before combining if it is steaming. Mix until the mixture looks uniform and warm but not hot.
- Serve with ice cream and caramel sauce.: As you fold in the flour , the batter will transition from glossy to a thicker, velvety paste that holds its shape slightly when scooped. Incorporating the mix ins last preserves their texture and prevents overworking the dough. Listen for a quieter mixing sound as the flour integrates, and watch for any streaks of flour to disappear. Overmixing is the most frequent error here, it develops gluten and makes the blondie tougher, so fold just until the flour is blended and the add ins are distributed evenly.
- Bake for about 18 to 24 minutes or until the outer edges and center are golden brown, but the center is still a bit jiggly.: In the oven you will notice a warm, buttery aroma and edges turning a deep golden color before the center sets, that contrast indicates success. The center should wobble gently when nudged, not look liquid; this ensures a gooey interior after cooling. If you bake until fully firm, the blondie will be cake like and lose that desirable chew. An oven thermometer helps if your oven runs hot or cool; rotate the skillet halfway through if your oven has hot spots.
- Err on the side of underdone, it will continue cooking as it cools and taste better a bit gooey.: When you pull the skillet out, the residual heat finishes the cooking and the center firms slightly while staying tender. The top should be set but glossy, and the edges should feel springy and slightly crisp. Cutting too soon can cause a messy slice, while waiting too long reduces the gooey contrast, so aim to rest for about ten minutes. If you notice the edges are dark but the center still very runny, next time lower the temperature slightly to allow even cooking.
- Serve with ice cream and caramel sauce.: The cold creaminess of the ice cream paired with warm, slightly chewy blondie creates a delightful temperature contrast, and a drizzle of caramel sauce amplifies the brown sugar notes. The sizzling aroma fades into sweet, smoky caramel when you pour sauce over warm pastry, which is a real showstopper. Be careful when serving directly from cast iron, it retains heat and can burn if touched. Use a spatula to lift wedges and a spoon to add sauce, presenting immediately for the best texture contrast.
Notes
- Use room temperature egg yolk: Let the egg yolk sit out for a few minutes so it combines smoothly with the warm butter, creating a glossy batter rather than cooked bits. Cold yolks can seize and make the batter lumpy.
- Measure flour accurately: Spoon the all purpose flour into the cup and level it off rather than scooping, which prevents a dry, dense blondie. Too much flour will rob the center of that tender, gooey quality.
- Customize mix ins thoughtfully: If you use dense or large mix ins, halve them so they distribute evenly and do not weigh the batter down, which can lengthen bake time and alter texture.
- Watch bake time closely: Ovens vary, so check at the lower end of the range; the blondie should be golden at the edges and slightly jiggly in the center for best results. Overbaking is the most common culprit for dryness.
- Let it rest: Allow the pan to cool for about ten minutes so the center sets gently; serving too hot can cause a loose slice and too cool can reduce the gooey appeal.