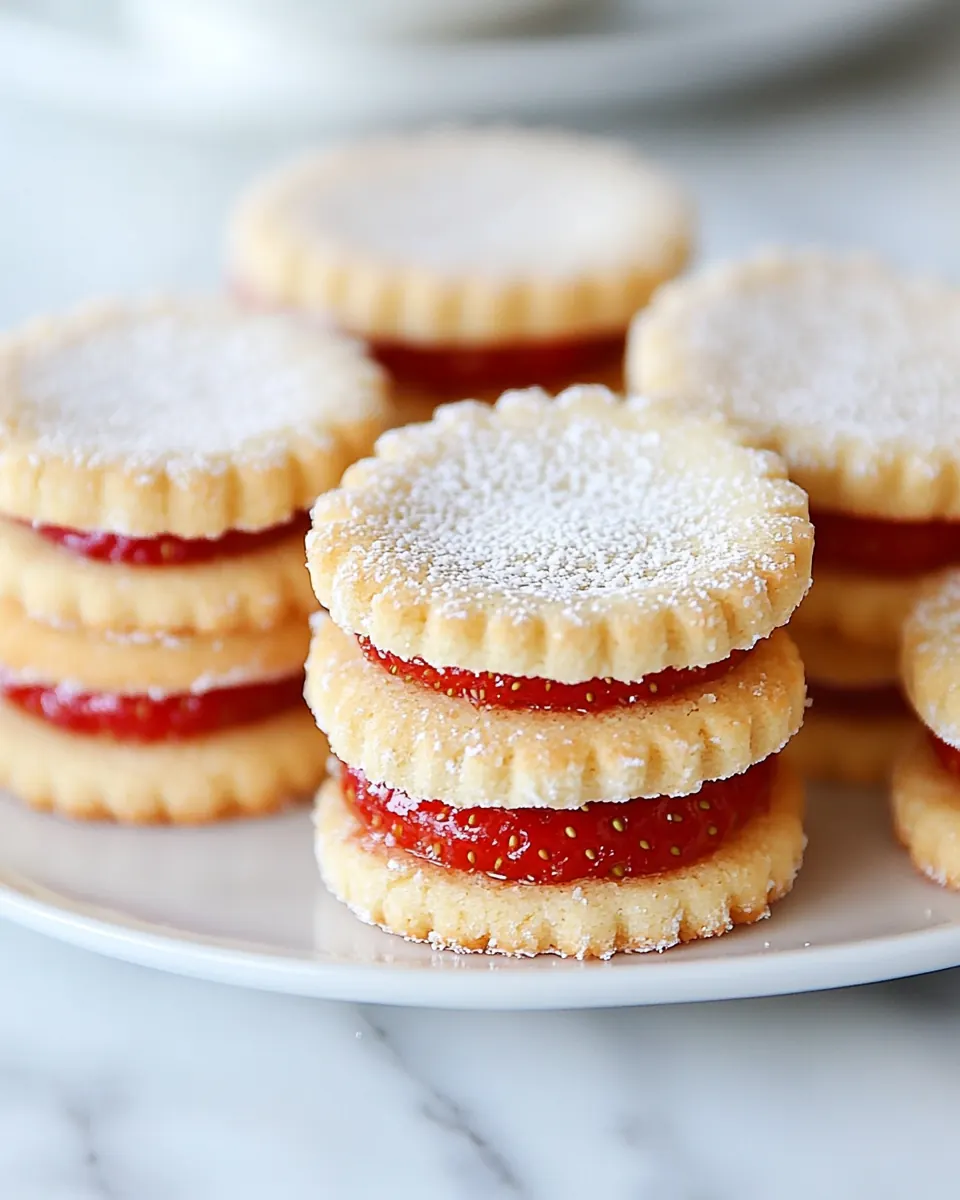
Strawberry Sandwich Cookies
Strawberry Sandwich Cookies have always been the sort of treat that pulls me back to a sunny kitchen table, flour on my sleeves and a small, impatient helper underfoot.
When I first made Strawberry Sandwich Cookies, I was chasing a memory of warm afternoons and a tin of sweets that vanished before dinner. That first batch taught me about the joyful tension between crisp, buttery cookie edges and the soft, jammy center. I remember laughing at how the powdered sugar made everything look like a small, edible snow globe. Over time, I fine tuned the dough texture so it would hold its shape, but still melt on the tongue.
Friends often ask why I bother with the cutout top when plain sandwich cookies are faster. For me, the little peek at the strawberry jam through the cutout is as much about anticipation as flavor. The ritual of rolling, cutting, and dusting adds a calm cadence to baking, and those tiny details make these cookies a go to for gatherings, gifts, or an everyday afternoon treat.
Recipe Snapshot
46 mins
40 mins
6 mins
Medium
150 kcal
American
Gluten-Free, Low FODMAP
Desserts
Electric mixer, Mixing bowls, Rolling pin, 3 1/2-inch round cookie cutter, 1 to 1 1/2-inch star cookie cutter, Baking sheets, Parchment paper, Wire rack
Why This Strawberry Sandwich Cookies Shines
1. Nostalgic and approachable
I love how Strawberry Sandwich Cookies feel familiar yet special. These are the cookies you can hand to children, neighbors, and colleagues without fuss. I find they bridge generations, sparking stories about childhood kitchens, and they are simple enough that I can teach someone else to make them in one afternoon.
2. Balanced textures
The contrast between a slightly crisp edge and a tender crumb is what sells this recipe. I pay attention to the dough chill and thickness so each cookie has a delicate snap plus a soft center that cuddles the jam. That balance keeps every bite interesting, and I always notice how guests comment on the texture first.
3. Flexible and forgiving
These cookies are forgiving, which is great when you are baking with a crowd. If your dough gets a touch warm, a brief chill fixes it. If your jam is too runny, a light dusting of powdered sugar on the top cookie keeps things tidy. I appreciate recipes that adapt to the kitchen’s little mishaps.
4. Visually charming
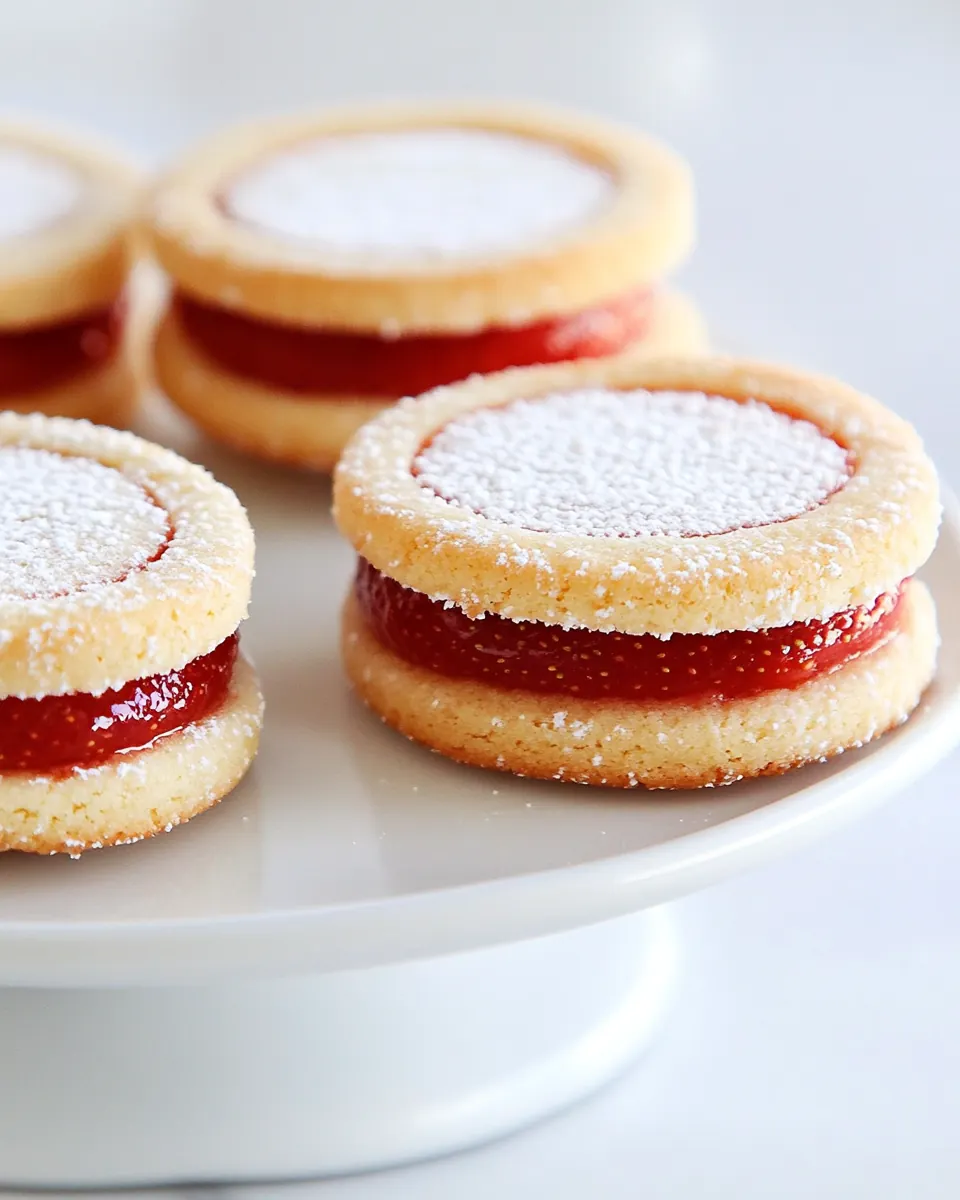
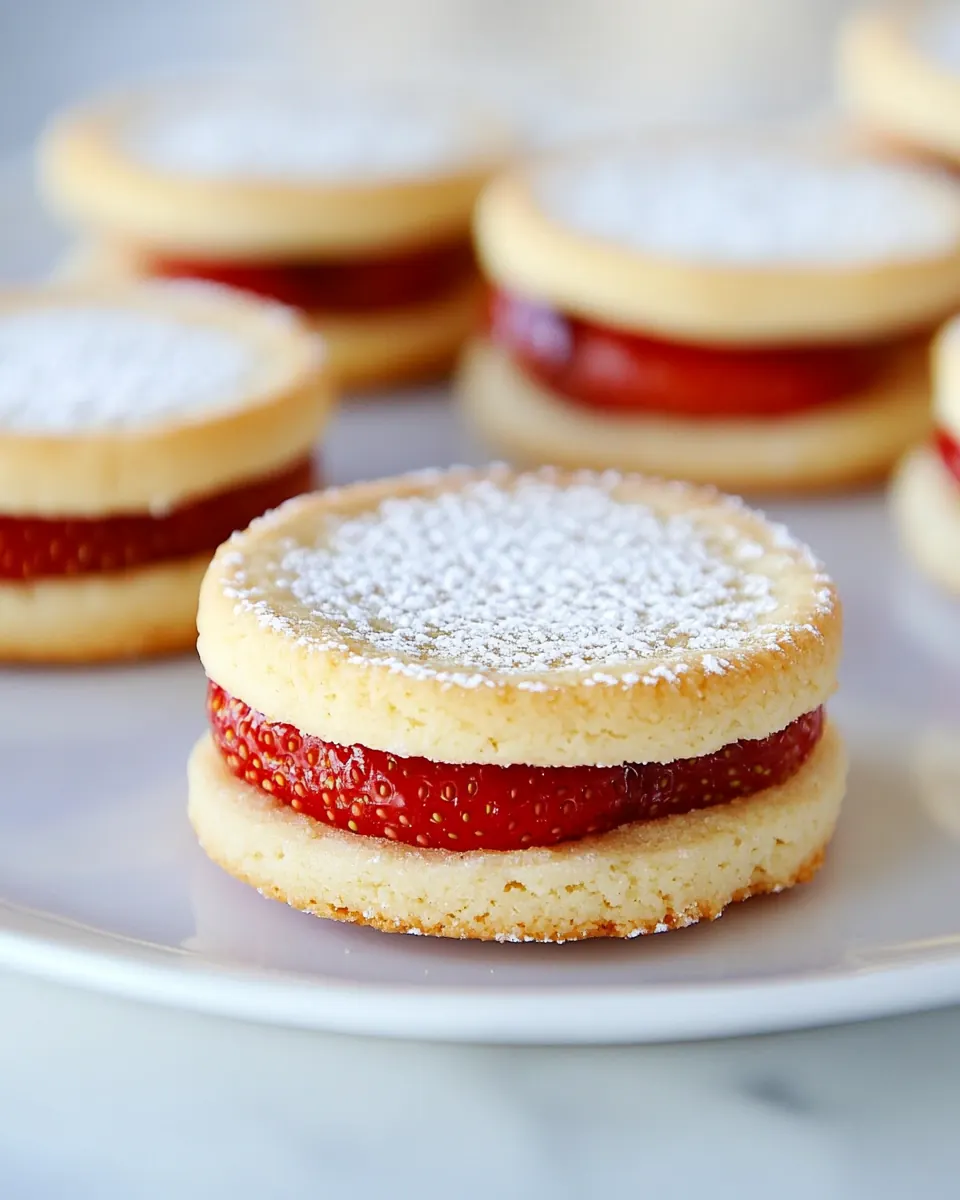
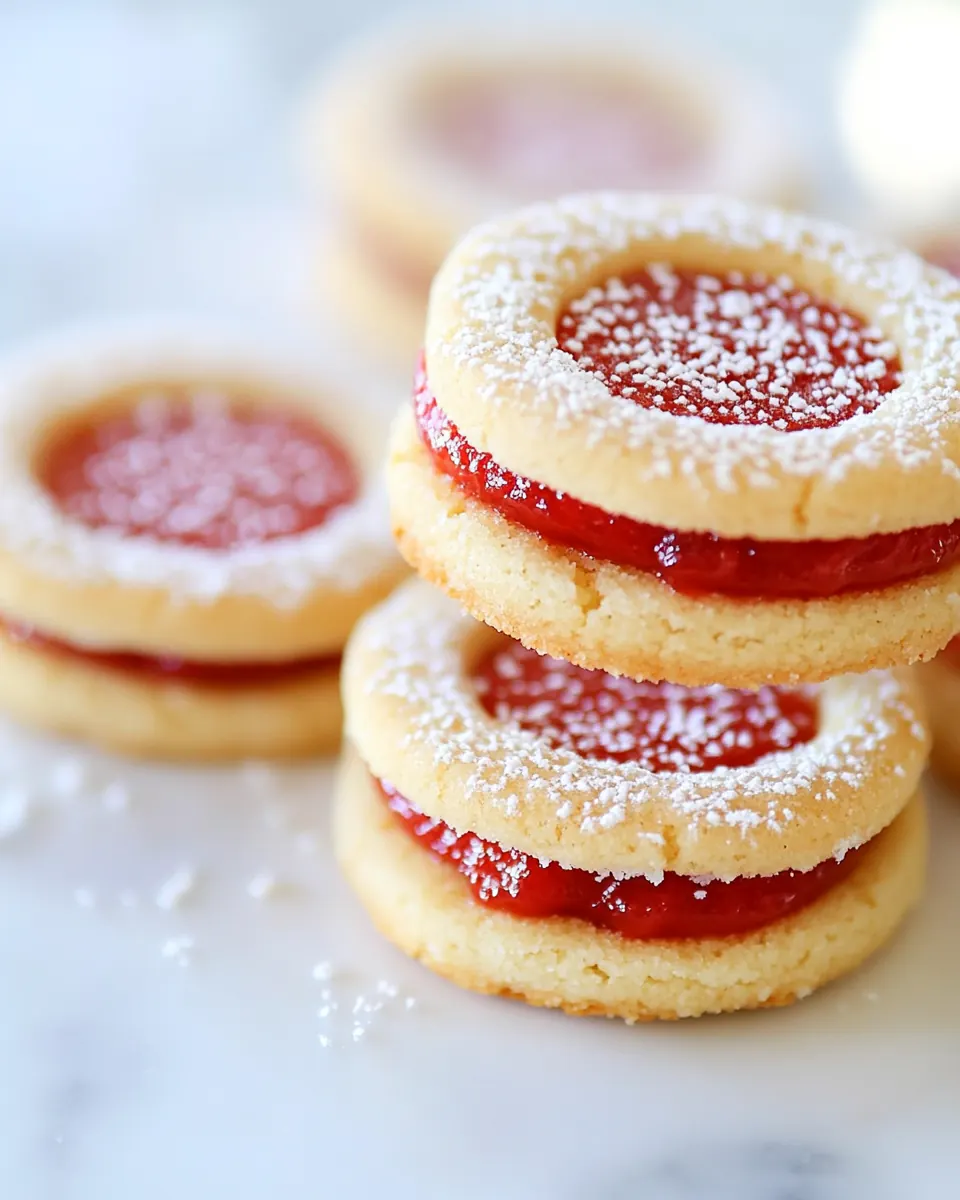
The cutout top sprinkled with powdered sugar reveals a glossy blush of seedless strawberry jam. I like serving them on a simple plate so the cookies can be the focal point. The look alone makes people pause, and I often hear, “These are almost too pretty to eat.” That brief hesitation is part of the pleasure.
5. Great for sharing and gifting
I always end up making extra because they disappear fast. I pack them in small boxes or tin and they make thoughtful, crowd pleasing gifts. They travel well for short trips and still maintain their crisp edges and jammy centers the next day, which is why I keep this recipe in my holiday and spring rotation.
Ingredients to Make Strawberry Sandwich Cookies
These ingredients combine classic baking staples with a simple jam to produce a cookie that is both sturdy enough to sandwich and delicate enough to melt in your mouth. The balance between fat, sugar, and flour creates structure, while the jam adds bright sweetness and a pleasing contrast. I treat a few key players as anchors that determine texture and flavor.
- 6 tablespoons butter: Creamy and softened to incorporate air and richness into the dough; helps bind ingredients and provides a tender, flavorful crumb when creamed with sugar.
- 3/4 cup packed brown sugar: Moist and richly flavored to sweeten the dough while contributing moisture and a slight caramel note; helps create a soft texture and aids in browning.
- 1 large egg: Beaten and added to emulsify the mixture, providing structure and moisture; helps the dough set and contributes to a tender interior.
- 3/4 teaspoon vanilla extract: Aromatic and small in quantity to enhance overall flavor; adds warm, sweet notes that lift the cookie’s taste profile without overpowering.
- 2 cups all purpose flour: Sifted or measured to form the bulk of the cookie structure; supplies gluten and starch that determine texture, chewiness, and shape.
- 1/8 teaspoons salt: Lightly measured to control flavor balance and dough chemistry; enhances sweetness perception and strengthens gluten slightly while moderating taste.
- 1/2 cups seedless strawberry jam: Spreadable and seedless to provide a fruity filling between cookies; adds sweetness, moisture, and a concentrated strawberry flavor for contrast.
- powdered sugar: Finely powdered to dust the finished sandwich cookies for a decorative finish; adds a touch of extra sweetness and an attractive presentation.
Directions for Strawberry Sandwich Cookies
These directions take you through mixing, chilling, rolling, cutting, baking, and assembling. Read them fully before you start so you have space to roll and a tray ready to cool. I find that setting up in stages keeps the process calm and enjoyable.
- In a large bowl, use an electric mixer to beat the butter at medium speed until creamy; gradually add the brown sugar, beating until light and fluffy. Add the egg and vanilla, beating until blended.: The kitchen will fill with a sweet, buttery aroma as you beat the butter and brown sugar , and you should notice the mixture lighten in color and become airy, which means enough air has been incorporated for tender cookies. This aeration affects texture more than you might expect, creating tiny pockets that melt in your mouth. A common mistake is over mixing once the egg is added, which can cause a tougher final cookie, so stop when the ingredients are just combined. If the mixture looks greasy instead of creamy, the butter may have been too soft; chill the bowl briefly before continuing.
- Add the flour and salt to the butter mixture, beating well. Divide the dough in half, and wrap in wax paper or plastic wrap. Chill 1 hour.: After adding the all purpose flour and salt , the dough will transform from glossy batter to a soft, pliable mass. You will notice the texture become more dough like as the flour absorbs moisture. Chilling firms the dough so it is easier to roll and helps the cookies keep their shape while baking, which preserves that delicate edge and tender center. A typical error is skipping the chill, which leads to spreading and misshapen cookies. If your dough is sticky after chilling, lightly flour the surface when rolling rather than adding more flour to the dough.
- On a lightly floured surface, roll half of the dough to 1/8-inch thickness. Keep the remaining dough chilled until ready to use. Cut with a 3 1/2-inch round cookie cutter. Transfer the cookies to lightly greased baking sheets or baking sheets lined with parchment or silpat mats.: As you roll, the dough should feel cool under your palms and slightly tacky to the touch but not sticky, and you will see a consistent, thin sheet form. Rolling to a uniform 1/8 inch thickness is essential for even baking so the cookies crisp at the edges while staying tender in the middle. When cutting circles, press straight down and lift gently to avoid distorting the shape; ragged edges are a sign of too much handling. If the dough warms while rolling, pop the sheet into the refrigerator for 10 minutes to re chill before cutting more shapes.
- Roll the remaining half of the dough to 1/8-inch thickness on a lightly floured surface. Cut with a 3 1/2-inch round cookie cutter. Transfer the cookies to prepared baking sheets. Cut out the center of each cookie with a 1- or 1 1/2-inch star-shaped cookie cutter (or any other shape).: Working with the second half, you will repeat the same rhythmic motion, and when you cut the smaller star shapes from the centers you will see negative space that will later cradle the seedless strawberry jam . The small cutouts should be tidy because jagged cutouts can cause uneven baking or jam leakage. One mistake is trying to reuse scraps too many times, which makes the dough tough. Gather scraps gently, chill briefly, and re roll once for best results.
- Bake at 350°F for 5 to 6 minutes or until the cookies are lightly browned. Cool slightly on the baking sheets; remove to wire racks to cool completely.: While baking, the kitchen will get a warm, sweet scent. Watch for just the faintest golden color at the edges, a sign the cookies are done; over baking will dry them out. The cookies continue to set as they cool, so letting them rest on the sheet for a short time helps them firm without cracking. A common pitfall is leaving them on the hot sheet too long, which can cause the bottoms to brown too much. Transfer to wire racks so air circulates and they cool evenly without becoming soggy.
- Spread the solid cookies evenly with strawberry jam. Dust the cookies with the cutout centers lightly with powdered sugar. Top the solid cookies with the sugar-dusted cookies, pressing lightly together to fill cutouts with jam.: When assembling, the glossy seedless strawberry jam should be thick enough to stay in place, offering a bright contrast to the pale cookie. Dusting the cutout tops with powdered sugar adds a soft sweetness and an elegant look. Press gently so the jam fills the window without oozing out the sides. A common mistake is using too much jam, which causes the cookies to slide or become messy; use a spoon or small offset spatula and a measured amount for consistency.
Customization Ideas
These suggestions help you personalize Strawberry Sandwich Cookies while staying true to the core recipe. Small adjustments can change texture, sweetness, and presentation, so pick what appeals to you and test in a small batch first.
- Swap cutout shapes: Use round, heart, or star cutters to match seasons or events, making the cookies feel tailored and festive.
- Jam thickness: If your seedless strawberry jam is runny, simmer briefly to reduce excess liquid, then cool before filling so the jam stays put.
- Sugar finish: For a subtler look, dust the tops with less powdered sugar or use a fine mesh shaker for a more even coating.
- Make ahead: Freeze unbaked cut cookies on a tray, then transfer to a bag. Bake from frozen, adding a minute or two to the time for a quick fresh batch.
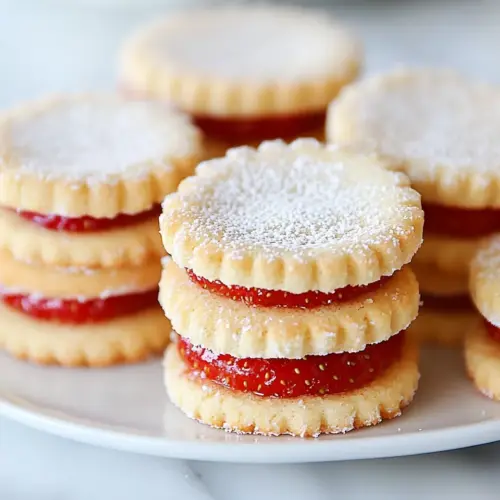
- Presentation: Stack in tiers with parchment between layers for gifting, or arrange on a simple plate to highlight the jam windows.
Best Served With
These cookies pair well with light beverages and simple accompaniments. I like to think about occasions when the bright jam and buttery cookie enhance one another. Serve them for brunch, afternoon tea, or as part of a dessert spread.
- Tea or coffee: A mild cup of tea or coffee complements the sweetness without overpowering it. Offer both so guests can choose their preference.
- Picnic fare: Pack alongside simple sandwiches and fresh fruit for a cheerful outdoor meal.
- Gift packaging: Layer cookies between parchment in a tin or box for a portable gift that travels well to parties and gatherings.
- Seasonal occasions: These work well for springtime events and light celebrations, bringing a fresh, fruity note to the table.
- Storage tips: Keep in an airtight container at room temperature for up to three days, or freeze assembled cookies for longer storage, thawing at room temperature before serving.
FAQ
Conclusion
What makes these Strawberry Sandwich Cookies special is the playful contrast between a crisp, buttery cookie and a glossy, jam filled center. They are approachable enough for a weekday baking session, yet charming enough for gifts and gatherings, which is why I keep this recipe close at hand. Give them a try the next time you want a simple bake that feels thoughtful and celebratory. I hope they become one of your go to cookies, bringing small moments of joy to your table.
Strawberry Sandwich Cookies
Equipment
- Electric Mixer
- Mixing Bowls
- Rolling Pin
- 3 1/2-inch round cookie cutter
- 1 to 1 1/2-inch star cookie cutter
- Baking Sheets
- Parchment Paper
- Wire Rack
Ingredients
- 6 tablespoons butter Creamy and softened to incorporate air and richness into the dough; helps bind ingredients and provides a tender, flavorful crumb when creamed with sugar.
- 3/4 cup packed brown sugar Moist and richly flavored to sweeten the dough while contributing moisture and a slight caramel note; helps create a soft texture and aids in browning.
- 1 large egg Beaten and added to emulsify the mixture, providing structure and moisture; helps the dough set and contributes to a tender interior.
- 3/4 teaspoon vanilla extract Aromatic and small in quantity to enhance overall flavor; adds warm, sweet notes that lift the cookie’s taste profile without overpowering.
- 2 cups all purpose flour Sifted or measured to form the bulk of the cookie structure; supplies gluten and starch that determine texture, chewiness, and shape.
- 1/8 teaspoons salt Lightly measured to control flavor balance and dough chemistry; enhances sweetness perception and strengthens gluten slightly while moderating taste.
- 1/2 cups seedless strawberry jam Spreadable and seedless to provide a fruity filling between cookies; adds sweetness, moisture, and a concentrated strawberry flavor for contrast.
- powdered sugar Finely powdered to dust the finished sandwich cookies for a decorative finish; adds a touch of extra sweetness and an attractive presentation.
Instructions
- In a large bowl, use an electric mixer to beat the butter at medium speed until creamy; gradually add the brown sugar, beating until light and fluffy. Add the egg and vanilla, beating until blended.: The kitchen will fill with a sweet, buttery aroma as you beat the butter and brown sugar , and you should notice the mixture lighten in color and become airy, which means enough air has been incorporated for tender cookies. This aeration affects texture more than you might expect, creating tiny pockets that melt in your mouth. A common mistake is over mixing once the egg is added, which can cause a tougher final cookie, so stop when the ingredients are just combined. If the mixture looks greasy instead of creamy, the butter may have been too soft; chill the bowl briefly before continuing.
- Add the flour and salt to the butter mixture, beating well. Divide the dough in half, and wrap in wax paper or plastic wrap. Chill 1 hour.: After adding the all purpose flour and salt , the dough will transform from glossy batter to a soft, pliable mass. You will notice the texture become more dough like as the flour absorbs moisture. Chilling firms the dough so it is easier to roll and helps the cookies keep their shape while baking, which preserves that delicate edge and tender center. A typical error is skipping the chill, which leads to spreading and misshapen cookies. If your dough is sticky after chilling, lightly flour the surface when rolling rather than adding more flour to the dough.
- On a lightly floured surface, roll half of the dough to 1/8-inch thickness. Keep the remaining dough chilled until ready to use. Cut with a 3 1/2-inch round cookie cutter. Transfer the cookies to lightly greased baking sheets or baking sheets lined with parchment or silpat mats.: As you roll, the dough should feel cool under your palms and slightly tacky to the touch but not sticky, and you will see a consistent, thin sheet form. Rolling to a uniform 1/8 inch thickness is essential for even baking so the cookies crisp at the edges while staying tender in the middle. When cutting circles, press straight down and lift gently to avoid distorting the shape; ragged edges are a sign of too much handling. If the dough warms while rolling, pop the sheet into the refrigerator for 10 minutes to re chill before cutting more shapes.
- Roll the remaining half of the dough to 1/8-inch thickness on a lightly floured surface. Cut with a 3 1/2-inch round cookie cutter. Transfer the cookies to prepared baking sheets. Cut out the center of each cookie with a 1- or 1 1/2-inch star-shaped cookie cutter (or any other shape).: Working with the second half, you will repeat the same rhythmic motion, and when you cut the smaller star shapes from the centers you will see negative space that will later cradle the seedless strawberry jam . The small cutouts should be tidy because jagged cutouts can cause uneven baking or jam leakage. One mistake is trying to reuse scraps too many times, which makes the dough tough. Gather scraps gently, chill briefly, and re roll once for best results.
- Bake at 350°F for 5 to 6 minutes or until the cookies are lightly browned. Cool slightly on the baking sheets; remove to wire racks to cool completely.: While baking, the kitchen will get a warm, sweet scent. Watch for just the faintest golden color at the edges, a sign the cookies are done; over baking will dry them out. The cookies continue to set as they cool, so letting them rest on the sheet for a short time helps them firm without cracking. A common pitfall is leaving them on the hot sheet too long, which can cause the bottoms to brown too much. Transfer to wire racks so air circulates and they cool evenly without becoming soggy.
- Spread the solid cookies evenly with strawberry jam. Dust the cookies with the cutout centers lightly with powdered sugar. Top the solid cookies with the sugar-dusted cookies, pressing lightly together to fill cutouts with jam.: When assembling, the glossy seedless strawberry jam should be thick enough to stay in place, offering a bright contrast to the pale cookie. Dusting the cutout tops with powdered sugar adds a soft sweetness and an elegant look. Press gently so the jam fills the window without oozing out the sides. A common mistake is using too much jam, which causes the cookies to slide or become messy; use a spoon or small offset spatula and a measured amount for consistency.
Notes
- Swap cutout shapes: Use round, heart, or star cutters to match seasons or events, making the cookies feel tailored and festive.
- Jam thickness: If your seedless strawberry jam is runny, simmer briefly to reduce excess liquid, then cool before filling so the jam stays put.
- Sugar finish: For a subtler look, dust the tops with less powdered sugar or use a fine mesh shaker for a more even coating.
- Make ahead: Freeze unbaked cut cookies on a tray, then transfer to a bag. Bake from frozen, adding a minute or two to the time for a quick fresh batch.
- Presentation: Stack in tiers with parchment between layers for gifting, or arrange on a simple plate to highlight the jam windows.