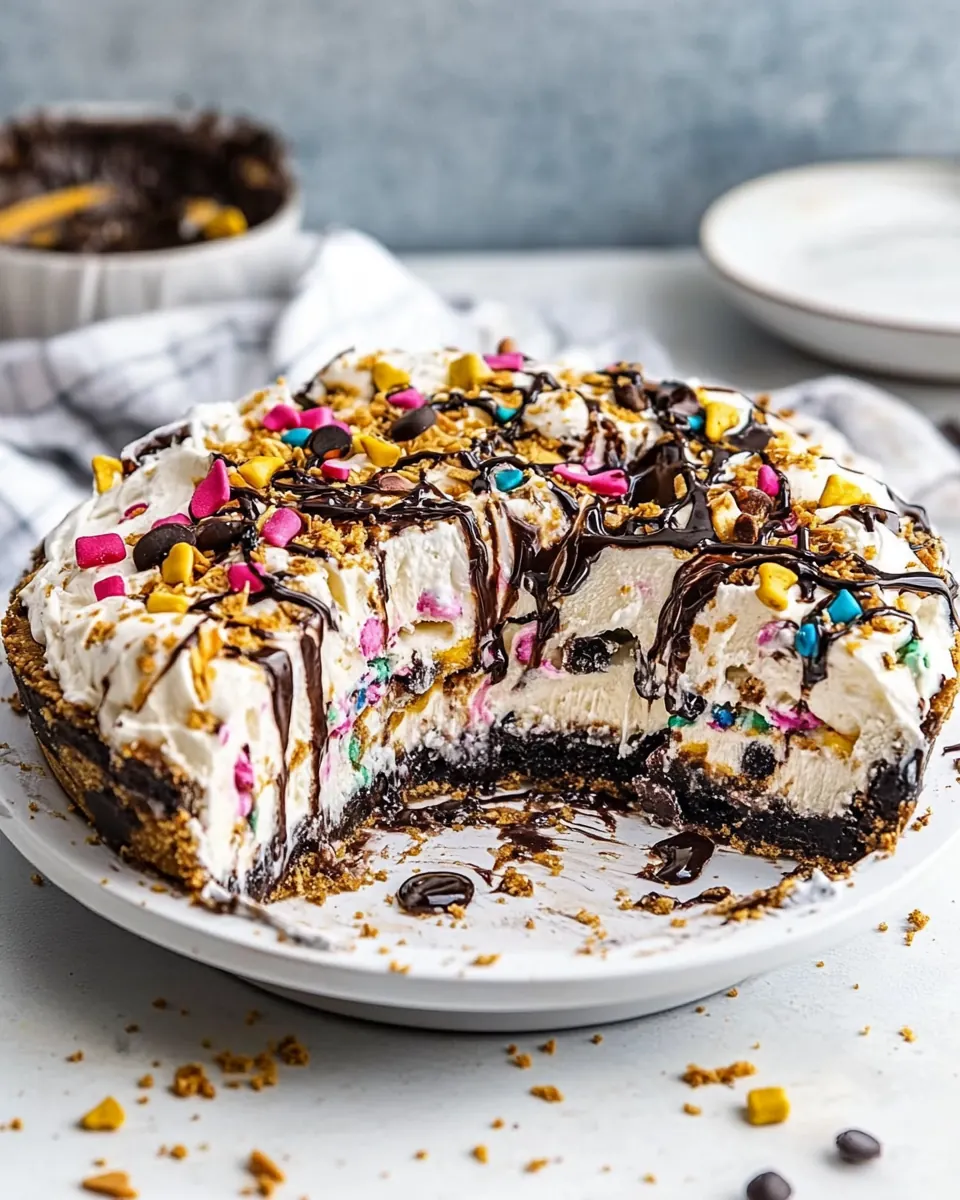
Seven Layer Ice Cream Pie
Seven Layer Ice Cream Pie has been my go to for backyard parties since the first time I layered frozen sweet and salty textures for a crowd. The first sentence here is true to form, because this pie is all about joyful layers that shift between creamy, crunchy, and fudgy in each forkful. I still remember the afternoon I experimented with a too soft filling and learned to respect the freezer, and that lesson changed how reliably this dessert comes together every time.
On another rainy weekend I made a smaller version just for two, and the tiny hands stealing extra sprinkles convinced me that this is a pie that brings people close. When friends ask what to bring to a summer potluck I always suggest a no bake option that travels well, and Seven Layer Ice Cream Pie fits the bill. You can riff on the add ins, but the architecture rules remain the same: a sturdy crust, a whipped base that freezes creamy, then those decisive ribbons of sauce and bits that provide contrast.
Recipe Snapshot
30 mins
30 mins
Easy
320 kcal
American
Gluten-Free, Low FODMAP
Desserts
Mixing bowl, Electric mixer, Spatula, Pie pan, Freezer
The Magic of This Seven Layer Ice Cream Pie
Layered Texture That Excites
I love how Seven Layer Ice Cream Pie balances textures. The crispness from the crust and pretzels plays against the airy, cold texture of the whipped filling, while the sauces add silkiness. Every forkful gives you at least two distinct mouthfeels, and that keeps people coming back for another bite.
Speed and Simplicity
We often need a dessert that does not take all afternoon. This recipe is quick to assemble, with most time spent in the freezer. Because you do not have to bake anything, it’s forgiving for busy hosts, and you can assemble it with kids helping to drizzle and sprinkle.
Flexible and Crowd Friendly
One thing I value is adaptability. The list of add ins means you can tailor the pie to your pantry, or make fun swaps for seasonal flavors. It scales easily too, which makes it ideal for potlucks and family gatherings where you want a show stopping dessert without fuss.
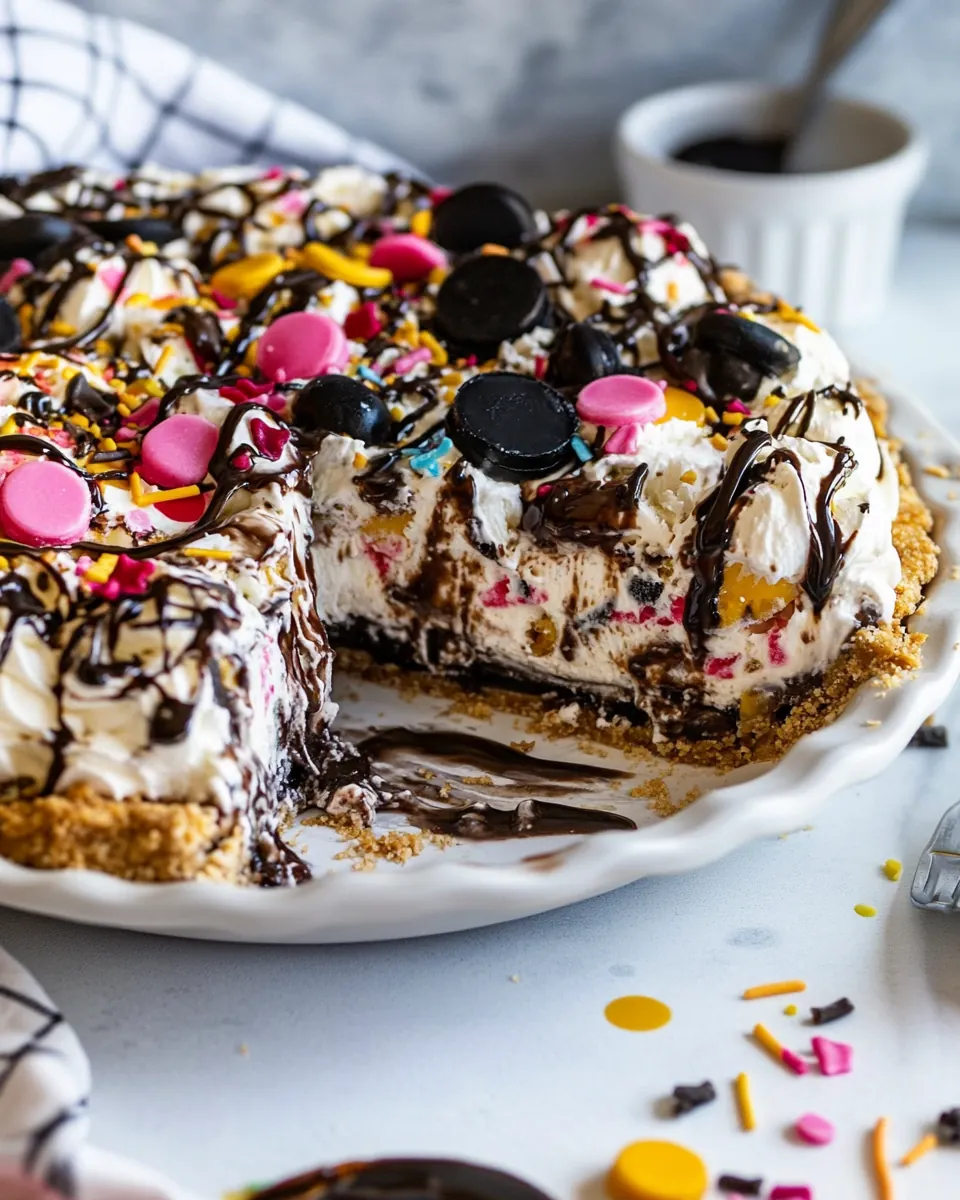
Fun Aesthetic That Feels Festive
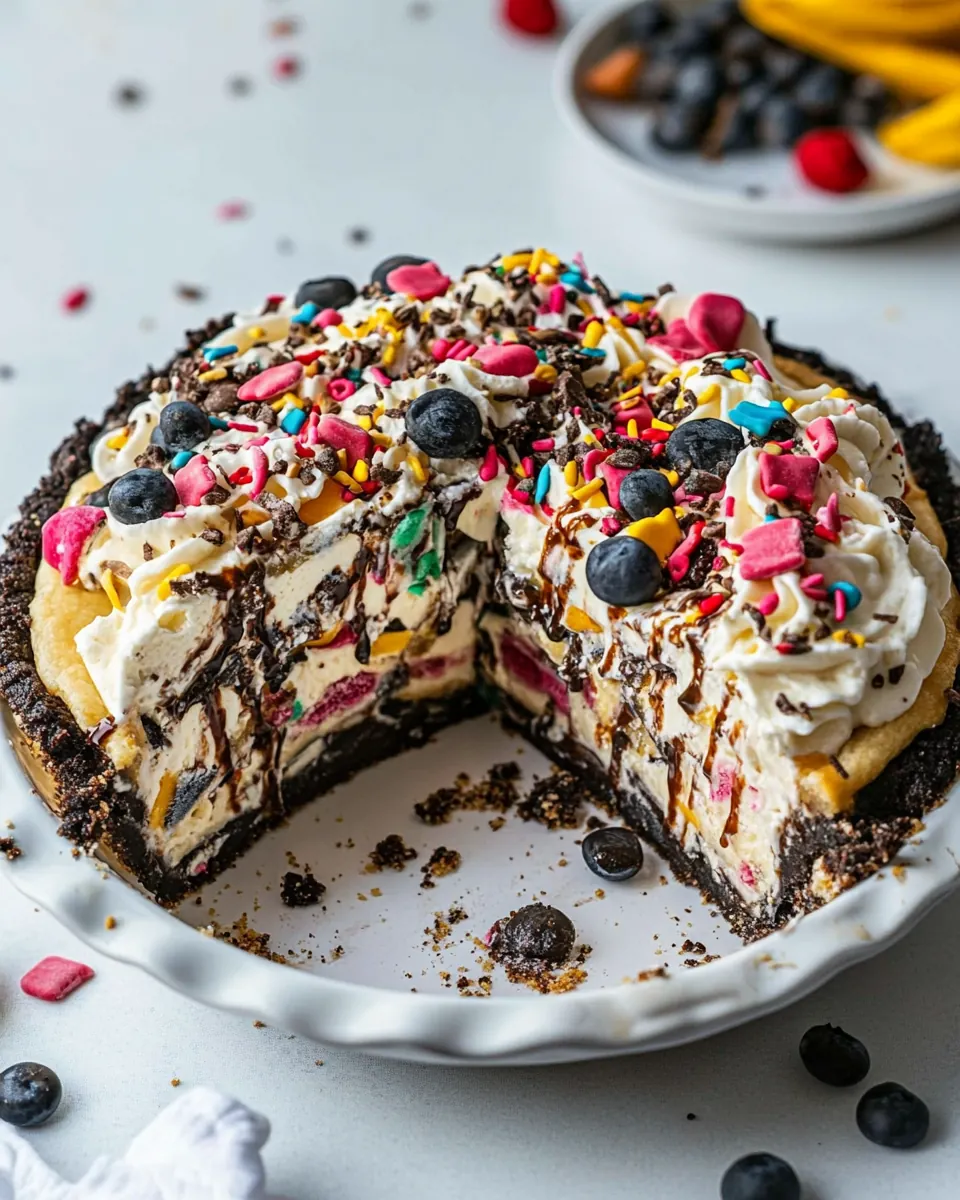
Where else can you get visible swirls of sauce and layers of cookies and candy right on top? The final pie looks celebratory without any special plating skills. I like to let the top be a little messy so the sauces and sprinkles are the star; it reads as festive and homey at once.
Reliable Make Ahead Dessert
Finally, I appreciate desserts that let me breathe before guests arrive. You can freeze this pie well in advance, and it holds up for gatherings. That practical benefit means I make it often when I know my calendar will be full on the day of the party.
Everything You Need for Seven Layer Ice Cream Pie
These ingredients create a symphony of textures and flavors, each playing a key role. The crust provides structure, the whipped base brings that dreamy creamy mouthfeel, and the sauces and add ins deliver concentrated pockets of flavor and crunch. Together they maintain contrast after freezing, which is what makes this pie feel decadent rather than flat.
- 19 inch Oreo Crust (homemade or store bought): Provides a firm chocolate cookie base that supports all layers; press into a 9-inch pie pan for structure and crunch. Enhances overall flavor with classic Oreo cookie taste and offers contrast to creamy fillings.
- 2/3 cups sweetened condensed milk (7 ounces by weight; half a 14 ounce can): Adds dense sweetness and creamy milkfat that helps bind and sweeten frozen layers; pour evenly to avoid overly icy texture. Contributes a rich, caramelized milk flavor and helps stabilize the pie as it sets.
- 1 cup (237 ml) heavy whipping cream: Supplies airy richness and volume when whipped to soft peaks, lending a smooth, creamy mouthfeel to the filling. Balances sweetness and lightens the condensed milk for a scoopable texture in the frozen pie.
- 1/4 cup (74 g) Hot Fudge Sauce: Introduces deep chocolate flavor and gooey texture that complements the cookie crust; drizzle in a layer for indulgent pockets of fudgy richness. Provides contrast to lighter dairy layers and intensifies overall dessert decadence.
- 1/4 cup (82 g) Caramel Sauce: Offers buttery, sweet notes with sticky, silky texture that pairs well with chocolate and peanut butter; layer sparingly to avoid overpowering. Adds a glossy finish and pleasant chewiness to each bite.
- 1/4 cup (64 g) peanut butter: Contributes salty, nutty richness and creamy mouthfeel that cuts through sweetness; swirl or layer to create pockets of peanut flavor. Helps bind other layers and adds protein-like texture for balance.
- 6 (67 g) Oreos Chopped: Provides crunchy chocolate sandwich cookie pieces to enhance texture and reinforce the Oreo motif; fold in gently to distribute bits throughout. Adds intermittent bursts of chocolate and cream filling flavor.
- 1/2 cup (17 g) coarsely broken pretzels: Supplies crunchy, salty contrast that breaks up sweetness and adds a satisfying snap; scatter across layers or use as a topping. Enhances complexity by introducing savory notes and varied texture.
- 1/4 cup (44 g) rainbow sprinkles: Delivers colorful, sugary crunch that brightens appearance and adds festive texture to the surface or interior. Provides small sweet bursts that contrast creamy layers and make the pie visually appealing.
The Method for Seven Layer Ice Cream Pie
Working through the steps is straightforward, but paying attention to texture and temperature will make the difference between an ordinary frozen dessert and one that slices cleanly and tastes luscious. I like to keep everything chilled and assemble with a rhythm so the whipped cream stays airy while the sauces remain drizzle friendly.
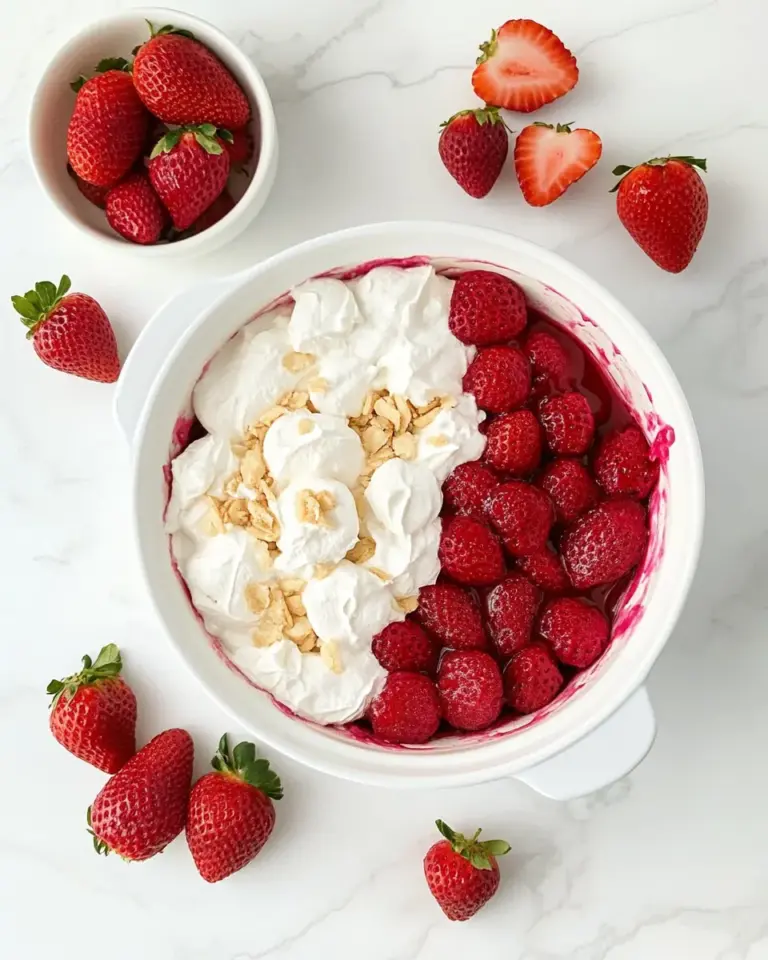
- Beat heavy whipping cream until stiff peaks form. Fold in sweetened condensed milk carefully so as not to break the cream.: Warmth here is the enemy, so make sure the heavy whipping cream and your bowl are chilled before you begin. As you whip you will notice the cream change from glossy to pillowy, and when a peak stands up straight without folding over you have reached stiff peaks. The sound becomes fuller and the beater leaves defined trails. This aeration is why the filling stays light after freezing, and under whipping will yield a dense, icy texture, while over whipping will cause graininess and can lead to butter forming, so stop as soon as stiff peaks appear.
- Drizzle all of the peanut butter and about 2/3 of the hot fudge and caramel on top of the ice cream mixture, then sprinkle on Oreos, pretzels, and sprinkles. Fold to slightly combine – you don't want it totally mixed but more want to see the swirls of sauces.: Start with a small scoop of the sweetened condensed milk, and use a wide spatula with an under and over motion to preserve air in the whipped cream. You will see the mixture take on a silkier sheen as the condensed milk disperses; resist the urge to vigorously whisk, because that will deflate the whipped structure. The why here is that the condensed milk adds density and sweetness that helps the filling set without turning icy, and the common mistake is aggressive mixing which collapses volume and makes the finished pie heavy rather than airy.
- Pour the ice cream into the prepared crust. Drizzle remaining hot fudge and caramel over the top and add more sprinkles, if desired.: With the filling in a bowl, add the peanut butter and sauces in ribbons so you can still see white swirls. Use a spoon to lay down lines of sauce, and sprinkle the chopped Oreos , broken pretzels , and sprinkles in even patches. You should hear a faint crunch when the mix contains the cookie and pretzel bits, and visually you will want to see streaks of sauce. The purpose is to create pockets of flavor that remain distinct after freezing, and a frequent error is stirring too much which eliminates the attractive swirls.
- Freeze for at least 4 hours, or until firm.: Use gentle strokes to incorporate the add ins just enough so each scoop will have variety, but not so much that the sauces disappear. As you fold, watch for streaks of sauce to thin but not vanish, and stop when the mixture looks marbled. This technique matters because visible ribbons translate to concentrated bites of flavor after the pie is frozen, and too much folding will homogenize the filling causing a less interesting texture.
- Pour the ice cream into the prepared crust: When you transfer the filling, do it slowly so the crust stays intact. Tap the pan gently on the counter to settle the filling and remove large air pockets. You will feel a slight resistance as the filling meets the crust, and visually the filling should sit level with or slightly below the rim. Pouring too quickly risks dislodging the crust or causing uneven layers, so take your time for a neat result.
- Drizzle remaining hot fudge and caramel over the top and add more sprinkles, if desired: Finish the top with remaining sauces in decorative lines or a random drizzle for a rustic look. The sauces will sink slightly into the top layer and then set into chewy ribbons as they chill. Add extra sprinkles for color and a bit more crunch, but beware of over decorating which can mask the antique contrast of ingredients; keep some negative space so the drizzle reads clearly.
- Freeze for at least 4 hours, or until firm: Place the assembled pie on a level shelf in the freezer to set. The smell in your freezer will be faintly sweet, and you can test firmness by gently pressing the center with a spoon the morning after; it should resist and feel solid. This step matters because the freezing time allows the whipped structure to stabilize and the sauces to form pleasant ribbons, and a common mistake is slicing too soon which yields messy, slumping slices rather than clean wedges.
How to Switch It Up
I like to offer a few variations so you can match this pie to your pantry and mood. Below are practical swaps and small technique changes that keep the structure but alter the flavor profile. Read them through and pick one or two that appeal to you, rather than trying to do everything at once.
- Swap crust style Use a different cookie crust for a new base texture, keeping the same approach of chilling the crust before filling so it stays firm.
- Alternate sauces Try butterscotch or fruit compote as a replacement for some of the chocolate and caramel ribbons to brighten the overall flavor, and warm thicker sauces slightly for easier drizzling.
- Change add ins Substitute different chopped cookies or candies for the Oreos and sprinkles to match a theme, adding variety in crunch without changing assembly technique.
- Control sweetness Reduce the amount of sweetened condensed milk slightly if you prefer a less sweet pie, but note this may change the freezing texture, so reduce carefully and test a small portion first.
- Portion adjustments Make smaller individual pies in tart pans using the same steps, which shortens freeze time and makes for easy individual servings.
Serving Suggestions
This pie shines when served slightly softened, so plan a little thaw time after removing from the freezer. Think about bright, fresh elements and contrasting textures that complement the pie rather than competing with it.
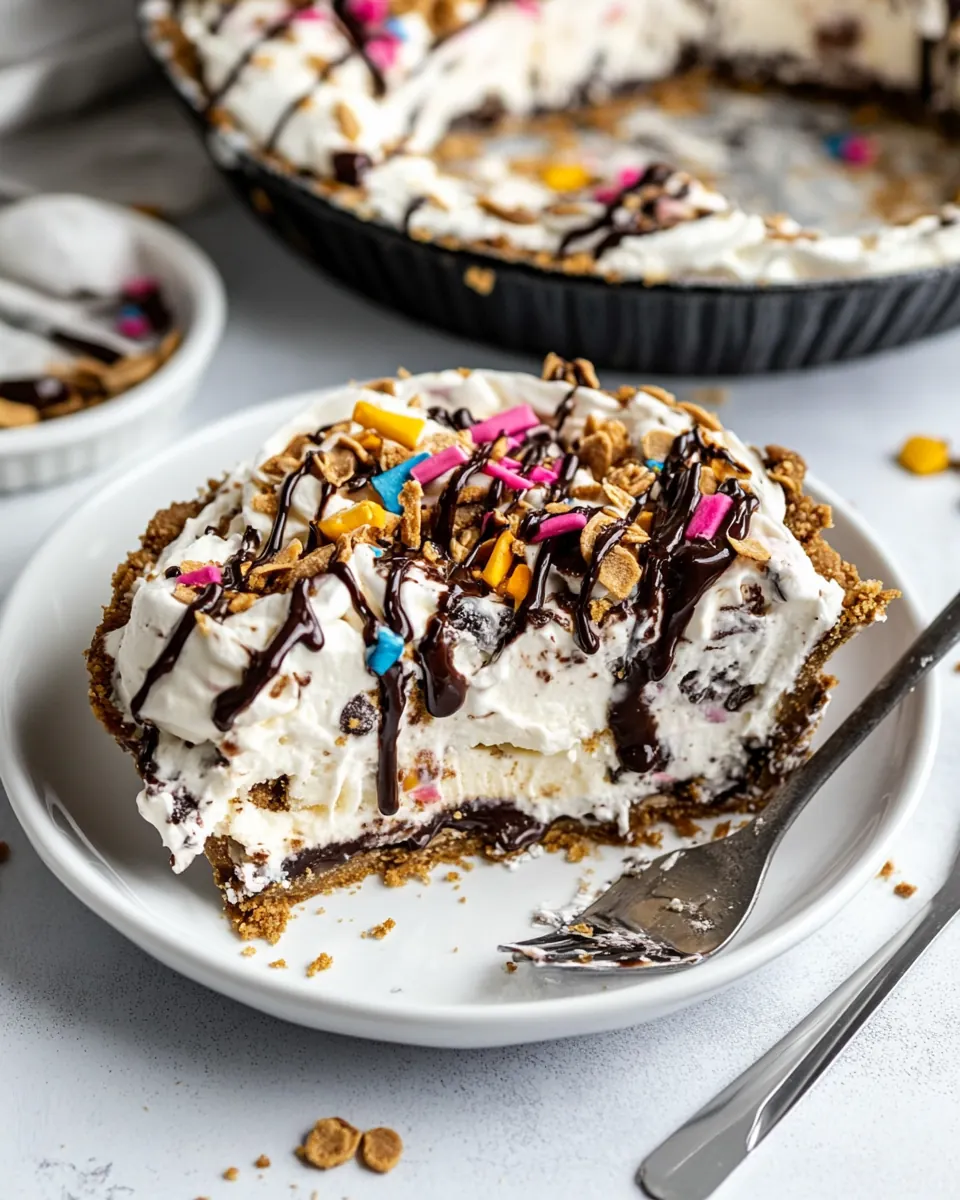
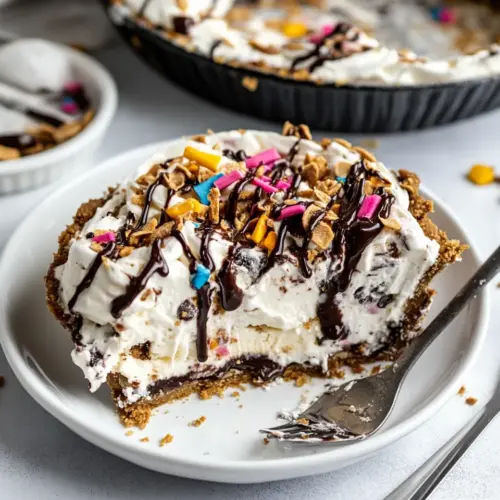
- Slice it straight from the freezer after resting a few minutes so that each wedge has clean edges. Use a hot knife, wiping between cuts for tidy slices.
- Serve with fresh fruit like sliced berries to add acidity and color, which lightens the overall experience for guests.
- Bring to summer gatherings where easy transport and make ahead desserts are prized; the pie holds up well in a cooler for short periods.
- Store leftovers wrapped tightly in the freezer for up to one month per the notes, and thaw in the fridge for 20 to 30 minutes before slicing for best texture.
- Plate for celebrations with a drizzle of additional sauce and extra crunchy toppings scattered on the plate for visual appeal.
- Occasion fit This dessert is perfect for casual parties, outdoor barbecues, and any time you want a playful, crowd pleasing sweet that requires minimal last minute effort.
FAQ
Conclusion
This pie stands out because it combines creamy, crunchy, and saucy elements into one easy, make ahead dessert. Try it when you need a no bake show stopper for summer gatherings, because it travels well and keeps in the freezer. I hope you enjoy the process of layering and the joy it brings to your table, and that each slice rewards you with the contrast and nostalgic fun this recipe aims to deliver.
Seven Layer Ice Cream Pie
Equipment
- Mixing Bowl
- Electric Mixer
- Spatula
- Pie Pan
- Freezer
Ingredients
- 19 -inch Oreo Crust (homemade or store bought) Provides a firm chocolate cookie base that supports all layers; press into a 9-inch pie pan for structure and crunch. Enhances overall flavor with classic Oreo cookie taste and offers contrast to creamy fillings.
- 2/3 cups sweetened condensed milk (7 ounces by weight; half a 14 ounce can) Adds dense sweetness and creamy milkfat that helps bind and sweeten frozen layers; pour evenly to avoid overly icy texture. Contributes a rich, caramelized milk flavor and helps stabilize the pie as it sets.
- 1 cup (237 ml) heavy whipping cream Supplies airy richness and volume when whipped to soft peaks, lending a smooth, creamy mouthfeel to the filling. Balances sweetness and lightens the condensed milk for a scoopable texture in the frozen pie.
- 1/4 cup (74 g) Hot Fudge Sauce Introduces deep chocolate flavor and gooey texture that complements the cookie crust; drizzle in a layer for indulgent pockets of fudgy richness. Provides contrast to lighter dairy layers and intensifies overall dessert decadence.
- 1/4 cup (82 g) Caramel Sauce Offers buttery, sweet notes with sticky, silky texture that pairs well with chocolate and peanut butter; layer sparingly to avoid overpowering. Adds a glossy finish and pleasant chewiness to each bite.
- 1/4 cup (64 g) peanut butter Contributes salty, nutty richness and creamy mouthfeel that cuts through sweetness; swirl or layer to create pockets of peanut flavor. Helps bind other layers and adds protein-like texture for balance.
- 6 (67 g) Oreos Chopped Provides crunchy chocolate sandwich cookie pieces to enhance texture and reinforce the Oreo motif; fold in gently to distribute bits throughout. Adds intermittent bursts of chocolate and cream filling flavor.
- 1/2 cup (17 g) coarsely broken pretzels Supplies crunchy, salty contrast that breaks up sweetness and adds a satisfying snap; scatter across layers or use as a topping. Enhances complexity by introducing savory notes and varied texture.
- 1/4 cup (44 g) rainbow sprinkles Delivers colorful, sugary crunch that brightens appearance and adds festive texture to the surface or interior. Provides small sweet bursts that contrast creamy layers and make the pie visually appealing.
Instructions
- Beat heavy whipping cream until stiff peaks form. Fold in sweetened condensed milk carefully so as not to break the cream.: Warmth here is the enemy, so make sure the heavy whipping cream and your bowl are chilled before you begin. As you whip you will notice the cream change from glossy to pillowy, and when a peak stands up straight without folding over you have reached stiff peaks. The sound becomes fuller and the beater leaves defined trails. This aeration is why the filling stays light after freezing, and under whipping will yield a dense, icy texture, while over whipping will cause graininess and can lead to butter forming, so stop as soon as stiff peaks appear.
- Drizzle all of the peanut butter and about 2/3 of the hot fudge and caramel on top of the ice cream mixture, then sprinkle on Oreos, pretzels, and sprinkles. Fold to slightly combine – you don't want it totally mixed but more want to see the swirls of sauces.: Start with a small scoop of the sweetened condensed milk, and use a wide spatula with an under and over motion to preserve air in the whipped cream. You will see the mixture take on a silkier sheen as the condensed milk disperses; resist the urge to vigorously whisk, because that will deflate the whipped structure. The why here is that the condensed milk adds density and sweetness that helps the filling set without turning icy, and the common mistake is aggressive mixing which collapses volume and makes the finished pie heavy rather than airy.
- Pour the ice cream into the prepared crust. Drizzle remaining hot fudge and caramel over the top and add more sprinkles, if desired.: With the filling in a bowl, add the peanut butter and sauces in ribbons so you can still see white swirls. Use a spoon to lay down lines of sauce, and sprinkle the chopped Oreos , broken pretzels , and sprinkles in even patches. You should hear a faint crunch when the mix contains the cookie and pretzel bits, and visually you will want to see streaks of sauce. The purpose is to create pockets of flavor that remain distinct after freezing, and a frequent error is stirring too much which eliminates the attractive swirls.
- Freeze for at least 4 hours, or until firm.: Use gentle strokes to incorporate the add ins just enough so each scoop will have variety, but not so much that the sauces disappear. As you fold, watch for streaks of sauce to thin but not vanish, and stop when the mixture looks marbled. This technique matters because visible ribbons translate to concentrated bites of flavor after the pie is frozen, and too much folding will homogenize the filling causing a less interesting texture.
- Pour the ice cream into the prepared crust: When you transfer the filling, do it slowly so the crust stays intact. Tap the pan gently on the counter to settle the filling and remove large air pockets. You will feel a slight resistance as the filling meets the crust, and visually the filling should sit level with or slightly below the rim. Pouring too quickly risks dislodging the crust or causing uneven layers, so take your time for a neat result.
- Drizzle remaining hot fudge and caramel over the top and add more sprinkles, if desired: Finish the top with remaining sauces in decorative lines or a random drizzle for a rustic look. The sauces will sink slightly into the top layer and then set into chewy ribbons as they chill. Add extra sprinkles for color and a bit more crunch, but beware of over decorating which can mask the antique contrast of ingredients; keep some negative space so the drizzle reads clearly.
- Freeze for at least 4 hours, or until firm: Place the assembled pie on a level shelf in the freezer to set. The smell in your freezer will be faintly sweet, and you can test firmness by gently pressing the center with a spoon the morning after; it should resist and feel solid. This step matters because the freezing time allows the whipped structure to stabilize and the sauces to form pleasant ribbons, and a common mistake is slicing too soon which yields messy, slumping slices rather than clean wedges.
Notes
- Swap crust style Use a different cookie crust for a new base texture, keeping the same approach of chilling the crust before filling so it stays firm.
- Alternate sauces Try butterscotch or fruit compote as a replacement for some of the chocolate and caramel ribbons to brighten the overall flavor, and warm thicker sauces slightly for easier drizzling.
- Change add ins Substitute different chopped cookies or candies for the Oreos and sprinkles to match a theme, adding variety in crunch without changing assembly technique.
- Control sweetness Reduce the amount of sweetened condensed milk slightly if you prefer a less sweet pie, but note this may change the freezing texture, so reduce carefully and test a small portion first.
- Portion adjustments Make smaller individual pies in tart pans using the same steps, which shortens freeze time and makes for easy individual servings.