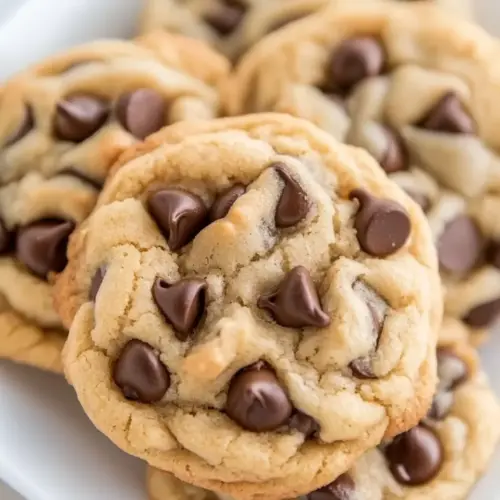
Peter Pan Neverland Chocolate Chip Cookies
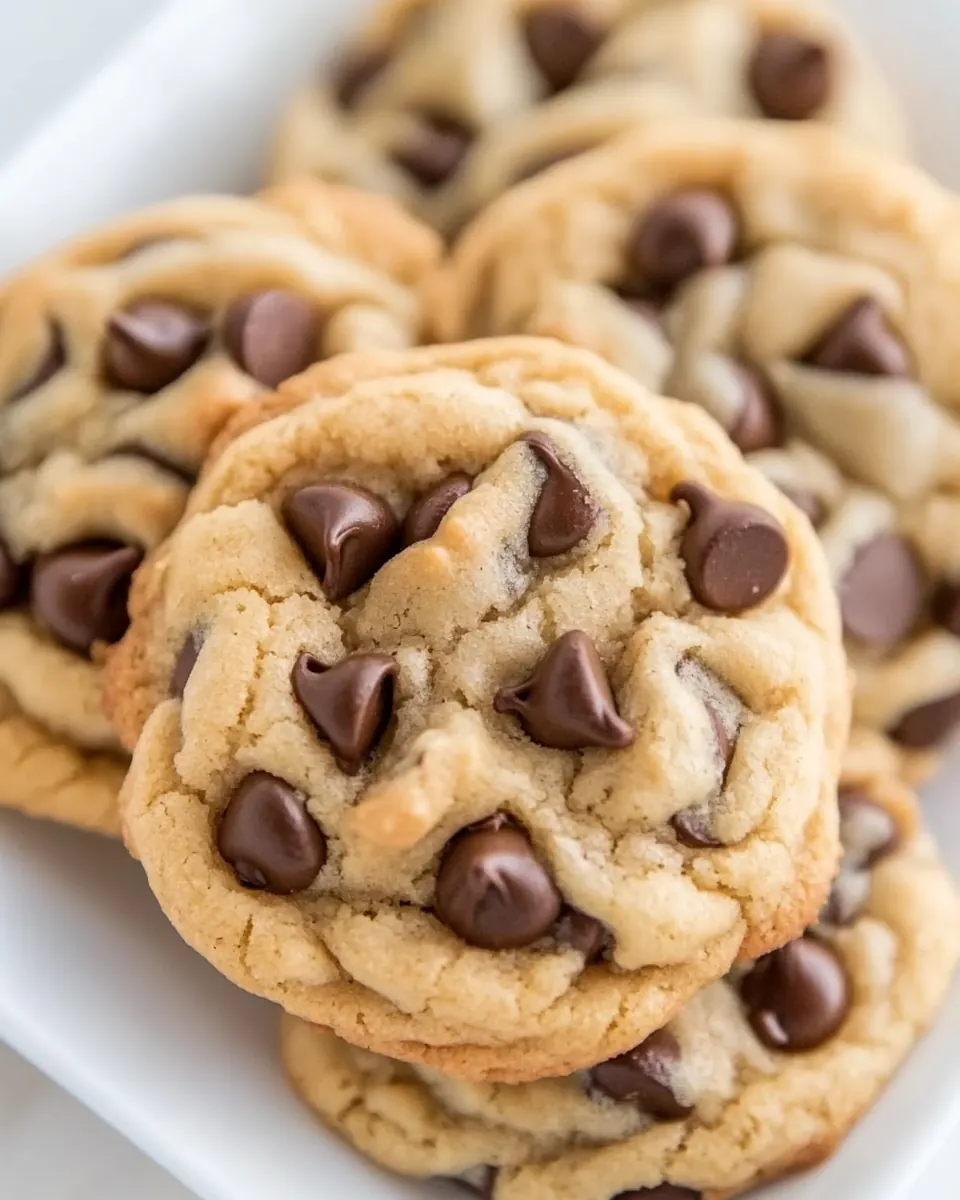
Peter Pan Neverland Chocolate Chip Cookies have been a comfort for me since the first time I pulled a warm tray from the oven and watched friends reach for the glossy centers first. I remember the morning I tested this version, the house filled with the aroma of toasted peanut and melting chocolate chips, and a neighbor leaned over the counter and declared them the new neighborhood staple. That moment made me appreciate how a simple cookie can hold stories, and why I keep this recipe in heavy rotation.
Over the years I have tweaked small things to keep these treats reliably soft and slightly chewy, and I love how the ratio of peanut butter to sugars creates that tender crumb without getting cakey. When I bake these, I like to line up my bowls, feel the dough change under the mixer, and sneak a still-warm bite that is impossibly gooey. You will notice little rituals too, like placing a couple of extra chocolate chips on top before chilling, a tiny flourish that makes each cookie feel made to order. I also learned that chilling the dough transforms the texture in the oven, and now I rarely skip that step.
Recipe Snapshot
21 mins
10 mins
11 mins
Medium
150 kcal
American
Gluten-Free, Low FODMAP
Desserts
Stand mixer, Paddle attachment, Electric hand mixer, Cookie scoop, Baking sheet, Silpat or cooking spray
Why This Peter Pan Neverland Chocolate Chip Cookies Is a Winner
Classic comfort with a playful twist
I adore Peter Pan Neverland Chocolate Chip Cookies because they blend nostalgic peanut butter warmth with the familiar comfort of chocolate chips. The peanut butter lends a rich, nutty backbone that keeps each bite interesting, so you get more than just sweetness. I find this makes them perfect for both after school treats and last minute coffee hour rescues.
Consistently soft centers and lightly crisp edges
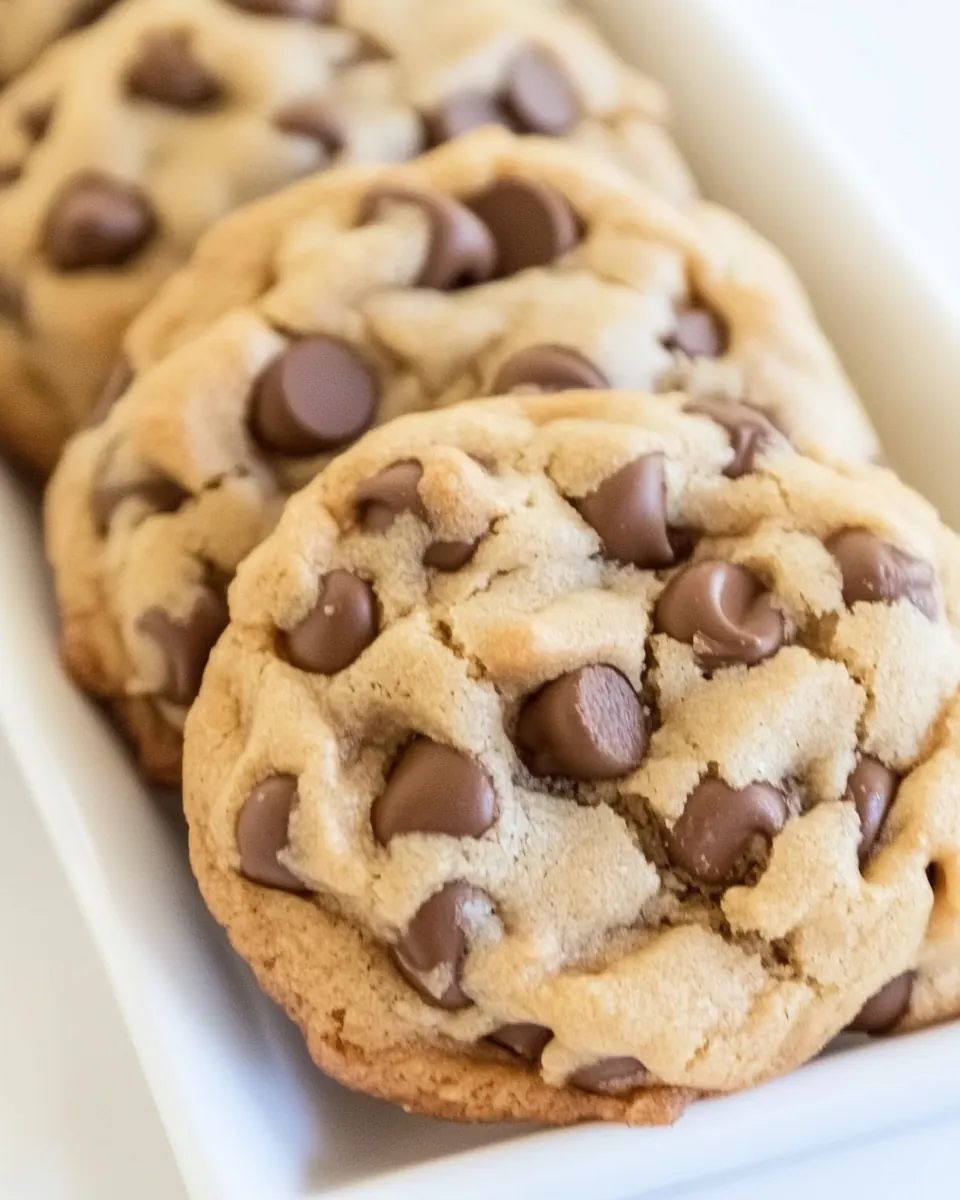
One big reason I keep returning to this recipe is the texture balance. The combination of room temperature butter, two kinds of sugar, and a chill period means the cookies spread just enough to crack on top while staying tender inside. When I bite into one, I want a slight chew, not a dry crumble, and this method delivers that reliably.
Simple pantry ingredients, big impact
You probably have nearly everything on hand. The ingredient list reads like pantry essentials with a star player in Peter Pan Simply Ground Original Peanut Butter. That straightforwardness makes these cookies ideal for spontaneous baking. I love that I can pull them together quickly when guests drop by.
Flexible timing and make ahead friendly
I often prepare the dough ahead, refrigerate it, and bake as needed. Chilling the dough for at least three hours deepens flavor and controls spread, so you can prep in the morning and bake later, or keep dough for days for an easy weekend bake-off. This adaptability is one of the reasons I recommend this recipe to busy bakers.
Great for sharing and celebrations
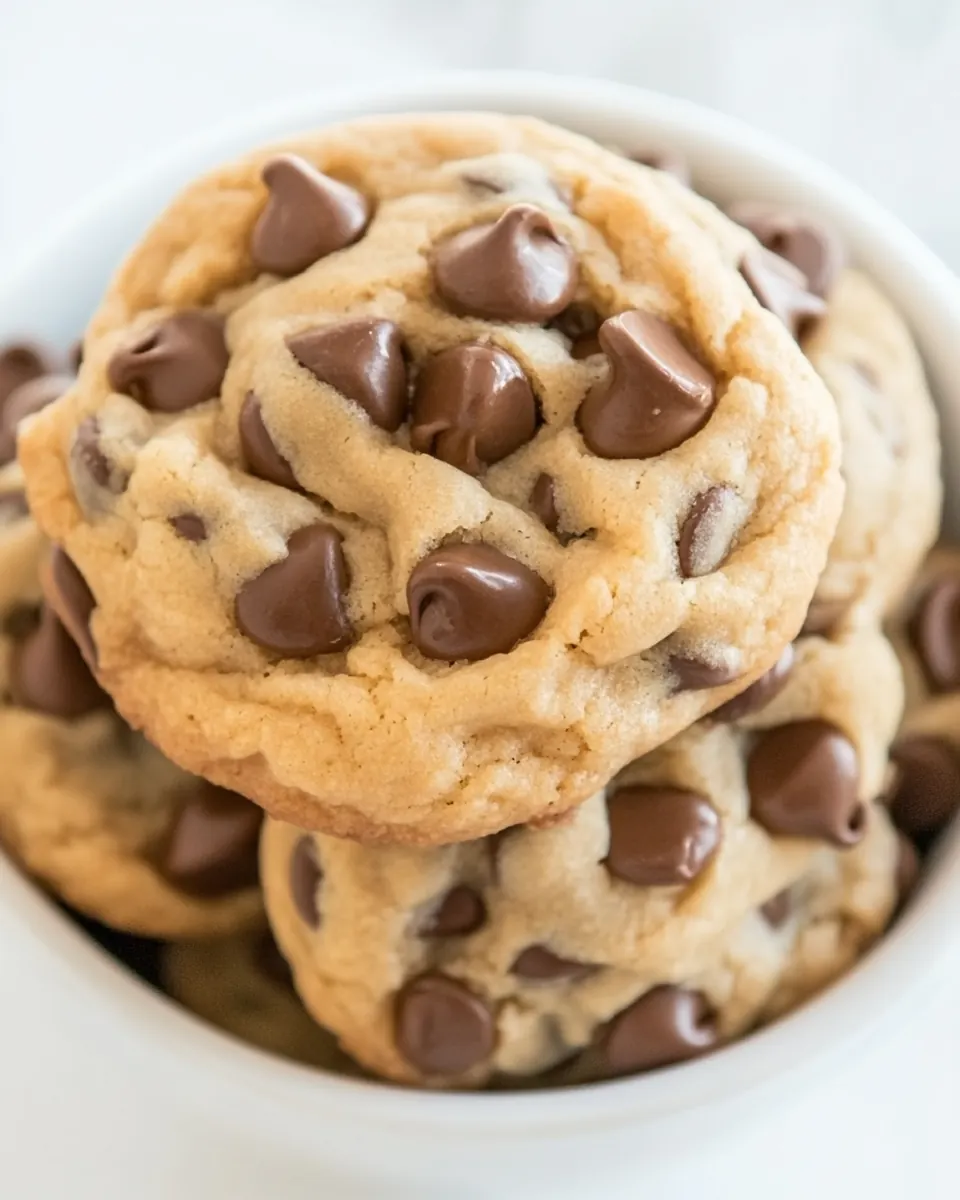
These cookies have a crowd pleasing energy. They work for casual gatherings, birthday bags, or just a comforting late night snack. I like to make them in batches, knowing they travel well and hold up when stacked. Every time I bring a tin to a get together, someone asks for the recipe, and that always makes me smile.
Ingredient List for Peter Pan Neverland Chocolate Chip Cookies
These ingredients are chosen to create a cookie that is rich, soft, and slightly chewy with a nutty backbone. The key players are the creamy peanut butter, which gives character and moisture, and the pairing of light brown and granulated sugar, which balances chew and caramel notes. The small amount of baking soda helps lift and lighten, while a modest pinch of salt sharpens the overall flavor.
- 1 large egg: Beaten to bind the dough, providing structure and moisture while contributing to a tender crumb and helping leaven as it interacts with baking soda.
- 1/2 cup unsalted butter: Softened to cream with sugars, adding rich dairy fat that enhances flavor, creates a smooth texture, and helps cookies spread and brown evenly.
- 1/2 cup light brown sugar, packed: Packed and creamed to add deep caramel sweetness and moisture, contributing chewiness and a complex molasses note that complements peanut butter and chocolate.
- 1/4 cup granulated sugar: Granulated and creamed to provide crispness and lift, helping to aerate the dough for lighter texture while balancing sweetness.
- heaping 3/4 cup Peter Pan Simply Ground Original Peanut Butter®: Spoon-measured generously as the primary nut butter, supplying bold peanut flavor, fat for tenderness, and a dense, chewy texture that defines these cookies.
- 2 teaspoons vanilla extract: Extracted and added to enhance aromatic complexity, rounding flavors and elevating the sweetness while harmonizing peanut and chocolate notes.
- 1 1/4 cups all-purpose flour: Sifted or stirred in as the dry structure, supplying gluten and bulk to form the cookie matrix and balance moisture for proper texture.
- 1/2 teaspoon baking soda: Measured and combined to react with the egg and create lift, subtly contributing to spread and tender crumb by neutralizing acidity.
- 1/2 teaspoon salt, or to taste: Seasoned to taste to balance sweetness and enhance overall flavor, tightening the dough's taste profile and highlighting peanut and chocolate elements.
- 1 1/2 cups semi-sweet chocolate chips: Folded into dough to deliver rich pockets of melted chocolate, providing sweetness, texture contrast, and bursts of semi–sweet flavor in every bite.
The Process for Making Peter Pan Neverland Chocolate Chip Cookies
These directions will guide you through a reliable, sensory-focused bake from creaming to cooling. I like to move deliberately, noticing changes in texture and aroma, because each step nudges the dough toward that soft center I love. Follow the sequence and use the visual cues I describe for the best outcome.
- To the bowl of a stand mixer fitted with the paddle attachment (or large bowl and electric hand mixer), add the egg, butter, sugars, and cream on medium-high speed until light and fluffy, about 3 to 4 minutes.: The moment you start creaming, listen for a soft rhythmic hum and watch the mixture lighten to a pale, billowy mass, signifying air has been incorporated. You should smell a sweet, toffee like note as the butter and sugars aerate, and the sound will change as the mixture smooths out. This aeration traps tiny bubbles that later expand in the oven, delivering lift and tenderness. If you see streaks of unmixed butter, stop and scrape the bowl, because leaving pockets of uncreamed butter will cause uneven texture and unpredictable spreading.
- Stop, scrape down the sides of the bowl, and add the peanut butter, vanilla, and mix on medium-high speed until incorporated, about 1 minute.: When you fold in the peanut butter and vanilla , breathe in the warm, nutty perfume that should bloom instantly. The mixture will go from fluffy to glossy and slightly thicker, which is the right visual cue. This addition enriches the batter with fat and flavor, ensuring each bite has a pronounced peanut character. Avoid over mixing at this stage, because excessive agitation breaks down the aeration you created, resulting in a denser cookie.
- Stop, scrape down the sides of the bowl, and add the flour, baking soda, salt, and mix on low speed until just incorporated, about 1 minute; don’t overmix.: As you add the dry ingredients, the sound will quiet and the dough will begin to pull away from the bowl, forming a cohesive mass. The flour absorbs moisture, so watch that the dough is neither crumbly nor overly wet; it should hold together but feel slightly soft. Gentle mixing preserves tender gluten development, which is why we keep the speed low. The main mistake is vigorous mixing, which creates a tougher cookie due to excess gluten formation.
- Add the chocolate chips and mix on low speed until just incorporated.: When the chocolate chips go in, you'll see dark flecks studding the dough, and the aroma will become chocolaty and inviting. Mixing briefly prevents breaking the chips and keeps them nicely distributed. If you overmix, chips can break and create streaks rather than pockets of melted chocolate, changing the intended texture.
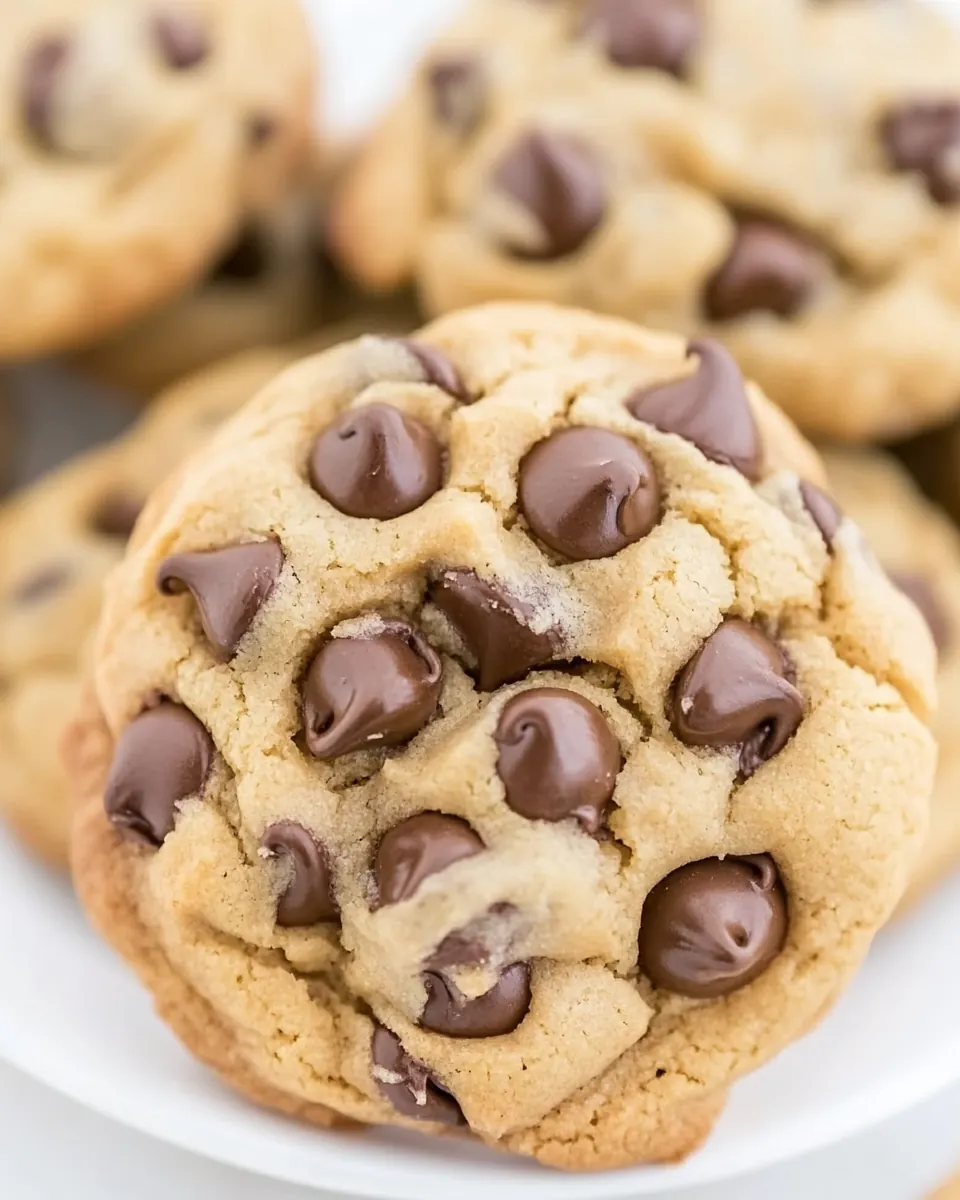
- Using a two-tablespoon cookie scoop form approximately 18 equal-sized mounds of dough. Tip – strategically place a few chocolate chips on top of each mound of dough by taking chips from the underside and adding them on top.: Forming uniform mounds ensures even baking, and the tactile process of scooping gives you a sense of dough consistency. Pressing a couple of chips on top creates glossy, photogenic domes and helps the cookie look finished after baking. If your scoops vary widely, you will end up with unevenly baked cookies, so take the extra minute to size them consistently.
- Place mounds on a large plate or tray, cover with plastic wrap, and refrigerate for at least 3 hours, up to 5 days. Do not bake with unchilled dough because cookies will bake thinner, flatter, and be more prone to spreading.: Chilling is transformative; the dough firms, flavors meld, and the fat solidifies so the cookies spread less and develop a better texture. When you smell the dough after chilling, it will be deeper and more integrated. A common misstep is skipping chill time to save time, but that often yields flat, greasy cookies that lack the chewy center you want.
- Preheat oven to 350 F, line a baking sheet with a Silpat or spray with cooking spray. Place dough mounds on baking sheet, spaced at least 2 inches apart (I bake 8 cookies per sheet).: Preheating is critical so the oven environment is stable; the initial heat causes the dough exterior to set while the interior remains soft. Lining with a Silpat or using spray prevents sticking and encourages even browning. If you cram cookies too close together, they will merge into each other, losing their rounded shape, so maintain spacing for best results.
- Bake for about 11 minutes, or until edges have set and tops are just set, even if slightly undercooked, pale, and glossy in the center; don’t overbake. Cookies firm up as they cool.: During baking you will notice the edges deepen in color and the centers remain pale and glossy which is the cue to remove them. The olfactory change is subtle but present, a toasted peanut and caramel note rising from the oven. Because heat carries on after removal, underbaking slightly ensures a soft center once cooled. Overbaking yields a uniformly dry cookie, so resist the urge to wait for full browning.
- Allow cookies to cool on baking sheet for about 10 minutes before serving. I let them cool on the baking sheet and don’t use a rack.: Cooling on the sheet lets the cookies finish setting gently and avoids breakage from moving them too soon. You will feel the surface firm while the center retains a tender give. A mistake here is transferring while too warm, which can cause them to collapse or tear, so give them those ten minutes to stabilize.
Substitutions and Tips
I keep these tips practical and focused on helping you reproduce bakery style cookies at home. Below are expanded notes based on the recipe notes and experience, each designed to improve texture, flavor, or convenience.
- Storage guidance Cookies will keep airtight at room temperature for up to 1 week or in the freezer for up to 6 months; to revive frozen cookies, let them come to room temperature or warm briefly in a low oven.
- Dough make ahead Unbaked cookie dough can be stored in an airtight container in the refrigerator for up to 5 days or frozen for up to 4 months so you can bake fresh batches on demand.
- Chilling window Refrigerate dough for at least 3 hours, but you can safely chill it up to 5 days, giving you flexibility to bake when convenient without sacrificing texture.
- Freezing dough portions Scoop dough onto a tray, freeze until solid, then transfer to a sealed container so you can bake single batches from frozen with minimal thawing time.
- Tray strategy I bake eight cookies per sheet for even heat distribution; overcrowding slows air circulation and leads to inconsistent browning.
Best Served With
These cookies pair well with simple accompaniments and versatile serving ideas. They are equally suited to casual snacking and small gatherings, and the notes below will help you choose the right setting and storage method.
- Afternoon tea or coffee Serve slightly warm with a cup of coffee or milk to balance the nutty sweetness and accentuate the melty chocolate chips.
- Snack packs for school or work Individually wrap cooled cookies for an easy treat in lunchboxes or snack crates.
- Party platters Arrange on a platter with a small bowl of extra chocolate chips for guests to add as they please, making the presentation interactive.
- Holiday cookie tins These cookies store well and transport without fuss, making them a great choice for gifting during holiday seasons and communal events.
- Storage tips Keep cookies airtight at room temperature for up to a week, or freeze for longer storage and thaw as needed for fresh tasting cookies.
FAQ
Conclusion
These cookies stand out because they combine creamy peanut butter with melty semi sweet chips to create a reliably soft and slightly chewy treat. You will find the simple ingredient list and a short chill period yield bakery quality results that travel and store well. Give them a try when you want something comforting yet straightforward; I think you will enjoy how small adjustments in technique lead to consistently satisfying cookies. Baking is generous by nature, so make a batch, share some, and savor the little moments they create.
Peter Pan Neverland Chocolate Chip Cookies
Equipment
- Stand mixer
- Paddle attachment
- electric hand mixer
- Cookie Scoop
- Baking Sheet
- Silpat or cooking spray
Ingredients
- 1 large egg Beaten to bind the dough, providing structure and moisture while contributing to a tender crumb and helping leaven as it interacts with baking soda.
- 1/2 cup unsalted butter Softened to cream with sugars, adding rich dairy fat that enhances flavor, creates a smooth texture, and helps cookies spread and brown evenly.
- 1/2 cup light brown sugar, packed Packed and creamed to add deep caramel sweetness and moisture, contributing chewiness and a complex molasses note that complements peanut butter and chocolate.
- 1/4 cup granulated sugar Granulated and creamed to provide crispness and lift, helping to aerate the dough for lighter texture while balancing sweetness.
- heaping 3/4 cup Peter Pan Simply Ground Original Peanut Butter® Spoon-measured generously as the primary nut butter, supplying bold peanut flavor, fat for tenderness, and a dense, chewy texture that defines these cookies.
- 2 teaspoons vanilla extract Extracted and added to enhance aromatic complexity, rounding flavors and elevating the sweetness while harmonizing peanut and chocolate notes.
- 1 1/4 cups all-purpose flour Sifted or stirred in as the dry structure, supplying gluten and bulk to form the cookie matrix and balance moisture for proper texture.
- 1/2 teaspoon baking soda Measured and combined to react with the egg and create lift, subtly contributing to spread and tender crumb by neutralizing acidity.
- 1/2 teaspoon salt, or to taste Seasoned to taste to balance sweetness and enhance overall flavor, tightening the dough's taste profile and highlighting peanut and chocolate elements.
- 1 1/2 cups semi-sweet chocolate chips Folded into dough to deliver rich pockets of melted chocolate, providing sweetness, texture contrast, and bursts of semi-sweet flavor in every bite.
Instructions
- To the bowl of a stand mixer fitted with the paddle attachment (or large bowl and electric hand mixer), add the egg, butter, sugars, and cream on medium-high speed until light and fluffy, about 3 to 4 minutes.: The moment you start creaming, listen for a soft rhythmic hum and watch the mixture lighten to a pale, billowy mass, signifying air has been incorporated. You should smell a sweet, toffee like note as the butter and sugars aerate, and the sound will change as the mixture smooths out. This aeration traps tiny bubbles that later expand in the oven, delivering lift and tenderness. If you see streaks of unmixed butter, stop and scrape the bowl, because leaving pockets of uncreamed butter will cause uneven texture and unpredictable spreading.
- Stop, scrape down the sides of the bowl, and add the peanut butter, vanilla, and mix on medium-high speed until incorporated, about 1 minute.: When you fold in the peanut butter and vanilla , breathe in the warm, nutty perfume that should bloom instantly. The mixture will go from fluffy to glossy and slightly thicker, which is the right visual cue. This addition enriches the batter with fat and flavor, ensuring each bite has a pronounced peanut character. Avoid over mixing at this stage, because excessive agitation breaks down the aeration you created, resulting in a denser cookie.
- Stop, scrape down the sides of the bowl, and add the flour, baking soda, salt, and mix on low speed until just incorporated, about 1 minute; don’t overmix.: As you add the dry ingredients, the sound will quiet and the dough will begin to pull away from the bowl, forming a cohesive mass. The flour absorbs moisture, so watch that the dough is neither crumbly nor overly wet; it should hold together but feel slightly soft. Gentle mixing preserves tender gluten development, which is why we keep the speed low. The main mistake is vigorous mixing, which creates a tougher cookie due to excess gluten formation.
- Add the chocolate chips and mix on low speed until just incorporated.: When the chocolate chips go in, you'll see dark flecks studding the dough, and the aroma will become chocolaty and inviting. Mixing briefly prevents breaking the chips and keeps them nicely distributed. If you overmix, chips can break and create streaks rather than pockets of melted chocolate, changing the intended texture.
- Using a two-tablespoon cookie scoop form approximately 18 equal-sized mounds of dough. Tip – strategically place a few chocolate chips on top of each mound of dough by taking chips from the underside and adding them on top.: Forming uniform mounds ensures even baking, and the tactile process of scooping gives you a sense of dough consistency. Pressing a couple of chips on top creates glossy, photogenic domes and helps the cookie look finished after baking. If your scoops vary widely, you will end up with unevenly baked cookies, so take the extra minute to size them consistently.
- Place mounds on a large plate or tray, cover with plastic wrap, and refrigerate for at least 3 hours, up to 5 days. Do not bake with unchilled dough because cookies will bake thinner, flatter, and be more prone to spreading.: Chilling is transformative; the dough firms, flavors meld, and the fat solidifies so the cookies spread less and develop a better texture. When you smell the dough after chilling, it will be deeper and more integrated. A common misstep is skipping chill time to save time, but that often yields flat, greasy cookies that lack the chewy center you want.
- Preheat oven to 350 F, line a baking sheet with a Silpat or spray with cooking spray. Place dough mounds on baking sheet, spaced at least 2 inches apart (I bake 8 cookies per sheet).: Preheating is critical so the oven environment is stable; the initial heat causes the dough exterior to set while the interior remains soft. Lining with a Silpat or using spray prevents sticking and encourages even browning. If you cram cookies too close together, they will merge into each other, losing their rounded shape, so maintain spacing for best results.
- Bake for about 11 minutes, or until edges have set and tops are just set, even if slightly undercooked, pale, and glossy in the center; don’t overbake. Cookies firm up as they cool.: During baking you will notice the edges deepen in color and the centers remain pale and glossy which is the cue to remove them. The olfactory change is subtle but present, a toasted peanut and caramel note rising from the oven. Because heat carries on after removal, underbaking slightly ensures a soft center once cooled. Overbaking yields a uniformly dry cookie, so resist the urge to wait for full browning.
- Allow cookies to cool on baking sheet for about 10 minutes before serving. I let them cool on the baking sheet and don’t use a rack.: Cooling on the sheet lets the cookies finish setting gently and avoids breakage from moving them too soon. You will feel the surface firm while the center retains a tender give. A mistake here is transferring while too warm, which can cause them to collapse or tear, so give them those ten minutes to stabilize.
Notes
- Storage guidance Cookies will keep airtight at room temperature for up to 1 week or in the freezer for up to 6 months; to revive frozen cookies, let them come to room temperature or warm briefly in a low oven.
- Dough make ahead Unbaked cookie dough can be stored in an airtight container in the refrigerator for up to 5 days or frozen for up to 4 months so you can bake fresh batches on demand.
- Chilling window Refrigerate dough for at least 3 hours, but you can safely chill it up to 5 days, giving you flexibility to bake when convenient without sacrificing texture.
- Freezing dough portions Scoop dough onto a tray, freeze until solid, then transfer to a sealed container so you can bake single batches from frozen with minimal thawing time.
- Tray strategy I bake eight cookies per sheet for even heat distribution; overcrowding slows air circulation and leads to inconsistent browning.