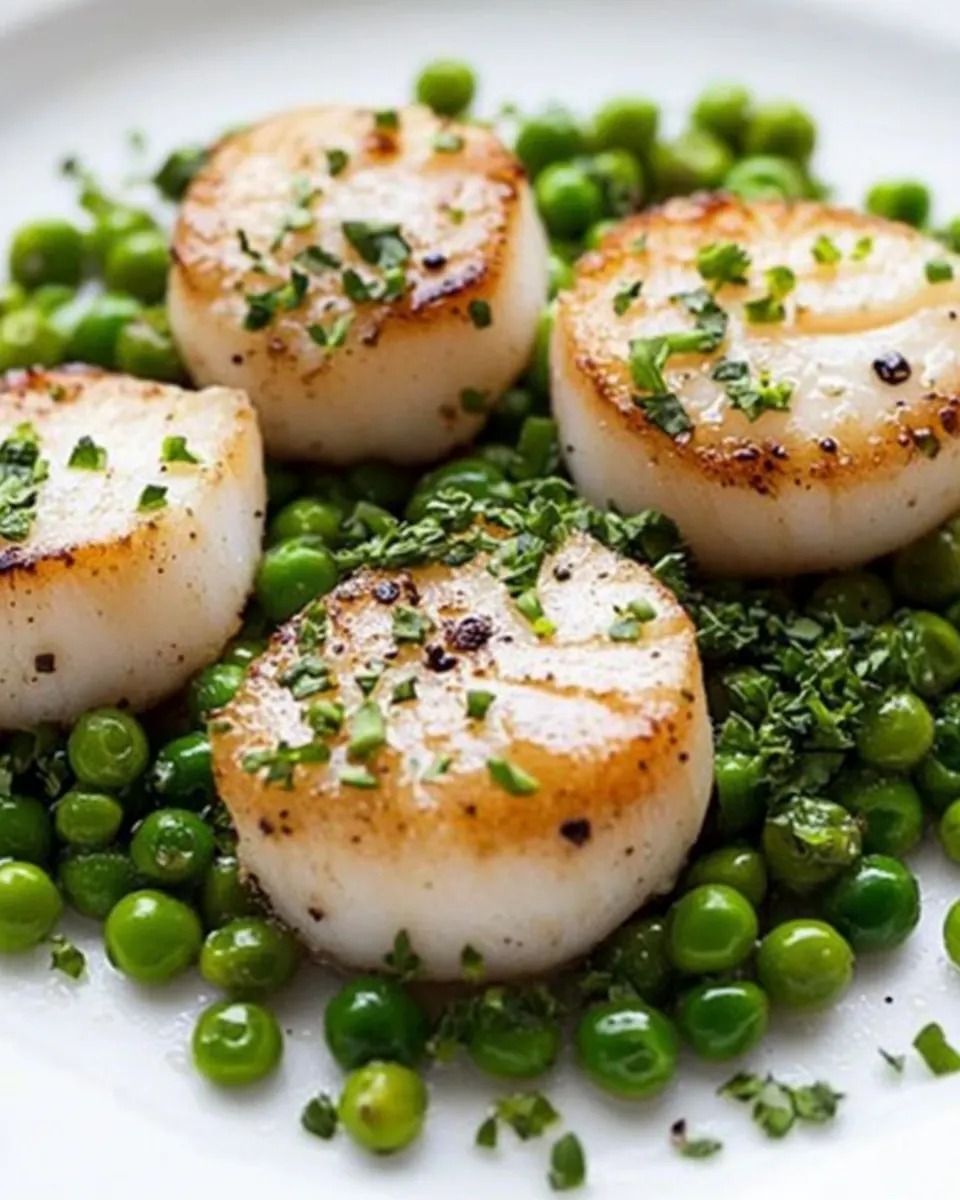
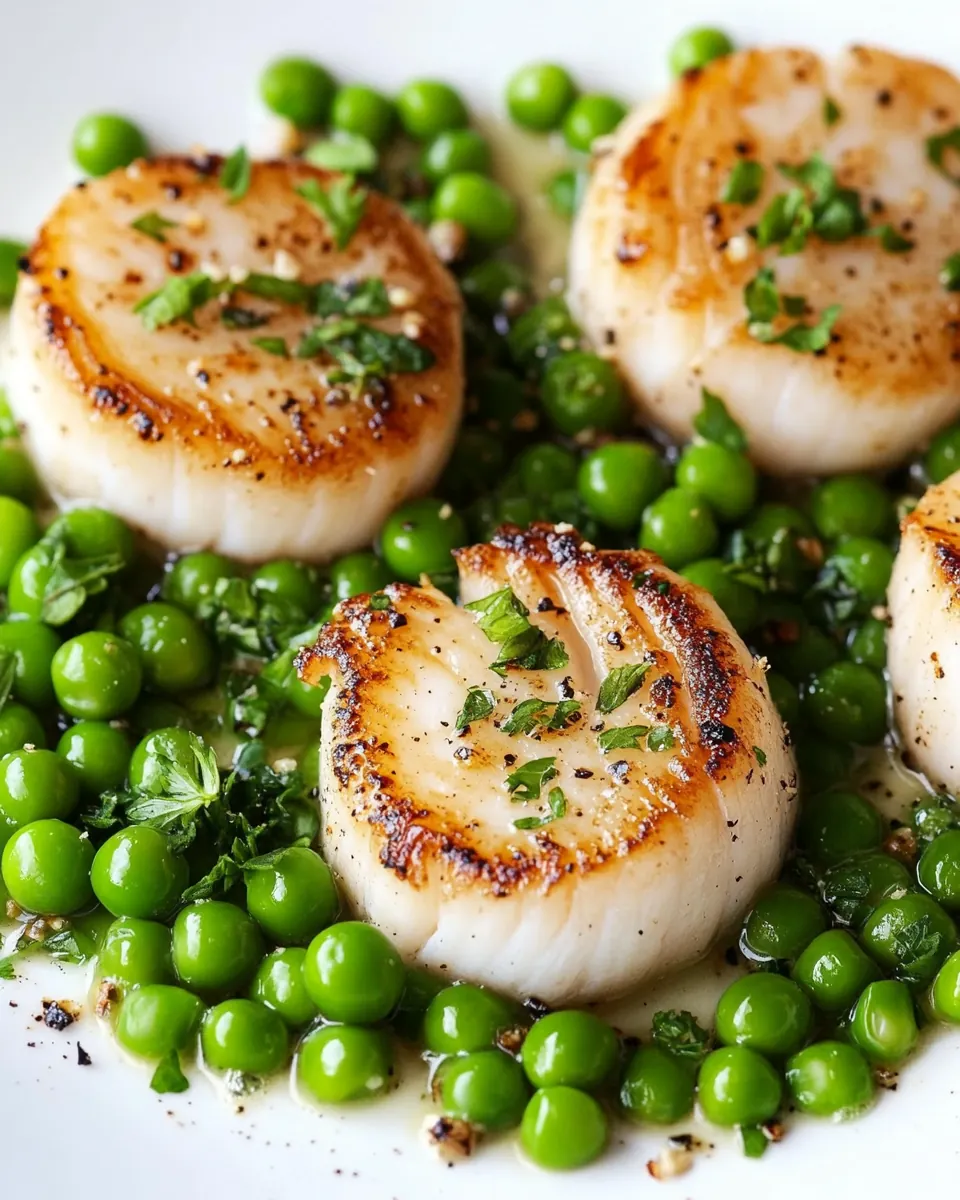
Seared Scallops With Peas and Mint
Seared Scallops With Peas and Mint is the kind of meal that makes a weeknight feel a little festive, and it greeted me on the first warm evening of spring when I wanted something quick and impressive. I remember coming home tired from a long day, craving something bright yet comforting, so I pulled a few simple ingredients from the fridge and let the stove do the work. The result was a plate that smelled of butter and citrus, and that first bite of tender, caramelized scallops with a fresh hit of mint felt like a tiny celebration.
I like how this dish rewards attention rather than time, it asks only that you keep an eye on the pan and trust a few basic techniques. There are small victories here, like getting a golden crust on the scallops without overcooking, or coaxing sweetness from the shallots as they soften in butter. Each element pulls its weight, and together they create a harmony of texture, color, and flavor that always makes guests ask for the recipe.
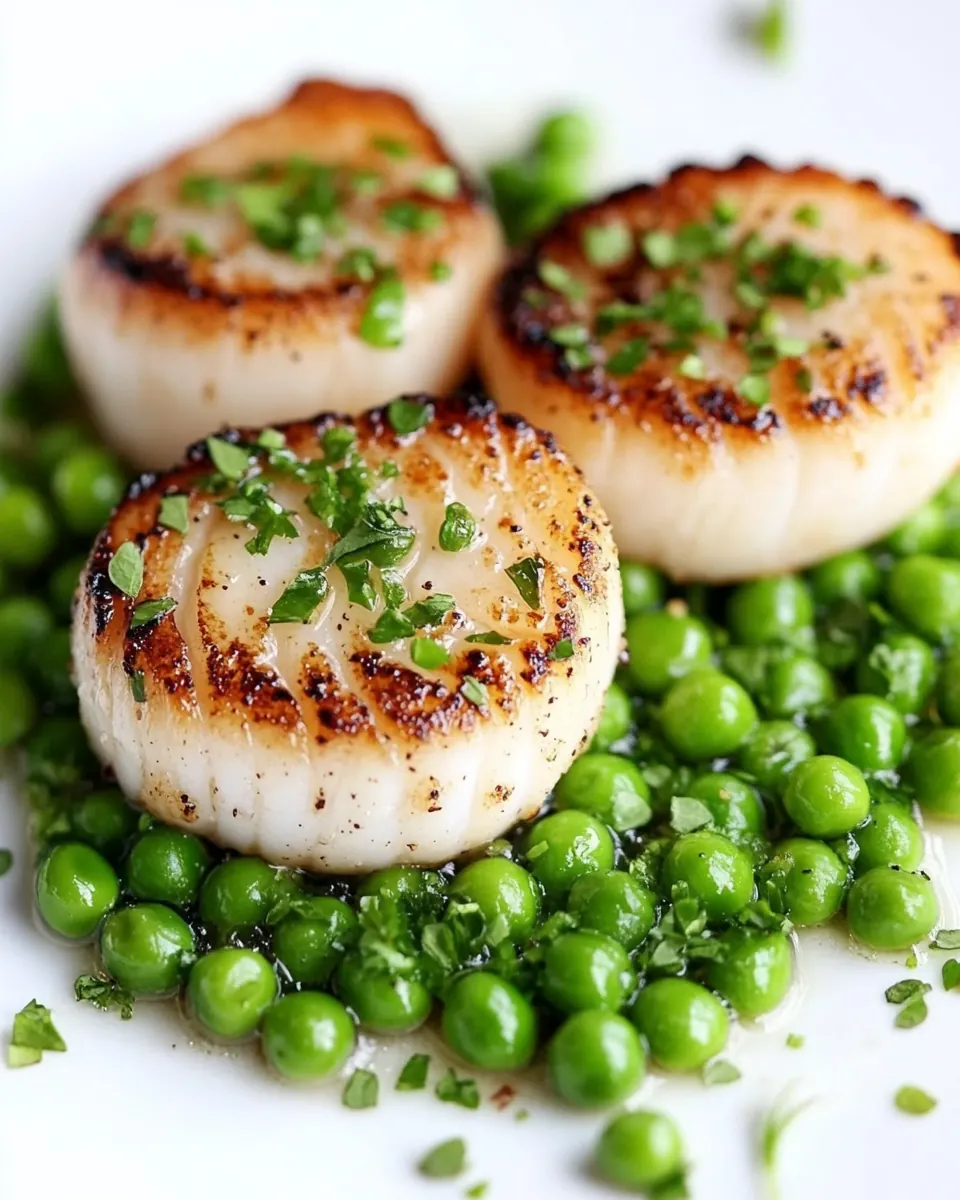
When I serve Seared Scallops With Peas and Mint I prefer simple plating so the ingredients shine. A spoonful of pan butter spooned over the top, a scatter of chopped mint, and a squeeze of lemon bring everything to life. It feels elevated without being fussy, perfect for a cozy dinner or a low-key dinner party where you want to impress without sweating the details.
Recipe Snapshot
15 mins
5 mins
10 mins
Easy
250 kcal
American
Gluten-Free, Low FODMAP
Dinner
Cast iron pan, Tongs, Paper towels
What’s Great About This Seared Scallops With Peas and Mint
Bright, Fresh Flavor
I love how Seared Scallops With Peas and Mint balances sweet and savory. The natural sweetness of the scallops and peas plays against the rich butter and the herbal lift of mint. That contrast keeps the dish lively, so every forkful feels fresh.
Quick but Sophisticated
This recipe cooks in minutes, yet it reads like something from a restaurant menu. Because the technique focuses on high heat and quick timing, you get a dinner that feels special without a long time commitment. I appreciate recipes that maximize flavor per minute, and this one does exactly that.
Simple, Trustworthy Ingredients
There are no complicated sauces or long ingredient lists, which means you can shop easily and rely on pantry staples. The few ingredients included all play essential roles, so you do not need to compromise quality. When the butter browns slightly and the shallots soften, the aroma alone tells you this is going to be good.
Textural Delight
The contrast between a crisp, golden exterior on the scallops and the tender, bright peas is delightful. I love the small pop of the peas against the creamy scallop interior, and the final spooning of butter turns everything silky. Texture is a big reason I keep coming back to this dish.
Versatile and Approachable
I find this dish fits many occasions, from a simple night in to a small celebration. It scales well for a few guests, and it pairs easily with light sides. Because the flavors are straightforward, you can adapt minor details without losing what makes the dish special.
Essential Ingredients for Seared Scallops With Peas and Mint
These ingredients form a tight, thoughtful team. The focus is on freshness and contrast, with the scallops as the star, supported by aromatic shallots, rich butter, bright mint, and sweet peas. Each item has a clear job to play, and together they create a dish that is bright, buttery, and balanced.
- 1 tablespoon butter: Melted to enrich and gently brown food, adding a silky mouthfeel and helping to carry flavors; used at the start or finish of cooking to build depth. Provides a subtle nuttiness that complements seafood and vegetables when sautéing or finishing the dish.
- 2 tablespoons shallots finely minced: Minced finely to impart a delicate allium aroma and gentle sweetness without overwhelming other flavors; disperses evenly to flavor butter or oil for a base. Releases fragrant juices when cooked briefly to create a subtle aromatic foundation for the peas and scallops.
- 1 cup green peas: Blanched or lightly cooked to contribute bright color, fresh sweetness, and a tender pop; balances the richness of scallops and butter. Offers a pleasant vegetal contrast and textural variety when folded into the finished pan sauce or used as a bed for seared scallops.
- 1 tablespoon olive oil: Used for pan-searing and dressings to provide a fruity, clean frying medium with a high smoke point; helps form a golden crust on scallops. Adds a lighter fat note that balances the butter and prevents burning during the high-heat sear.
- 1 pound ea scallops: Seared to deliver a sweet, briny centerpiece with a tender interior and caramelized exterior; cooks quickly so timing is critical. Supplies the main protein and delicate seafood flavor that pairs well with mint and peas.
- 1 teaspoon salt: Sprinkled to season and enhance natural flavors, promoting balance and brightness across the dish; applied during and after cooking to taste. Helps to highlight the sweetness of scallops and peas while regulating overall seasoning.
- 1 teaspoon pepper: Ground to add sharpness and a subtle heat that lifts savory notes and contrasts sweet elements; used sparingly to avoid overpowering delicate flavors. Provides aromatic warmth that enhances the crust on seared scallops and the freshness of peas.
- 1 tablespoon mint finely cut: Finely cut to deliver a fresh, cooling herbaceous lift that brightens the rich seafood and buttery components; stirred in at the end to preserve vibrancy. Contributes a fragrant finish and slight peppery-menthol note that complements peas and scallops.
The Process for Making Seared Scallops With Peas and Mint
Cooking this dish is about rhythm and attention to small details. Move through the steps with calm focus and you will be rewarded with golden crusts, fragrant butter, and a bright finish. Here are the steps, expanded with sensory cues, practical reasons, and troubleshooting notes to keep you confident at the stove.
- Add one tablespoon of butter to a preheated medium heat pan. Saute shallots under medium heat and do not let them burn. 4-5 minutes. Add peas and set the pan aside.: The first sensory cue is the gentle sizzle and a fragrant, slightly nutty aroma as the butter melts and warms. This creates a flavor base that will carry the aroma of the shallots . You want the butter to foam lightly but not brown at this stage, because early browning can overpower the delicate aromatics. If the butter starts to darken quickly, lower the heat; uneven heat or a pan that is too hot is the common mistake here.
- Defrost frozen scallops by running cold water over them. Once defrosted (or fresh), pat them dry with a paper towel or two. Season one side with 1/2 teaspoon each salt and pepper.: The shallots should soften and become translucent while releasing a sweet, savory perfume. Listen for a gentle hiss, and watch for the shallots to become glossy. This step brings out sweetness that mellows the dish. If they brown at the edges or smell acrid, that is a sign they are burning; pause cooking and lower the heat or add a touch more butter to regulate temperature.
- Pour one tablespoon of olive oil in a pre-heated cast iron pan that's wide enough to accommodate the scallops. They each need to have enough room so that none touch. Now place the seasoned side down and cook for 2 minutes. Finish seasoning the other side with 1/2 teaspoon each salt and pepper. Make sure not to move the scallops or touch them at all.: In these minutes you should notice the shallots losing their raw bite and becoming tender; the pan will smell gently sweet and aromatic. Use this time to stir occasionally so they cook evenly and to keep an eye on color. Rushing this step will give you undercooked shallots that remain sharp, while going too long will make them lose sweetness and become chewy.
- Flip the scallops over with a pair of tongs, and add the buttered shallots and peas to the pan. Let the scallops cook for 1 more minute, basting the scallops with the butter. Remove them quickly from the pan. You can either plate the scallops now or set them aside, depending on how you plan to serve them. Squeeze half a lemon over them and garnish with bits of mint.: When you stir in the peas they should heat through quickly and gain a bright green hue, releasing a fresh vegetal perfume that contrasts the butter. Setting the pan aside preserves their color and texture so they do not overcook while you sear the scallops . A mistake here is leaving the peas in the hot pan over high heat, which will turn them soft and dull the vibrant color.
- Defrost frozen scallops by running cold water over them: The feel of properly defrosted scallops is cool and slightly springy. Rinsing under cold water shortens thawing time without heating the product, and it helps remove excess surface ice. If they feel mushy or have an off smell, they may be past their best. Do not use warm water, as it will start cooking the edges.
- Once defrosted or fresh pat them dry with a paper towel or two: Drying the surface is crucial because moisture prevents a proper sear. You want the top to feel dry to the touch, and you should see less steam when the scallops hit the hot oil. If they remain damp, they will steam instead of sear, producing a pale surface rather than a golden crust.
- Season one side with 1/2 teaspoon each salt and pepper: The initial seasoning gives the first surface a foundation of flavor that will form part of the crust. You should see tiny grains resting on the surface, and when they hit the pan they help pull moisture out for browning. Over seasoning can make the crust taste gritty, so measure to avoid excess.
- Pour one tablespoon of olive oil in a pre-heated cast iron pan that is wide enough to accommodate the scallops: When the olive oil shimmers the pan is ready; the sound is a higher pitched sizzle when something touches it. The cast iron retains heat, ensuring an even sear. If the oil smokes heavily, the pan is too hot and will burn the exterior before the center cooks; reduce heat slightly and allow it to cool a touch.
- They each need to have enough room so that none touch: Visually, you should place the scallops with space around them so steam can escape and a crust can form. Crowding creates steam pockets and prevents browning, yielding a pale, rubbery texture. If you have too many scallops , cook in batches rather than crowding the pan.
- Now place the seasoned side down and cook for 2 minutes: Listen for a steady sizzle and watch the exposed edge for a golden ring forming as the proteins caramelize. The aroma will be nutty and slightly sweet, and the bottom should release naturally when it's ready to flip. Avoid touching or nudging the scallops , as moving them interrupts crust formation and can tear the surface.
- Finish seasoning the other side with 1/2 teaspoon each salt and pepper: After the first side is sealed you can season the top, which ensures balanced seasoning throughout. The fresh pepper aroma will bloom when the top meets the residual heat. Over seasoning in this second pass can make the outer layer too salty, so stick to the specified amount.
- Make sure not to move the scallops or touch them at all: This is about patience, because a stable sear requires stillness. The correct crust forms when protein and heat meet steadily, and you will notice a clean, golden edge when it is time to flip. A frequent error is flipping too early, which rips the crust and prevents full caramelization.
- Flip the scallops over with a pair of tongs: A confident flip will reveal a deep golden brown underside and emit a warm, toasted scent. The texture should be firm at the edges with a slightly springy center. If the underside is pale, the pan was not hot enough; allow it to heat a bit more next batch.
- Add the buttered shallots and peas to the pan: When the shallots and peas meet the hot pan, you will hear a gentle sizzle and smell the sweet butter and onion notes mingle with caramelized seafood. This step layers flavor by infusing the vegetables with pan fond. If the pan is too dry the vegetables will stick, so ensure there is residual butter or oil to keep things glossy.
- Let the scallops cook for 1 more minute: This short finish time brings the center to a tender, just cooked state while the exterior remains crisp. You want to sense slight resistance when pressing gently, but avoid a hard, chalky feel which signals overcooking. Overcooking is the most common mistake and will make scallops rubbery.
- Basting the scallops with the butter: Spoon the melted butter over the tops of the scallops as they finish; you will see a glossy sheen develop and smell a rich, nutty aroma. Basting adds flavor and helps the top cook evenly. If you skip basting you lose a layer of richness and the final presentation may seem flat.
- Remove them quickly from the pan: Resting briefly off heat keeps the centers tender and preserves the golden crust. The residual heat will finish gently, and the plating process becomes simpler when they are not overcooked. Leaving them in the hot pan will continue to cook them and can lead to dryness.
- You can either plate the scallops now or set them aside depending on how you plan to serve them: If plating immediately you want the components hot and the sauce glossy; if holding briefly, transfer to a warm dish to prevent temperature drop. A common issue is plating straight onto a cool plate, which steals heat and dulls flavors.
- Squeeze half a lemon over them and garnish with bits of mint: The citrus will brighten the buttery, savory notes and the finely cut mint will add an herbal lift and fresh aroma. The final bright scent signals readiness and balances the richness. Too much lemon can mask subtle sweetness, so use a gentle squeeze.
Customization Ideas
This section offers ways to personalize the dish while staying true to the core flavors. Small swaps in garnish, citrus, or texture change the mood without complicating the technique.
- Swap citrus Try using a thin slice of lemon or a few drops of lemon juice for subtler brightness rather than a full squeeze.
- Change herbs If you want an alternative to mint try finishing with a small amount of another mild herb for a different herbal note.
- Adjust seasoning Taste a sample scallop after the first sear to check salt levels and adjust for personal preference.
- Control butteriness Reduce the amount of butter in the pan and finish with a light drizzle if you prefer a leaner finish.
- Serve warmer plates Warm your serving plates in a low oven briefly so the dish stays hot when plated.
How to Serve Seared Scallops With Peas and Mint
This dish benefits from simple accompaniments that let the scallops shine. Think light starches or greens and keep portions modest so the texture and flavors remain the focus.
- Light starch Serve with a small spoonful of creamy polenta or a bed of buttered couscous for a comforting base that soaks up pan juices.
- Green sides A crisp side salad dressed simply with lemon and olive oil complements the peas and mint without competing.
- Occasions This recipe fits a casual dinner, a small dinner party, or a springtime meal; it is also suitable for occasions that call for an elegant yet quick main.
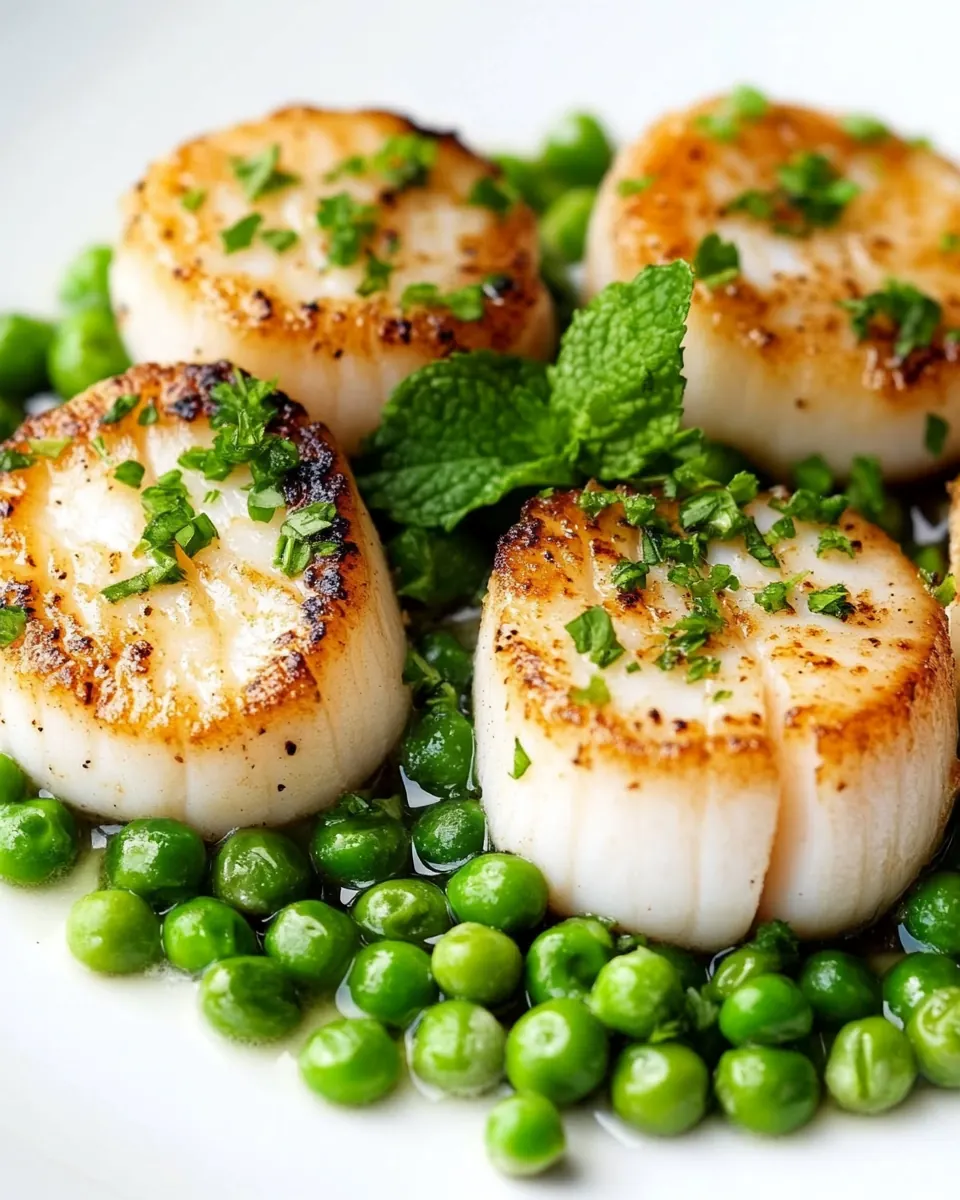
- Plating suggestion Arrange the peas and shallots in the center, fan the scallops on top, then spoon pan butter and scatter the chopped mint.
- Storage tips If you have leftovers, store in an airtight container and refrigerate up to one day; reheat briefly in a warm pan to avoid toughening the scallops.
- Seasonal pairings In spring pair this with young greens and light, crisp salads to echo the fresh mint and peas.
FAQ
Conclusion
Seared Scallops With Peas and Mint stands out for its elegant simplicity, delivering restaurant quality flavor in a short time. The combination of a golden sear, buttery shallots, sweet peas, and bright mint creates a balanced plate that feels special yet approachable. Give this recipe a try when you want a fast, impressive meal that celebrates seasonal freshness. You will appreciate how a few simple techniques transform basic ingredients into something memorable.

Seared Scallops With Peas and Mint
Equipment
- cast iron pan
- Tongs
- Paper towels
Ingredients
- 1 tablespoon butter Melted to enrich and gently brown food, adding a silky mouthfeel and helping to carry flavors; used at the start or finish of cooking to build depth. Provides a subtle nuttiness that complements seafood and vegetables when sautéing or finishing the dish.
- 2 tablespoons shallots finely minced Minced finely to impart a delicate allium aroma and gentle sweetness without overwhelming other flavors; disperses evenly to flavor butter or oil for a base. Releases fragrant juices when cooked briefly to create a subtle aromatic foundation for the peas and scallops.
- 1 cup green peas Blanched or lightly cooked to contribute bright color, fresh sweetness, and a tender pop; balances the richness of scallops and butter. Offers a pleasant vegetal contrast and textural variety when folded into the finished pan sauce or used as a bed for seared scallops.
- 1 tablespoon olive oil Used for pan-searing and dressings to provide a fruity, clean frying medium with a high smoke point; helps form a golden crust on scallops. Adds a lighter fat note that balances the butter and prevents burning during the high-heat sear.
- 1 pound ea scallops Seared to deliver a sweet, briny centerpiece with a tender interior and caramelized exterior; cooks quickly so timing is critical. Supplies the main protein and delicate seafood flavor that pairs well with mint and peas.
- 1 teaspoon salt Sprinkled to season and enhance natural flavors, promoting balance and brightness across the dish; applied during and after cooking to taste. Helps to highlight the sweetness of scallops and peas while regulating overall seasoning.
- 1 teaspoon pepper Ground to add sharpness and a subtle heat that lifts savory notes and contrasts sweet elements; used sparingly to avoid overpowering delicate flavors. Provides aromatic warmth that enhances the crust on seared scallops and the freshness of peas.
- 1 tablespoon mint finely cut Finely cut to deliver a fresh, cooling herbaceous lift that brightens the rich seafood and buttery components; stirred in at the end to preserve vibrancy. Contributes a fragrant finish and slight peppery-menthol note that complements peas and scallops.
Instructions
- Add one tablespoon of butter to a preheated medium heat pan. Saute shallots under medium heat and do not let them burn. 4-5 minutes. Add peas and set the pan aside.: The first sensory cue is the gentle sizzle and a fragrant, slightly nutty aroma as the butter melts and warms. This creates a flavor base that will carry the aroma of the shallots . You want the butter to foam lightly but not brown at this stage, because early browning can overpower the delicate aromatics. If the butter starts to darken quickly, lower the heat; uneven heat or a pan that is too hot is the common mistake here.
- Defrost frozen scallops by running cold water over them. Once defrosted (or fresh), pat them dry with a paper towel or two. Season one side with 1/2 teaspoon each salt and pepper.: The shallots should soften and become translucent while releasing a sweet, savory perfume. Listen for a gentle hiss, and watch for the shallots to become glossy. This step brings out sweetness that mellows the dish. If they brown at the edges or smell acrid, that is a sign they are burning; pause cooking and lower the heat or add a touch more butter to regulate temperature.
- Pour one tablespoon of olive oil in a pre-heated cast iron pan that's wide enough to accommodate the scallops. They each need to have enough room so that none touch. Now place the seasoned side down and cook for 2 minutes. Finish seasoning the other side with 1/2 teaspoon each salt and pepper. Make sure not to move the scallops or touch them at all.: In these minutes you should notice the shallots losing their raw bite and becoming tender; the pan will smell gently sweet and aromatic. Use this time to stir occasionally so they cook evenly and to keep an eye on color. Rushing this step will give you undercooked shallots that remain sharp, while going too long will make them lose sweetness and become chewy.
- Flip the scallops over with a pair of tongs, and add the buttered shallots and peas to the pan. Let the scallops cook for 1 more minute, basting the scallops with the butter. Remove them quickly from the pan. You can either plate the scallops now or set them aside, depending on how you plan to serve them. Squeeze half a lemon over them and garnish with bits of mint.: When you stir in the peas they should heat through quickly and gain a bright green hue, releasing a fresh vegetal perfume that contrasts the butter. Setting the pan aside preserves their color and texture so they do not overcook while you sear the scallops . A mistake here is leaving the peas in the hot pan over high heat, which will turn them soft and dull the vibrant color.
- Defrost frozen scallops by running cold water over them: The feel of properly defrosted scallops is cool and slightly springy. Rinsing under cold water shortens thawing time without heating the product, and it helps remove excess surface ice. If they feel mushy or have an off smell, they may be past their best. Do not use warm water, as it will start cooking the edges.
- Once defrosted or fresh pat them dry with a paper towel or two: Drying the surface is crucial because moisture prevents a proper sear. You want the top to feel dry to the touch, and you should see less steam when the scallops hit the hot oil. If they remain damp, they will steam instead of sear, producing a pale surface rather than a golden crust.
- Season one side with 1/2 teaspoon each salt and pepper: The initial seasoning gives the first surface a foundation of flavor that will form part of the crust. You should see tiny grains resting on the surface, and when they hit the pan they help pull moisture out for browning. Over seasoning can make the crust taste gritty, so measure to avoid excess.
- Pour one tablespoon of olive oil in a pre-heated cast iron pan that is wide enough to accommodate the scallops: When the olive oil shimmers the pan is ready; the sound is a higher pitched sizzle when something touches it. The cast iron retains heat, ensuring an even sear. If the oil smokes heavily, the pan is too hot and will burn the exterior before the center cooks; reduce heat slightly and allow it to cool a touch.
- They each need to have enough room so that none touch: Visually, you should place the scallops with space around them so steam can escape and a crust can form. Crowding creates steam pockets and prevents browning, yielding a pale, rubbery texture. If you have too many scallops , cook in batches rather than crowding the pan.
- Now place the seasoned side down and cook for 2 minutes: Listen for a steady sizzle and watch the exposed edge for a golden ring forming as the proteins caramelize. The aroma will be nutty and slightly sweet, and the bottom should release naturally when it's ready to flip. Avoid touching or nudging the scallops , as moving them interrupts crust formation and can tear the surface.
- Finish seasoning the other side with 1/2 teaspoon each salt and pepper: After the first side is sealed you can season the top, which ensures balanced seasoning throughout. The fresh pepper aroma will bloom when the top meets the residual heat. Over seasoning in this second pass can make the outer layer too salty, so stick to the specified amount.
- Make sure not to move the scallops or touch them at all: This is about patience, because a stable sear requires stillness. The correct crust forms when protein and heat meet steadily, and you will notice a clean, golden edge when it is time to flip. A frequent error is flipping too early, which rips the crust and prevents full caramelization.
- Flip the scallops over with a pair of tongs: A confident flip will reveal a deep golden brown underside and emit a warm, toasted scent. The texture should be firm at the edges with a slightly springy center. If the underside is pale, the pan was not hot enough; allow it to heat a bit more next batch.
- Add the buttered shallots and peas to the pan: When the shallots and peas meet the hot pan, you will hear a gentle sizzle and smell the sweet butter and onion notes mingle with caramelized seafood. This step layers flavor by infusing the vegetables with pan fond. If the pan is too dry the vegetables will stick, so ensure there is residual butter or oil to keep things glossy.
- Let the scallops cook for 1 more minute: This short finish time brings the center to a tender, just cooked state while the exterior remains crisp. You want to sense slight resistance when pressing gently, but avoid a hard, chalky feel which signals overcooking. Overcooking is the most common mistake and will make scallops rubbery.
- Basting the scallops with the butter: Spoon the melted butter over the tops of the scallops as they finish; you will see a glossy sheen develop and smell a rich, nutty aroma. Basting adds flavor and helps the top cook evenly. If you skip basting you lose a layer of richness and the final presentation may seem flat.
- Remove them quickly from the pan: Resting briefly off heat keeps the centers tender and preserves the golden crust. The residual heat will finish gently, and the plating process becomes simpler when they are not overcooked. Leaving them in the hot pan will continue to cook them and can lead to dryness.
- You can either plate the scallops now or set them aside depending on how you plan to serve them: If plating immediately you want the components hot and the sauce glossy; if holding briefly, transfer to a warm dish to prevent temperature drop. A common issue is plating straight onto a cool plate, which steals heat and dulls flavors.
- Squeeze half a lemon over them and garnish with bits of mint: The citrus will brighten the buttery, savory notes and the finely cut mint will add an herbal lift and fresh aroma. The final bright scent signals readiness and balances the richness. Too much lemon can mask subtle sweetness, so use a gentle squeeze.
Notes
- Swap citrus Try using a thin slice of lemon or a few drops of lemon juice for subtler brightness rather than a full squeeze.
- Change herbs If you want an alternative to mint try finishing with a small amount of another mild herb for a different herbal note.
- Adjust seasoning Taste a sample scallop after the first sear to check salt levels and adjust for personal preference.
- Control butteriness Reduce the amount of butter in the pan and finish with a light drizzle if you prefer a leaner finish.
- Serve warmer plates Warm your serving plates in a low oven briefly so the dish stays hot when plated.