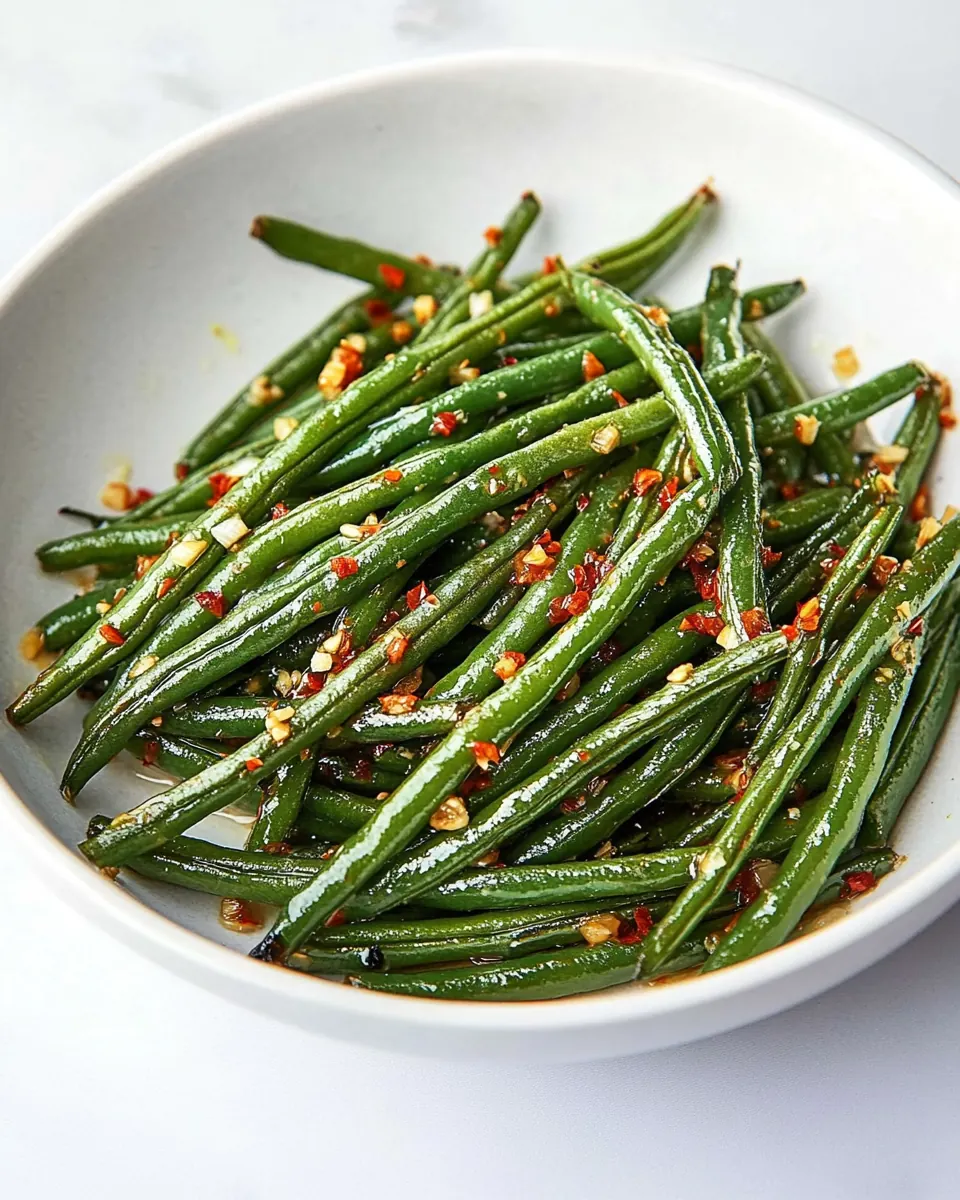
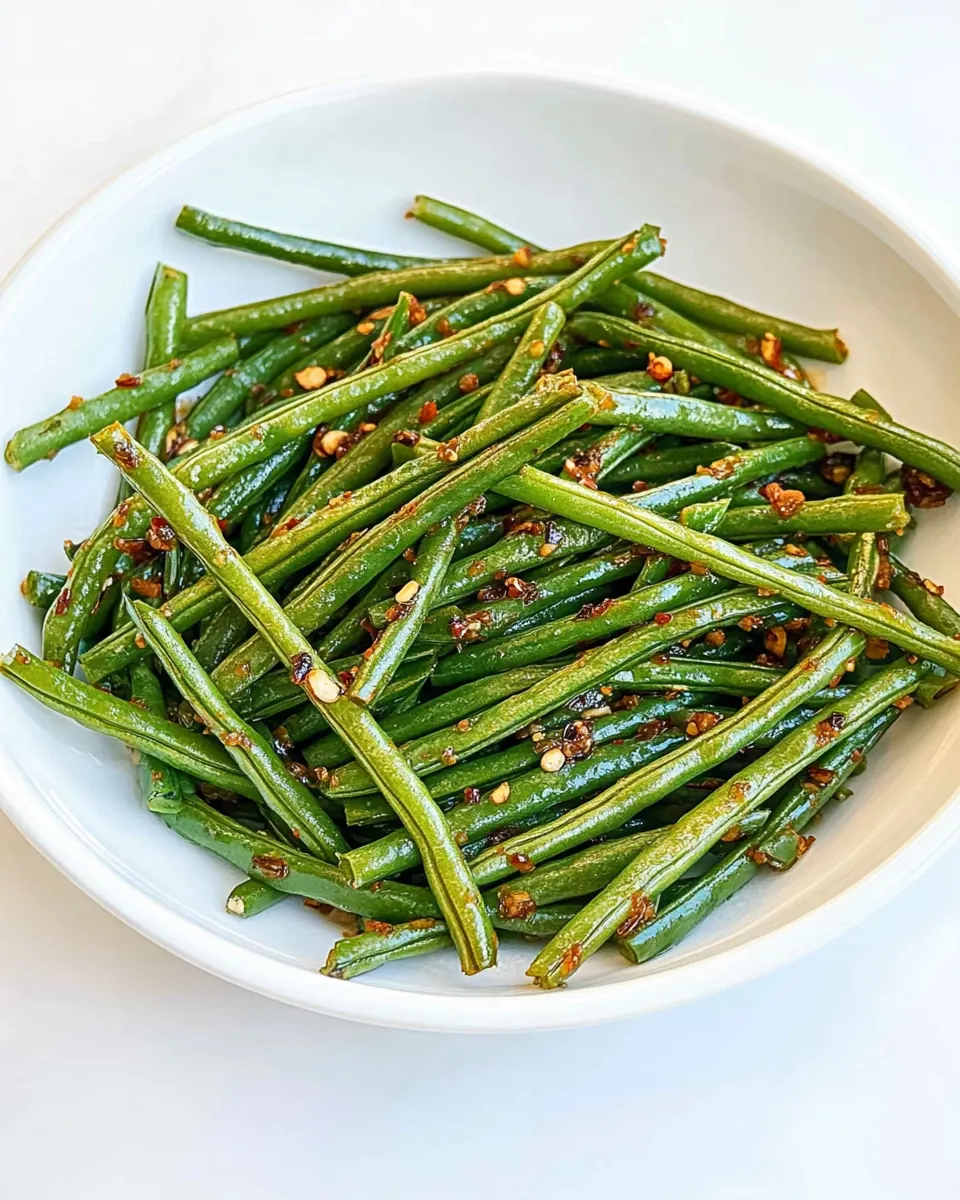
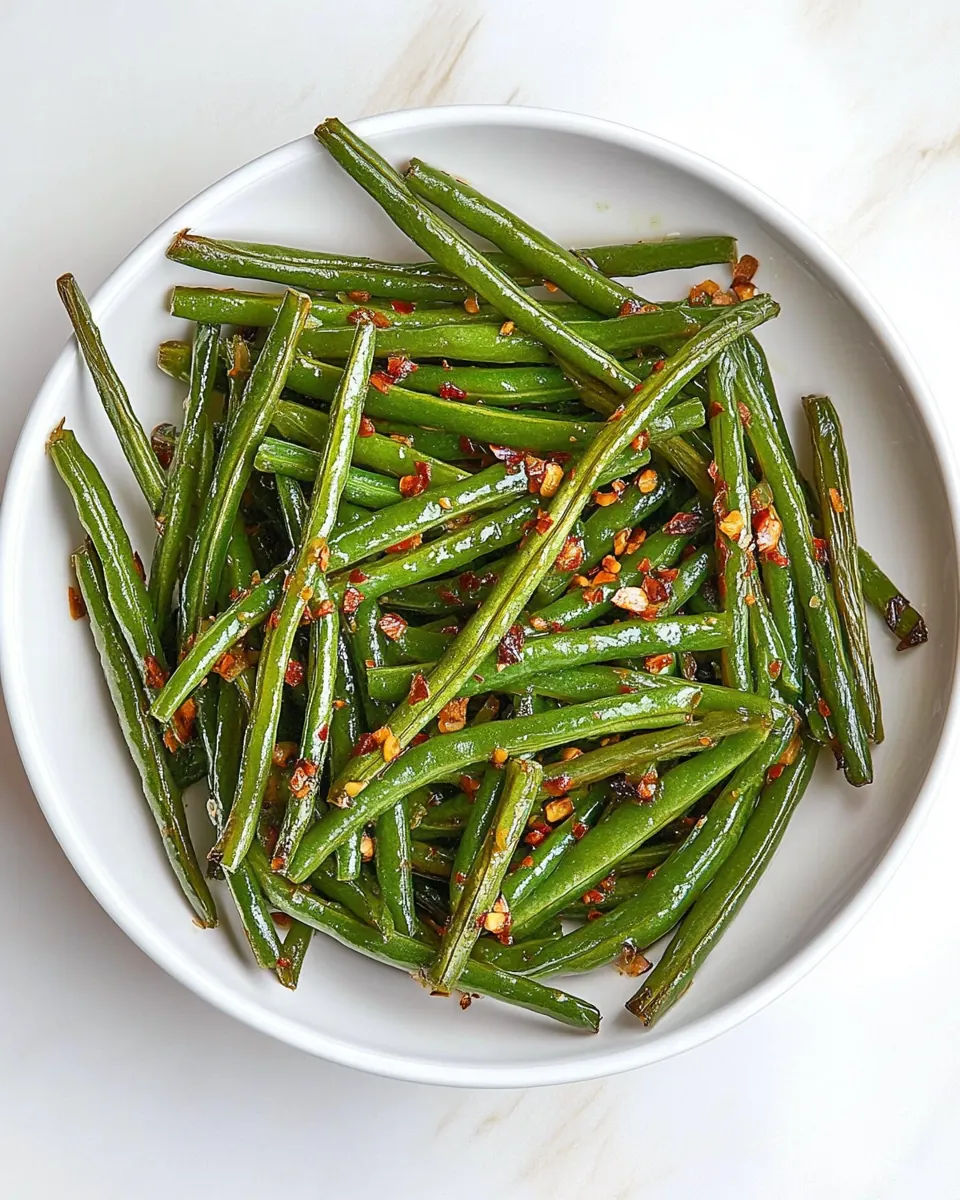
Sauteed Green Beans
Sauteed Green Beans started showing up on my table the spring I rediscovered how simple vegetables can steal the show. I remember a rainy afternoon when I wanted something quick, bright, and honest to pair with a cozy meal. I grabbed a handful of vibrant green beans, a small bottle of olive oil, and a clove of garlic, and within moments the kitchen filled with the kind of aroma that makes you slow down and smile. The first bite was crisp yet tender, the garlic lending a warm underline that felt both familiar and new.
Since then, this dish has become my go to when I need a last minute side that never feels like an afterthought. It travels well to potlucks, complements roasted mains, and shows up often at weeknight dinners where I want something healthy without fuss. I like how the beans retain a pleasant snap while soaking up savory notes, and how a small amount of seasoning elevates them to something memorable. Over time I’ve adjusted timing and heat to preserve color and texture, and now it’s a ritual more than a recipe.
Recipe Snapshot
15 mins
5 mins
10 mins
Easy
80 kcal
American
Vegan, Gluten-Free
Side Dishes
Skillet, Knife, Cutting board, Spatula
What Makes This Sauteed Green Beans Special
Speed without sacrifice
I love how Sauteed Green Beans comes together in minutes, making it perfect when time is short but standards are high. Because the beans are cooked over medium to high heat, they remain vivid in color and pleasantly crisp, giving you that satisfying bite that slower methods can dilute.
Pure, honest flavors
The ingredient list is tiny, yet each player matters. Olive oil adds silk and sheen, while garlic brings aromatic depth. A little salt and black pepper finish the dish so the beans taste like themselves, only better.
Versatility
I often serve Sauteed Green Beans at casual dinners and special gatherings alike. They pair with roasted proteins, grain bowls, and even simple pastas. They’re flexible enough to dress up with a squeeze of citrus or keep plain for purists.
Minimal prep, maximum impact
Trimming the ends is the only real prep, and that small bit of effort translates into a cleaner bite and more pleasant texture. I appreciate recipes that reward a tiny investment with a big payoff on the plate.
Healthy and satisfying
This recipe highlights vegetables without heavy additions, so you get vibrant color, fiber, and a fresh flavor profile. For days when I want something light but filling, these beans are my reliable companion.
Ingredients Overview for Sauteed Green Beans
These ingredients come together with a clear purpose: preserve the green beans lively texture while layering simple savory notes. The philosophy here is restraint, letting the freshness of the green beans shine, while the olive oil and garlic add warmth and depth. Salt and black pepper are the finishing accents that balance the dish and wake up the natural vegetal sweetness.
- 1 tablespoon olive oil: Drizzle to coat the pan and provide a subtle fruity flavor that helps brown and enhance the beans; use moderate heat to avoid burning and maintain its healthy qualities.
- 1 pound fresh green beans ends trimmed: Trimmed to remove tough ends and ensure even cooking; choose crisp, bright green beans for best texture and blanch or sauté until tender-crisp to retain color and nutrients.
- 2 cloves garlic minced: Mince finely to release strong aromatic oils that infuse the oil and beans with savory depth; add near the end of cooking to keep its pungency bright without becoming bitter.
- Salt to taste: Season to enhance and balance flavors throughout the dish; sprinkle gradually while tasting to achieve the desired saltiness without overpowering the freshness of the beans.
- Black pepper to taste: Grind to add mild heat and complexity that complements the garlic and olive oil; adjust coarseness and amount to taste, adding toward the end to preserve its aromatic punch.
Instructions for Sauteed Green Beans
This recipe is straightforward and forgiving, but a few timing cues and sensory signals will help you hit the perfect texture. Read through the steps and pay attention to color, sound, and aroma as your main guides.
- Heat olive oil in a large skillet over medium-high heat.: You will notice the oil begin to shimmer when it is hot enough, sending a faint scent of fruitiness into the air. Use a large skillet so the beans can make contact with the surface without overcrowding, which encourages even caramelization. The sound you want is a gentle sizzle when ingredients hit the pan, not an aggressive spatter. If the oil smokes, lower the heat to protect the flavor. A common mistake is starting with oil that is too cold, which leads to soggy beans rather than the bright crisp texture we seek.
- Add the trimmed green beans and cook, stirring occasionally, until they are bright green and slightly tender, about 5-7 minutes.: As the beans hit the pan you will hear an immediate sizzle, and within a minute they will begin to blister at the edges. Watch for the color to shift to a more intense green, which signals that the interior is warming while the exterior remains snappy. Stirring occasionally ensures even browning and prevents burning. If you leave them untouched for too long they can char excessively, so aim for a balance where you rotate them so all sides get contact with the hot surface. Avoid overcooking, as the beans will lose their fresh bite and turn dull.
- Stir in minced garlic, salt, and black pepper, and cook for an additional 2 minutes, until garlic is fragrant.: Immediately you will smell the garlic bloom and fill the kitchen with warm aromatics. The garlic should soften and scent the oil without crisping to the point of browning, which introduces a bitter note. The seasoning will marry with the beans during these brief minutes, seasoning them through and highlighting natural sweetness. If you add the garlic too early, it may burn before the beans are ready, so timing matters. Taste and adjust the salt and black pepper gently to avoid oversalting.
- Remove from heat and serve immediately as a fresh and vibrant side dish.: The final step is all about timing and presentation, the moment when steam rises and the surface of the beans gleams with oil. Serving right away captures the contrast between a lively exterior and a tender interior. Letting them sit in the pan will continue to cook them from residual heat, potentially softening the texture more than desired, so transfer to a warm platter quickly. A typical pitfall is plating too late, which leads to limp beans rather than the crisp, vibrant result we aim for.
Tips and Variations
I like to keep this intro short and practical, because small tweaks transform Sauteed Green Beans into something special. These suggestions help with texture, flavor balance, and how you can adapt the dish for different meals. Try one or combine a few, depending on your mood and what you have on hand.
- Control the heat: Start with medium to medium high so the beans sear and retain bite, adjusting if the oil begins to smoke to prevent bitterness.
- Dry beans thoroughly: Excess moisture will steam the beans instead of sauteing them, leading to a softer texture rather than a crisp snap.
- Trim uniformly: Cutting the ends in a consistent way ensures even cooking and a better mouthfeel across every bite.
- Timing the garlic: Add minced garlic toward the last two minutes to release aroma without burning, which can introduce an unpleasant flavor.
- Season progressively: Lightly salt during cooking and finish with a final taste adjustment to keep the seasoning balanced and bright.
How to Serve Sauteed Green Beans
This short intro sets the scene for serving Sauteed Green Beans across meals and occasions. With simple presentation and small finishing touches, they can suit weeknight dinners or celebratory spreads. Below are ways I like to plate and pair them to make the most of their texture and flavor.
- As a classic side: Place alongside roasted or grilled mains to add a bright, vegetal contrast that refreshes the plate.
- Family style: Serve in a warm bowl at the center of the table, letting everyone help themselves. The shared presentation keeps it casual and inviting.
- For special occasions: Keep them hot and glossy, then finish with a light sprinkle of seasoning just before serving to make them feel elevated and fresh.
- Storage tips: Cool quickly and refrigerate in an airtight container for up to three days. Reheat gently in a skillet to preserve texture instead of microwaving until piping hot.
- Seasonal pairings: In spring I serve them with light proteins and lemony sides; they complement richer autumn mains too when you want a fresher note.
FAQ
Conclusion
What makes this recipe special is its remarkable simplicity and ability to elevate humble green beans into a bright, flavorful side. Give it a try the next time you want something quick that still feels intentional and satisfying. I hope the crisp texture and garlicky aroma become a regular on your table, showing how small techniques deliver big results.
Sauteed Green Beans
Equipment
- Skillet
- Knife
- Cutting Board
- Spatula
Ingredients
- 1 tablespoon olive oil Drizzle to coat the pan and provide a subtle fruity flavor that helps brown and enhance the beans; use moderate heat to avoid burning and maintain its healthy qualities.
- 1 pound fresh green beans ends trimmed Trimmed to remove tough ends and ensure even cooking; choose crisp, bright green beans for best texture and blanch or sauté until tender-crisp to retain color and nutrients.
- 2 cloves garlic minced Mince finely to release strong aromatic oils that infuse the oil and beans with savory depth; add near the end of cooking to keep its pungency bright without becoming bitter.
- Salt to taste Season to enhance and balance flavors throughout the dish; sprinkle gradually while tasting to achieve the desired saltiness without overpowering the freshness of the beans.
- Black pepper to taste Grind to add mild heat and complexity that complements the garlic and olive oil; adjust coarseness and amount to taste, adding toward the end to preserve its aromatic punch.
Instructions
- Heat olive oil in a large skillet over medium-high heat.: You will notice the oil begin to shimmer when it is hot enough, sending a faint scent of fruitiness into the air. Use a large skillet so the beans can make contact with the surface without overcrowding, which encourages even caramelization. The sound you want is a gentle sizzle when ingredients hit the pan, not an aggressive spatter. If the oil smokes, lower the heat to protect the flavor. A common mistake is starting with oil that is too cold, which leads to soggy beans rather than the bright crisp texture we seek.
- Add the trimmed green beans and cook, stirring occasionally, until they are bright green and slightly tender, about 5-7 minutes.: As the beans hit the pan you will hear an immediate sizzle, and within a minute they will begin to blister at the edges. Watch for the color to shift to a more intense green, which signals that the interior is warming while the exterior remains snappy. Stirring occasionally ensures even browning and prevents burning. If you leave them untouched for too long they can char excessively, so aim for a balance where you rotate them so all sides get contact with the hot surface. Avoid overcooking, as the beans will lose their fresh bite and turn dull.
- Stir in minced garlic, salt, and black pepper, and cook for an additional 2 minutes, until garlic is fragrant.: Immediately you will smell the garlic bloom and fill the kitchen with warm aromatics. The garlic should soften and scent the oil without crisping to the point of browning, which introduces a bitter note. The seasoning will marry with the beans during these brief minutes, seasoning them through and highlighting natural sweetness. If you add the garlic too early, it may burn before the beans are ready, so timing matters. Taste and adjust the salt and black pepper gently to avoid oversalting.
- Remove from heat and serve immediately as a fresh and vibrant side dish.: The final step is all about timing and presentation, the moment when steam rises and the surface of the beans gleams with oil. Serving right away captures the contrast between a lively exterior and a tender interior. Letting them sit in the pan will continue to cook them from residual heat, potentially softening the texture more than desired, so transfer to a warm platter quickly. A typical pitfall is plating too late, which leads to limp beans rather than the crisp, vibrant result we aim for.
Notes
- Control the heat: Start with medium to medium high so the beans sear and retain bite, adjusting if the oil begins to smoke to prevent bitterness.
- Dry beans thoroughly: Excess moisture will steam the beans instead of sauteing them, leading to a softer texture rather than a crisp snap.
- Trim uniformly: Cutting the ends in a consistent way ensures even cooking and a better mouthfeel across every bite.
- Timing the garlic: Add minced garlic toward the last two minutes to release aroma without burning, which can introduce an unpleasant flavor.
- Season progressively: Lightly salt during cooking and finish with a final taste adjustment to keep the seasoning balanced and bright.