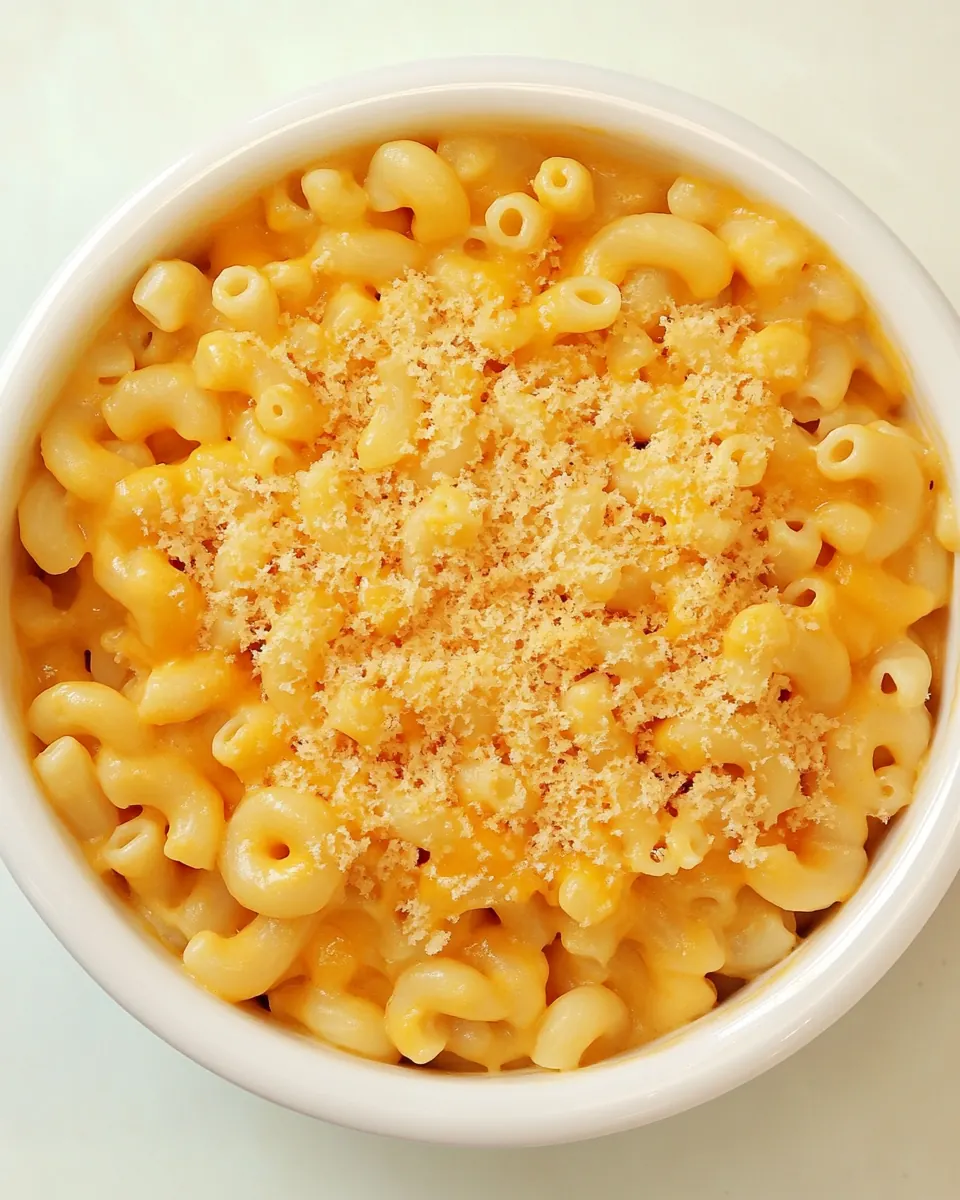
Rice Cooker Mac and Cheese
Rice Cooker Mac and Cheese became my go to cozy dinner on nights when I wanted something comforting without fuss. The first time I tried this, I was skeptical that a rice cooker could coax out that perfect creamy texture, yet after the lid lifted and the steam curled up, I remember the warm, cheesy aroma and thinking I had discovered a tiny miracle. From that night on, this dish has shown up when friends stop by unannounced or when I need a simple, satisfying meal after a long day.
I’ve learned to treat the Rice Cooker Mac and Cheese like a small ritual rather than a shortcut. I chose the pasta shape intentionally, measured the stock so the pasta swells just enough, and grated the cheese fresh so it melts into silky threads. There are nights I stir in leftover veggies, and there are nights when the only thing on my mind is the crisp, golden patch of browned cheese that forms if I let it go a little longer. Each time the result changes slightly, but it always lands on the comforting side of delicious.
When I serve the Rice Cooker Mac and Cheese, I like to notice the little details, like how the steam fogs the lid and how the surface shivers with tiny bubbles before it settles into glossy creaminess. Those moments tell me the texture is right. It’s the sort of recipe that invites experimentation, but also rewards careful attention to simple steps. Over time I’ve come to appreciate how dependable it is, and how it fills the house with a smell that feels like home.
Recipe Snapshot
40 mins
5 mins
35 mins
Easy
400 kcal
American
Gluten-Free, Low FODMAP
Dinner
Rice Cooker, Spoon
Why Try This Rice Cooker Mac and Cheese
Comfort made effortless
I adore this recipe because it takes the soul of classic mac and cheese and translates it into one appliance, which means less babysitting and more time to relax, chat, or set the table. The way the Rice Cooker Mac and Cheese consolidates cooking into a single pot is genuinely freeing, and I still get a small thrill when the lid comes off and I see glossy pasta coated in cheese.
Consistent creamy texture
One of the biggest reasons I keep making this dish is consistency. Using pasta with measured chicken stock and milk gives a reliably creamy mouthfeel, and the rice cooker regulates heat so you avoid the heat spikes that burn milk on the stovetop. I love how the dairy melds with the starch released by the pasta, producing a naturally thickened sauce that clings to each piece.
Minimal cleanup, maximal flavor
I value recipes that keep the kitchen calm, and this one does that. With just the rice cooker to clean, you spend more time enjoying the meal and less time scraping pans. Also, the gentle, enclosed cooking preserves the aroma of the cheese, making every bowl smell like a hug.
Flexible and forgiving
I appreciate that you can swap shapes of pasta and tweak the cheese blend to suit what you have on hand. That flexibility makes the recipe ideal for weeknight thinking or using up random fridge bits. I once stirred in cooked vegetables for extra color and texture, and it turned into a family favorite in one meal.
Great for feeding a crowd
The proportions scale nicely, and because it cooks steadily in a warm cooker, you can prepare other dishes while it hums away. For casual dinner parties or a small gathering, the Rice Cooker Mac and Cheese feels both homey and generous, and it always disappears fast.
Ingredient List for Rice Cooker Mac and Cheese

I treat the ingredients for Rice Cooker Mac and Cheese as a team. The starch from the pasta helps thicken the sauce, the chicken stock adds savory depth, the milk brings creaminess, and the cheese delivers both richness and melt. Together they create balanced flavor and texture without needing complicated techniques.
- 2 cups pasta (I used macaroni, but you could also use rotini, faralle or bite size pasta): Provide shape and starch to the dish, giving mac and cheese its comforting body and ability to absorb flavors; cook until al dente and drain or leave minimal water for a creamier finish.
- 1 1/2 cups chicken stock (I use low sodium stock): Contribute savory depth and cooking liquid to hydrate the pasta while adding seasoning; choose low-sodium stock to control salt levels and adjust to taste as the cheese is added.
- 1 teaspoon kosher salt: Season the cooking liquid and balance overall flavor; dissolve into the stock to enhance taste without overpowering the cheese blend—adjust quantity for dietary preference.
- 1 cup whole milk: Add richness and creaminess that melds the cheese into a smooth sauce; warm gently into the hot pasta and stock to prevent curdling and maintain a silky texture.
- 1 1/2 cups shredded cheese (I use a 3 cheese blend of cheddar, mozzarella and monterey jack): Bring cheesy flavor, meltability, and a creamy, cohesive sauce; shred finely for even melting and stir into hot pasta and milk until fully incorporated and smooth.
The Method for Rice Cooker Mac and Cheese

This recipe is forgiving, but to get that perfect creamy finish you want to trust the cooker and time your additions. Below I expand each instruction into detailed guidance, focusing on senses and common hiccups so you can relax and still get excellent results.
- Place the first 3 ingredients in the rice cooker and cook for 15 minutes.: The moment you close the lid and the cooker begins its cycle, you should hear a low hum and occasionally a soft bubble as the liquid warms, a comforting sign that the pasta is hydrating and the starch is beginning to release, which forms the base of a silky sauce. Visually you'll see the liquid level steady and small pockets of steam on the lid, and after about 10 minutes the aroma of warmed chicken stock will deepen, indicating the flavors are marrying. It's important because this gentle steam infusion lets the pasta cook evenly without the aggressive boiling that can make it gummy. A common mistake at this stage is lifting the lid too often, which lets heat escape and extends cooking time, so try to resist peeking more than once.
- Open the lid, add the milk and cheese, stir to combine, close the lid and cook for an additional 20 minutes (25 minutes if you want it to have a crust on the bottom).: When you lift the lid you'll see steam and the surface may have tiny bubbles; add the room temperature or slightly warmed milk so it blends in without shocking the mixture. The sound of stirring is gentle, and as you fold in the shredded cheese you'll notice it start to string and soften immediately. Closing the lid allows the residual heat to melt the cheese into a glossy emulsion with the starchy water, creating that clingy, creamy texture. The extra five minutes will deepen browning and can create a pleasant crust at the bottom; however, beware of leaving it too long as some rice cookers can overbake and scorch. A typical error is adding cold cheese straight from the fridge, which can lower the temperature and cause clumping rather than a smooth melt.
- Rice cookers can cook at different heats, so make sure to check the mac & cheese after if cooks for 30 minutes once or twice.: Since not all rice cookers run at identical intensities, use your senses to judge doneness rather than relying solely on timing; look for plump pasta and a velvety sauce that coats it. If the surface still shows excess liquid but the pasta seems tender, stir and give it more time, listening for that slow bubbling and observing the change from milky to glossy. Checking around the 25 to 30 minute mark helps you catch variance early and prevents overcooking. A common slip at this point is assuming every cooker is the same and walking away, which can leave you with either underdone noodles or a dried out top layer.
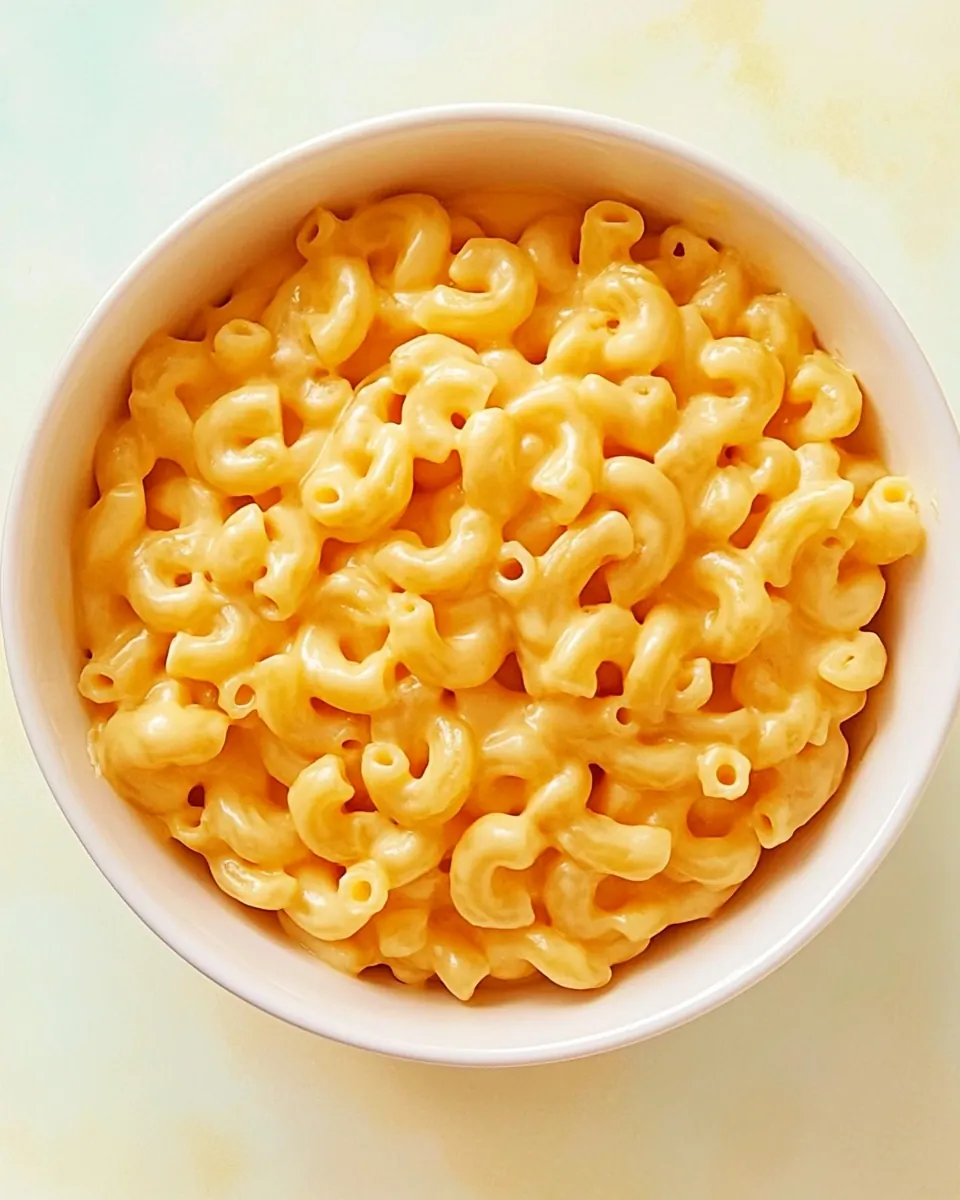
- Serve.: The final sensory cues are important when plating. You want the sauce to cling to the pasta , not pool at the bottom, and the cheese should be melted into a smooth, slightly elastic texture. When you spoon it into bowls, listen for the soft slurp as it settles, smell the warm dairy and savory stock, and notice the color contrast between pale milk gloss and richer flecks of melted cheese . Serve while hot, because as it cools the texture firms up. A frequent mistake is letting it sit too long in the cooker after it finishes, which can thicken it into a stodgy mass; if you must hold it, stir gently and add a splash of warm milk to revive creaminess.
Variations to Try
These variations let you personalize Rice Cooker Mac and Cheese without changing the simple technique. Below I’ve expanded on the optional ideas so you can pick one that matches your pantry and mood.
- Veggie boost — Stir in a cup of finely chopped cooked broccoli, cauliflower, carrots, butternut squash, or frozen peas during the step when you add the milk and cheese. Vegetables bring color and texture, and pre cooking them ensures they heat through without adding extra liquid that might thin the sauce.
- Cheese swap — Try different blends like sharp cheddar for punch or Monterey Jack for creaminess. Each cheese brings a unique melt profile, so combining a flavorful cheese with a melty one balances taste and texture.
- Pasta shape — Use rotini or farfalle to trap sauce in crevices, giving each bite pockets of cheesy goodness. Smaller shapes cook faster, so monitor the cooker and reduce the initial cook time slightly if needed.
- Crispy bottom — Let the cooker go an extra five minutes after adding the cheese to encourage a golden crust at the base. Watch closely because some cookers can scorch rather than brown, so remove at the first sign of deep coloring.
- Make it lighter — Substitute part of the whole milk with a lower fat option, but expect a slightly thinner sauce; if the texture becomes too loose, add a small extra handful of shredded cheese to thicken.
Perfect Matches for Rice Cooker Mac and Cheese
Rice Cooker Mac and Cheese pairs well with simple complements that let its creamy texture shine. Below are serving ideas, occasions, and storage tips presented as a list for easy reference.
- Classic side salads — A crisp green salad with a light vinaigrette cuts through the richness, adding brightness and textural contrast to the creamy cheese coated pasta.
- Roasted vegetables — Oven roasted vegetables served warm alongside balance the meal with caramelized flavors and a slightly smoky edge, ideal for a cozy winter dinner.
- Occasions — This works for casual weeknight dinners, small gatherings, or a comforting Ramadan iftar, as it feeds well and stays crowd friendly.
- Storage — Cool leftovers quickly and transfer to an airtight container, refrigerate up to three days. To reheat, add a splash of warm milk and stir gently over low heat or short bursts in the microwave to restore creaminess.
- Seasonal pairing — In winter, serve with a bowl of roasted root vegetables or a citrus dressed salad for contrast; the warming, creamy cheese notes complement heartier seasonal sides.
FAQ
Conclusion
This Rice Cooker Mac and Cheese stands out because it delivers rich, creamy comfort with minimal effort and cleanup. If you love cheesy, cozy meals but want to avoid fuss, give this method a try and let the rice cooker do the steady work. It’s forgiving, adaptable, and reliably satisfying, so I hope you make a batch soon and enjoy the warm, melty goodness with friends or family.

Rice Cooker Mac and Cheese
Equipment
- Rice Cooker
- Spoon
Ingredients
- 2 cups pasta (I used macaroni, but you could also use rotini, faralle or bite size pasta) Provide shape and starch to the dish, giving mac and cheese its comforting body and ability to absorb flavors; cook until al dente and drain or leave minimal water for a creamier finish.
- 1 1/2 cups chicken stock (I use low sodium stock) Contribute savory depth and cooking liquid to hydrate the pasta while adding seasoning; choose low-sodium stock to control salt levels and adjust to taste as the cheese is added.
- 1 teaspoon kosher salt Season the cooking liquid and balance overall flavor; dissolve into the stock to enhance taste without overpowering the cheese blend—adjust quantity for dietary preference.
- 1 cup whole milk Add richness and creaminess that melds the cheese into a smooth sauce; warm gently into the hot pasta and stock to prevent curdling and maintain a silky texture.
- 1 1/2 cups shredded cheese (I use a 3 cheese blend of cheddar, mozzarella and monterey jack) Bring cheesy flavor, meltability, and a creamy, cohesive sauce; shred finely for even melting and stir into hot pasta and milk until fully incorporated and smooth.
Instructions
- Place the first 3 ingredients in the rice cooker and cook for 15 minutes.: The moment you close the lid and the cooker begins its cycle, you should hear a low hum and occasionally a soft bubble as the liquid warms, a comforting sign that the pasta is hydrating and the starch is beginning to release, which forms the base of a silky sauce. Visually you'll see the liquid level steady and small pockets of steam on the lid, and after about 10 minutes the aroma of warmed chicken stock will deepen, indicating the flavors are marrying. It's important because this gentle steam infusion lets the pasta cook evenly without the aggressive boiling that can make it gummy. A common mistake at this stage is lifting the lid too often, which lets heat escape and extends cooking time, so try to resist peeking more than once.
- Open the lid, add the milk and cheese, stir to combine, close the lid and cook for an additional 20 minutes (25 minutes if you want it to have a crust on the bottom).: When you lift the lid you'll see steam and the surface may have tiny bubbles; add the room temperature or slightly warmed milk so it blends in without shocking the mixture. The sound of stirring is gentle, and as you fold in the shredded cheese you'll notice it start to string and soften immediately. Closing the lid allows the residual heat to melt the cheese into a glossy emulsion with the starchy water, creating that clingy, creamy texture. The extra five minutes will deepen browning and can create a pleasant crust at the bottom; however, beware of leaving it too long as some rice cookers can overbake and scorch. A typical error is adding cold cheese straight from the fridge, which can lower the temperature and cause clumping rather than a smooth melt.
- Rice cookers can cook at different heats, so make sure to check the mac & cheese after if cooks for 30 minutes once or twice.: Since not all rice cookers run at identical intensities, use your senses to judge doneness rather than relying solely on timing; look for plump pasta and a velvety sauce that coats it. If the surface still shows excess liquid but the pasta seems tender, stir and give it more time, listening for that slow bubbling and observing the change from milky to glossy. Checking around the 25 to 30 minute mark helps you catch variance early and prevents overcooking. A common slip at this point is assuming every cooker is the same and walking away, which can leave you with either underdone noodles or a dried out top layer.
- Serve.: The final sensory cues are important when plating. You want the sauce to cling to the pasta , not pool at the bottom, and the cheese should be melted into a smooth, slightly elastic texture. When you spoon it into bowls, listen for the soft slurp as it settles, smell the warm dairy and savory stock, and notice the color contrast between pale milk gloss and richer flecks of melted cheese . Serve while hot, because as it cools the texture firms up. A frequent mistake is letting it sit too long in the cooker after it finishes, which can thicken it into a stodgy mass; if you must hold it, stir gently and add a splash of warm milk to revive creaminess.
Notes
- Veggie boost — Stir in a cup of finely chopped cooked broccoli, cauliflower, carrots, butternut squash, or frozen peas during the step when you add the milk and cheese. Vegetables bring color and texture, and pre cooking them ensures they heat through without adding extra liquid that might thin the sauce.
- Cheese swap — Try different blends like sharp cheddar for punch or Monterey Jack for creaminess. Each cheese brings a unique melt profile, so combining a flavorful cheese with a melty one balances taste and texture.
- Pasta shape — Use rotini or farfalle to trap sauce in crevices, giving each bite pockets of cheesy goodness. Smaller shapes cook faster, so monitor the cooker and reduce the initial cook time slightly if needed.
- Crispy bottom — Let the cooker go an extra five minutes after adding the cheese to encourage a golden crust at the base. Watch closely because some cookers can scorch rather than brown, so remove at the first sign of deep coloring.
- Make it lighter — Substitute part of the whole milk with a lower fat option, but expect a slightly thinner sauce; if the texture becomes too loose, add a small extra handful of shredded cheese to thicken.